Birthday Basics Designer Series Paper!!!

Posted on

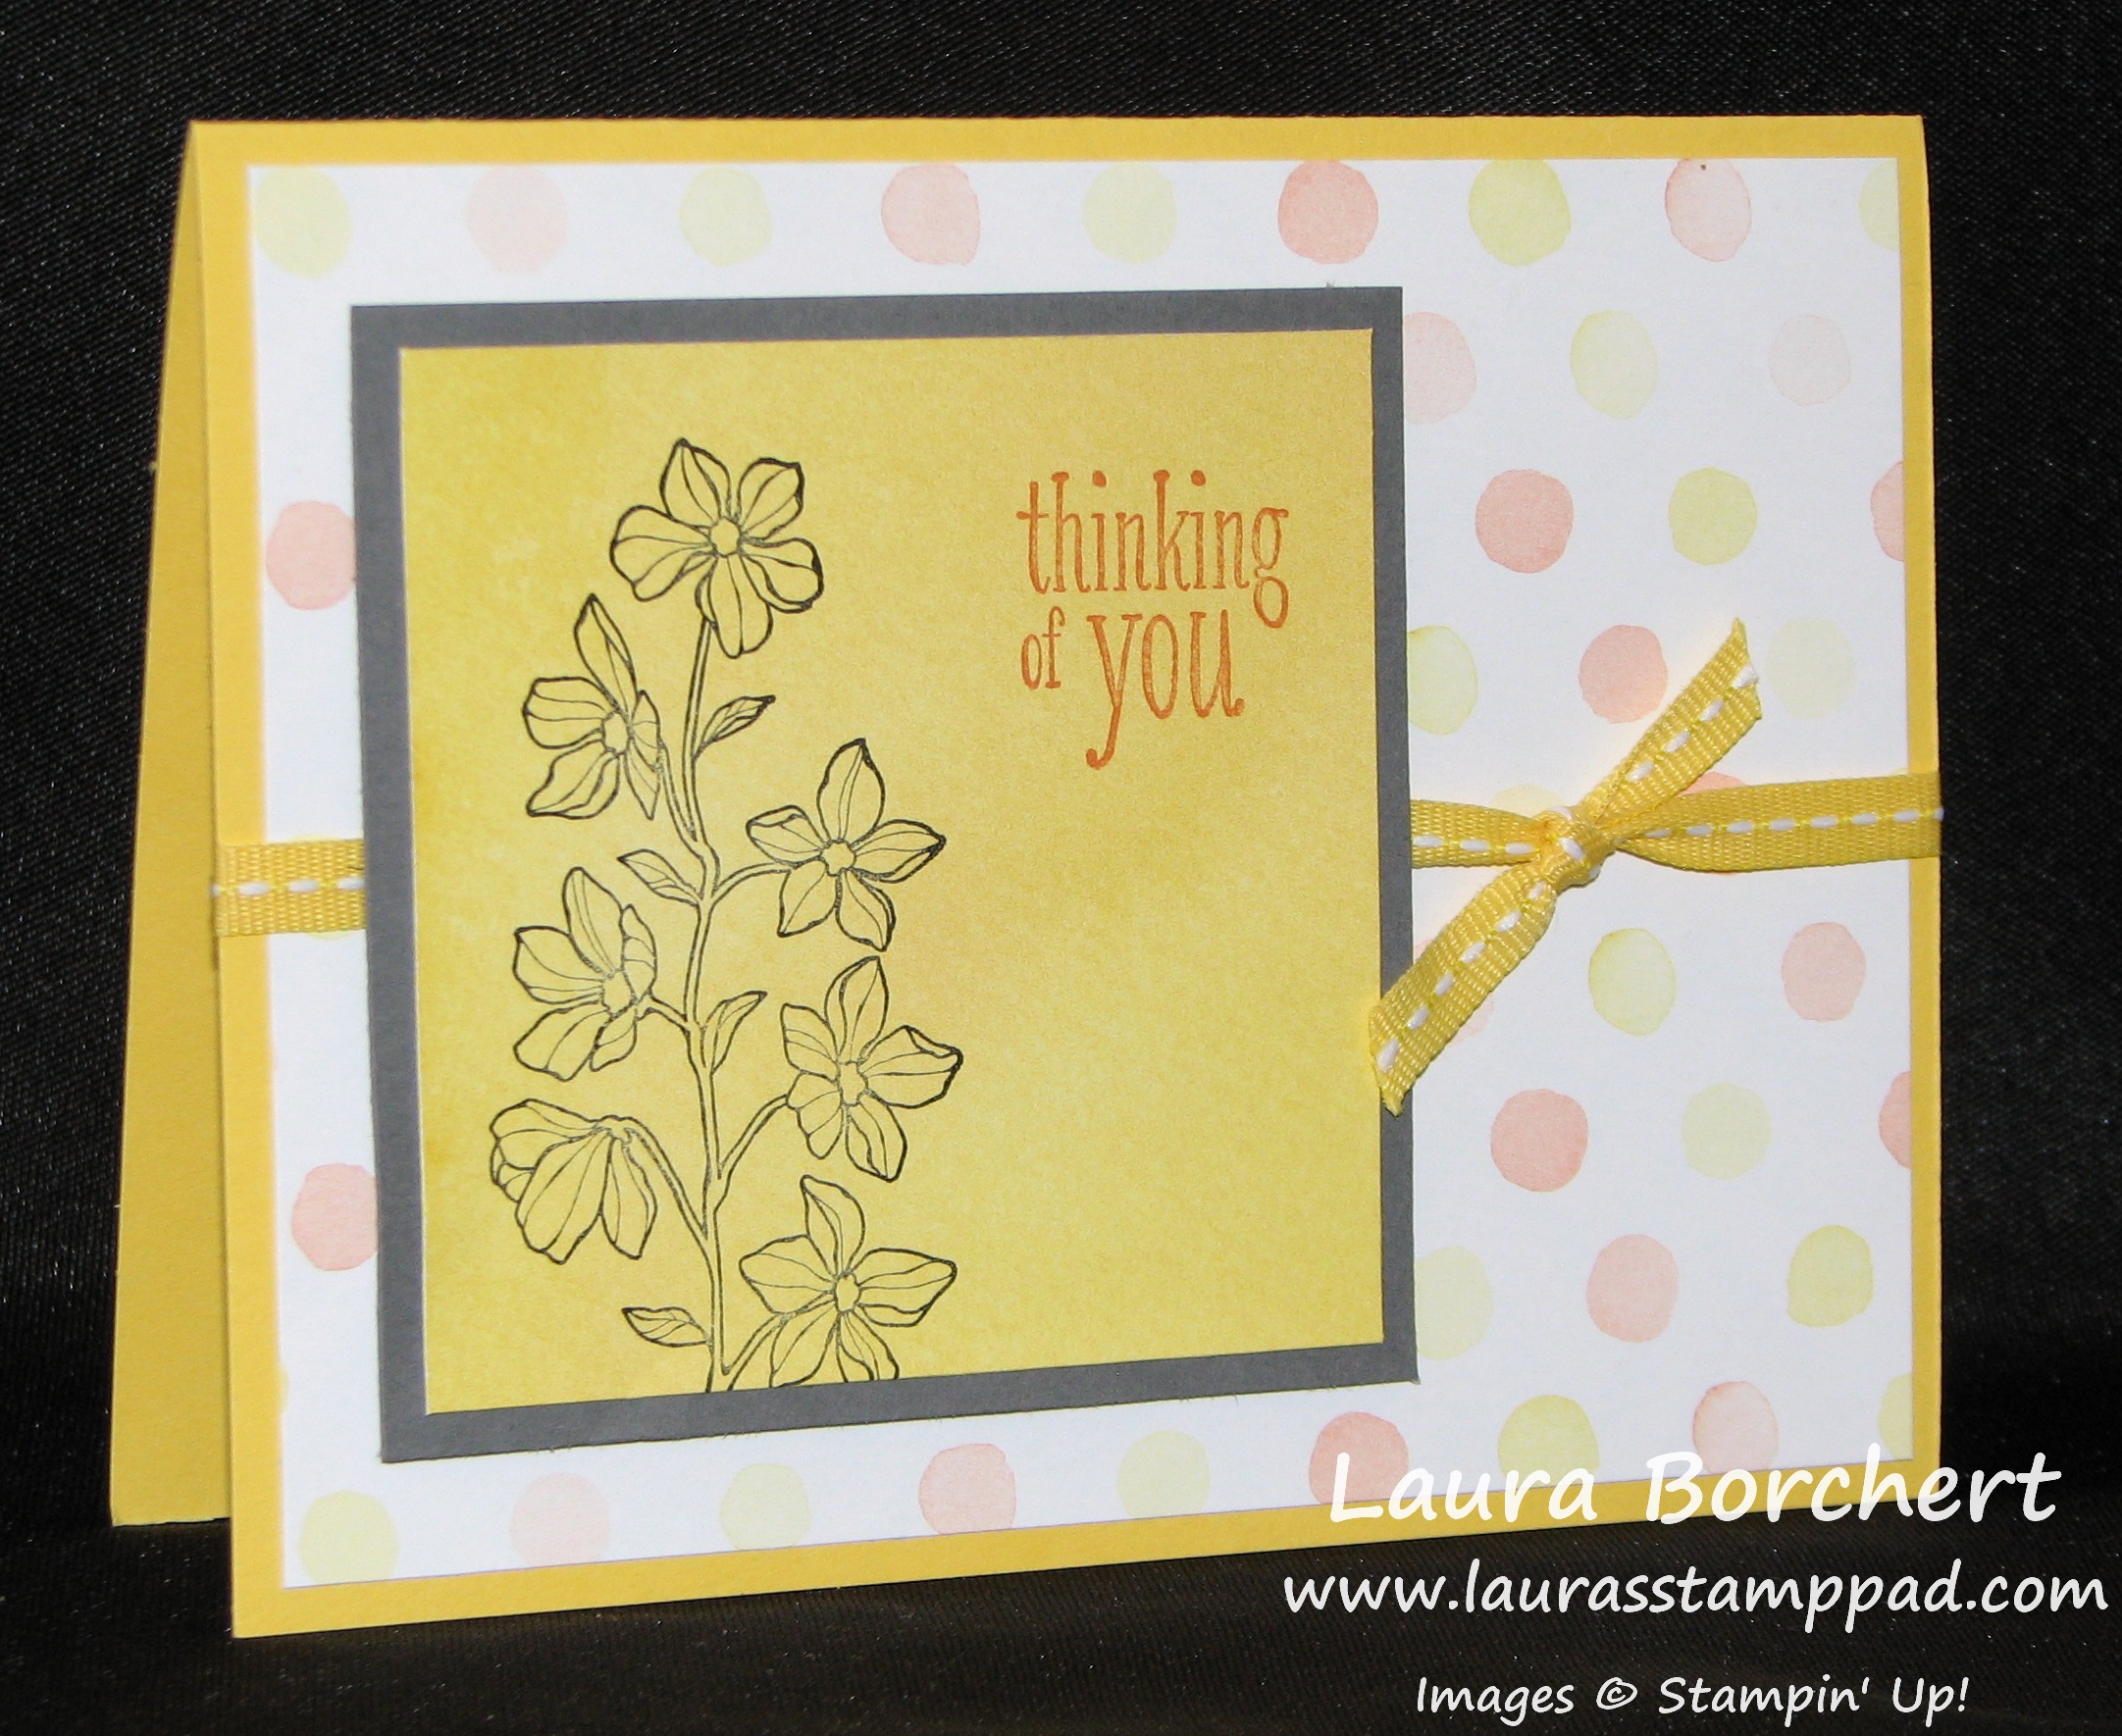
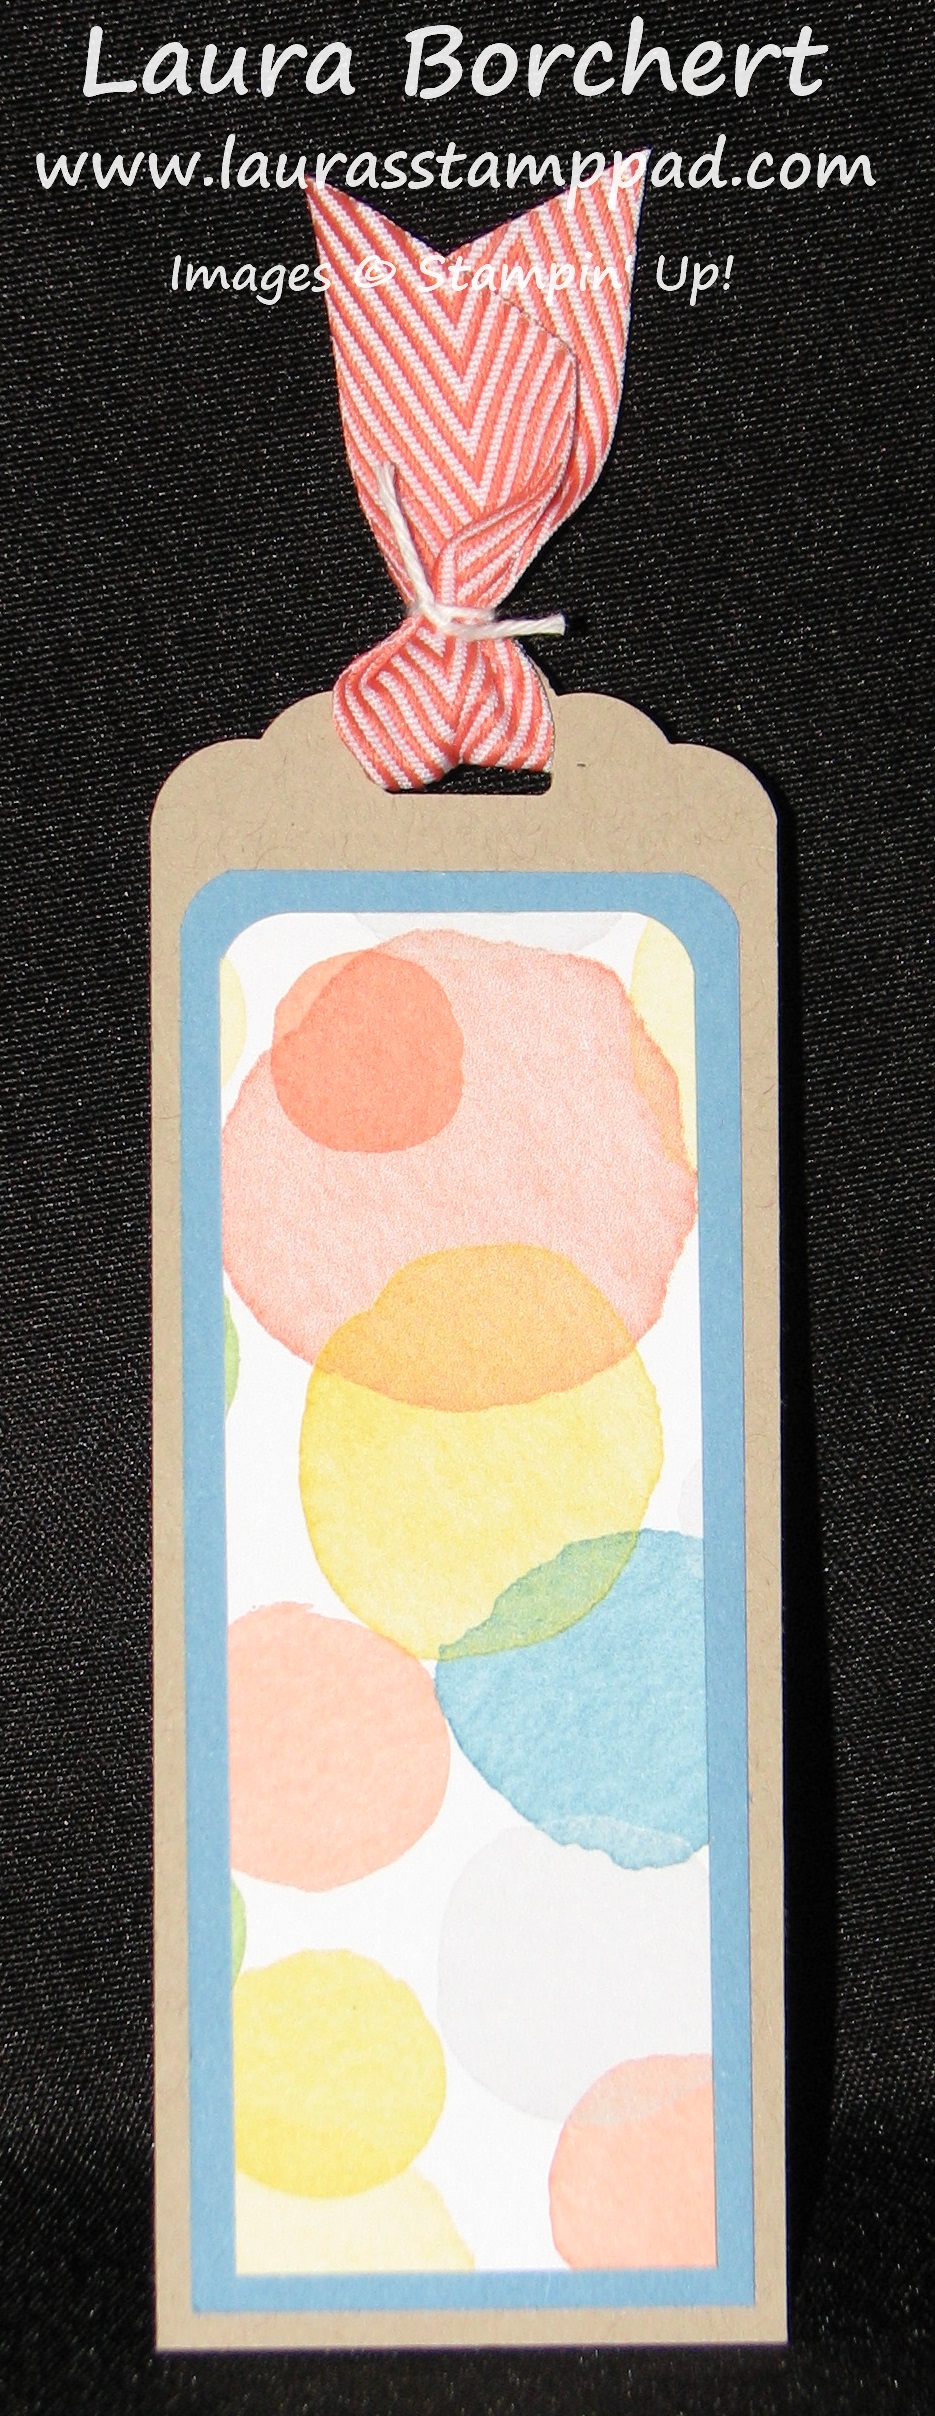
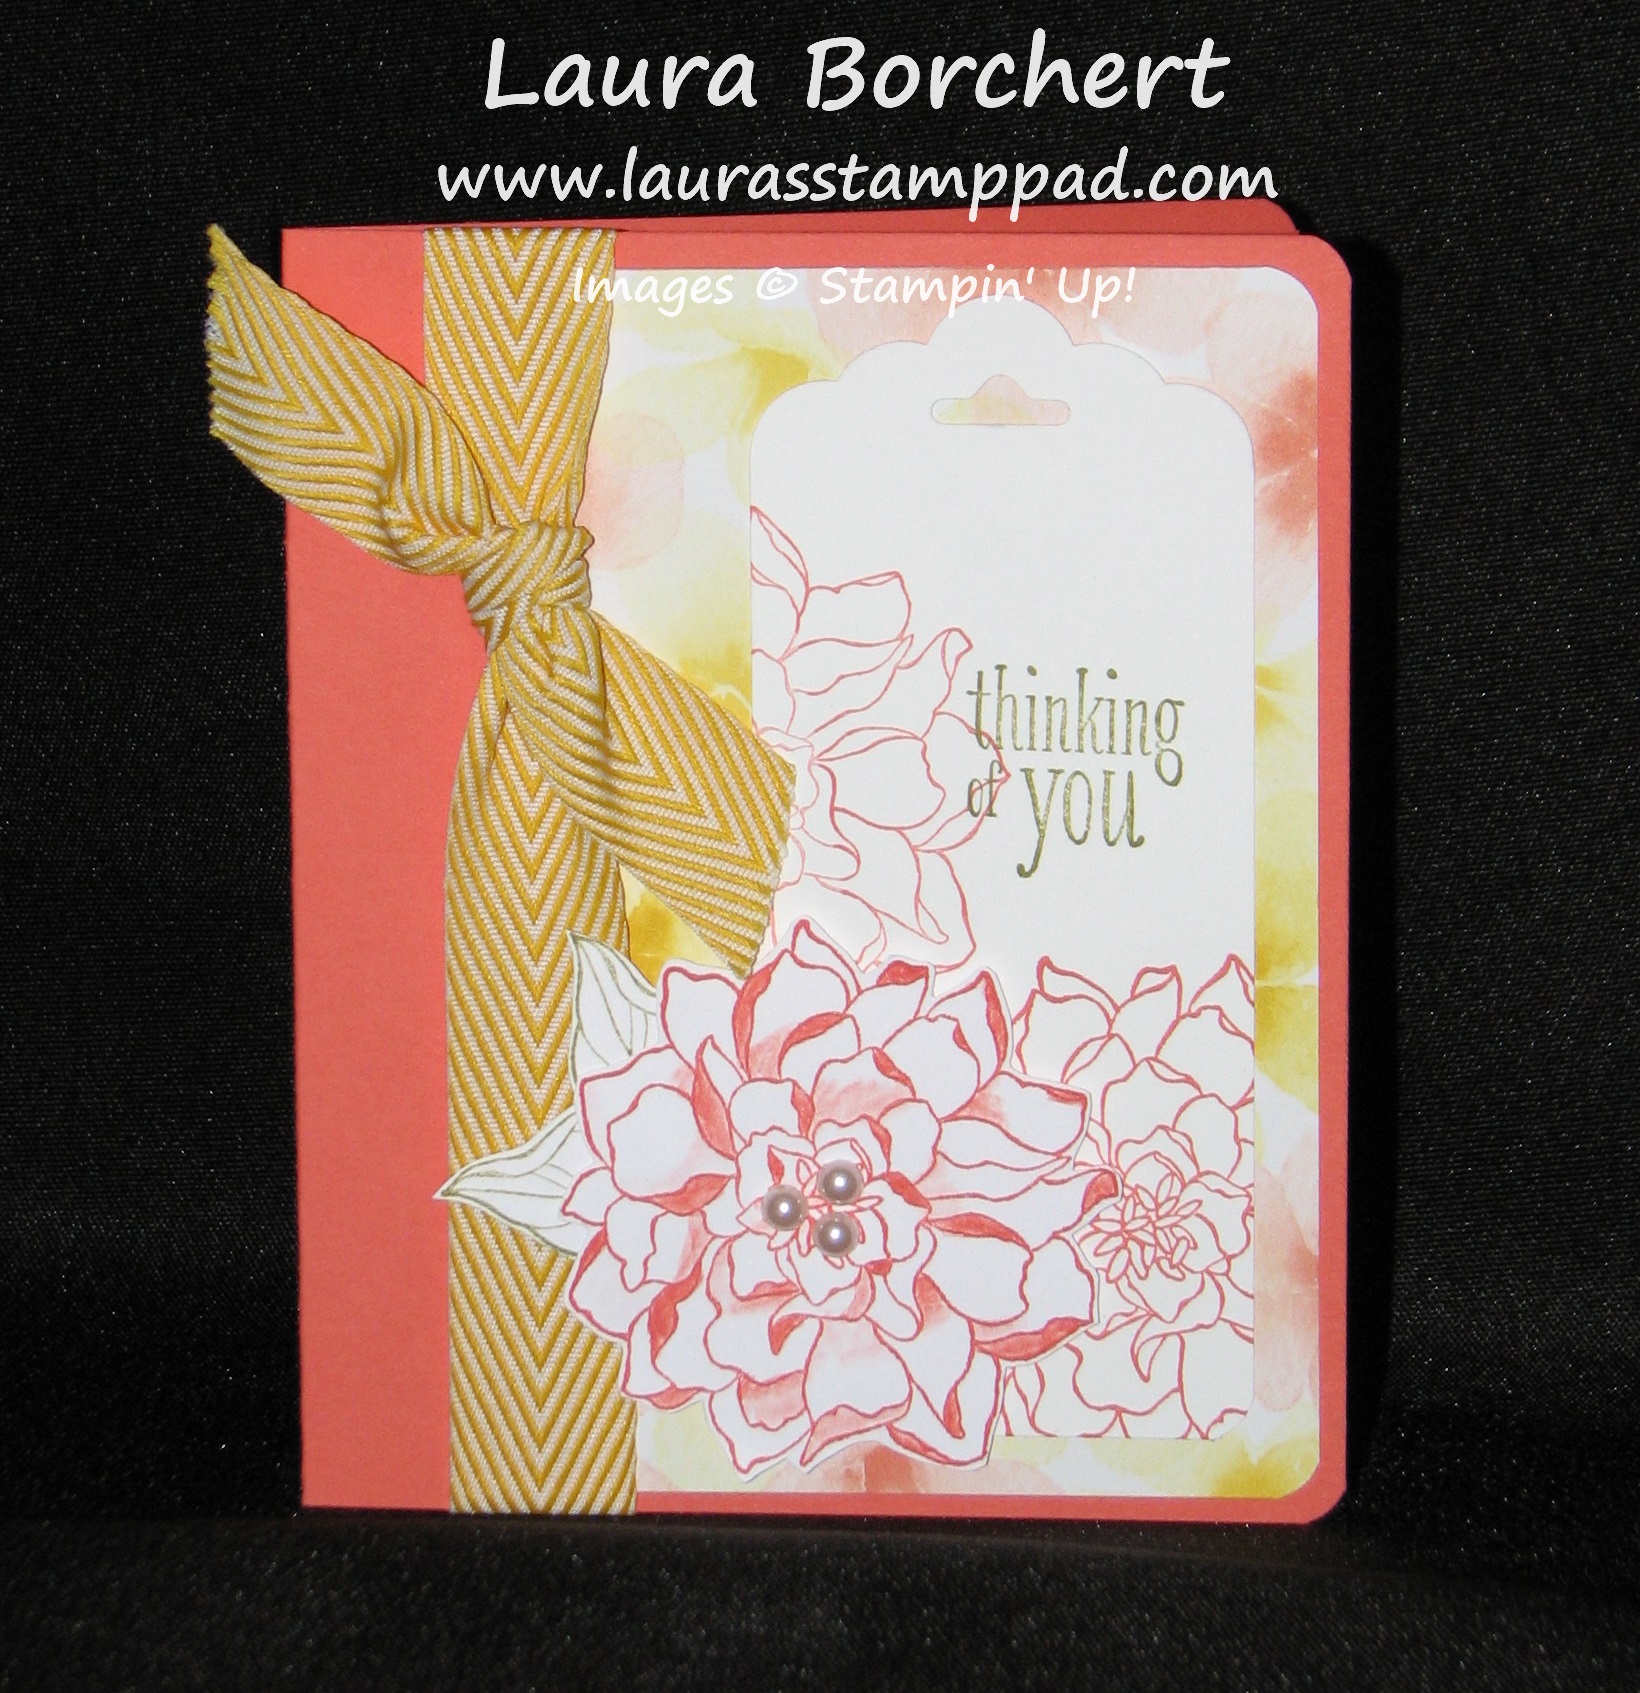
The Birthday Basics Designer Series Paper is unlike any other….it is bright and cheery and playful on one side and the other side is very elegant, rich, and beautiful! I love that in a pack of paper because there are so many ways to use it – kids birthday cards, anyone’s birthday card, sympathy, Mother’s Day, Wedding, etc. Here are a few samples I have made showing both sides of this amazing paper!!!!

Mother's Day Card with Birthday Basics DSP, www.LaurasStampPad.com

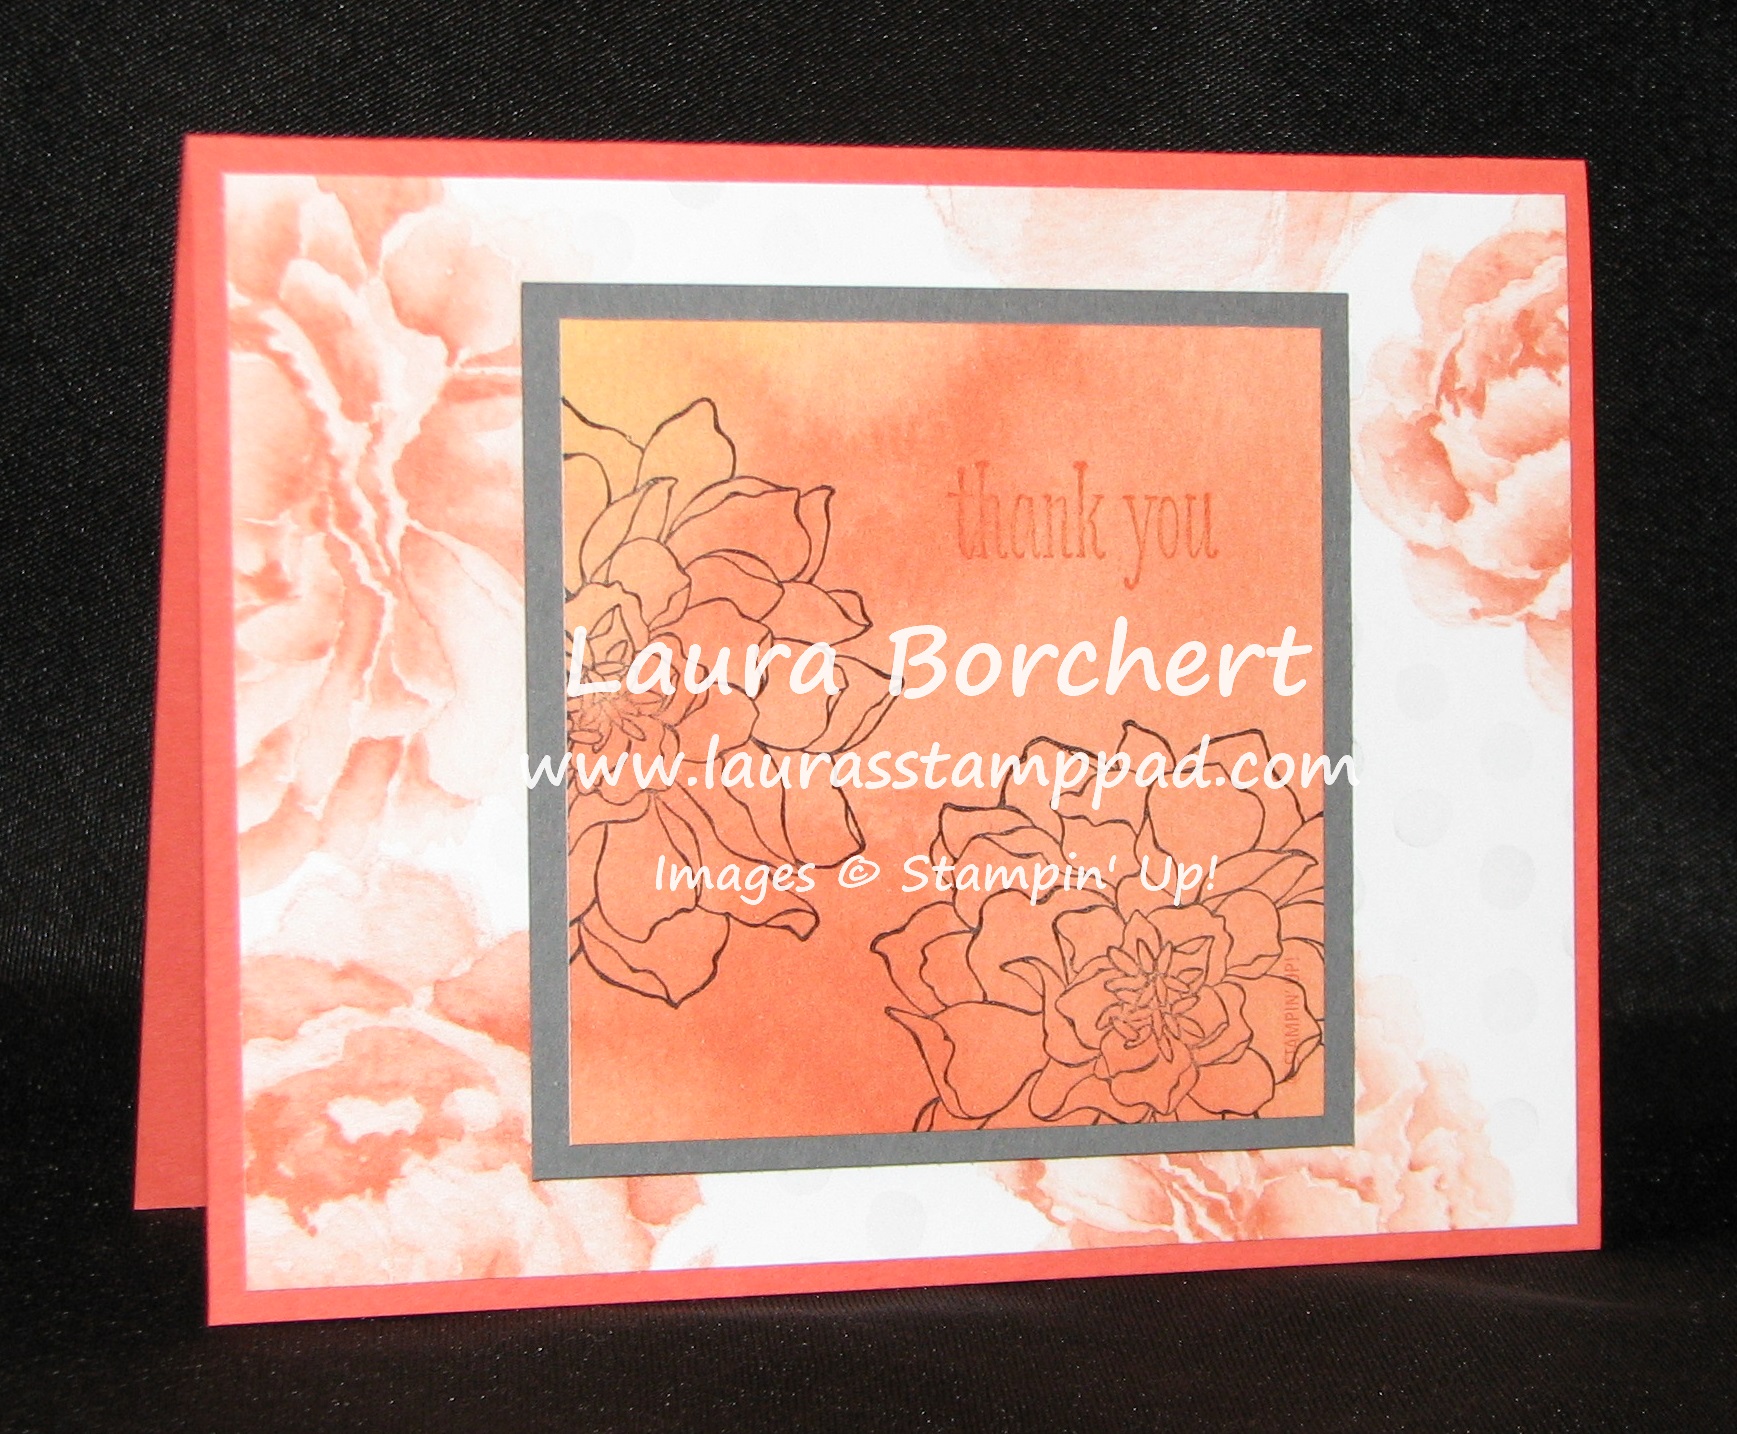
Love this card with those rich colors and beautiful flowers! I used the Delightful Dozens Stamp Set for the greeting and the Decorative Label Punch! For that amazing ribbon, I just took some Seam Binding and pulled one of the middle strings which then makes it begin to gather! Be sure not to pull too hard because the entire sting with pull out. Once you get half way across, stop and pull a different one on the opposite side. This will help it to not pull out. For the bow, I made loops and then secured the center with a Antique Brad!

Birthday Basics Card, www.LaurasStampPad.com

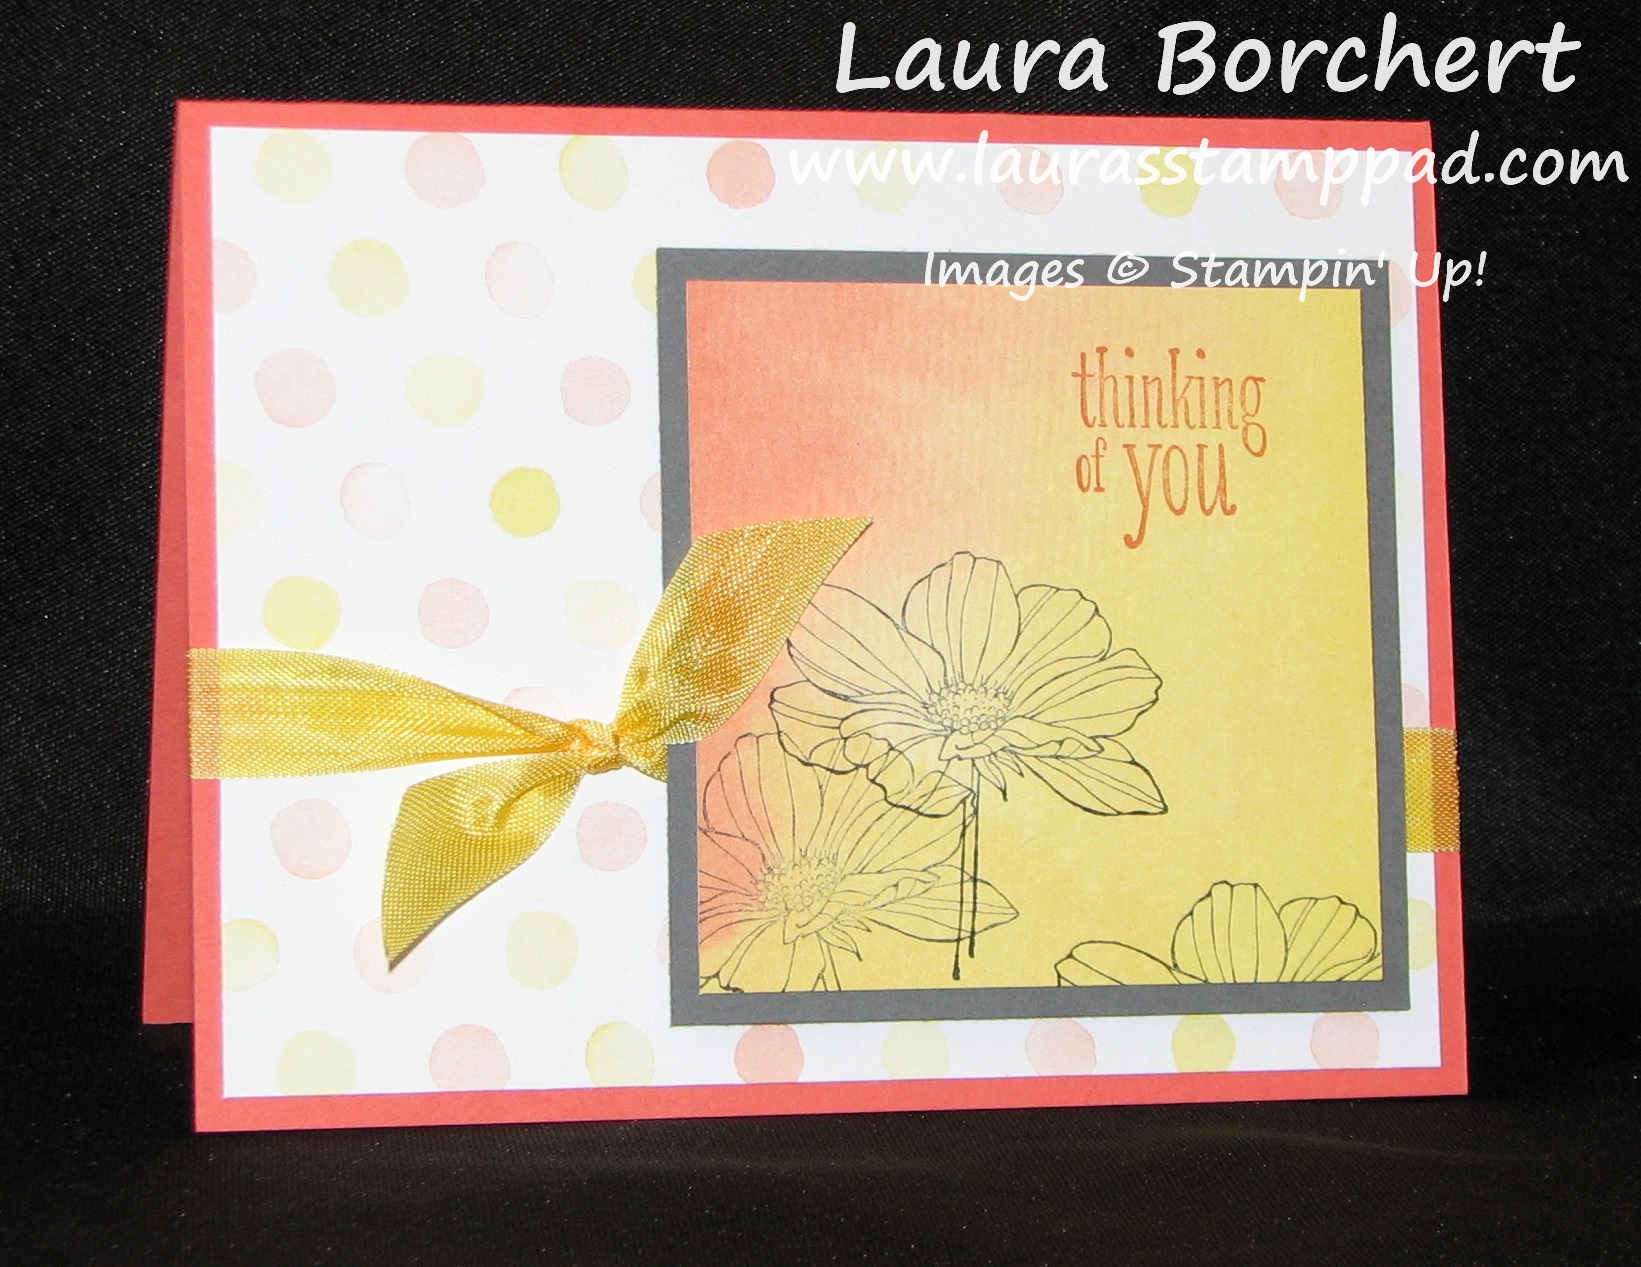
I love the bright and cheery look of this card! I used the Decorative Label Punch and Bring On The Cake Stamp Set for the greeting! For the bow, I placed a piece of 4-1/2″ Organza Ribbon across my card and adhered the ends to the back of the Designer Series Paper. I then took another 4″ piece and added a dab of adhesive in the middle and then brought the 2 ends that middle dab of glue and stuck them down! Then taking another ~2″ piece, wrap it around the center to cover those ends! Perfect little bow and it won’t add any bumps to your card for mailing!!! Here is another close up photo of the bow!

Birthday Basics Card, www.LaurasStampPad.com

Come back tomorrow for more samples using the Birthday Basics Designer Series Paper!!!

Happy Stampin’

~Laura


Bring On The Cake is Retiring.

Posted on

Birthday Basics & Bring On The Cake, www.LaurasStampPad.com

I’m still in morning over finding out that Bring On The Cake is retiring. (Notice no exclamation point in the title) I LOVE LOVE LOVE this stamp set. I send out lots of Birthday cards and this is my go-to set. I use it….probably daily. I just can’t get over it retiring so I HIGHLY suggest you order your’s today because this set is beyond amazing. I love coloring in the greeting above. I have colored it all one color or multi-colored and event stripes and polka dots. There is something that makes be beyond giddy when I colors it in something besides solid. (It’s the little things!) Here I made a quick a simple Birthday card using the Birthday Basics Designer Series Paper (also retiring) and the Basic Gray Stitched Ribbon (also retiring). 🙁 But have no fear, I know Stampin’ Up will have an amazing Birthday Stamp Set that I will love when the NEW catalog comes out on June 2nd! Until then, Bring On The Cake to help me feel better!

For the complete list of retiring items, click here! Don’t forget about my Anniversary Special going on through Friday!!

Happy Stampin’

~Laura


Technique Tuesday – Tag Topper Punch Closure on a Card!!!

Posted on

Happy Tuesday!!!!! Did that title catch your eye? That’s right, I used the Tag Topper Punch as a way to close my card!!!! Oh how I love using the punches in “out of the box” ways! It makes the punch sooo much more worth it! I won’t lie, I first looked at the Tag Topper Punches (Angled and Scalloped) and thought, “I don’t make tags that often to need a special punch.” Then I saw this adorable box, and this cute bookmark, and this amazing closure below and just HAD TO HAVE IT!

Tag Topper Punch Closes Card, www.LaurasStampPad.com

How beautiful is that??? I am loving the colors and the closure AND the Watercolor Wonder DSP!!!! 🙂 For this amazing card, all you need is a standard card base (5-1/2″ x 8-1/2″) and then with a pencil you will mark 1″ up from the bottom on the left and right side (shorter side). Then slide your piece of cardstock into the punch. You will not be using the guide but going over top of it and down into the blade area. Looking at the backside of the punch, find your little 1″ mark and line that up with the edge of the punch and PUNCH! Do this on the other side as well. Then you will put it into your Stampin’ Trimmer and cut the tabs above and below your punch. Score one of the tabs so that it will fold in and then score your card from that same scored tab side in (to the left) 4-1/4″. This will then make your card standard side and all folded and ready to decorate!!!!

Tag Topper Punch Closure Tutorial, www.LaurasStampPad.com

I hope this helps a little better! I am more of a visual person so I know it helps me!!! 🙂 I  hope you enjoyed this Tutorial and try it out! I would love to hear what you think and see some of you projects using this technique! Post in the comments below!

Tag Topper Punch Closes Card, www.LaurasStampPad.com

Had to post one more!!! Here is the card opened up!!!! Don’t forget about my Anniversary Special that I’m running! Check it out here! It ends on Friday!!!!

Happy Stampin’

~Laura


Watercolor Wonder Designer Series Paper!!!

Posted on

Do you ever have a product that you just reach for EVERY SINGLE time you sit down to stamp??? It may be a ribbon or stamp set or Designer Series Paper (DSP). For me, right now, it is the amazing Watercolor Wonder DSP!!!! Oh my, I am loving this paper and I think I have gone through at least 3 packs of it and it’s only been out since January! You can find it in the Occasions Mini Catalog which will ends on June 1st so be sure to stock up now!!!

Peaceful Petals Watercolor Wonder DSP, www.LaurasStampPad.com

Isn’t that just amazing? Although I should have stamped the greeting in Basic Gray as well rather than Calypso Coral. I used my Peaceful Petals Stamp Set which has amazing flower images (Love) and two greetings – Thank You and Thinking of You – two super useful ones!!! The best part about this card is you can make multiples very quickly. First, you will take the sheet of paper that is Calypso Coral and Daffodil Delight and cut that into 3″ x 3″ squares. You get 16 from just one sheet! Then you will layer that onto a 3-1/4″ square of Basic Gray. I then took various other sheets for the DSP pack and cut 4″ x 5-1/4″ rectangles to layer onto Calypso Coral & Daffodil Delight card bases (5-1/2″ x 8-1/2″)

Peaceful Petals Watercolor Wonder DSP, www.LaurasStampPad.com

This one uses a different flower image from the Peaceful Petals Stamp Set and the Calypso Coral greeting shows up better on the yellow! Also, I added a little Daffodil Delight Stitched Ribbon!!!

Peaceful Petals Watercolor Wonder DSP, www.LaurasStampPad.com

This one uses yet another flower from the Peaceful Petals Stamp Set and I went for some Daffodil Delight Seam Binding. I love all of the different ways you can make this card out of the same supplies!!!! LOVE IT! Be sure to get your Watercolor Wonder Designer Series Paper TODAY by clicking here!!! Also, it will qualify for my Anniversary Special that I’m running this week! Check it out here!

Happy Stampin’

~Laura


Scallop Tag Topper Punch!!!

Posted on

The NEW Tag Topper Punches that are in the Occasions Mini Catalog are super cute and fun to use! There is the Scallop Tag Topper Punch and then Angled Tag Topper Punch!!! Here are a few samples using them to make tags….the obvious use! Check back tomorrow to see some super cool ways to use these AMAZING punches!

Tag Topper Bookmark, www.LaurasStampPad.com

Look how cute and simple this bookmark is! All you need is a 2″ wide piece of cardstock (it can be as long as you wish) and punch the top and decorate! I used the Corner Rounder Punch for my layers so it would match the rounded corners of the tag. I added some of my favorite Designer Series Paper – Watercolor Wonder!!!! (LOVE!) For the Ribbon top, I used some Calypso Coral Chevron Ribbon and rather than making a knot, I just took some Baker’s Twine and tied the ends! Super cute and knot (hehe) as bulky! This is super simple that you could make tons of them for Teacher Gifts, Bible Study Groups, as a gift with a Cookbook or together with a child or group of children!

Flower Tag Topper Punch, www.LaurasStampPad.com

Here is another fabulous project – this card has a stamped tag on the the front. I used more Watercolor Wonder DSP and my Peaceful Petals Stamp Set! I stamped the image in Calypso Coral and then added a little color on some petals with my Blender Pens. I cut out one of the flowers, added some leaves, and used Stampin’ Dimensionals to make it pop out!!! Love love love the colors of this one! Be sure to check back tomorrow for another fabulous way to use this punch! And remember this adorable card using this punch? I LOVE when one punch can do so many different things! It really gives you more bang for you buck!!!

Happy Stampin’

~Laura


Technique Tuesday – Heat Embossing on Foil!

Posted on

Happy Tuesday and April Fools Day!!! That means that I have a fabulous Technique to share with you today and it is no fool!! We will be heat embossing onto Silver Foil!!! It is a super cool WOW look for your projects!

Embossing Foil, www.LaurasStampPad.com

Supplied Needed: Foil Sheets (Silver or Gold), Stamp Set, VersaMark, Embossing Powder, and Heat Tool

First you will cut your Foil Sheets into you desired size and then stamp your image with VersaMark onto the Foil. VersaMark is a clear super sticky “ink” (it’s not really an ink) that is used for heat embossing because when you pour your powder of choice over top it will stick. It is clear so that you can use Clear Embossing Powder or colored embossing powder. NOTE: Be careful when stamping onto Foil, it will slide! Once you have stamped your image, you will pour the powder of your choice over it. I used White Embossing Powder. Then you will melt the powder with your Heat Tool. TIP: Start in the corner and as you see it start to melt, move the tool along. Don’t swing the heat tool around like you are painting a wall. Also, you will need something to hold your foil down (besides your finger) because it will get HOT! Once it is done, let it sit for a minute or less to cool and set. Then you can add it to your project. The foil may curl a bit but as it cools it will flatten out. I used the Mixed Bunch Stamp Set for my flowers and Summer Picnic Designer Series Paper on this sample. The fabulous scallop look on the edge of my design was created with the Adorning Accents Embossing Folders! Super cute way to use this little border and I think that maybe have been the first time I have used that scallop in MONTHS! I hope you enjoyed this technique and try it out on your next project!!! Leave a comment below on which stamp set you think would look fabulous embossed on foil! And for more ways to use your foil, check out this post and this post!!!

Happy Stampin’

~Laura


Circle Circus!!!

Posted on

Perfect Pennants, www.LaurasStampPad.comSome days I feel like I need to join the circus….guess that is why that title came to mind for this blog post. 🙂 But on to this amazing card that is just so fun!!!! I used my super favorite Watercolor Wonder Designer Series Paper (click here and here for more samples) and Perfect Pennants Stamp Set (click here and here for samples)!! I added a little Ruffled Ribbon which is super cute and fun to use! I always use sticky strip with the Ruffled Ribbon just to make sure it holds well since I usually pull mine a little tight! I used my Circle Punches to make the greeting pop and added a few candy dots! Remember that just because a stamp set has a matching framelit or punch, you can always just do your own thing! I love the Perfect Pennants Stamp Set for the greetings and heart and star but yet sometimes I feel a little “banner-ed” out! Here I used the stamp set and circles! Always trying to think outside the box! Let me know what you latest thought outside the box was in the comments below!

Happy Stampin’

~Laura


Kaleidoscope Kraziness!

Posted on

Happy Monday! I am going a little krazy today because it will be 70 degrees and sunny today and I couldn’t be happier (well I could if I knew we weren’t getting snow in 2 days, welcome to IL)!! But today I am showing you this fabulous card I made with the Kaleidoscope Designer Series Paper!!!

Perfect Pennants, www.LaurasStampPad.com

I love this paper for the colors – Strawberry Slush, Crushed Curry, Bermuda Bay, Basic Gray, and Basic Black! Love me some pink!!! This card was ripped and layered and tagged and stamped! I think I hit quite a few techniques in this one! I also used the Perfect Pennants Stamp Set which I love because the greetings are different and super fun and the images are amazing. There is this striped banner image, a polka dot banner image, heart, and star! LOVE! For the top of the tag, I used my Scallop Tag Topper Punch and then added a little Strawberry Slush Ruffled Ribbon. Instead of tying the ruffed ribbon, I just looped it through and then tied a little bit of Baker’s Twine around the ends to hold it in place! I really like the look of it and then you don’t have a bulky knot on your card! Win Win! I hope you enjoyed this card and it doesn’t make your eyes go krazy! 😉

Happy Stampin’

~Laura


Watercolor Wonder Designer Series Paper!!!

Posted on

The Watercolor Wonder Designer Series Paper is my FAVORITE paper right now! I have been using it on millions of cards (okay maybe not millions but close…see check out this one and more are coming!)

Watercolor Wonder DSP, www.LaurasStampPad.com

I think the 2 patterns that I love the most are this one with the coral and yellow flowers and the other one in the same pattern but in indigo and green! LOVE!!! And this card was super simple, I cut a piece of the Designer Series Paper to 4″ x 5-1/4″ to layer onto my card base and then I punched out my butterflies with the Elegant Butterfly Punch and Bitty Butterfly Punch! Of course I attached those to my card with Stampin’ Dimensionals (LOVE)!!! I then added a little Calypso Coral Baker’s Twine and my greeting! I stamped the greeting from the Perfect Pennants Stamp Set onto Whisper White and then used the matching Banner Framelits to cut it out! The cool thing is you can get these two items as a bundle and save 15%! Woot Woot! I hope you liked this card and be on the lookout for more cards using the Watercolor Wonder Designer Series Paper!!

Happy Stampin’

~Laura


Technique Tuesday – Flip Flap Fold Card

Posted on

Happy Tuesday!!! That means I have a fabulous technique for you and this one is super easy but has a BIG WOW factor!!!

Flip Flap Birthday Card, www.LaurasStampPad.com

This card fits in a regular Medium Envelope which is awesome! And the top flap flips open for you to write your greeting on the inside!!! Here is how it was made:

Supplies Needed: Cardstock, 2-1/2″ Circle Punch, 1-3/4″ Circle Punch, 2-3/8″ Scallop Circle Punch, Embossing Folder, Scallop Border Punch, and Stampin’ Dimensional

Your card base is 4-1/4” x 10-7/8” (by cutting the end off a little bit your card won’t bow) and you will score at 2-1/2” and 6-3/4”. Then on the small flap end, you will use any border punch to add a little decorative edge. Then you will take your 2-1/2” Circle Punch and push it all the way in with the 2-1/2” score line centered in the punch. This creates the peek-a-boo part of your card. For your decoration part, you will use your 1-3/4″ Circle Punch and 2-3/8″ Scallop Circle Punch. Be sure to only put adhesive on the bottom half of your layered decoration so you don’t have any sticky showing. I used the Bring On The Cake Stamp Set and Birthday Basics Designer Series Paper! You will then want to add a little decoration on the bottom portion of the card front. I created little balloons (click here to learn how to make the balloons) and attached them with Stampin’ Dimensionals, so that your flap will have something to slide under and hold closed.

Flip Flap Birthday Card, www.LaurasStampPad.com

 I hope you enjoyed this technique and try it out yourself!!! Leave me a comment on what you think!

Happy Stampin’

~Laura