Technique Tuesday – Shaker Card!!!

Posted on

Happy Tuesday!!! You know what that means – I have a fabulous technique to share with you!!! This week I am showing you how to make a fabulous Shaker Card with Emboss!

Shaker Card with Washi Tape, www.LaurasStampPad.com

How cute is that? I’m loving the bling (even though honestly, I’m more of a silver girl)!

Supplies Needed: Washi Tape, Cardstock, Window Sheet, Shaker items like glitter, punched circles or flower, etc, or sequins

You will need to cut your cardstock and Window Sheet to be the same size! This card is a 3″ Square! Then you will lay your 2 squares together and add Washi Tape (Watercolor Wonder Washi Tape) along the edges half way so that the other half can fold over to the back (holding your 2 pieces together). Trim off an access on the corner. Before putting Washi Tape on the 4th side, be sure to add in your shaker items. For this card, I placed Washi Tape on a scrap piece of Very Vanilla and then punched out 1/2″ Circles. You can use anything as your shaker items – punched circles, hearts, flowers, glitter, sequins, etc. After your shaker items are in there, you will seal up the final side with Washi Tape. Then you can put it on your card and decorate as you wish! As for the greeting, you can either stamp on your cardstock that is layered behind the Window Sheet or you can use Stazon and stamp on the window sheet or you can emboss a greeting onto the window sheet! I took the easy, quick drying route and stamped on my cardstock! 🙂

Shaker Card with Washi Tape

Once you have created your shaker piece, you can put it on your decorated card! For the one pictured above, I used Coastal Cabana and Whisper White Cardstock. I embossed the Whisper White with my Stripes Embossing Folder and added little banner tags! The banner tags were created with the Gold Fancy Foil Designer Vellum and Sequin trim! The stamp set I used for my greeting was Delightful Dozens (this one is retiring so get it before it is gone)! To watch a video tutorial on this technique, click here!

I, also, wanted to give a shout out and THANK YOU to everyone to participated in my Anniversary Special!!! Your goodies are on their way!!!!

Happy Stampin’

~Laura


Peaceful Petals and Watercolor!!!

Posted on

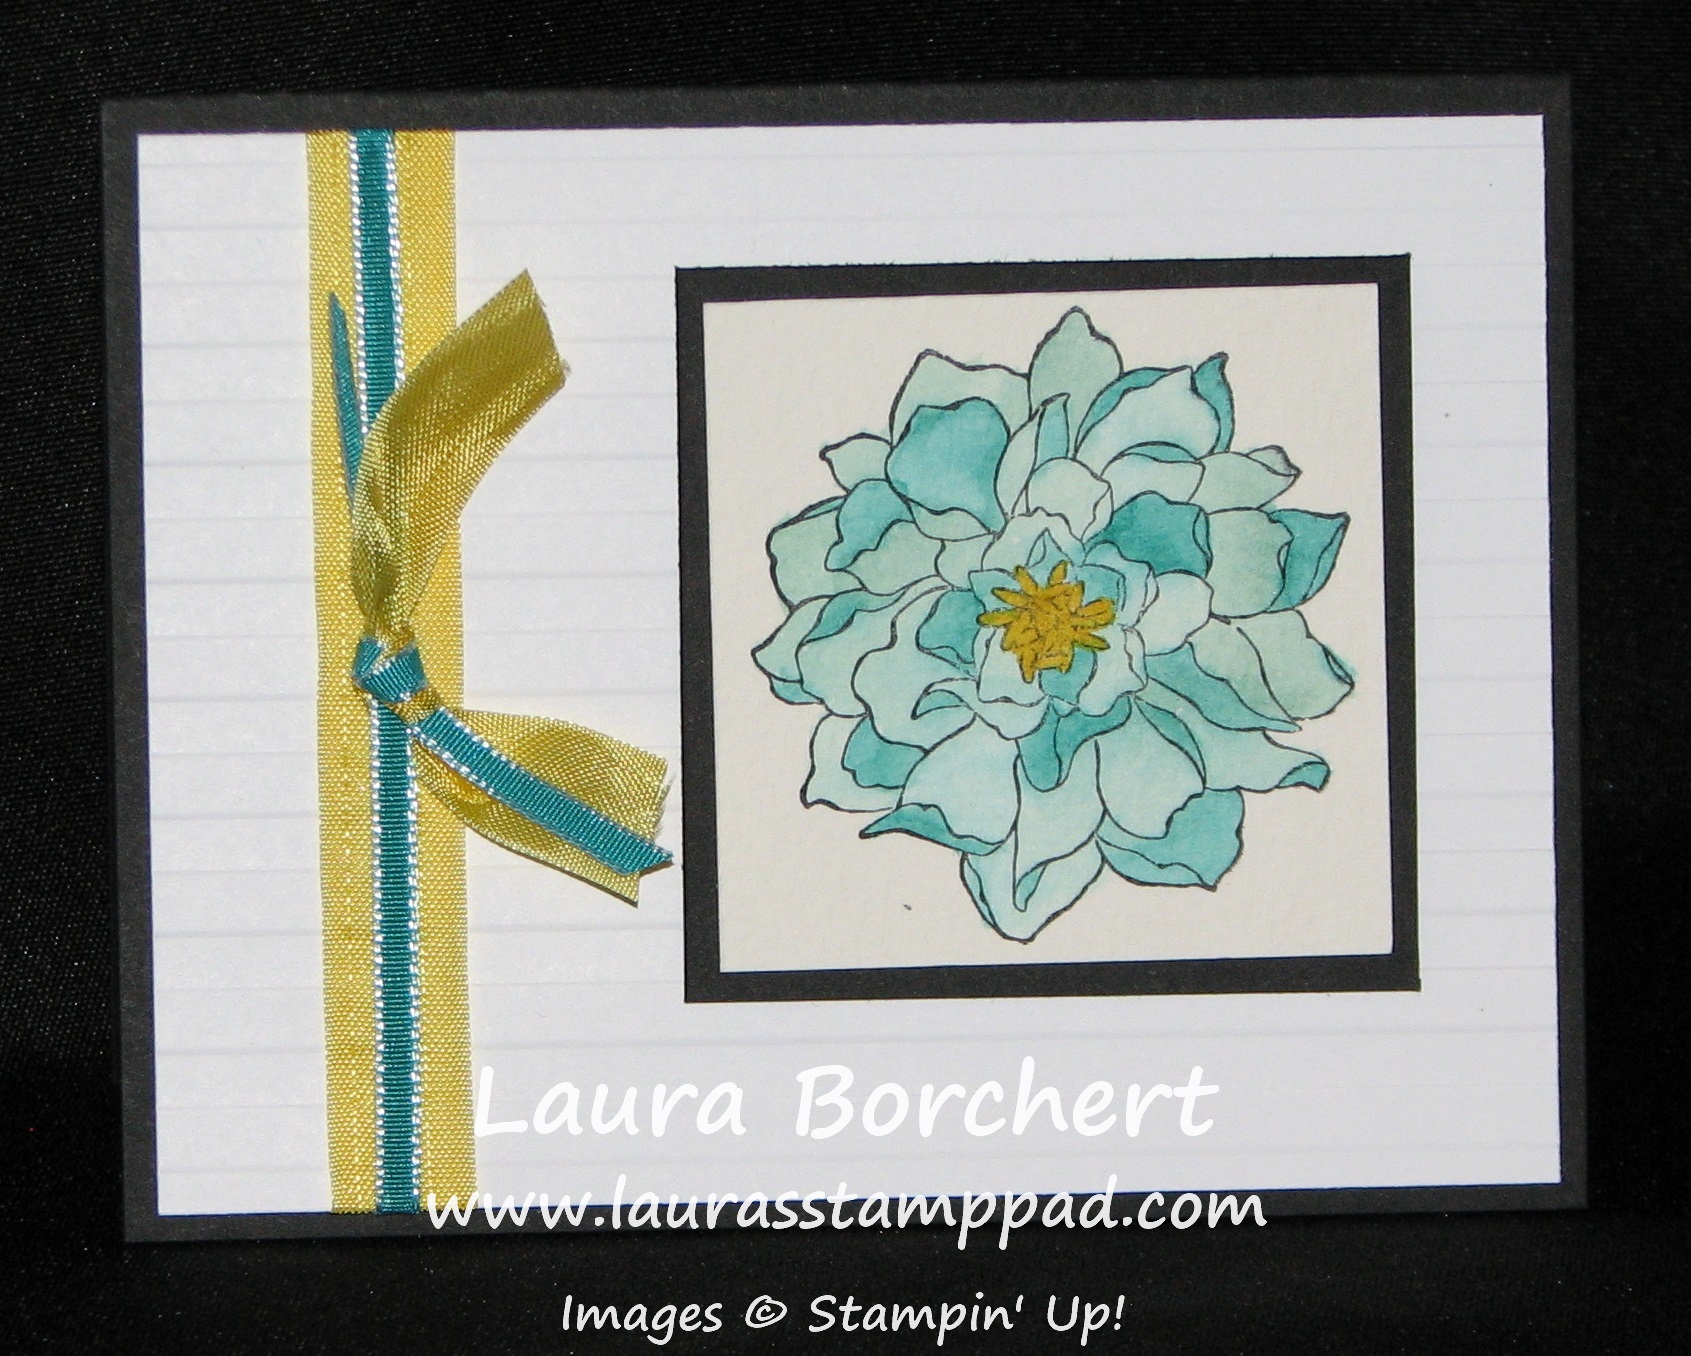
Peaceful Petals Watercolor, www.LaurasStampPad.com

I LOVE this stamp set….I mean it has flowers in it so of course I do! Peaceful Petals is lots of fun for stamping, coloring in, watercoloring, and so much more! For this amazing card, I stamped the image on Watercolor Paper and then using my Blender Pens, I added Coastal Cabana and Bermuda Bay ink to make that gorgeous flower! I love the color scheme too so this card is filed in the fabulous card file for sure! Another favorite technique I like to do is layer a bright color with black and white. The contrast really makes it POP and I love it! For the ribbon, I tried something new. I laid the Daffodil Delight Seam Binding on my cardstock and layered Bermuda Bay 1/8″ Taffeta Ribbon on top of it (adhering the ends to the back). Then I took 2 pieces (one of each) about 5 inches long and tied them together around the layered pieces. I haven’t tried mixing my ribbons like that but I’m liking the look! What do you think? Leave me a comment below!

For more tips and tricks on watercolor and blender pens check out this post and this post and this one too!

Happy Stampin’

~Laura


Fabulous Friday!!!

Posted on

Happy Friday All!!!! Today is a BIG Day because it is the last day for FREE SHIPPING on all Stampin’ Up orders with no minimum! It is also the last day for my Anniversary Special! When you place an online order with the HOSTESS CODE: XNYWCB4B, you will get a FREE gift from me!!!! I have Stamp Sets, Big Shot Dies, Ribbon, Designer Series Paper, and so much more that is just waiting to be in your stamp collection. But wait there’s more, I will also be drawing one lucky winner to get ALL of the Hostess Benefits!!!! Who doesn’t love FREE STUFF and FREE SHIPPING!! On top of all of that Stampin’ Up still has their Weekly Deals!

Weekly Deals 22

All of these items are on the retired list as well (except the Afternoon Daydream Digital Download)! So now is the time to stock up!!! You have seen lots of samples using the Afternoon Picnic DSP! You can check those out here, here and here! My other big favorite that I’m sad to see go is the Crochet Trim Victoria! I, myself, am not a huge fan of the vintage/rustic look but I know many of my brides and customers are and I have had fun using it to create amazing pieces! Check out samples here!

For the complete list of retiring items, click here!

What would make this Friday even better? Chocolate!!!!

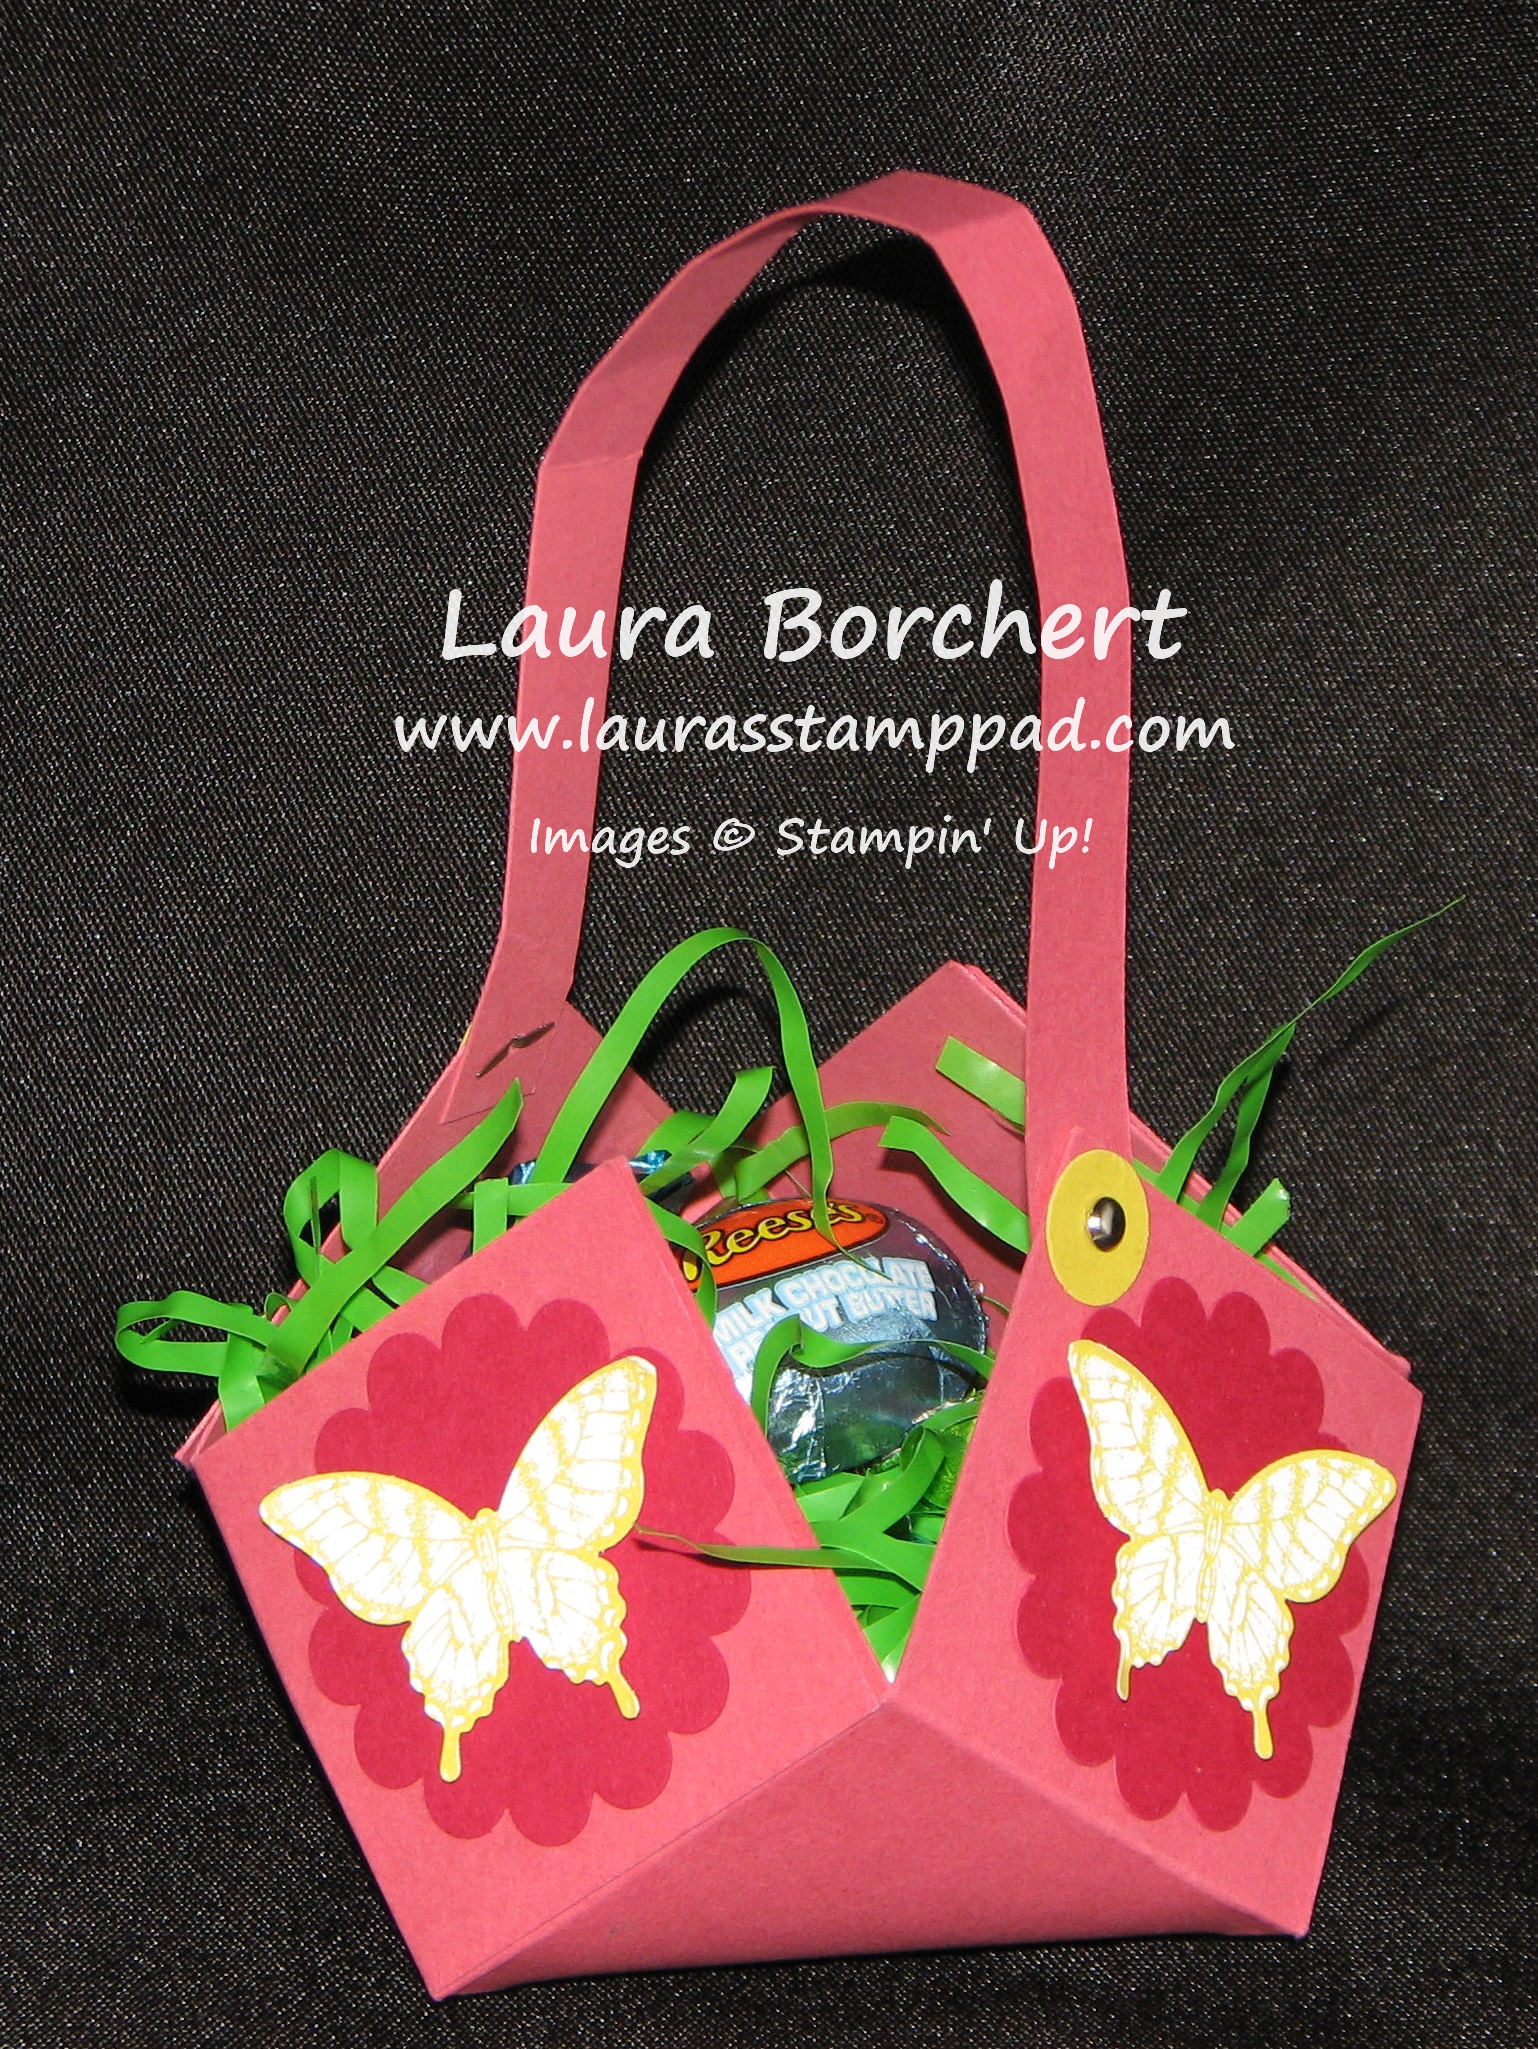
Washi Tape Treat Bags, www.LaurasStampPad.com

If you have some extra Easter Candy that you need to get out of the house or End of the School Year Party or Teacher Appreciation Week (May 5-9), these treat bags are the perfect thing!!!!

All you need is Cellophane Bags, Ribbon, Washi Tape, and Cardstock! Adorable. I used the retiring Garden Gingham Washi Tape and Primrose Petal Stitched Ribbon! For the cute tag, I used my Chalk Talk Framelits to cut it out and then added a little more Washi Tape and a greeting from the Teeny Tiny Wishes Stamp Set! Quick and Simple!!! Order it all today with Free Shipping and the Hostess Code: XNYWCB4B and you will be hitting it big!!!!

Have a fabulous weekend and Happy Stampin’

~Laura


Bring On The Cake is Retiring.

Posted on

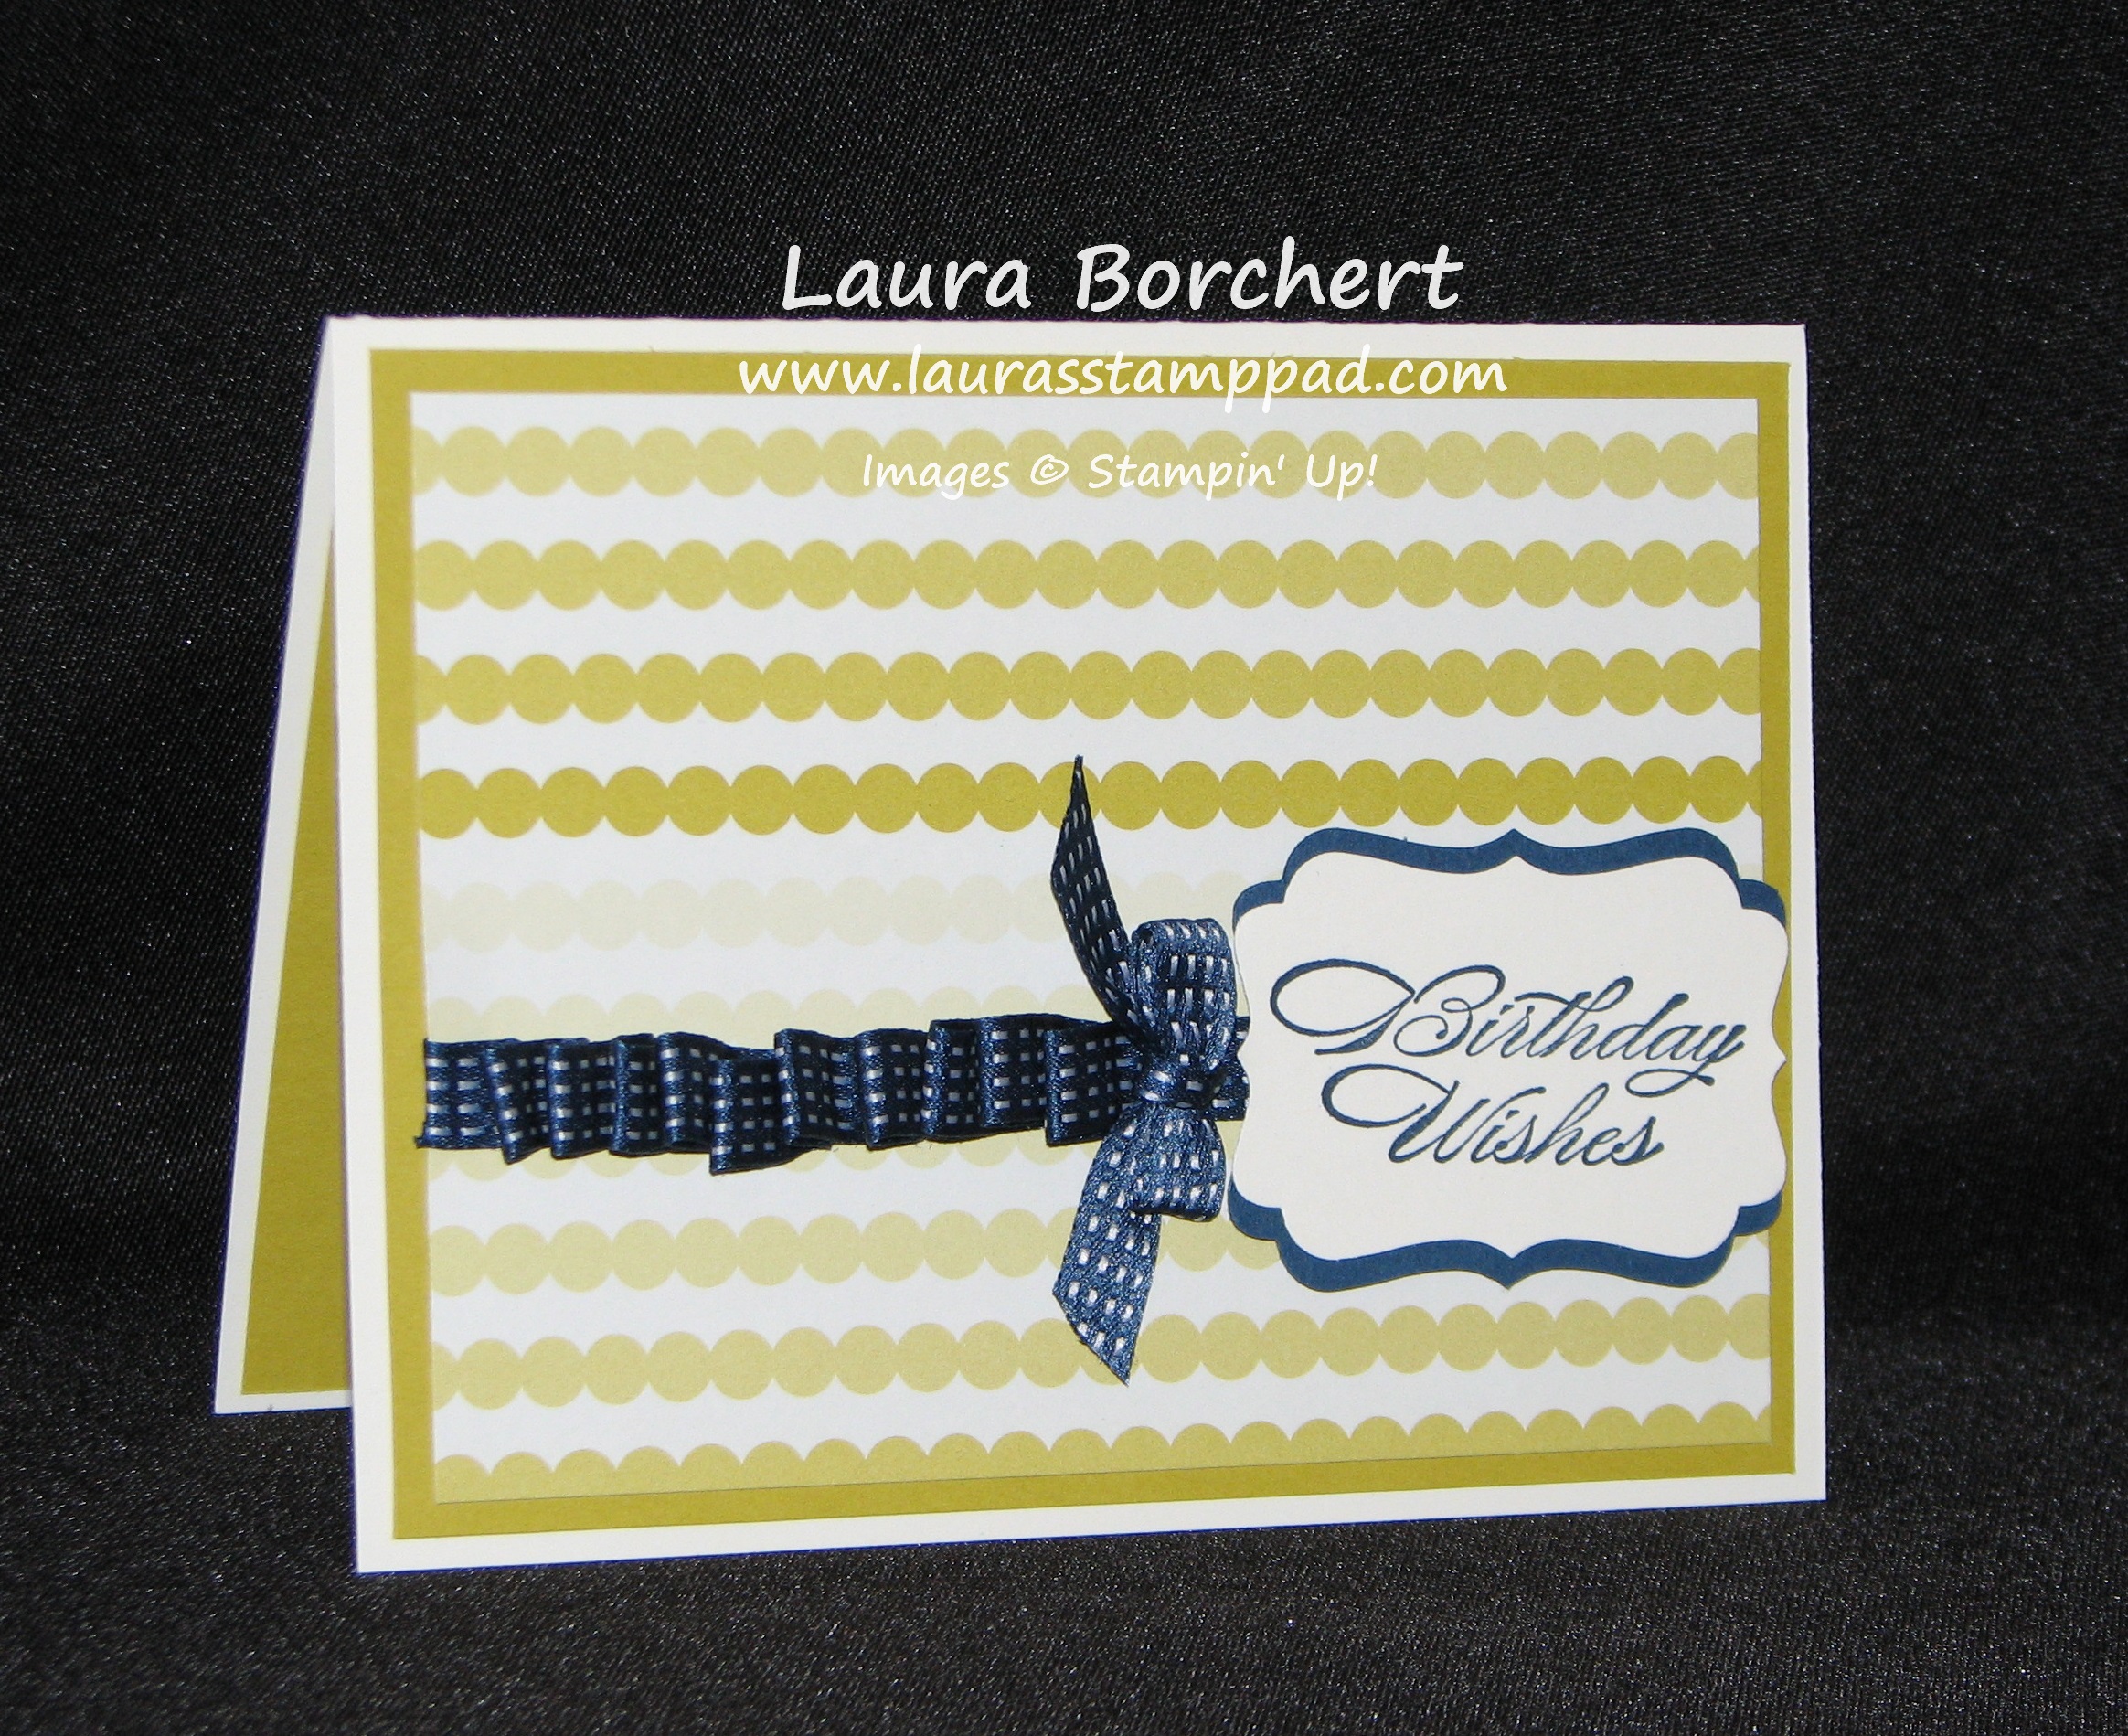
Birthday Basics & Bring On The Cake, www.LaurasStampPad.com

I’m still in morning over finding out that Bring On The Cake is retiring. (Notice no exclamation point in the title) I LOVE LOVE LOVE this stamp set. I send out lots of Birthday cards and this is my go-to set. I use it….probably daily. I just can’t get over it retiring so I HIGHLY suggest you order your’s today because this set is beyond amazing. I love coloring in the greeting above. I have colored it all one color or multi-colored and event stripes and polka dots. There is something that makes be beyond giddy when I colors it in something besides solid. (It’s the little things!) Here I made a quick a simple Birthday card using the Birthday Basics Designer Series Paper (also retiring) and the Basic Gray Stitched Ribbon (also retiring). 🙁 But have no fear, I know Stampin’ Up will have an amazing Birthday Stamp Set that I will love when the NEW catalog comes out on June 2nd! Until then, Bring On The Cake to help me feel better!

For the complete list of retiring items, click here! Don’t forget about my Anniversary Special going on through Friday!!

Happy Stampin’

~Laura


How to Watercolor with Your Spritzers!!!

Posted on

Hello Hello!!! I hope everyone is having a wonderful week! It is Wednesday so we are half way to the weekend! 🙂 I wanted to share with you this fabulous way to get a watercolor look without a cup of water and a paintbrush! Some may call this faux watercoloring but most of the watercolor projects I do are faux!

Watercolor with Spritzers, www.LaurasStampPad.com

How beautiful is that? I think it is amazing! This is one of the flower stamps from Peaceful Petals in the Occasions Mini Catalog! Love it!!!! What you will do is color the stamp with your markers using the thicker tip (that way you get pink flowers and green stems). Then you will take one of your Spritzers filled with water and spritz it.

Watercolor with Spritzers, www.LaurasStampPad.com

Now here is the tricky part where each one comes out different. I recommend spritzing 1 or 2 times and not real close to the stamp so that only the little mist of the spritz hits the stamp. When you spritz more or less, close or far away, each time you will get a different look. Then I stamp the image down onto Watercolor Paper! Again you can either hold it for a mini second and then lift or you can hold it for 10 seconds and let the color run into the watercolor paper more. Another fun tip…..have 2 pieces of Watercolor Paper available and after you stamp the first time, stamp again. Sometimes it comes out better than the first one or lighter but still amazing, either way you just got 2 amazing images out of one coloring!!! WOOT WOOT!  In the photo above, I held it for a mini second and got that amazing image. Then I took lighter colors (Pink Pirouette & Pistachio Pudding) than the original colors (Melon Mambo and Garden Green) and colored in the flowers and stem. That one is my favorite!

Watercolor with Spritzers, www.LaurasStampPad.com

This one here was stamped and I held it for 10 seconds, letting the colors run more into the paper. As you can see the flowers are more solid (filled in) and I didn’t color those in. Some may like that look, other may not! It is all about the art of watercolor!!!

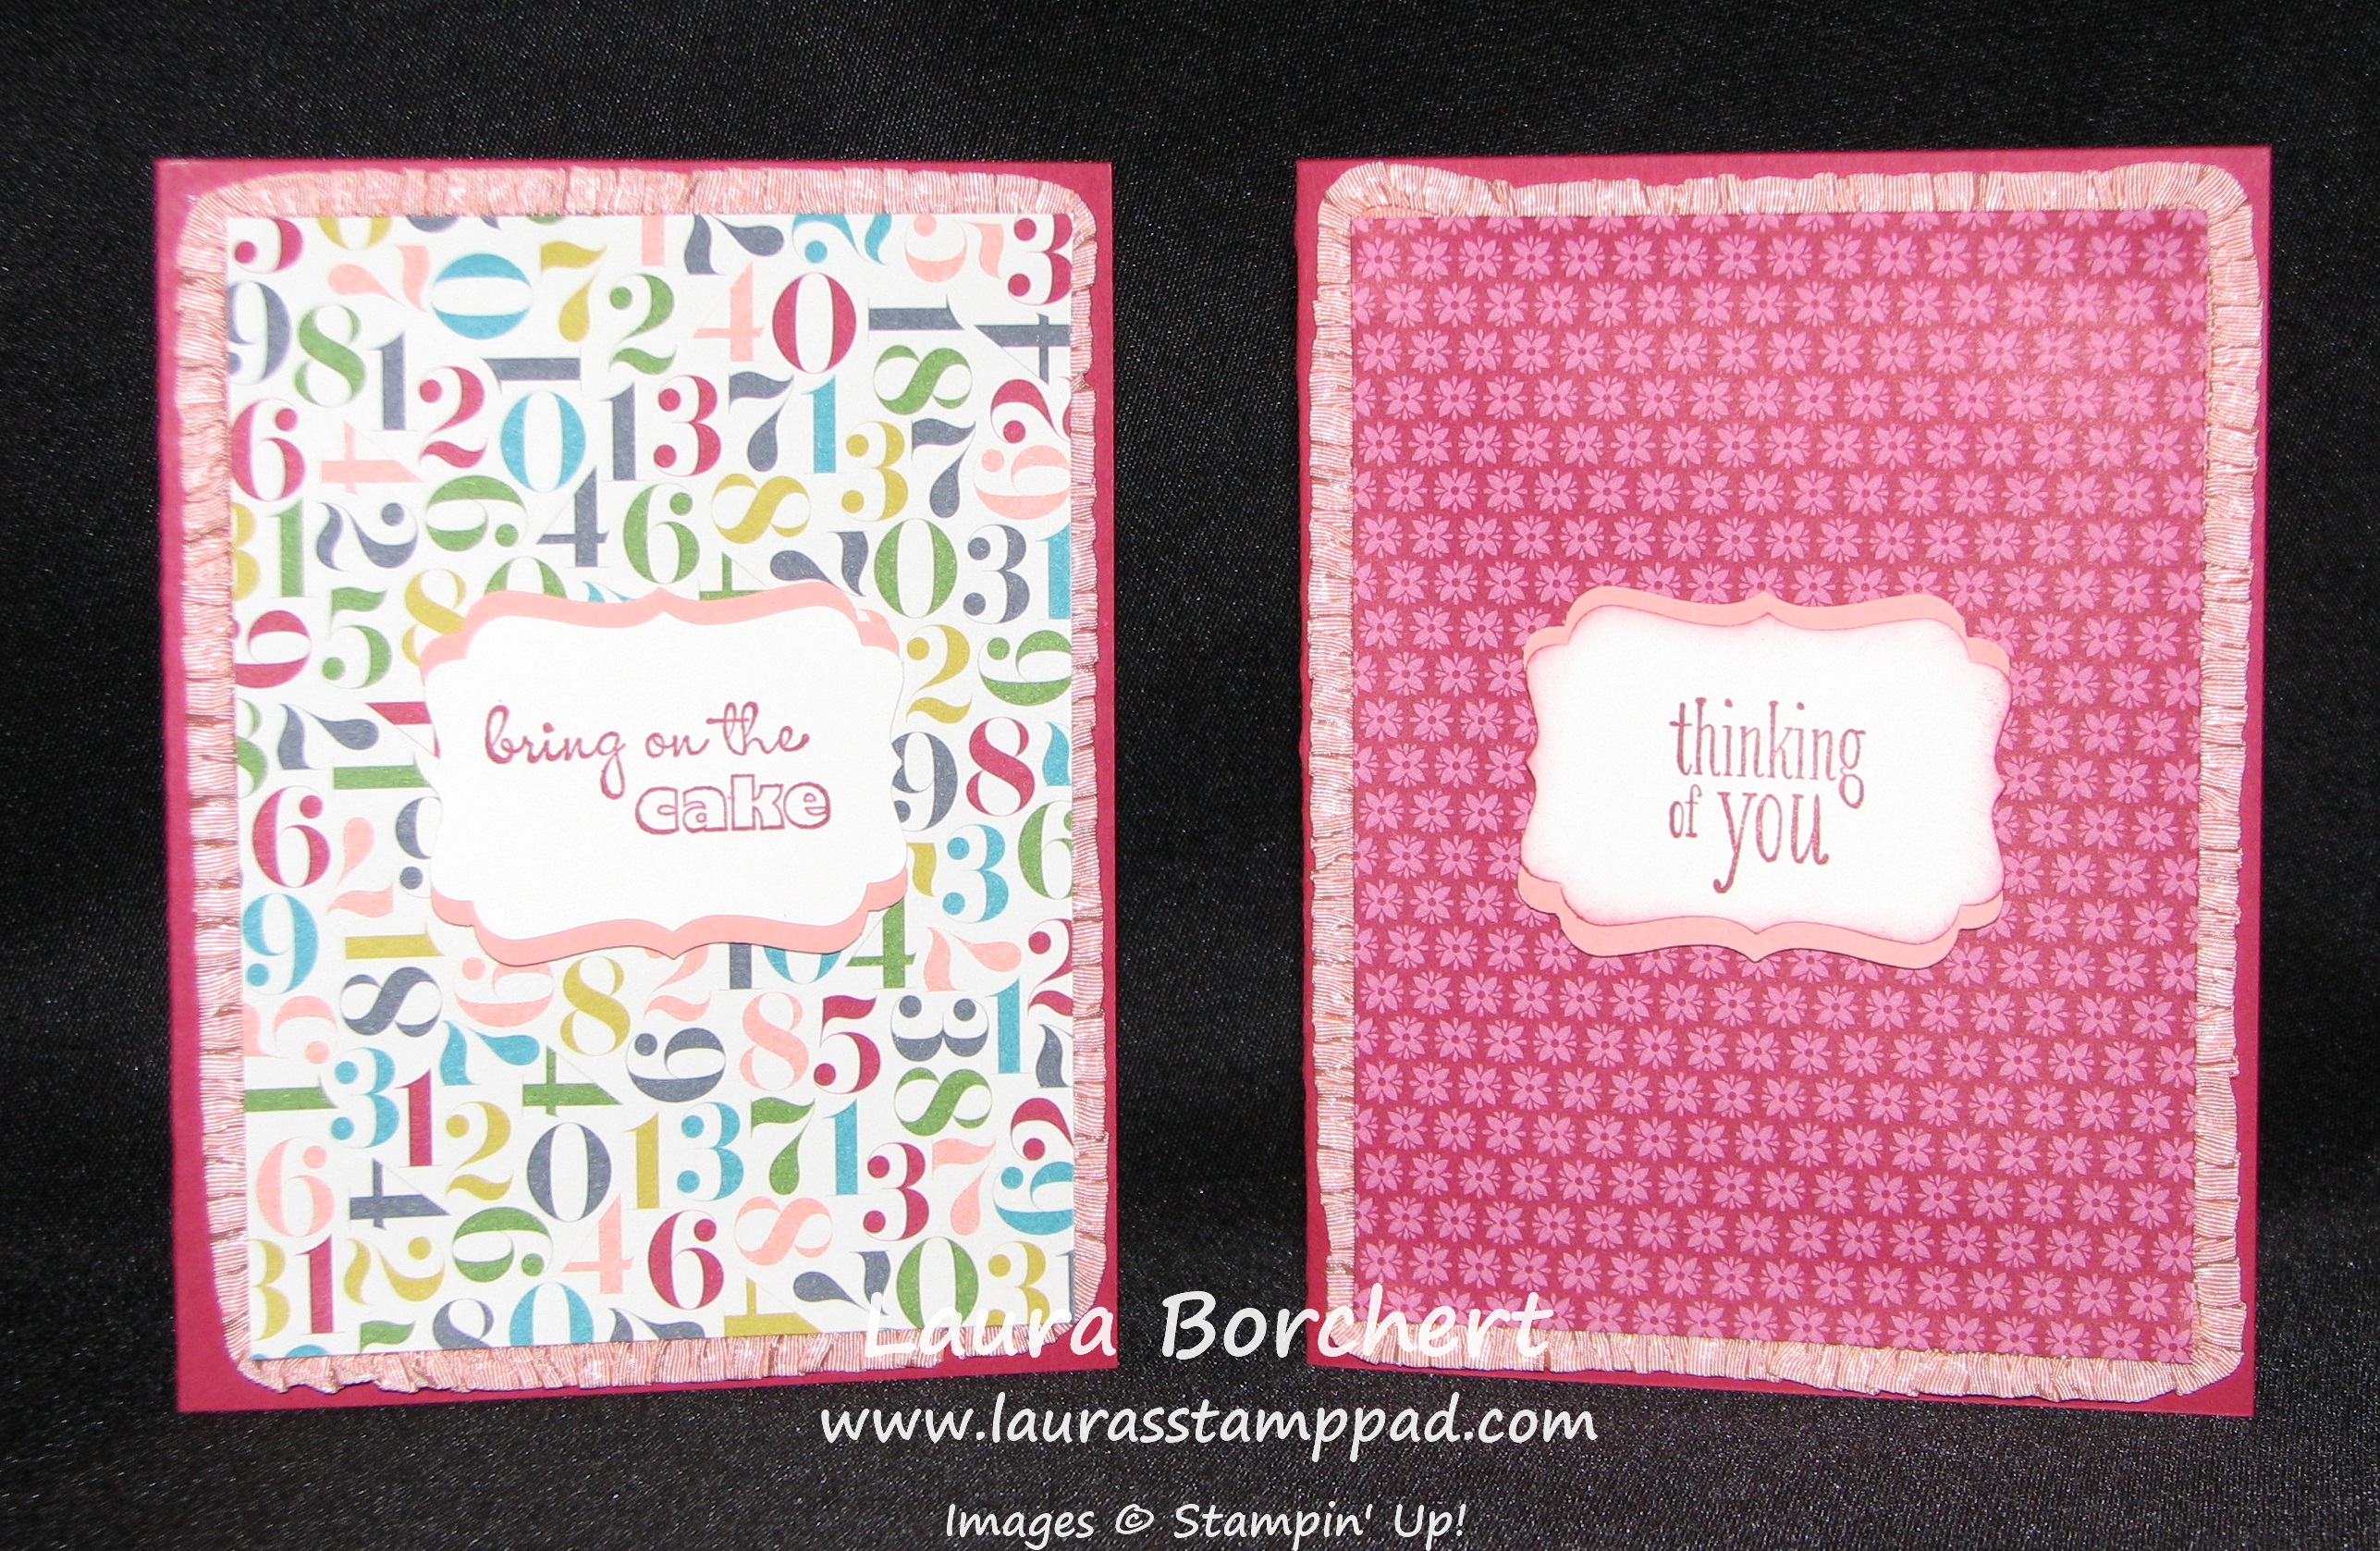
Did you notice that pink and green ribbon on these 2 cards? Where did that come from??? I COLORED IT!!! Check out this post on how to create amazing colored ribbon! I hope you enjoyed this watercolor idea and try it out yourself! For more tricks on watercoloring check out this post and this post! Let me know what you think in the comment down below!!!!

Don’t forget about the Stampin’ Up Retiring Products, My Anniversary Special and FREE SHIPPING going on this week!

Happy Stampin’

~Laura


Technique Tuesday – Tag Topper Punch Closure on a Card!!!

Posted on

Happy Tuesday!!!!! Did that title catch your eye? That’s right, I used the Tag Topper Punch as a way to close my card!!!! Oh how I love using the punches in “out of the box” ways! It makes the punch sooo much more worth it! I won’t lie, I first looked at the Tag Topper Punches (Angled and Scalloped) and thought, “I don’t make tags that often to need a special punch.” Then I saw this adorable box, and this cute bookmark, and this amazing closure below and just HAD TO HAVE IT!

Tag Topper Punch Closes Card, www.LaurasStampPad.com

How beautiful is that??? I am loving the colors and the closure AND the Watercolor Wonder DSP!!!! 🙂 For this amazing card, all you need is a standard card base (5-1/2″ x 8-1/2″) and then with a pencil you will mark 1″ up from the bottom on the left and right side (shorter side). Then slide your piece of cardstock into the punch. You will not be using the guide but going over top of it and down into the blade area. Looking at the backside of the punch, find your little 1″ mark and line that up with the edge of the punch and PUNCH! Do this on the other side as well. Then you will put it into your Stampin’ Trimmer and cut the tabs above and below your punch. Score one of the tabs so that it will fold in and then score your card from that same scored tab side in (to the left) 4-1/4″. This will then make your card standard side and all folded and ready to decorate!!!!

Tag Topper Punch Closure Tutorial, www.LaurasStampPad.com

I hope this helps a little better! I am more of a visual person so I know it helps me!!! 🙂 I  hope you enjoyed this Tutorial and try it out! I would love to hear what you think and see some of you projects using this technique! Post in the comments below!

Tag Topper Punch Closes Card, www.LaurasStampPad.com

Had to post one more!!! Here is the card opened up!!!! Don’t forget about my Anniversary Special that I’m running! Check it out here! It ends on Friday!!!!

Happy Stampin’

~Laura


Congratulations Graduate!!!!

Posted on

Graduation is around the corner so I thought I would share my favorite Graduation Card! This is an occasion that can happen in December, May or anytime of the year. You may know of 5 graduates one year and only 1 the next. So because of this, I don’t tend to purchase graduation specific stamp sets, but I do LOVE all occasion stamp sets like Teeny Tiny Wishes (greatest stamp set ever)!!! I think played around with my punches and some cardstock and came up with this AMAZING card!!!!

Graduation Cards, www.LaurasStampPad.com

I love this card so much because it can easily be customized to each recipient. I really enjoy giving a card when I know it fits that person so perfectly. I have done these graduation cards in school colors, degree colors, and so much more! I LOVE IT!!!

Cardstock Dimensions:

Card Base (whisper white) – 4-1/4″ x 11″
Layered Color – 4″ x 5-1/4″
Hat: 1-1/2″ Square
Largest Triangle for Neckline (whisper white) – 2-1/4″ Square cut diagonally
Color Triangle – 2″ Square cut diagonally
Smallest Triangle (whisper white) – 1-3/4″ Square cut diagonally and then cut a “V” out of the center to show the color through

I brushed the edges of the hat with my sponge daubers (HEART) in the same color as the cardstock to give it that darker edge look and make it POP from the gown since it is all the same color! I also adhered it with Stampin’ Dimensionals!  For the tassel, I used Whisper White Bakers Twine and just wrapped it around the square hat four times, then cut the twine on both the top and bottom on your square. This gives you eight little pieces of twine. Then take a longer piece of twine and tie the little pieces together in the center. Trim one of the tails to be the same as your little pieces and leave the other one longer to poke through the hole of your hat using your Paper Piercing Tool. Then add a Silver Brad over the time and you are all done!

Nurses Graduation Card, www.LaurasStampPad.com

Sorry for the horrible lighting in this picture but I snapped it quickly before sealing the envelope and dropping it in the mail. This one I did for my Best Friend when she graduated in Nursing! Super Cute! I hope you try this out for some of the Grads that you know this May!!! If you have any questions or would like to share your fabulous Graduation card, leave a comment below! I would love to hear from you!!!

Happy Stampin’

~Laura


Stampin’ Up! Retiring List!!!

Posted on

Each year as Stampin’ Up prepares for the New Catalog, they come out with a list of stamps and accessories that are retiring in order to make room for NEW stuff! Each year I get really nervous before it comes out. Each year I get really say as I go through the list. Each year about 5 days later, I’m over it and SUPER EXCITED and what the NEW stuff is going to be! Is anyone else with me or am I’m the only one? 🙂 Here they are (in both excel for sorting and in PDF)

Retiring Accessories in PDF WITH SALE ITEMS!!!

Retiring Accessories in Excel

Retiring Stamps in Excel

Retiring Stamps in PDF WITH SALE ITEMS!!!

I know I know, don’t start crying! I have something to cheer you up!!!! The NEW Catalog comes out June 2nd!!! Woot Woot!

Happy Shopping’

~Laura


My 10 Year Anniversary with Stampin’ Up!!!!

Posted on

So I know I don’t usually post on weekends but this is not just any weekend…..it is my 10 Year Anniversary with Stampin’ Up weekend!!!! So I thought I would do a little post to celebrate on the actual day….although my Special runs all through this next week too! Check that out here! April 21st is the day Stampin’ Up is releasing the Retired List AND you will get FREE shipping on everything (excluding expedited orders) April 21-25!! I think Stampin’ Up is celebrating with me :)!!!

IMG_20140404_123831

So I thought I would do a little About Me post to celebrate my Anniversary! I don’t take a lot of pictures that are just me so I thought I would share this amazing photo of my sweetie and I before heading out for our weekend to Spring Into Stampin’! Here are a few common questions that I have answered! If you have any others, put them in the comments below!

1. What is your middle name?: Jane (even though I use to tell everyone it was Belle)
2. What is your favorite drink?: WATER and my daily Coke Zero (I love the bubbles!)
3. What is your favorite song at the moment?: Hmmm, just one? I’m not sure but I love my 80’s Station on Pandora!!!
4. What is your favorite food?: Macaroni and Cheese (love forever) but recently we started making calzones and I think I could have those daily!
5. What is the last thing you bought?: Groceries & workout shoes!!!!
6. Favorite book of all time?: Any Janet Evanovich Book!
7. Favorite Color?: haha…let’s all say it together….PINK
8. Do you have any pets?: No
9. Favorite Perfume?: I don’t wear any!
10. Favorite Holiday?: EASTER and then Thanksgiving!
11. Are you married?: YES! To the amazing guy in the picture above!
12. Have you ever been out of the country, if so how many times?: No!
13. Do you speak any other language?: I know very little Spanish!
14. How many siblings do you have?: One Brother and One Sister! I’m the baby!
15. What is your favorite store?: hmmmm Amazon? Aldi…does that count?
16. Favorite restaurant?: Red Robin and Ruby Tuesday’s
17. When was the last time you cried?: The other day while watching a video on one of my many blogs I follow. It was the birth of their baby boy! Precious!
18. Favorite Blog?: Mine! J
19. Favorite Movie?: Any chick flick, wedding movie, and Despicable Me 2
20. Favorite TV show?: FRIENDS! Current: New Girl, Big Bang Theory, Growing Up Fisher, and About a Boy
21. PC or Mac?: PC
22. What phone do you have?: Samsung? It’s in a Pink Case! I don’t know.
23. How tall are you?: 5 feet? Maybe! I’m really short!
24. Can you cook?: YES! I love to cook and bake!

 I hope you enjoyed learning a little bit about me and celebrating my Anniversary with me! I can’t wait for the next 10 years of meeting new people, making friends, traveling, having fun, and living the dream!!!

Happy Stampin’

~Laura


Fabulous Friday!!!!

Posted on

Happy Friday!!!! I am so excited about this weekend as we will be spending lots of time with family and I’m hoping the weather is just amazing too!!!! Before you check out for the weekend, check out these amazing deals and don’t forget about my Anniversary Special!!!

WeeklyDeals_Apr15_US

Okay so I know this might be crazy but I think my favorite item on sale this week is…..the Anywhere Glue Sticks! I love using them! They are simple to use and amazing glue sticks that hold well. Next is a toss up between the Needlepoint Embossing Folders and the Stitched Grosgrain Ribbon! I mean who doesn’t need more ribbon (or want more?)?? Check out this fabulous sample which uses the embossing folder for just a little accent along my amazing embossed foil pieces!!! Now the next item I am super excited about, I don’t actually own…YET! That is the Floral District Photobook Template. You all know I love flowers and bright colors and I’m doing my yearly album in MDS (My Digital Studio) so it is a must!!!! You can check out a few of my 2013 pages here and here! Don’t forget you can try out MDS for 30 days for FREE!!! How fabulous is that???

Something more fabulous is……drum roll……..TOMORROW is my official 10 Year Anniversary with Stampin’ Up! Don’t forget about the fabulous Special that I have going on to celebrate! Lots of freebies!!! Check it out here!

Happy Stampin’ and have a fabulous weekend!

~Laura