Technique Tuesday – Double Slider Card!

Posted on

Happy Tuesday!!! That means I have a fabulous technique to share with you, right? RIGHT!!!! I love this card because the colors are so rich and bright and the WOW factor is like a 12 (scale 1-10)!!!! So let’s get started!!!

Double Slider Card, www.LaurasStampPad.com

Isn’t that just fabulous? I think so too so I’ll just stop there! What’s that? You want more? OF COURSE YOU DO!!!!

Supplies Needed: Cardstock, Scoring Tool (Stampin’ Trimmer Score Blade, Simply Score, Bone Folder), Stamp Set of your choice (Secret Garden), Ribbon, Brad, Word Window Punch, Circle or Oval Punch, Corner Rounder Punch, Plastic Bag or Cellophane Bag

  1. Starting with a 5-1/4” x 11 piece of cardstock, SCORE at 2-1/2”, 6-1/2” and 10-1/2”.
  2. Cut a slight notch (to help hide place bag) on each end of the 2-1/2” section using your Word Window Punch. Wrap a 1-1/2” x 10” strip of plastic bag around the two notches and seal together on the right side, trimming off extra. This is the sliding mechanism so it needs to be tight yet moveable.
  3. Cut two panel inserts 3-3/4” x 4”. It is best to decorate these before assembling them into your card. Attach first panel to place bad on the INSIDE (with 2-1/2” flap closed). Attach the second panel to the plastic (with 2-1/2” flap closed) ON THE TOP.
  4. Apply Sticky Strip along the ½” flap and tuck it in behind the moving pieces and seal the card closed.
  5. You can add a 5-1/2” x 4-1/4” base to the back of the card for writing and decorating on.
  6. Decorate the front panel!

Here is a Video Tutorial for you to watch and follow along! Be sure to LIKE the video and SUBSCRIBE to my Channel because that would be fabulous! Also, wanted to throw a shout out to my stamper friend Rachel Chamberlain for this amazing idea! She is amazing!

Happy Stampin’

~Laura


Spiral Flower Fun!!!!

Posted on

Spiral Flower Die, www.LaurasStampPad.com

How amazing is this treat bag? Don’t you just wish your mail came in something this cute every day? Or your dinner came all packaged up like this every day? That would just be fabulous! Okay back to reality….let’s make this treat bag and give it to someone that means the world to us and let them enjoy the fabulous treat!!!!

I used the Spiral Flower Die to make these amazing flowers! I used Raspberry Ripple for the solid one. I used Raspberry Ripple and Very Vanilla for the bi-colored one and I used Primrose Petal Core’Dinations (retiring) cardstock for the one on the right!

Now I am going to share some tips and tricks that I learned along the way:

Spiral Flower

  • You can cut 2-3 layers of cardstock at a time when running this through your Big Shot.
  • Run the die-cut image over your bone folder to break down the fibers of the cardstock. This will make it start to curl as well.
  • The middle of the flower is the smallest little scallop, not the bigger end. (That was a surprise to me, I totally thought start big and work your way down.
  • Fold the first (smallest) scallop back and then start rolling forward. This will create a nice flower center. You can see it in the Vanilla and Raspberry flowers below if you look closely in the middle.
  • Your hot glue gun and Silicone Mat will be your best friend for these!
  • When making a flower with 2 colors, just lay the 2 pieces together and start rolling! You can even do 2 of the same colors and roll them together for a nice full flower!
  • After you have rolled it all nice and tight, throw it in the air and let it bounce around a little to loosen up if you want a fuller, more open flower!
  • Add your hot glue glob to the last circle/scallop and press your flower rolls into that glob and hold for 10 seconds. You can then add some hot glue to the 2nd scallop to adhere it to the side of your flower if you want a tight look.
  • Once you are finished and it is dried/cooled, take a clear block and press it on the top of your flower (too much pressing can result in a ripped/smoothed flower). This will flatten the petals out a little and make your flower look more open. You can also use your bone folder to fold the petals out a little too!

Spiral Flower Die, www.LaurasStampPad.com

I hope these tips helped you create fabulous Spiral Flowers! If you have any questions or have some tips to share, leave a comment down below. I would love to hear from you!!! Also, don’t throw away the negative of your spiral flower. I will show you how to use that in an upcoming Technique Tuesday!!! 😉

Happy Stampin’ & Happy Memorial Day!

~Laura


Fabulous Friday!!!

Posted on

Happy Friday!!! There is are so many fabulous SPECIALS!!!!! You have to check these out! First of all…the Weekly Deals! Stock up on RIBBON!

Weekly Deals 5.22

Ribbon is for sure my go-to embellishment! I loving all of the ways you can use it:

  • Tying it around the card into a knot
  • Doing a faux tie (using 2 pieces laying down like a “t”, folding the ends of one piece to the back of your cardstock and tying a knot with the other ends)
  • Making bows!!!
  • Using it to wrap around boxes or stacks of cards
  • Adding to the top of a bookmark
  • And sooooo many more other ways

Another BIG SPECIAL going on right now is the Retired Stamps and Accessories Sale!!!! Some of the items are 25%, 30%, 40% and even 50% off which is just fabulous! Remember these items are while supplies last so if you see something you want/need (after all it is a NEED) 😉 be sure to get them right away!!!! You can check out which items are on sale by clicking the links below:

Retiring Stamps in PDF WITH SALE ITEMS!!!

Retiring Accessories in PDF WITH SALE ITEMS!!!

What: 50% off June’s My Paper Pumpkin Kit
When: Subscribe by Friday, May 23 – TODAY
Where: MyPaperPumpkin.com/signup  (Demonstrator #82500 – Laura Borchert)
How: Enter the promo code SHELLIDEAL

Trust me you will LOVE My Paper Pumkin! These kits are super fun!!!!

Label Love Stamp Set, www.LaurasStampPad.com

Of course, I couldn’t leave you without an adorable sample!!! Isn’t this super cute? It is also super simple! I used Smoky Slate for my card base, Kaleidoscope Designer Series Paper, and Strawberry Ruffled Ribbon. I used the Label Love Stamp Set and coordinating Artisan Label Punch for greeting! I sure have been reaching for that set a lot lately! Love it!

Hope you have a fabulous weekend! Stay safe and Happy Memorial Day!

Happy Stampin’

~Laura


Super Cool Stained Glass!!!

Posted on

Bermuda Bay Stained Glass Flower, www.LaurasStampPad.com

This is one is absolute favorite!!! I’m not sure if it is because of the Bermada Bay and Coastal Cabana colors or what! LOVE IT!!! I created this amazing flower with the Stained Glass Technique! It is super simple!

Supplies Needed: Vellum, Line Image Stamp Set (not an image that is filled in), VersaMark, Embossing Powder, Heat Tool, and markers

You will stamp your line image stamp onto the Vellum with VersaMark. Then add the embossing powder of your choice (don’t pick clear…..it doesn’t work) and heat it so that it melts! Now it is time to color! You will color the image on the BACK SIDE! Don’t color on the same side that is heat embossed, but the back of that! This will give that smoky, stained glass look! Then you can assemble onto your card! Easy as that!!!! The card above was done with Whisper White Embossing Powder and the Secret Garden Stamp Set!!!

Black Flower Stained Glass, www.LaurasStampPad.com

My second favorite…it’s PINK! This was one done with Black Embossing Powder and the Secret Garden Stamp Set! I love how the black really makes the flower POP! The one below uses the same and the Labels Collection Framelits!

Black Flower Stained Glass Card, www.LaurasStampPad.com

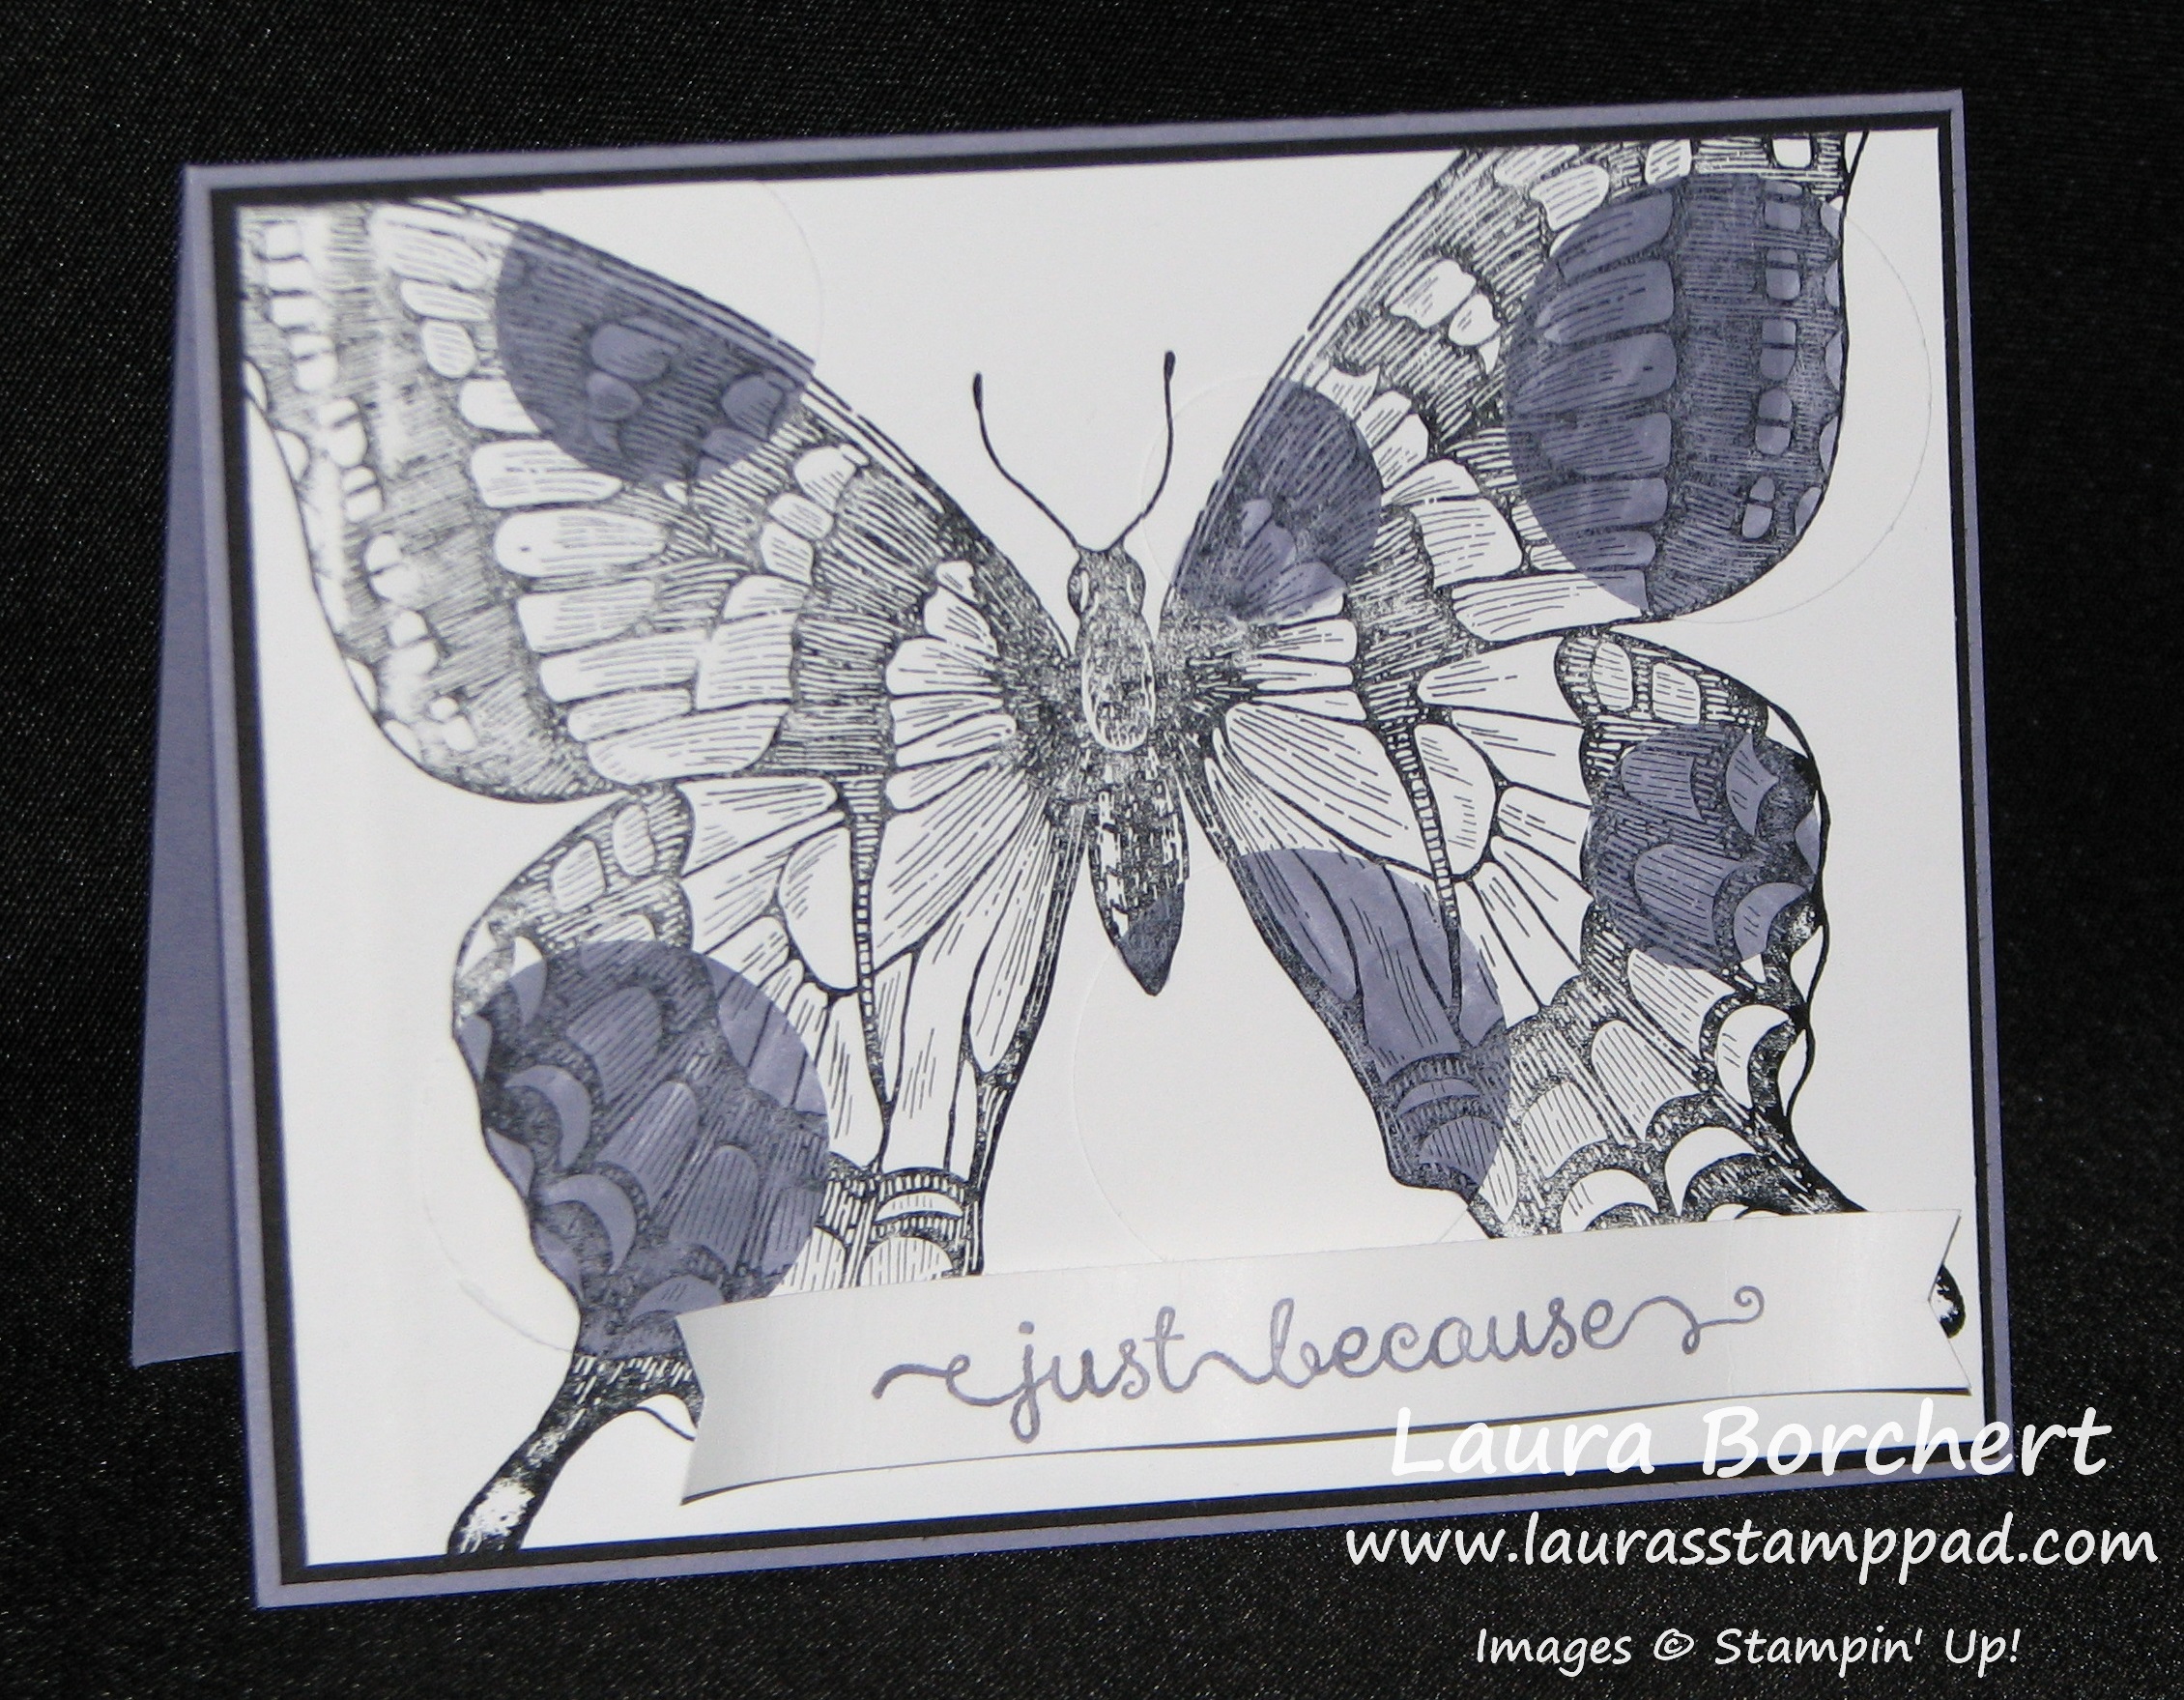
Swallowtail Stained Glass, www.LaurasStampPad.com

I thought this one turned out really cool but it is almost too detailed for this technique. As you can see the more of a line image you have, the better it comes out because it allows for the color to pop through. I used Silver Embossing Powder and my Swallowtail Stamp!

Clear Flower Stained Glass, www.LaurasStampPad.com

And the reason you don’t use clear…..it just looks like a blob! It you look real close and rotate it a bit, it does look kind of cool because you can see the shiny clear powder. Over all, clear was not the best!!!

Let me know in the comment below which one was your favorite!!!

Happy Stampin’

~Laura


More Wonderful One Sheet Wonder!!!!

Posted on

There was just too many amazing cards to make just one post about these amazing One Sheet Wonder cards so I am sharing more with you today!!!!

One Sheet Wonder Designer Series Paper, www.LaurasStampPad.com

The card on the right is the only one that I used the other side of the paper! I just LOVE those blue and green flowers and could hardly bare to cover them up even though the polka dots are fun too!!!

One Sheet Wonder Designer Series Paper, www.LaurasStampPad.com

I am loving the ripped paper look on these cards! See how they are all similar but just a bit different!!!

One Sheet Wonder Designer Series Paper, www.LaurasStampPad.com

It’s like a puzzle! I love how the image matches up and has just a bit of spacing between the pieces of Designer Series Paper!

One Sheet Wonder Designer Series Paper, www.LaurasStampPad.com

This card is so simple yet elegant – perfect for a Wedding, Bridal Shower or Engagement (I like how I went backwards with that one.) 🙂

I used Island Indigo, Gumball Green and Smoky Slate!!!! I used greetings from Label Love, Lots of Thanks, and Bring On The Cake (retiring)! Then I used my Artisan Label Punch and Decorative Label Punch!!! Click here to check out the Video Tutorial which has all the dimensions and information in it!!! Be sure to “LIKE” and “SUSCRIBE” to my videos to show some love!!!

You can check yesterday’s post for more samples!!!! You can also check out a One Sheet Wonder Stamped Sheet by clicking here and here!!!

Happy Stampin’

~Laura


Technique Tuesday – The Wonderful One Sheet Wonder!!!!

Posted on

Happy Tuesday!!!! You know what that means…..I am sharing a fabulous technique with you!!!! Every time I have had a One Sheet Wonder Class, everyone goes crazy for it!!!! I mean look at these fabulous cards!!!

One Sheet Wonder Designer Series Paper, www.LaurasStampPad.com

The reason it is called One Sheet Wonder is because you only use One Sheet!!! I used one sheet out of the Watercolor Wonder Designer Series Paper Pack (You can only get this for 12 more days, click here to order NOW!) I will be so sad when this paper is gone because I LOVE IT!!!! I created 12 cards with my One Sheet of Designer Series Paper but there are some leftover pieces so you could probably get about 14 or more out of the one sheet!

One Sheet Wonder Designer Series Paper, www.LaurasStampPad.com

After you cut your Designer Series Paper, pick one or more colors of solid cardstock for your card bases and start assembling!!! It is that easy!!! I used various greetings for all of my upcoming occasions!!!

One Sheet Wonder Designer Series Paper, www.LaurasStampPad.com

I used Island Indigo, Gumball Green and Smoky Slate!!!! I used greetings from Label Love, Lots of Thanks, and Bring On The Cake (retiring)! Then I used my Artisan Label Punch and Decorative Label Punch!!! For more on these cards and the dimensions, check out this Video Tutorial!!!

Be sure to check back tomorrow for more samples!!!! You can also check out a One Sheet Wonder Stamped Sheet by clicking here and here!!!

Happy Stampin’

~Laura


Bridal Showers!!!

Posted on

Wedding Season is in full bloom! That means there are lots of Wedding Showers taking place as well. Well if you are in charge of an upcoming Wedding (or Baby) Shower and need fabulous ideas or help with making them, I am here for you! I would love to help you with your crafty side and make amazing shower invites, favors, etc OR I am more than happy to make that perfect piece for you! Leave me a comment down below and we can get started! Now for those fabulous ideas…..

Bridal Shower, Rustic, Elegant, www.LaurasStampPad.com

These fabulous Bridal Shower invites were made for a friend of mine who is having a Rustic/Elegant Wedding theme! That seems to be another popular theme lately! I played around with a few samples before we landed on this one. The one above was created with the Daydream Medallion Stamp Set and matching Floral Frames Framelits!!! I love playing with this stamp set. I started with a piece of 8-1/2 x 11 Very Vanilla cardstock and just stamped all over in So Saffron and Crumb Cake (sometimes stamping a few times before returning to the ink pad for that variation of color). Then I took the stamped piece and cut it into pieces for multiple cards! This made making 40 invitations go much quicker than stamping each piece individually!

Bridal Shower, lace, Elegant, www.LaurasStampPad.com

This was another option that I created for my friend to pick from. I used the Daydream Medallion Stamp Set on the center piece of So Saffron and then I used the Delicate Details Lace Trim (which is retiring on June 1, get it before it’s gone)! Another fabulous Shower invitation!!!

I hope these samples gave you inspiration and if you are in charge of a Shower or another special event and you just aren’t feeling crafty, I am more than happy to help you out!!! Also, be on the lookout for more Shower Invites because I am working on some right now for my cousin who is getting married this summer! Love it!!! 🙂

Happy Stampin’

~Laura


Fabulous Friday!!!

Posted on

Happy Friday!!!! I am sooo excited for the weekend….mostly because its been cloudy and rainy all week and starting today the sun is out and the temps are going up. I’m writing this with a blanket on me on the couch and it’s 64 degrees in the house….see why I want it to warm up! Speaking of warming up….check out these HOT Weekly Deals!!!

Weekly Deals 5.16

My #1 favorite thing this week…..Corner Punch! I love this punch! I get on kicks where I want everything rounded and then I feel like too much is rounded and I need a break! Lately, I’ve been rounding!!!!! You can check out the tag in this post to match the Tag Topper top, I rounded the bottom corners! Then in this post I used it for a bookmark and a card!!!

And now to warm your hearts (see how I’m all about getting warm) check out this fabulous card!!!!

Gold Vellum, Sequin Trim, www.laurasstamppad.com

 This card was created with the Fancy Foil Specialty Vellum in Gold! I used some of my Gold Sequin Trim and the Perfect Pennants Stamp Set for the greeting and dots. For the dots, I stamped three times without re-inking….that is how I got that faded look! Super fun and cute!!!!

Also, be sure to check out my Video Tutorials and let me know in the comments below if there is something you would like to see my create!!!!

Have a fabulous weekend and Happy Stampin’

~Laura


Tags and Bags!!!!

Posted on

There are so many times that you need a fabulous treat bag – school treats, teacher gifts, neighbor gifts, goodies for the Holidays, party favors, and gatherings!!! It is a must that it looks super cute, right? YES! And that it is super simple? YES! I’m here to save the day for all of your upcoming occasions or treat bag needs!!!

Watercolor Wonder Washi Tape Bag & Tag, www.LaurasStampPad.com

Boom…Problem Solved!!! How amazing is this treat bag!?!?!

All you need are some 4″ x 6″ Cellophane Bags, Washi Tape (I used Watercolor Wonder Washi Tape) and a tag! The Washi Tape on the bag is super simple because it tears so you don’t even need scissors and I just overlap mine on the back side! For the tag, I used my Chalk Talk Framelits, a strip of Washi Tape, and stamped Sweet Treats from the Teeny Tiny Wishes Stamp Set! I love how the Chalk Talk Tag is notched so you don’t need to attach it with ribbon but just notch it around the top of the bag!!! To close the bag, I used my Gold Baker’s Twine and then took a needle to the ends to fray it and make it look fuller!

Tag Topper Treat Bag, www.LaurasStampPad.com

Here is another fabulous treat bag! This one is decorated with an adorable tag using the Scallop Tag Topper Punch! I then decorated the tag with my Papillion Potpourri Stamp Set and greeting from my Perfect Pennants Stamp Set! I closed this bag with some Whisper White Baker’s Twine in a double knot. Then I added the tag with the ends of the Baker’s Twine in a loop! These fabulous treat bags were made for a Mother/Daughter Banquet! See….cute treat bags are needed everywhere!!!

Here is a video showing how to make these fabulous treat bags! Be sure to “Like” and “Subscribe” to the video because that would be fabulous!!! Also, leave a comment down below and let me know what you would like to see next!!!

Happy Stampin’

~Laura


Going for Gold!!!

Posted on

Gold Vellum, Washi, Twine & More, www.LaurasStampPad.com

How many different Gold items can you put on a card??? I think this fabulous card answers that question!!!! I used the Gold Fancy Foil Designer Vellum! I have found that the best way to adhere vellum to your project is to put Mini Glue Dots or Snail Adhesive behind the gold dots or behind the greeting tag. If you put adhesive on the vellum, you can see it show through to the front! Then I used my Watercolor Wonder Washi Tape on Brushed Gold Cardstock! I love Brushed Gold because it gives a subtle shimmer that is amazing! I used my Scallop Tag Topper Punch on the Brushed Gold and used Gold Baker’s Twine to tie to the two tags together (could I use another “T” word in that sentence 🙂 ) Then I used my Banner Framelits for my greeting tag and stamped an image from Perfect Pennants with GOLD ink! What other ink would I use on this Gold Card? I really love that saying too! It just means so much! It’s perfect! Here is another photo of this card so you can really see some of the shimmer!

Gold Vellum, Washi, Twine & More, www.LaurasStampPad.com

You can really see it shine! I hope you like this card and try it some of the gold products! I hear gold is IN! You can check out some other samples here and here!!!

Happy Stampin’

~Laura