Christmas Bauble!!!

Posted on

Christmas Bauble, www.LaurasStampPad.com

This Christmas Bauble Stamp is so simple and yet so much fun! It is a single stamp and really that is all you need! How fabulous is this card? I stamped the bauble on Whisper White cardstock in VersaMark and then poured Silver Embossing Powder over it. Heated it with my heat tool and then let the magic begin! I played with my Cherry Cobbler Blendabilities a little and then was sad that I didn’t have the Old Olive set as well. No worries, I got out my markers. I will saw that the Blendabilities were more fun and you can’t see the stroke lines like you can with markers! Either way though, this card is fabulous! After coloring it, I cut it out with my Labels Collection Framelits and my Big Shot, added some Stampin’ Dimensionals and popped it on my card! My card base is Crumb Cake and the center strip is Cherry Cobbler ran through the Big Shot with the Perfect Polka Dot Embossing Folder!

Christmas Bauble, www.LaurasStampPad.com

Here is another one using my Lost Lagoon Marker and I left out the Cherry Cobbler strip. I just played around with it to see what I liked the best. I prefer the top one! What about you?

If you love to color, this is so much fun and you NEED the Blendabilities Markers! 🙂

Happy Stampin’

~Laura


Pine Tree Perfection!!!

Posted on

Pine Tree Festival of Trees, www.LaurasStampPad.com

I am loving this card…..is it the Trees? Mossy Meadow? Lucky Stars Embossing Folder? Satin Stitched Ribbon? I’m not sure which one item it is or if it is just a combination of all of them! It just look so perfect and like a real tree line!

I started with a card base of Mossy Meadow. Then I took a piece of Whisper White (4″ x 5-1/4″) and ran it through the Big Shot with the Lucky Stars Embossing Folder! I really love that one! I wrapped some Mossy Meadow Satin Stitched Ribbon around the bottom portion and then adhered it to the card front. Then with some scrap white cardstock, I stamped the trees from the Festival of Trees Stamp Set in Mossy Meadow! I used the coordinating Tree Punch (Bundle & Save) to punch them out and I added them to the card with Stampin’ Dimensionals! The greeting is from the Festival of Trees Stamp Set as well and I brushed the edges with my Sponge Daubers! For the ends, I slide the piece of paper into my Curly Label Punch to only punch one side at a time! Of course do that before sponging the edges! I hope you enjoy this card as much as I do!

Happy Stampin’

~Laura


Technique Tuesday – Silver Foil Wreath!

Posted on

Happy Tuesday!!!! That means I have a fabulous technique to share with you today and this one is amazing!!!! It uses lots of my favorite items – embossing folders, bling (Silver Foil), and ribbon!

Silver Foil Wreath, www.LaurasStampPad.com

Isn’t the Silver Foil just amazing? The best part is there is no Silver Foil waste because you cut out the wreath from the layering piece of foil! I love using up all scraps and pieces!

SUPPLIES NEEDED:  Silver Foil (or Gold Foil), Wonderful Wreath Framelits, Embossing Folder, Big Shot, Cardstock, Stamps, and Ribbon

You will start with a piece of Silver Foil measuring 3-3/4″ x 3-3/4″! Lay the wreath framelits in the center and run it through the Big Shot. Be sure that it is in the center because you will be using the leftovers to layer on your card! Now that you have your wreath cut out, you will place it in the Embossing Folder of your choice. I used the Perfect Polka Dot Embossing Folder in the one above and Stylish Stripes in the one below!

Embossed Silver Foil, www.LaurasStampPad.com

Now you can start to assemble. Add some Snail Adhesive to the corners of a piece of cardstock measuring 3-1/2″ x 3-1/2″. For the one at the top, I used Night of Navy and for the one just above I used Lost Lagoon! Then you will adhere that to your Silver Foil that you used to cut the wreath out of. Add some Stampin’ Dimensionals to the back corners of the Silver Foil and attach to the top portion of your card base. Then you will add Stampin’ Dimensionals to the Wreath and attach that to the center of your square. Now you can pick the ribbon of your choice to add to the top of your wreath. For the card at the top, I used Whisper White Organza Ribbon and for the card just above I used Lost Lagoon Silky Taffeta Ribbon! On the bottom you can put the greeting of your choice. For one card at the top, I used Christmas Bliss Stamp Set and Modern Label Punch. For the card just above, I used the Watercolor Winter Too Stamp Set! The card pictured below uses the Bloom with Hope Hostess Stamp Set because I wanted a Birthday greeting that was scrolly and elegant like the card! I am loving this card idea and can’t wait to make more!

Birthday Foil Wreath, www.LaurasStampPad.com

To watch this card be made, check out the Video Tutorial below!!!! Don’t forget to give it a Thumbs Up if you liked it and be sure to subscribe so you don’t miss next week’s video on how to use the center of the wreath to make the little star!

Let me know which color was your favorite in the comments below – Night of Navy or Lost Lagoon?

Happy Stampin’

~Laura

The Newborn King!!!

Posted on

Manger Newborn King, www.LaurasStampPad.com

This stamp set- The Newborn King is just fabulous….especially if you like to color! 😉 I played with my Blendabilities and this stamp set one afternoon and created these fabulous creations!

NewBorn King Blendabilities, www.LaurasStampPad.com

It was so much fun but took lots of patience and you know me…..easily distracted and ready to move on! It was super fun and turned out amazing but we all know that making 200 Christmas Cards with this scene colored all over is just not on my To-Do List! So I came up with the card above! I started with a Night of Navy card base, cut 2 pieces of Whisper White measuring 4″ x 5-1/4″ and brushed all of the edges with my Night of Navy Sponge Dauber. LOVE! I then stamped the manger scene in Night of Navy (toward the top). Of course what is a Laura Creation without some bling so I added a little strip of Silver Glimmer Paper to the bottom portion. I put the manger scene on the card front and put the other one on the inside. Also, I stamped the star in the top left corner on the inside Whisper White piece and added the greeting! Perfect! I think the hardest part of this card was the Sponge Dauber portion….and that’s not hard, it’s FUN! 🙂

I hope you enjoyed this card and be sure to tell me about your Christmas Cards or current project you are working on! I would love to hear about it so leave me a comment down below!

Happy Stampin’

~Laura


Punch Art – Kirby!!!

Posted on

Happy Friday!!!! If you have been following my blog for awhile now, you know that my husband and I make each other cards for Birthdays and Valentine’s Day. After the first time, my husband said, “So it’s on?” Ever since we try to come up with new and fun cards!!! You can check out the past ones here, here and here! Brad’s birthday was on Wednesday and here is what I came up with!

Kirby Punch Art, www.LaurasStampPad.com

It’s Kirby!!!! Isn’t he cute? My husband likes to play video games and I think Kirby is just adorable. I created him with a few punches and lots of love! 🙂 Especially since I was all done and I stamped the greeting on the top with a very large clear block (you know where I’m going here) and I got ink on the clear block and also on Kirby’s cheek. I wanted to cry. I texted my husband that I messed it up and he said I’ll love it anyway. Awwww So then I redid it!!!

Kirby mistake

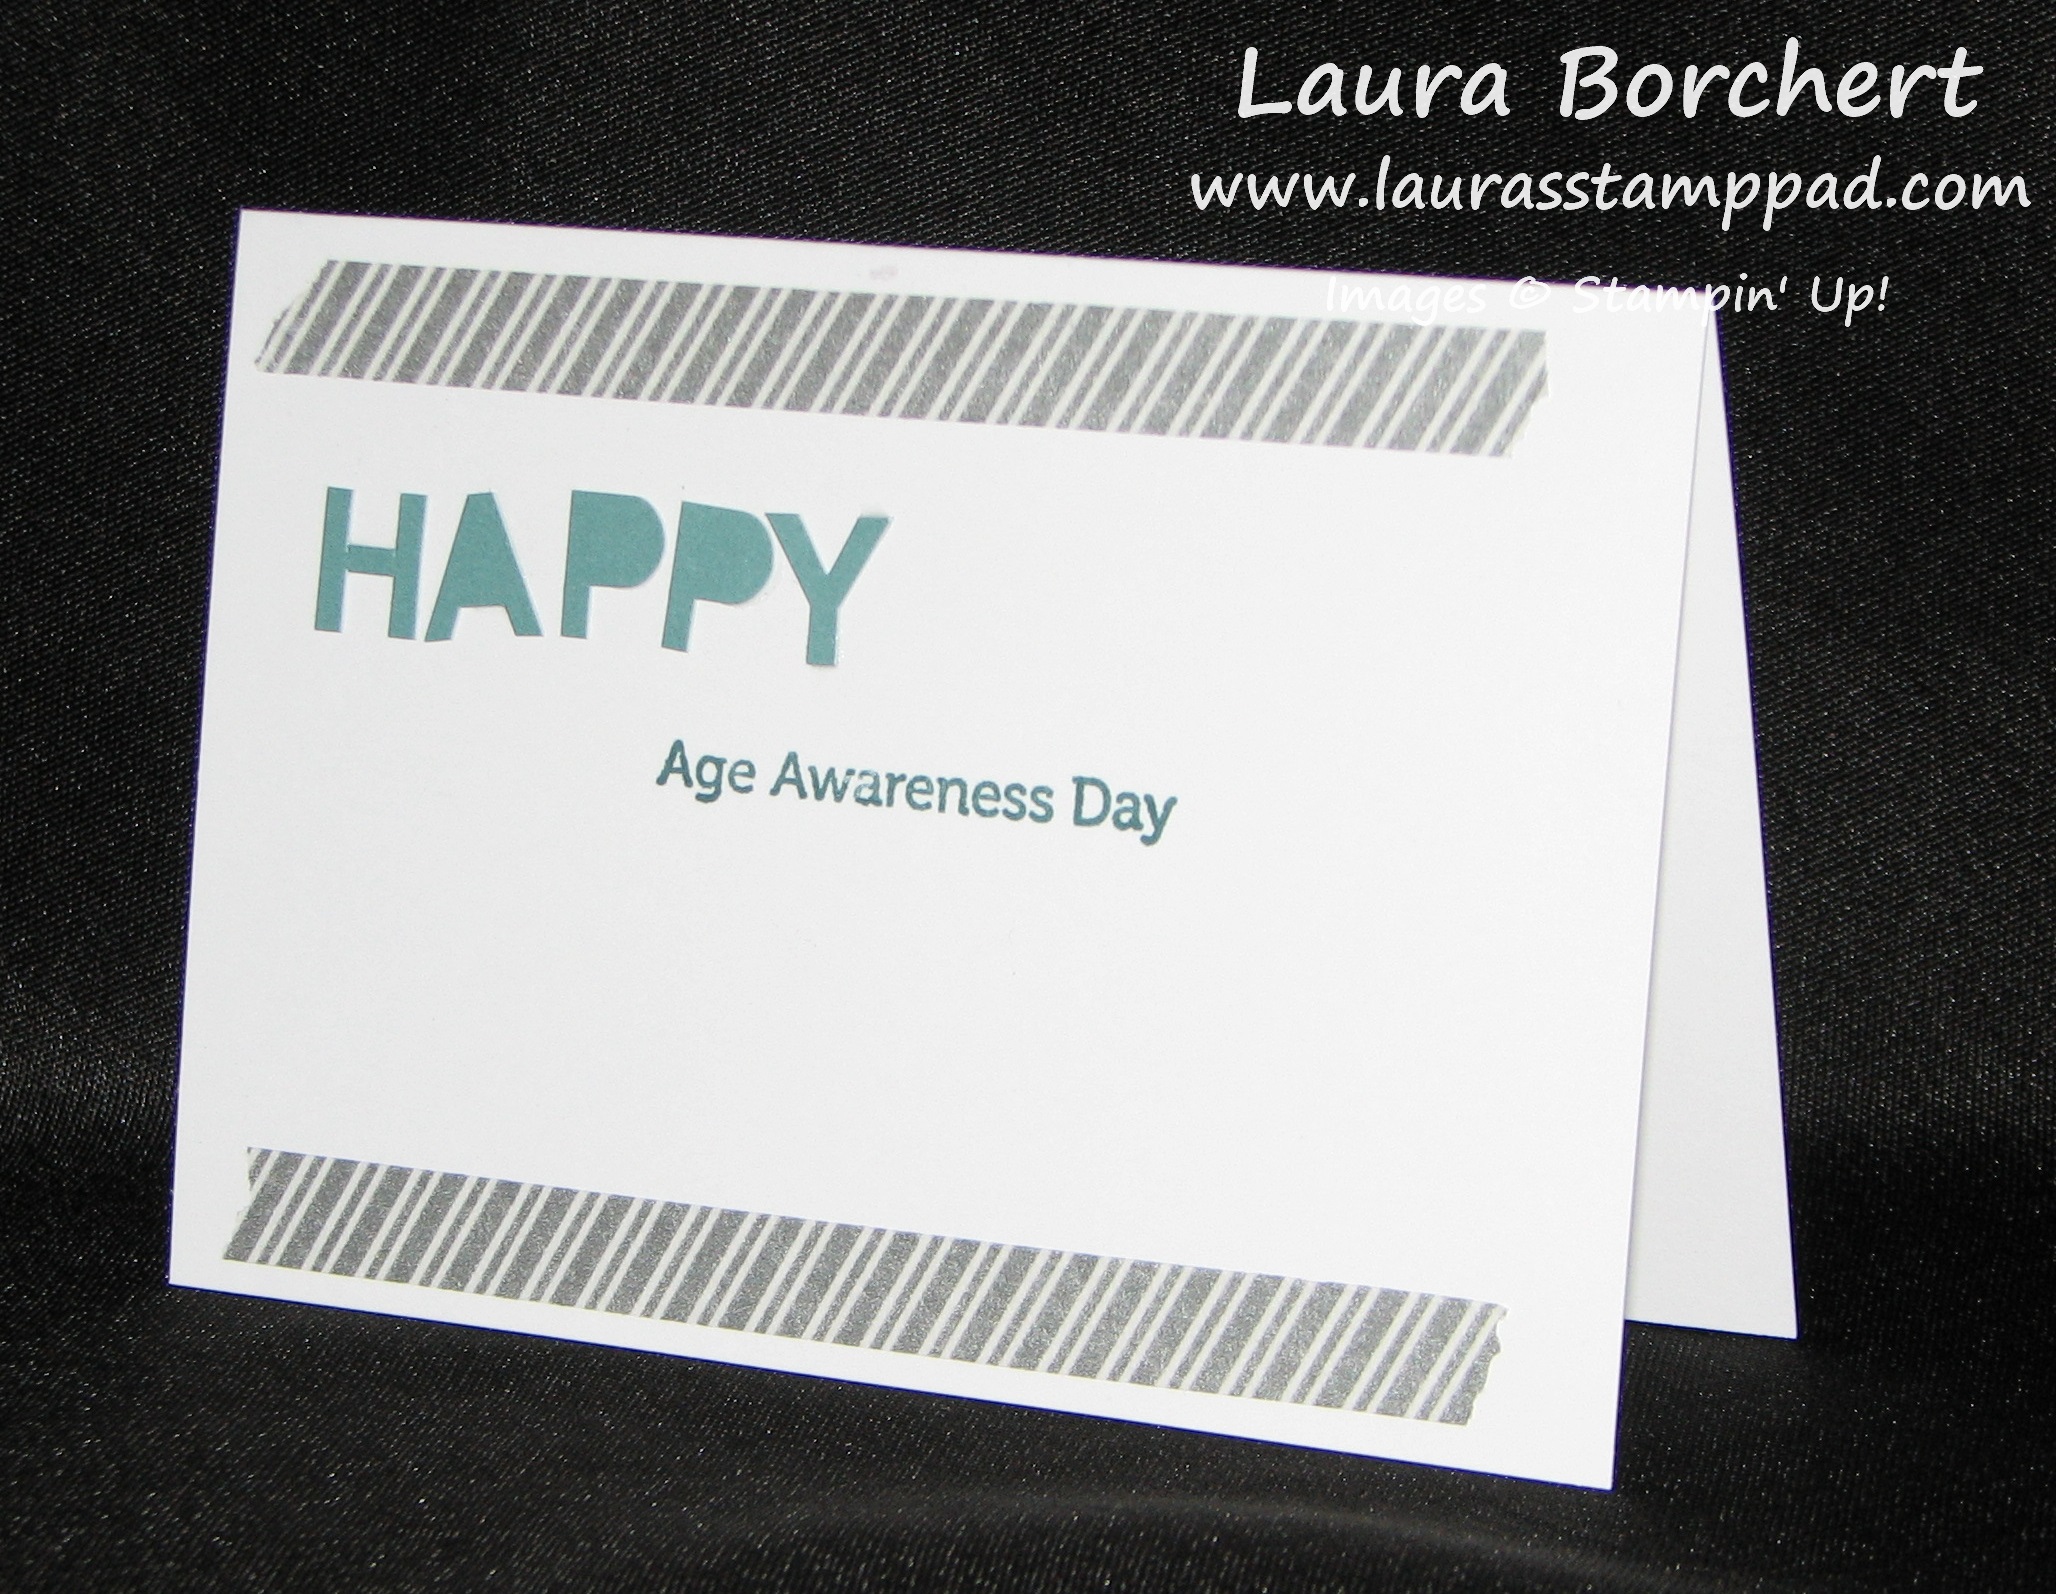
I used a 3″ Circle from the Circle Framelits in Pink Pirouette for the body. The eyes use the Small Oval Punch in Basic Black with another punched in Pacific Point and trimmed down with scissors. The white circles were punched out from the Owl Builder Punch! I used my Basic Black Marker for the smile and my Melon Mambo Sponge Dauber for the cheeks! I punched out 2 Extra Large Ovals in Pink Pirouette for the arms and one in Melon Mambo for the front foot. For the back foot, I punched out a 1-1/4″ Circle in Melon Mambo. I brushed the edges of the Melon Mambo feet with my Sponge Dauber for that darker edge look! Believe it or not, I didn’t use Stampin’ Dimensionals! I used the Strawberry Slush Thick Baker’s Twine for the lasso! The greeting is from the Age Awareness Stamp Set and I did that in Pacific Point! I hope you enjoyed this little Punch Art Tutorial! Let me know if you try it out! Also, if you have any ideas for other video game punch art, leave me a comment down below!!!! I need to start thinking of my Valentine’s Day card! 😉

Weekly Deals 12.2

Of course what is a Friday without the Weekly Deals!!!! I hope you have an amazing weekend! It is our Annual Christmas Cookies in Carrollton day tomorrow! My favorite Holiday event by far!!!! Have a wonderful weekend!

Happy Stampin’

~Laura


Lovely As A Tree!!!

Posted on

Lovely As A Tree, www.LaurasStampPad.com

This card has been the favorite in all of my Christmas Card Classes this year! The funny this is……it is not even a Christmas Stamp Set – it’s Lovely As A Tree!!! While I am not a fan of the color brown, I do really like this card and that POP of color with the Cherry Cobbler Seam Binding!

For the card base, I used a piece of Soft Suede measuring 4-1/4″ x 11 and I ran that through the Big Shot with the Decorative Dots Embossing Folder. TIP: You will want to fold your cardstock in half first so that you know where your crease is and won’t put the card in too deep on the folder! If so, you will end up with a few dots on the back of your card. Then you will take a piece of 2-1/2″ x 5-1/2″ Very Vanilla cardstock and stamp the tree towards the top and the greeting towards the bottom; leaving space in between for your ribbon. The tree is from the Lovely As A Tree Stamp Set and the greeting is from the October Promotional Set – Good Greetings. You can always use the Teeny Tiny Wishes Stamp Set or any other favorite greeting of yours. Now you will adhere this to a piece of Crumb Cake measuring 2-3/4″ x 5-1/2″. Once those two pieces are together, you will tie your Cherry Cobbler Seam Binding around them both. I just did a knot but you could always do a bow if you wish. Now you will place this piece onto your card front with Stampin’ Dimensionals! DONE! This is a fairly simple card so you can crank out many of them in a little amount of time!

I hope you enjoyed this sample! Let me know your favorite Holiday Card that uses a non-holiday Stamp Set in the comments below!

Happy Stampin’

~Laura


Happy Birthday to my Husband, Brad!!!!

Posted on

Brad & The Cake

Today is my husband’s birthday and so that means I will be doing a little About Me on him! 🙂 The photo above is from last month on one of our date nights to the Fox in St. Louis! These are the wonderful pictures I get from him!!! 🙂 I asked him the following questions and here are his answers! Enjoy!!!!

Do you like blue cheese?  No
What flavor do you add to your drink at Sonic?  Cherry
Do you get nervous before doctor appointments?   Yes
Do you like hot-dogs?   Eh, they are okay!
Favorite Christmas Song?  Church Song – Silent Night, Holiday Song – Sleigh Ride
What do you prefer to drink in the morning?   Milk for breakfast and Energy Drink after
Can you do push-ups?   Uh, a few!
What’s your favorite meal?  Dinner
Middle name?   Adam
Name 3 drinks you regularly drink.    Coke Zero, Dr. Pepper 10, Water
What is your most recurring dream?   Elevator Falling
Can you whistle?   Yes
Would you be a pirate?  Yes!
Who is your loudest friend?   My wife, Laura (that’s me)
Worst injury you’ve ever had?   Almost cut off toe
Do you own slippers?   Oh yeah….who doesn’t own slippers?
What is your favorite candy?   Anything chocolate
What were you doing at 12 AM last night?   Playing Super Smash Bros.

Brad & I

Here is another fabulous photo of the 2 of us on our Annual Family Vacation this past August! If you want to see last year’s, click here! Feel free to leave Birthday Wishes to the Birthday Boy in the comments below and I will pass them along!

Have a fabulous day!!! Happy Stampin’

~Laura


Technique Tuesday – Gift Card Holders

Posted on

Happy Tuesday!!!! December is officially here and that means the holidays are right around the corner! Today I’m sharing the technique of making adorable gift card holders!!!! This is another fabulous part of my Gift Packaging Series! You can check out other here, here, and here!

Gift Card Holders, www.LaurasStampPad.com

Aren’t these adorable?? Well they are quick and simple to make too and really spruce up the Gift Card!

SUPPLIES NEEDED: Cardstock, Sticky Strip, Score Blade, Corner Rounder Punch,  Designer Series Paper, Velcro and Stamps & Punches to decorate

Cut a piece of cardstock to 3 ½” x 8 ½” (you can make 3 gift cards holder from 1 piece of 8 1/2” x 11 cardstock)! Now score the cardstock along the 8-1/2″ side at 2 ½” from one end and 2” from the other end. Then cut 3 pieces of Designer Series Paper into the following: 3 ¼” x 1 ¾”, 3 ¼” x 2 ¼”, 3 ¼” x 3 ¾”. Fold on your score lines and you will place Sticky Strip along the edges of the 2-1/2″ side and adhere. This creates the bottom pocket! For the top flap, using your Corner Rounder Punch to round the two corners giving that soft look on the flap. You will want to round the corners on the smallest piece of Designer Series Paper too! Once you have done that, adhere that piece to the flap, the large Designer Series Paper piece to the back, and the medium piece to the pocket portion. Now take a little piece of velcro and place it on the top, middle of the pocket and close the flap to allow the top portion of the velcro to adhere to the flap. You can decorate the gift card holder as you wish! I like using my Label Love Stamp Set and matching Artisan Label Punch! The Designer Series Paper used in the photo above is the Trim the Tree Designer Series Paper Stack!!!! These are great for any occasion! If you would like to see this in action, check out the Video Tutorial below!!!! Don’t forget to give it a thumbs up if you like it!!!!

I hope you enjoyed this technique and try it out! Leave me a comment down below on which Designer Series Paper you like to use on your Gift Card Holders!

Happy Stampin’

~Laura


Keep Calm and Washi Tape!!!

Posted on

CAS Washi Tape Holiday, www.LaurasStampPad.com

Looking for a quick and simple Christmas Card? Didn’t get Christmas Cards out in time but would still like to send a little Winter note to your friends and family? This is the perfect one for you! All you need is a package of Note Cards & Envelopes, a package of All is Calm Washi Tape, some Rhinestones if you enjoy bling like me, and a greeting stamp set! The All is Calm Designer Washi Tape comes with 5 different styles for you to use!

All is Calm Washi, www.LaurasStampPad.com

I am loving this set of Washi Tape for lots of my projects! This simple card is just one of them! I added 3 strips of the Washi Tape and just ripped it off for that torn look (even better no scissors necessary)! I stamped the greeting from the October Promotional Stamp Set – Good Greetings in Pear Pizzazz! You can always use a greeting from Teeny Tiny Wishes or any other favorite greeting that you have! I thought it needed just a little something more so I added some bling – a Rhinestone! You can even add a little Washi Tape to the envelope as well or use it to seal the back! No licking necessary! 🙂 Be sure to order this before the Holiday Mini Catalog is over on January 5th! Also, the All is Calm Washi Tape would go great for your Holiday/Winter Scrapbooking as well so be sure to pick up another pack for that!

Happy Stampin’

~Laura


December 1 Door Busters!!!!

Posted on

The Online Extravaganza end tomorrow!!!!! Today only there are a few Doorbusters that you don’t want to miss!!!

Project Life Bundle

This Project Life Bundle includes all of the following for 30% off – $66.75

Black Leather 12″ x 12″ Project Life Album (135292)
Design 1 12″ x 12″ Project Life Photo Pocket Pages (135295)
Seasonal Snapshot Project Life Card Collection (135830)
Seasonal Snapshot Project Life Accessory Pack (135832)
Project Life Holiday Cheer Photopolymer Stamp Set (135188)

boxes

This Box Bundle is perfect for gift giving this time of year!!!! You save 30%! This bundle (retail value $17.85) includes these amazing products:

* Tiny Treat Boxes
* Decorative Window Gift Boxes
* Takeout Boxes

For the complete list of the items that are on sale during this Extravaganza, click here -> Online Extravaganza!!!! The sale ends Tuesday night!!!!

Happy Shopping!!!

~Laura