I know that the Holidays can be hectic and expensive when you are running around from party to party, buying gifts for lots of people, and traveling around! Well I have created and quick and affordable card for you to create anywhere, anytime and it won’t break the bank! I used Note Cards and Envelopes which come 20 to a pack and they are pre-scored and ready to go! I used the Season of Cheer Washi Tape from the Holiday Mini Catalog! You don’t even need scissors for this – just rip it with your fingers. I actually did use scissors on the left hand side but you could rip it and wrap it to the backside! There are 5 styles of Washi Tape and 5 yards of on each roll! That is a lot of Washi Tape and gives you many different looks when you mix and match! You can use any greeting that you have on hand to stamp on the card. I used Pear Pizzazz Ink and the greeting is from the Wondrous Wreath Stamp Set! You could create this card while traveling or in between putting cookies in the oven! Love it!
If you would like to see this in action and see how quick it took me to create it…..1 minute 45 seconds! Check out the video below or click here!!! Don’t forget to give it a thumbs up if you liked it!
This month’s Paper Pumpkin was soooo exciting!!! Not only was the box PINK but it was in support of Breast Cancer Awareness! Stampin’ Up donated $36,378 to the Breast Cancer Research Foundation! Thank you to everyone who got the October Kit!!! Also, the stamp set is flowers and you know how I love flowers!!!
You can see the reveal of this kit in this video! The colors and flowers are so much fun and I didn’t even get to color them in! I will be playing with this stamp set a lot!!!
Here are all 9 of the cards that the kit creates! I really loved the colors and was super impressed how the dark outline really made the flower and leaves POP! Check this out!
The Designer Paper looks amazing as is but then when you stamp the outline of the leaves and flowers using the Basic Gray Ink, wowza, they look amazing! I love it!!! Of course there is always tons of extras left in the kit so I created these cards!
I used Note Cards & Envelopes to create these cards! Cute and simple and a great way to use up the items! I still have the twine and some gold leaves left! There is also like a half a sheet of Stampin’ Dimensionals left! WOOT WOOT!
You can check out some of the past Paper Pumpkin Kit here! Be sure to sign up before November 10th to get the November Kit! I can’t wait to see what it is….I’m guessing it will be Holiday or Winter themed but we shall see! Click here to get signed up!
Would you like to check a few people off your Christmas List? Paper Pumpkin is a wonderful option for those who are crafty and/or would like to spend some quality time with someone each month whether it be your daughter, mother, grandmother, aunt or friend! You can purchase a 1,3,6 or 12 month Subscription! It fits every budget! Click here to get started!
You can use those Whisper White scraps that you have been saving….surely I’m not the only one! 🙂 I stamped the Penguin, Snowmen, Arms and Top Hat from the Snow Place Stamp Set all in Basic Black! You can stamp with fairly close together but not sure close that the Framelits would cut into the one next to it. I stamped the ear muffs in Melon Mambo and the bow tie in Bermuda Bay. There are lots of other pieces in this set that you can use as well – buttons, hat, scarf, snowcone, and more! Once you have everything stamped, it is time to cut the out with the coordinating Snow Friends Framelits. I used the Magnetic Platform when die cutting these out because the frames stick to this platform and don’t move around. You can cut lots of pieces out at one time, as long as they all fit on the platform! This way you don’t have to run it through the Big Shot millions of times! Once you have your pieces cut out, it is time to assemble!!!
I started with A Bermuda Bay card base and layered on some Basic Black. Then I took a piece of Whisper White cardstock and ran it through the Big Shot in the Softly Falling Embossing Folder! I added this to the Basic Black layer and then built my snowmen on the card. I used Stampin’ Dimensionals of course! For the nose, I used a Pumpkin Pie Marker to color it in!
This is the penguin that I created in the Video Tutorial! You can check that out below or by clicking here! Don’t forget to give it a thumbs up if you liked it!
Which do you prefer the snowmen or the penguin? Let me know in the comments below!
I love embossing folders and how they make a simple card have such an amazing WOW factor! It is so simple to emboss and doesn’t require extra layers or embellishments! I used the Boughs & Berries Embossing Folder from the Holiday Mini Catalog on this card. For the greeting, I used the Berry Merry Stamp Set. You can Bundle & Save 15% when you get the set and embossing folder together. I stamped the greeting in Basic Black, holly berries in Real Red, and leaves in Garden Green. I stamped the holly randomly around the greeting and then die cut it with the Ovals Framelits! I thought it looked a little plain to just add it to the card front so I used a scrap piece of Silver Foil Paper that I had to layer the oval on. I used the Banner Triple Punch to create those banner ends! Of course the greeting was added to the card with Stampin’ Dimensionals! I really liked the way it turned out with the Silver Foil. It added a little shine and texture! This would be a great card to send out any time from November through January since it is very festive and not holiday specific!
Happy Friday everyone!!! Halloween is tomorrow and I have my treats ready…..we shall see if anyone comes! This is going to be a nice relaxing weekend enjoying the last days of October. November always feels like the Holidays are officially upon us so it will be nice to relax a bit before it all begins!!! 🙂 What are you doing this weekend – stamping, relaxing, trick or treating, hitting up the pumpkin patch?? Let me know in the comments below!!!
It isn’t officially Friday without the Weekly Deals!
Also, don’t forget there are only a few more days to earn an additional 3% in Hostess Rewards when you have a party of $300 or more in sales. This can be your own order, a catalog party (I still offer goodies for all guests) or an actual party. I do still have a few dates left open! This promotion ends on November 9th!
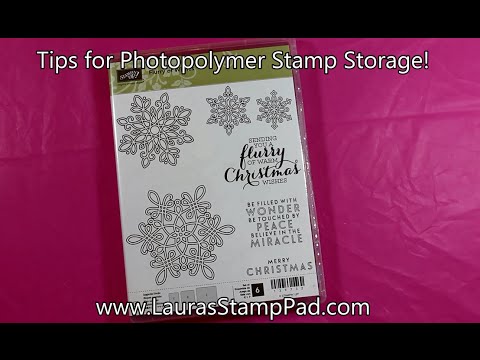
Did you catch yesterday’s Video Tutorial about storing Photopolymer stamps??? Check it out below or by clicking here!!! Don’t forget to Subscribe to My Channel so you don’t miss any future videos!
I hope you all have a wonderful weekend! See you back here on Monday!!!
One little Boo and I’m screaming like a little girl. Halloween isn’t my favorite holiday as I am a scaredy-cat! Halloween is this weekend so here is a quick and simple card that you can create last minute!!!
I started with a Whisper White card base and added a piece of Basic Black measuring 4″ x 5-1/4″. For the little ghosts, I punched out Whisper White Owls from the Owl Builder Punch and snipped off the feet and turned them upside down. There is your little ghost. I used the small circles from the Owl Builder Punch for the eyes and one of the larger circles for the mouth! I used Mini Glue Dots to pop all of those circles onto the ghost body! The greeting is from the Cheer All Year Stamp Set and then I punched it out with the 1″ Circle Punch and added it to the card with Stampin’ Dimensionals! Quick, simple and adorable! You still have time to whip up a few of these!
Yesterday, I shared how you can create over 70 cards with the Pretty Petals Designer Series Paper Stack! Today I’m going to share the rest of the samples with you! Let’s get started!
This card uses a Very Vanilla card base. The Pretty Petals Designer Series Paper measures 5-1/4″ x 4″. You can get 1 of these from one sheet and since there are 4 sheets of this pattern, that is 4 cards like this! The Designer Series Paper is layered onto a piece of Mint Macaron measuring 5-3/8″ x 4-1/8″. I wrapped some Silver Baker’s Twine around the paper and tied it into a knot. The greeting is from the Blessed By God Stamp Set and die cut with the Lots of Labels Framelits. I added the greeting to the card with Stampin’ Dimensionals. To finish it off, I punched out two hearts with the Itty Bitty Accents Punch and added a Pearl to one of them. It is so cute! It makes it look like a little girl and boy heart! This card would be perfect for an Anniversary or Wedding!
This card uses a Mint Macaron card base. The Pretty Petals Designer Series Paper measures 4″ x 5-1/4″. You can get 1 of these from one sheet and since there are 4 sheets of this pattern, that is 4 cards like this! I cut the piece of Designer Series Paper into 2 pieces so I could use both sides. The top piece measures 4″ x 2-1/4″ and the bottom measures 4″ x 3″! I tied a bow at the spot that the paper comes together with the Mint Macaron Lace Trim! I stamped the greeting from the One Big Meaning Stamp Set!
This card uses a Calypso Coral card base. The Pretty Petals Designer Series Paper measures 3-3/4″” x 5″. You can get 1 of these from one sheet and since there are 4 sheets of this pattern, that is 4 cards like this! With some of the leftover pieces, I cut a 3-3/4″ x 1″ piece to use the back side pattern for that strip under the greeting. The greeting is from the Tin of Cards Stamp Set and punched out with the 2″ Circle Punch, then layered onto a 2-3/8″ Scallop Circle Punch! I layered the Designer Series Paper onto a piece of Old Olive measuring 4″ x 5-1/4″ and then placed the other strip of Designer Series Paper on the top half! I attached the greeting with Stampin’ Dimensionals. To finish it off, I tied a bow with some Calypso Coral Seam Binding!
This card uses a Calypso Coral card base. The Pretty Petals Designer Series Paper measures 5-1/4″” x 4″. You can get 1 of these from one sheet and since there are 4 sheets of this pattern, that is 4 cards like this! I stamped the butterfly from the Watercolor Wings Stamp Set in Pink Pirouette, Calypso Coral and Watermelon Wonder! Click here to see a tutorial on that. I die cut the butterfly with the coordinating Bold Butterfly Framelits (Bundle & Save 15%). I added the butterfly to the card with Stampin’ Dimensionals and finished it off with a few Pearls. For the greeting, I used the Watercolor Wings Stamp Set on a Lots of Labels Die Cut that was cut in half. I love the look like it’s a banner coming down!
This card uses a Very Vanilla card base and I embossed the front with the Elegant Dots Embossing Folder. The Pretty Petals Designer Series Paper measures 2″ x 5″ and 3″ x 2″. You can get 1 of the big pieces and 3 of the little pieces from one sheet. Since there are 4 sheets of this pattern, you can create at least 6 cards like this! The larger piece is layered on a piece of Pacific Point measuring 2-1/4″ x 5-1/4″ and adhered to the card front with Stampin’ Dimensionals. The smaller piece of DSP was layered onto a piece of Old Olive measuring 3-1/4″ x 2-1/4″. I added this to the card with Stampin Dimensionals on the right hand side and Snail Adhesive on the left. This makes it level across! I stamped the greeting from the Blessed By God Stamp Set and punched it out with the 2-3/8″ Scallop Circle Punch! I finished the card off with a few punched flowers with the Petite Petals Punch and some Black Candy Dots! TIP: If you run out of black, you can always color in any of the other colors with a black sharpie!
Happy Tuesday!!! You know what that means!!! I have a fabulous technique to share with you today. I will show you how to create over 70 Cards from a Designer Series Paper Stack! I used the Pretty Petals Stack and created cards for every occasion – man, women, sympathy, birthday, anniversary, wedding and more!!! I love it!
Here are the cards that I created with each sheet in the Pretty Petals Designer Series Paper Stack! You can get multiples of each of these cards and then use the leftover scrap pieces to create quilt cards like these samples! I will be posting a few of these today and the rest tomorrow!!! 🙂 Let’s get started!
This card uses a Calypso Coral card base. The Pretty Petals Designer Series Paper measures 4″ x 5-1/4″. You can get 1 of these from one sheet and since there are 4 sheets of this pattern, that is 4 cards like this! The Designer Series Paper is layered onto Old Olive measuring 4-1/8″ x 5-3/8″. I wrapped some Gold Baker’s Twine around the left edge and tied it into a bow! The greeting is from the Tin of Cards Stamp Set. I die cut the greeting out with the Deco Label Framelits and added a layer of Old Olive with the next frame size up! I added a flower that was punched out with the Petite Petals Punch and I placed a Pearl in the center!
This card uses a Very Vanilla card base. The Pretty Petals Designer Series Paper measures 2″ x 5-1/2″. You can get 3 of these from one sheet and since there are 4 sheets of this pattern, that is 12 cards like this! The border on the left and right of the DSP is from the Tin of Cards Stamp Set. I stamped the greeting from the same set and punched it out with the Decorative Label Punch!
This card uses a Pacific Point card base. The Pretty Petals Designer Series Paper measures 5-1/4″ x 4″. You can get 1 of these from one sheet and since there are 4 sheets of this pattern, that is 4 cards like this! I used some of my scraps of cardstock in Real Red, Daffodil Delight, Old Olive and Pacific Point. I used various sizes of circle punches. The greeting is from the Tin of Cards Stamp Set. I thought the circles looked a little plain at first so I added the little stitches around the edges and I think it really makes them pop! Love it!! This would make a fabulous kid’s card!
I will be posting the rest of the cards in the set tomorrow! If you would like to see all of this in action, check out the Video Tutorial below or by clicking here! If you liked the video, be sure to give it a thumbs up! Don’t forget to subscribe to my blog so you don’t miss tomorrow’s post! 🙂
See you tomorrow! Which one of these is your favorite so far? Let me know in the comments below!
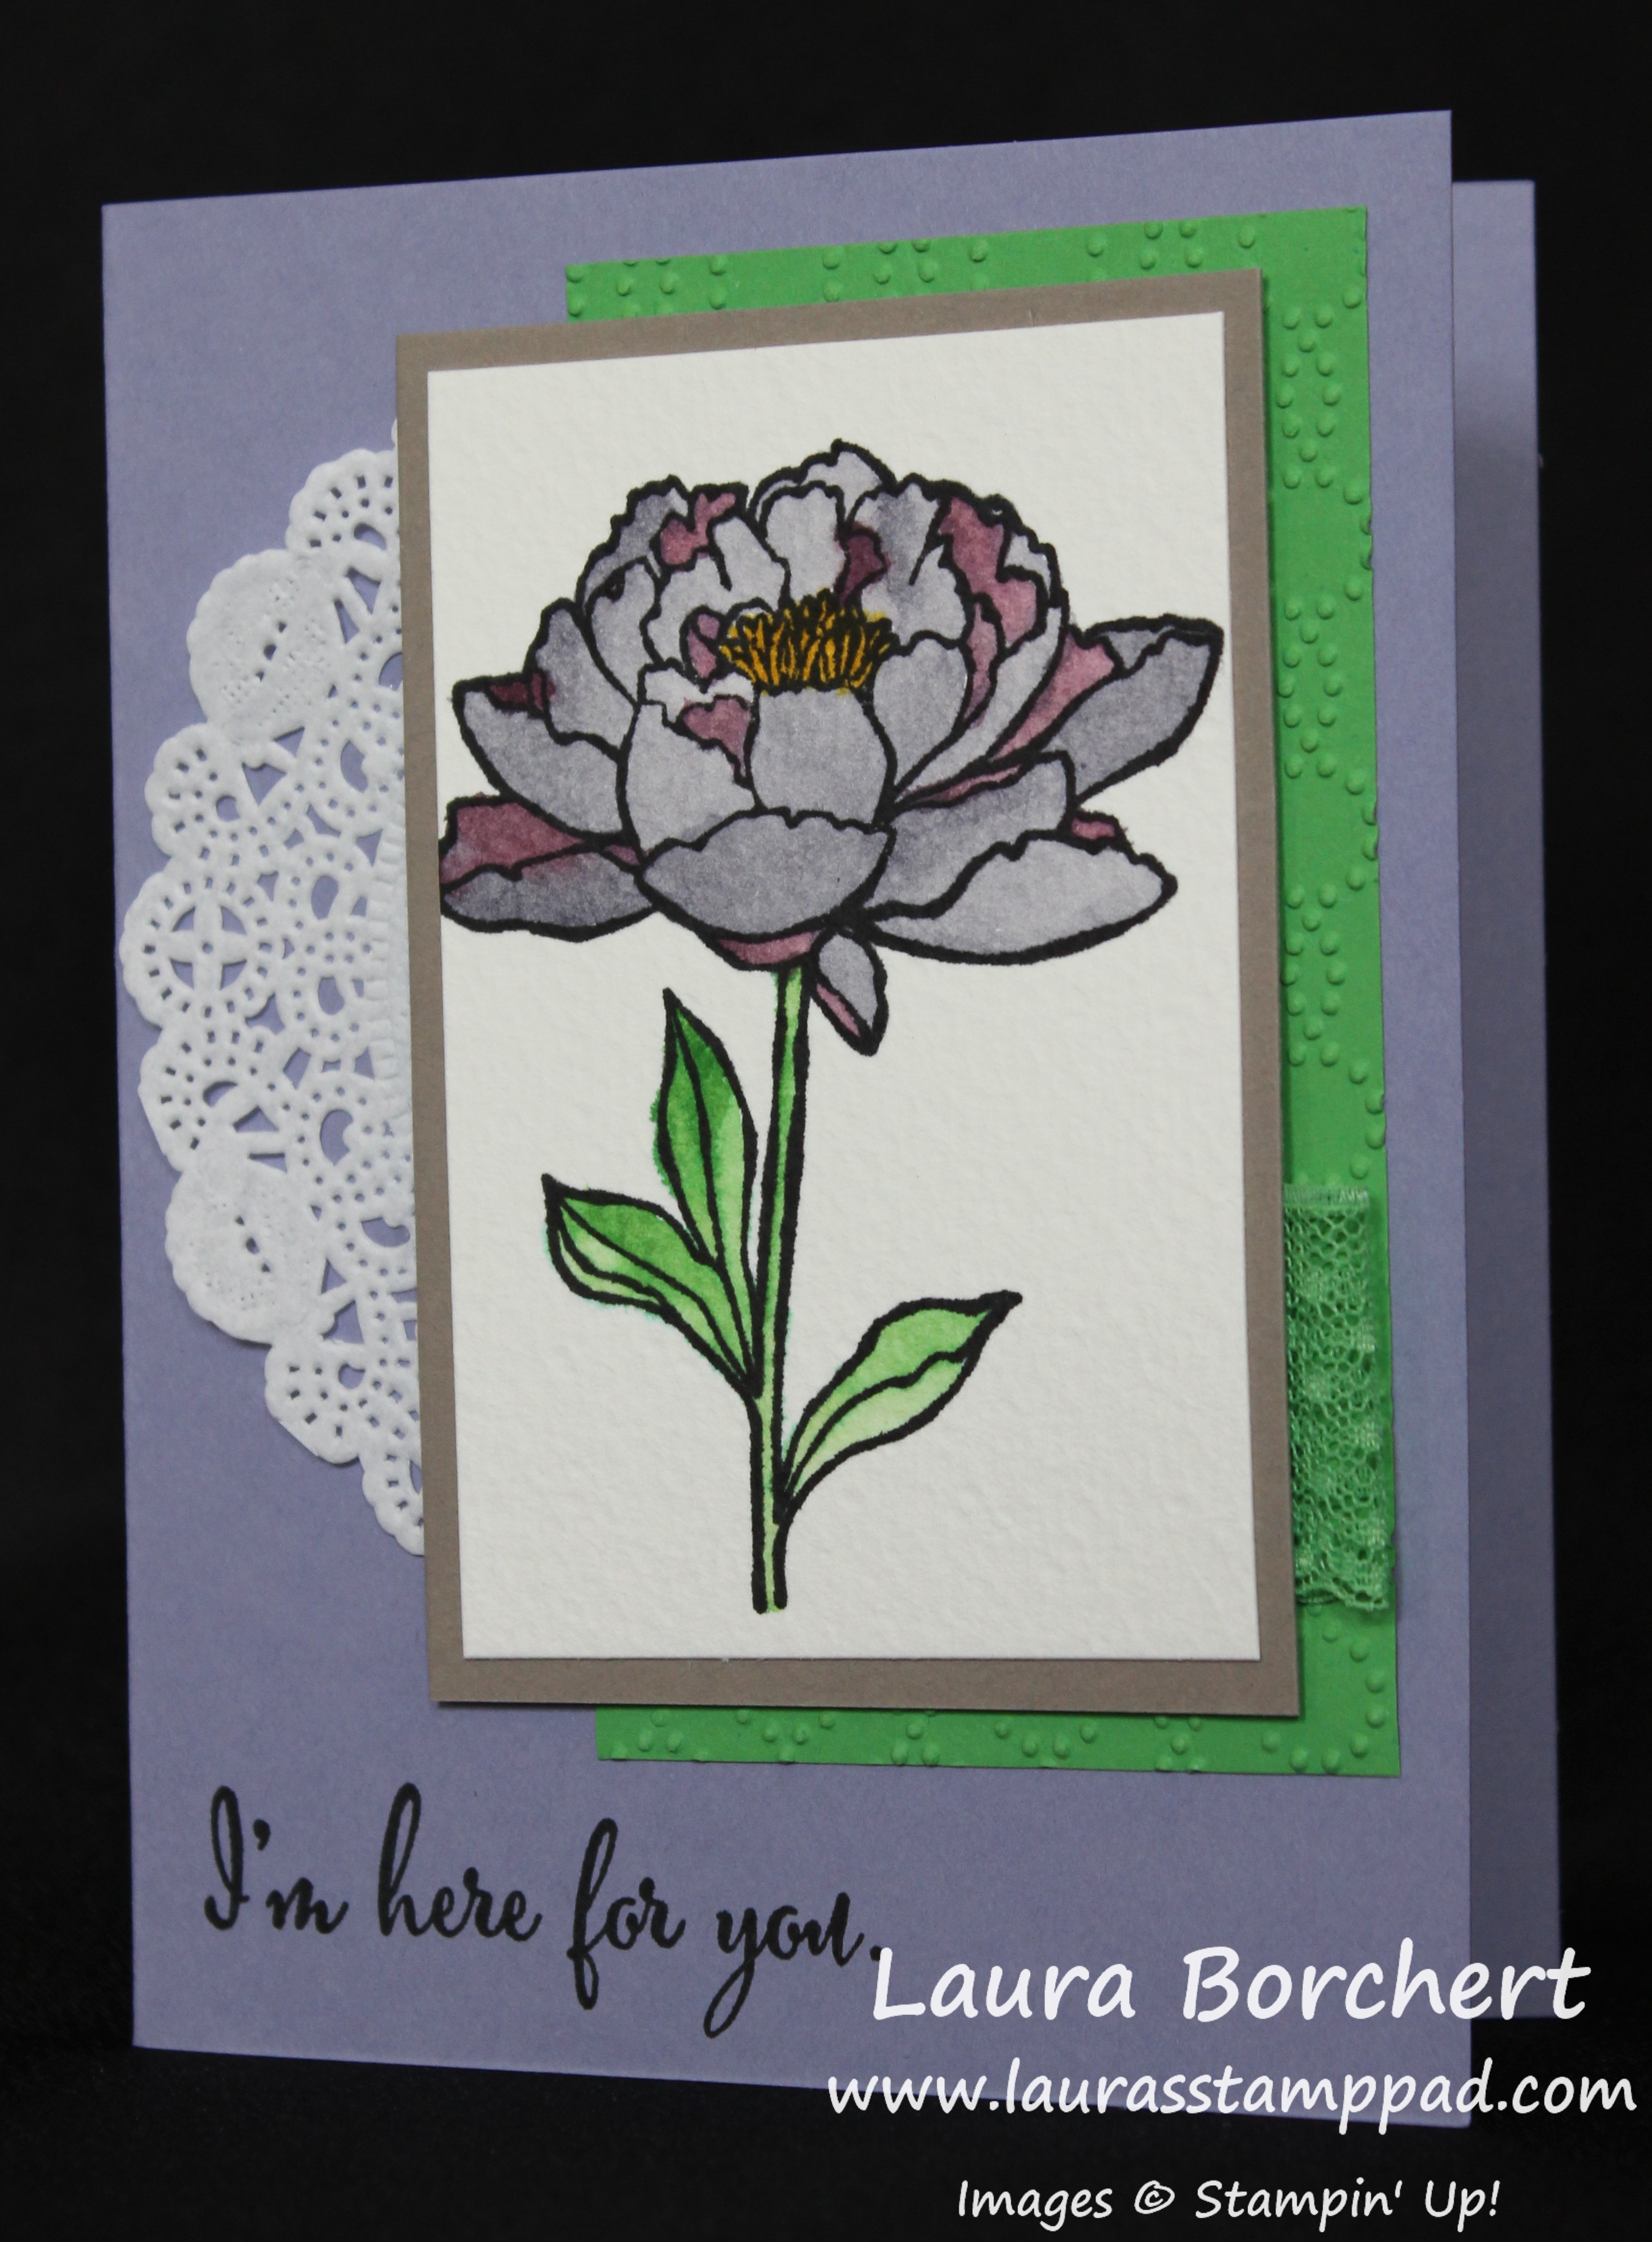
I feel like I mention it a lot but texture on a card can really make it go from nice to FABULOUS! This card is fabulous for sure to me! I love all of the textures with the doily, ribbon loop, and embossed cardstock. Do you think it is too much? Let me know in the comments below if you like texture or not!!!
I started with a Wisteria Wonder card base and stamped the greeting from You’ve Got This in Basic Black on the bottom. Then I took a piece of Cucumber Crush and ran it through the Big Shot in the Elegant Dots Embossing Folder and adhered it to the card on the right side. I added a 1/3 piece of a White Tea Lace Doily to the edge of the Cucumber Crush. You can cut the doily into 3 pieces and really get the most out of each one! 🙂 For the flower, I stamped it from the You’ve Got This Stamp Set in Stazon Black onto Watercolor Paper. I used an Aqua Painter to color in the flower in Wisteria Wonder, Rich Razzleberry, and Cucumber Crush! I love how it turned out with the shading and all. Watercoloring is something that usually something I feel like I either nail it or it’s ehhh! After the flower was completely dry, I layered it onto Tip Top Taupe with Tear and Tape because I like to use a strong adhesive to really hold down the watercolor paper since it isn’t always flat. I added a little loop of Cucumber Crush Lace Trim to the right hand lower side of the flower before adding it to my card front. This is a great way to use those little scraps at the end of a roll or that you trimmed off from another project! Love it!!!
You can check out more samples using this stamp set here, here and here!
Friday is here and I feel like this week flew by! Lots of events and meeting and WARM WEATHER! Oh how I cam holding on to Summer as long as I can! 🙂 I think this weekend I will have to close my eyes and dream in order to hold on to those thoughts! The good thing is I will be stamping with a fabulous group of ladies on Saturday morning and that makes any day fabulous!!! But first let’s get started on some amazing things!!!
TODAY is the last day to take advantage of this fabulous sale! All Stamp Sets are 15% off!!!! Click here to start shopping AND don’t forget you will earn Double Laura’s Loyal Stampers! Woot Woot! I just had a customer get a FREE Stamp Set of her choice this week when she cashed in her points!
What’s a Friday without Weekly Deals??? Here is a fabulous sample using the Bow Builder Punch!!! Also, you can use it with your gift packaging which will come in handy in the next few months!!! Love it!!!
Another fabulous thing that I have to share with you is my Video Tutorial on how to fix your stamping mistakes. Check out that video below or by clicking here! We all make mistakes and sometimes the ways we fix them make us love the project even more! Here are just a few of my little tips and tricks! Let me know in the comments below if you have some tips to share!
Have a fabulous weekend and I’ll see you back here on Monday!
 I know that the Holidays can be hectic and expensive when you are running around from party to party, buying gifts for lots of people, and traveling around! Well I have created and quick and affordable card for you to create anywhere, anytime and it won’t break the bank! I used Note Cards and Envelopes which come 20 to a pack and they are pre-scored and ready to go! I used the Season of Cheer Washi Tape from the Holiday Mini Catalog! You don’t even need scissors for this – just rip it with your fingers. I actually did use scissors on the left hand side but you could rip it and wrap it to the backside! There are 5 styles of Washi Tape and 5 yards of on each roll! That is a lot of Washi Tape and gives you many different looks when you mix and match! You can use any greeting that you have on hand to stamp on the card. I used Pear Pizzazz Ink and the greeting is from the Wondrous Wreath Stamp Set! You could create this card while traveling or in between putting cookies in the oven! Love it!