Technique Tuesday – Spotlight Technique

Posted on

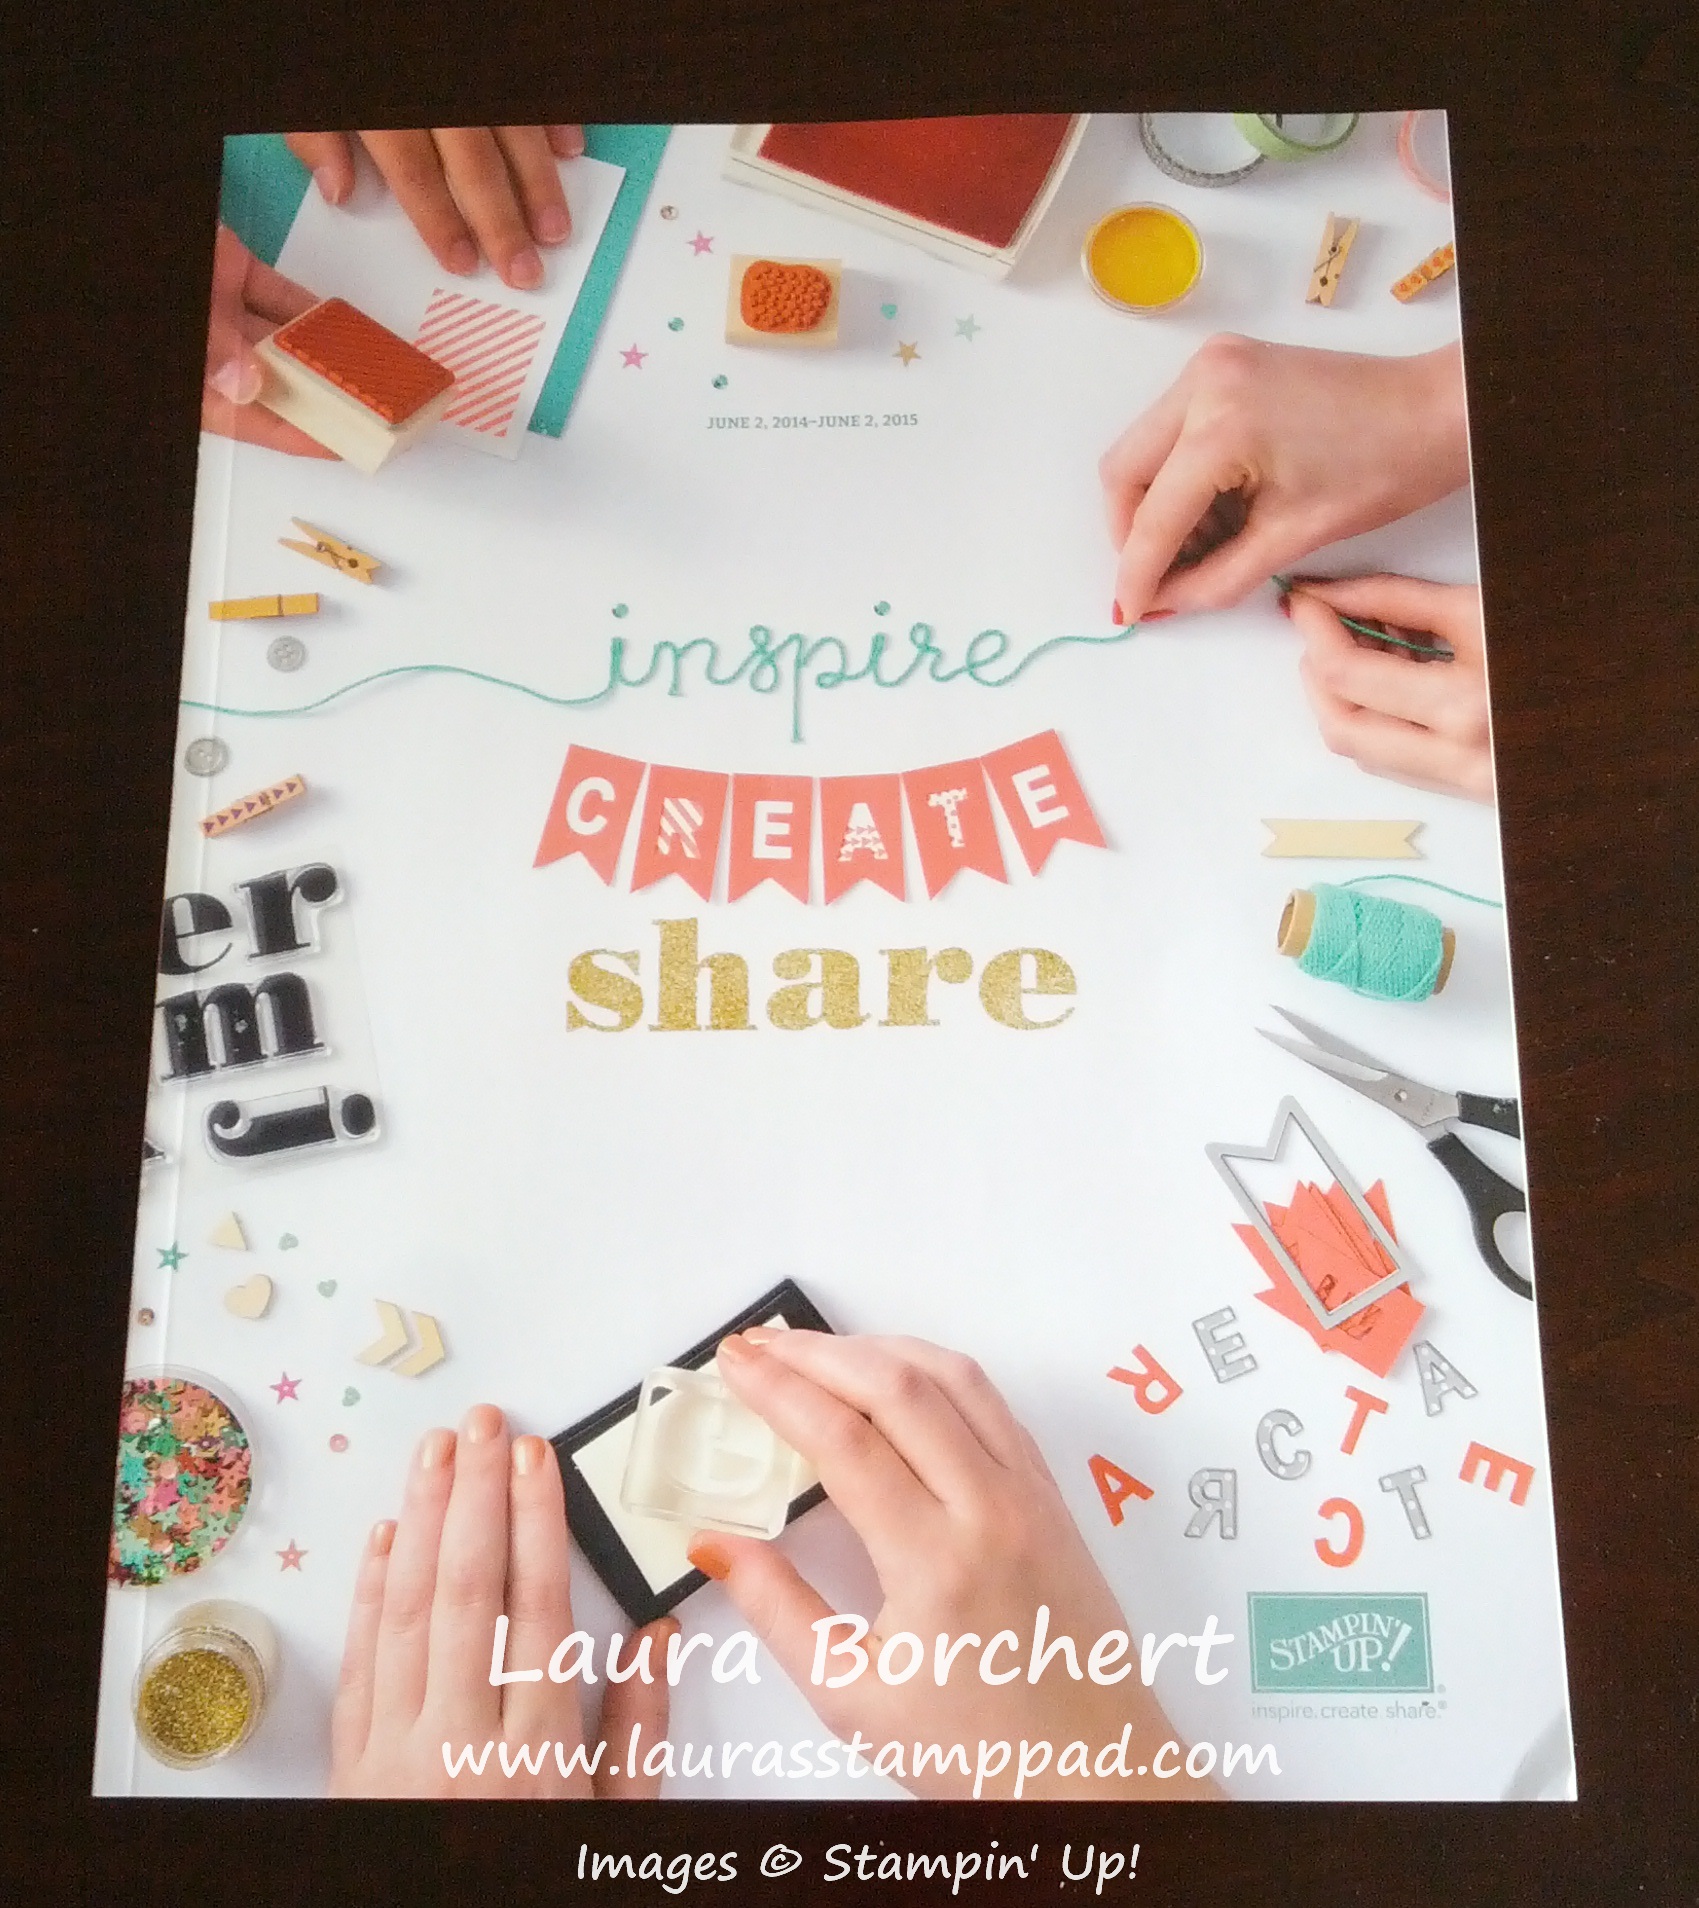
Good Morning and Happy Tuesday!!!! Have you checked out the NEW Catalog! It came out yesterday and it is AMAZING! There are so many new stamps and products and fabulous ideas! After all the catalog is a great source for coming up with project ideas! Okay, now that you have seen that, lets show you an amazing technique – the Spotlight Technique!!!

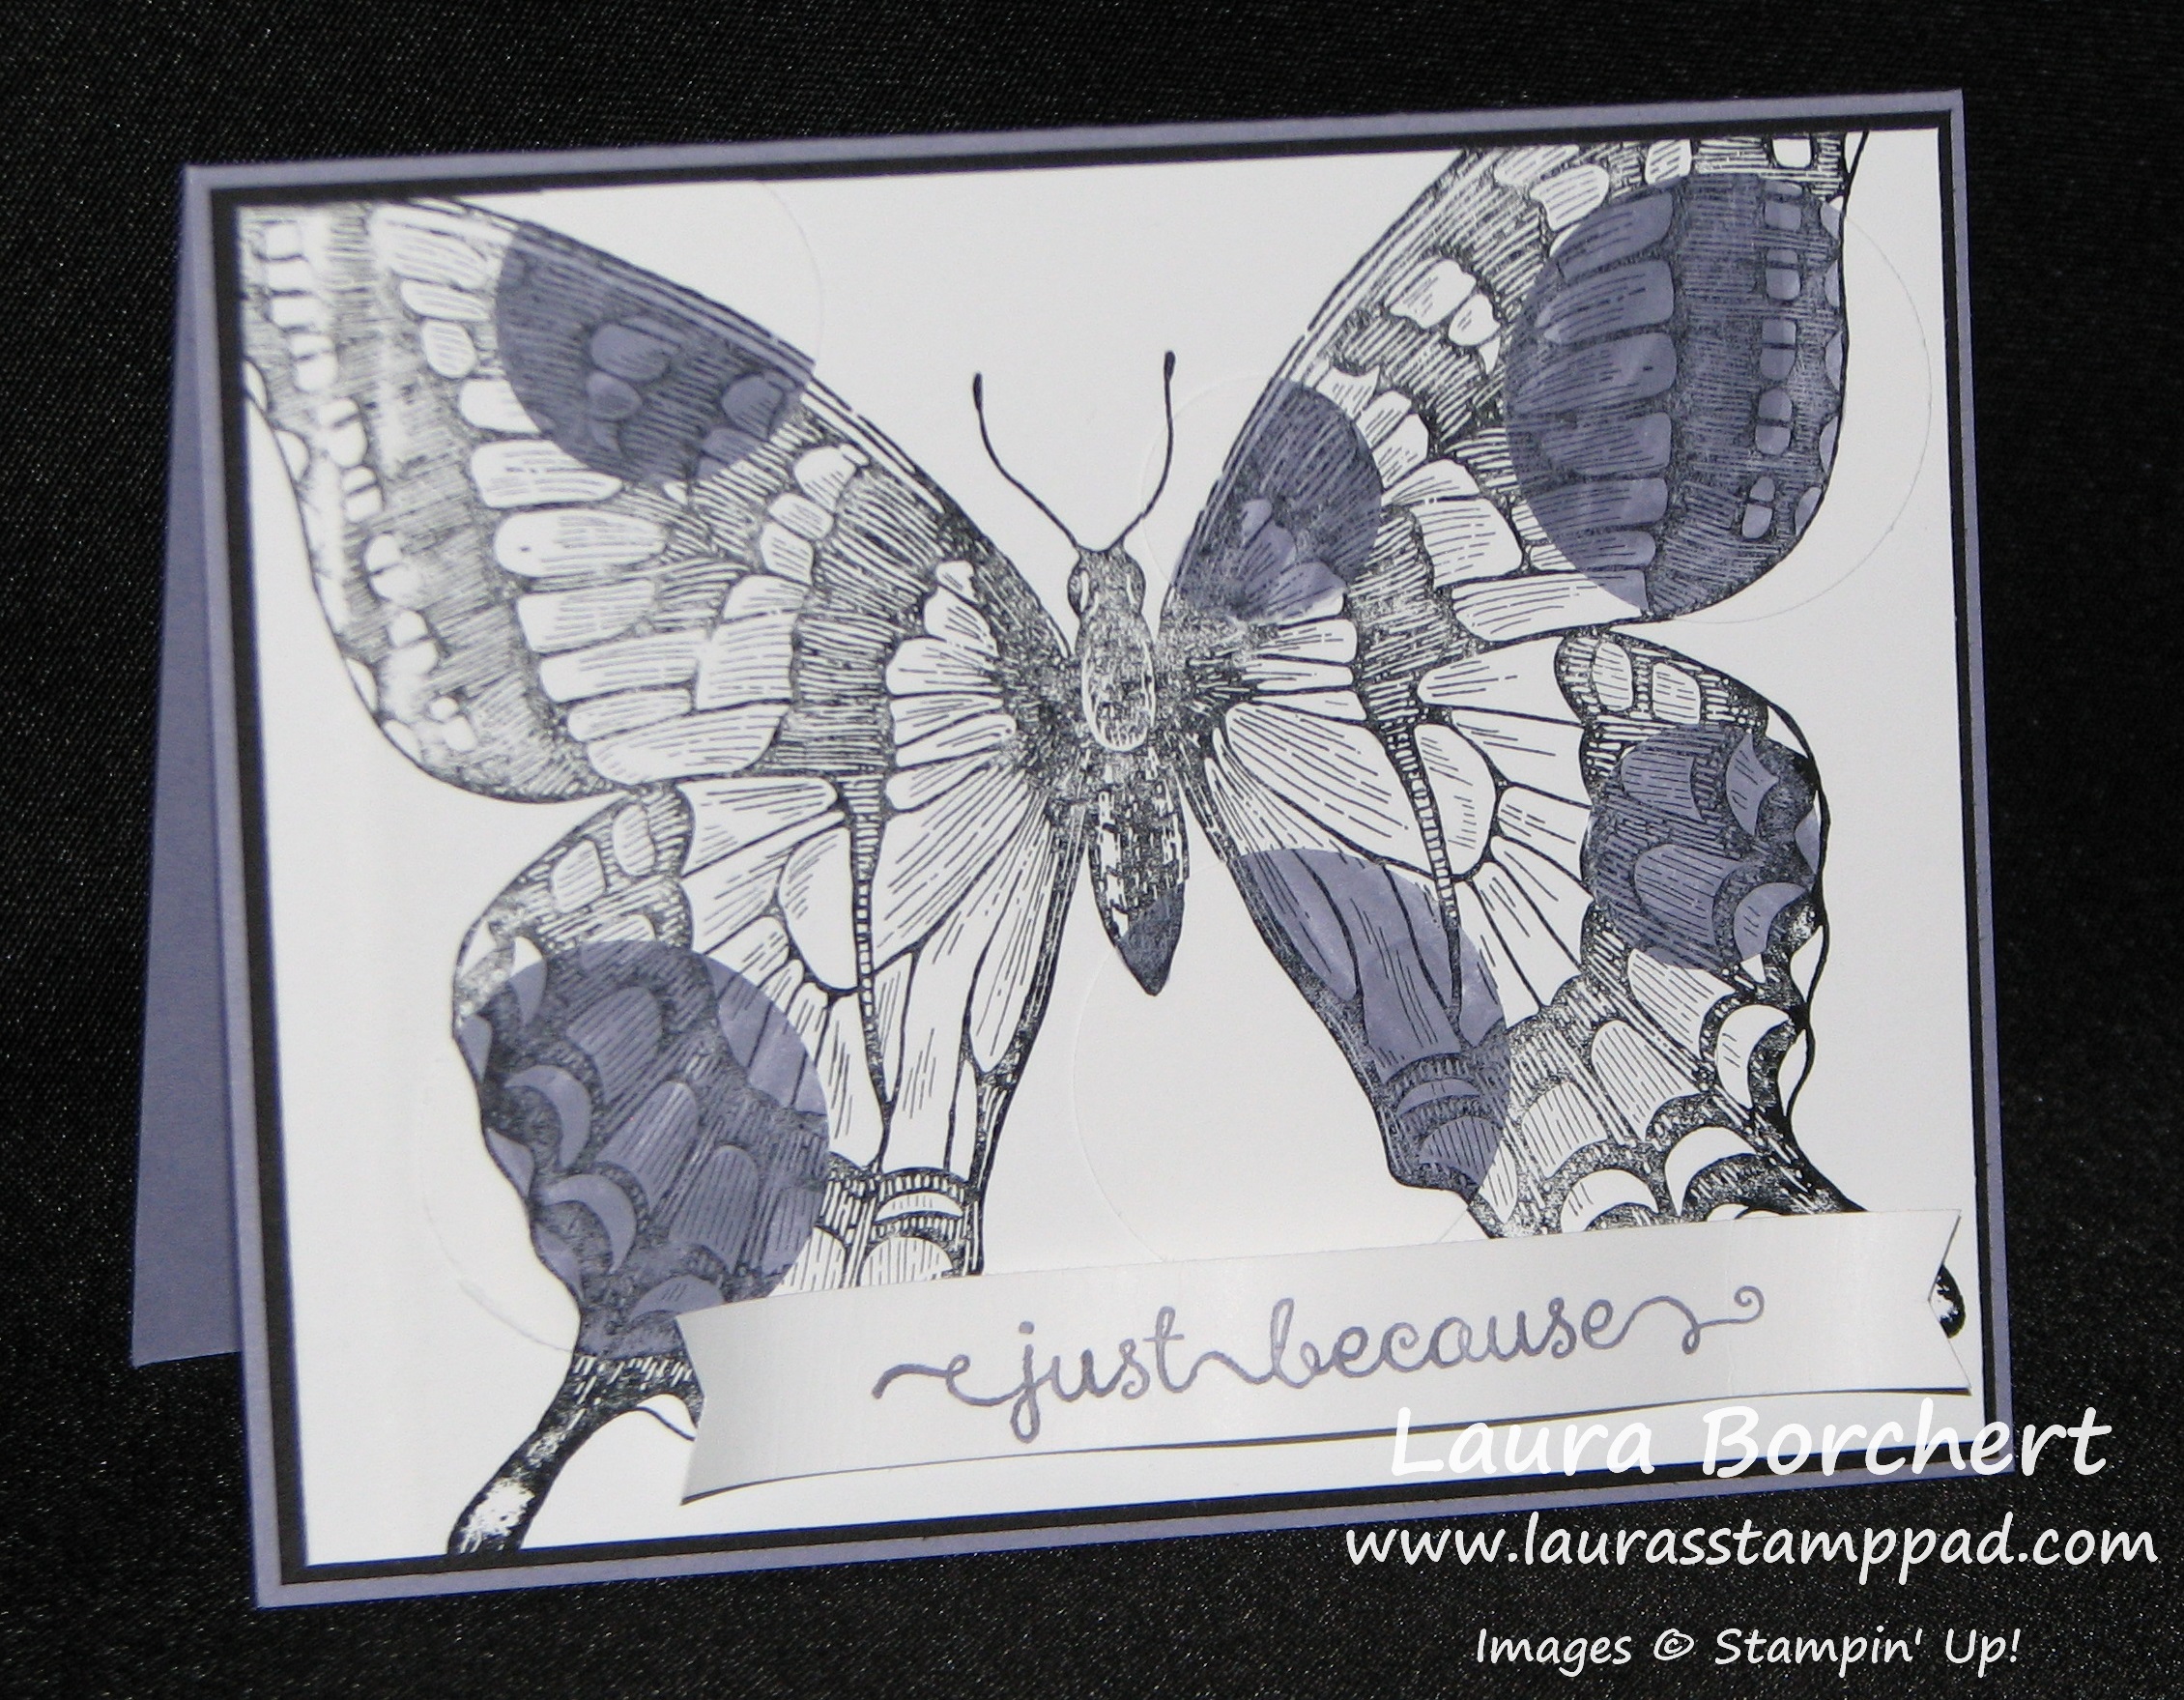
lowtail Spotlight Technique, www.LaurasStampPad.com

This technique spotlights a certain section on your image with color. As you can see in the card above, I added pops of color to different areas of the butterfly. It isn’t that easy to see but each of those pops of color are actually punched out circles to there is a bit of texture and dimension to the card as well.

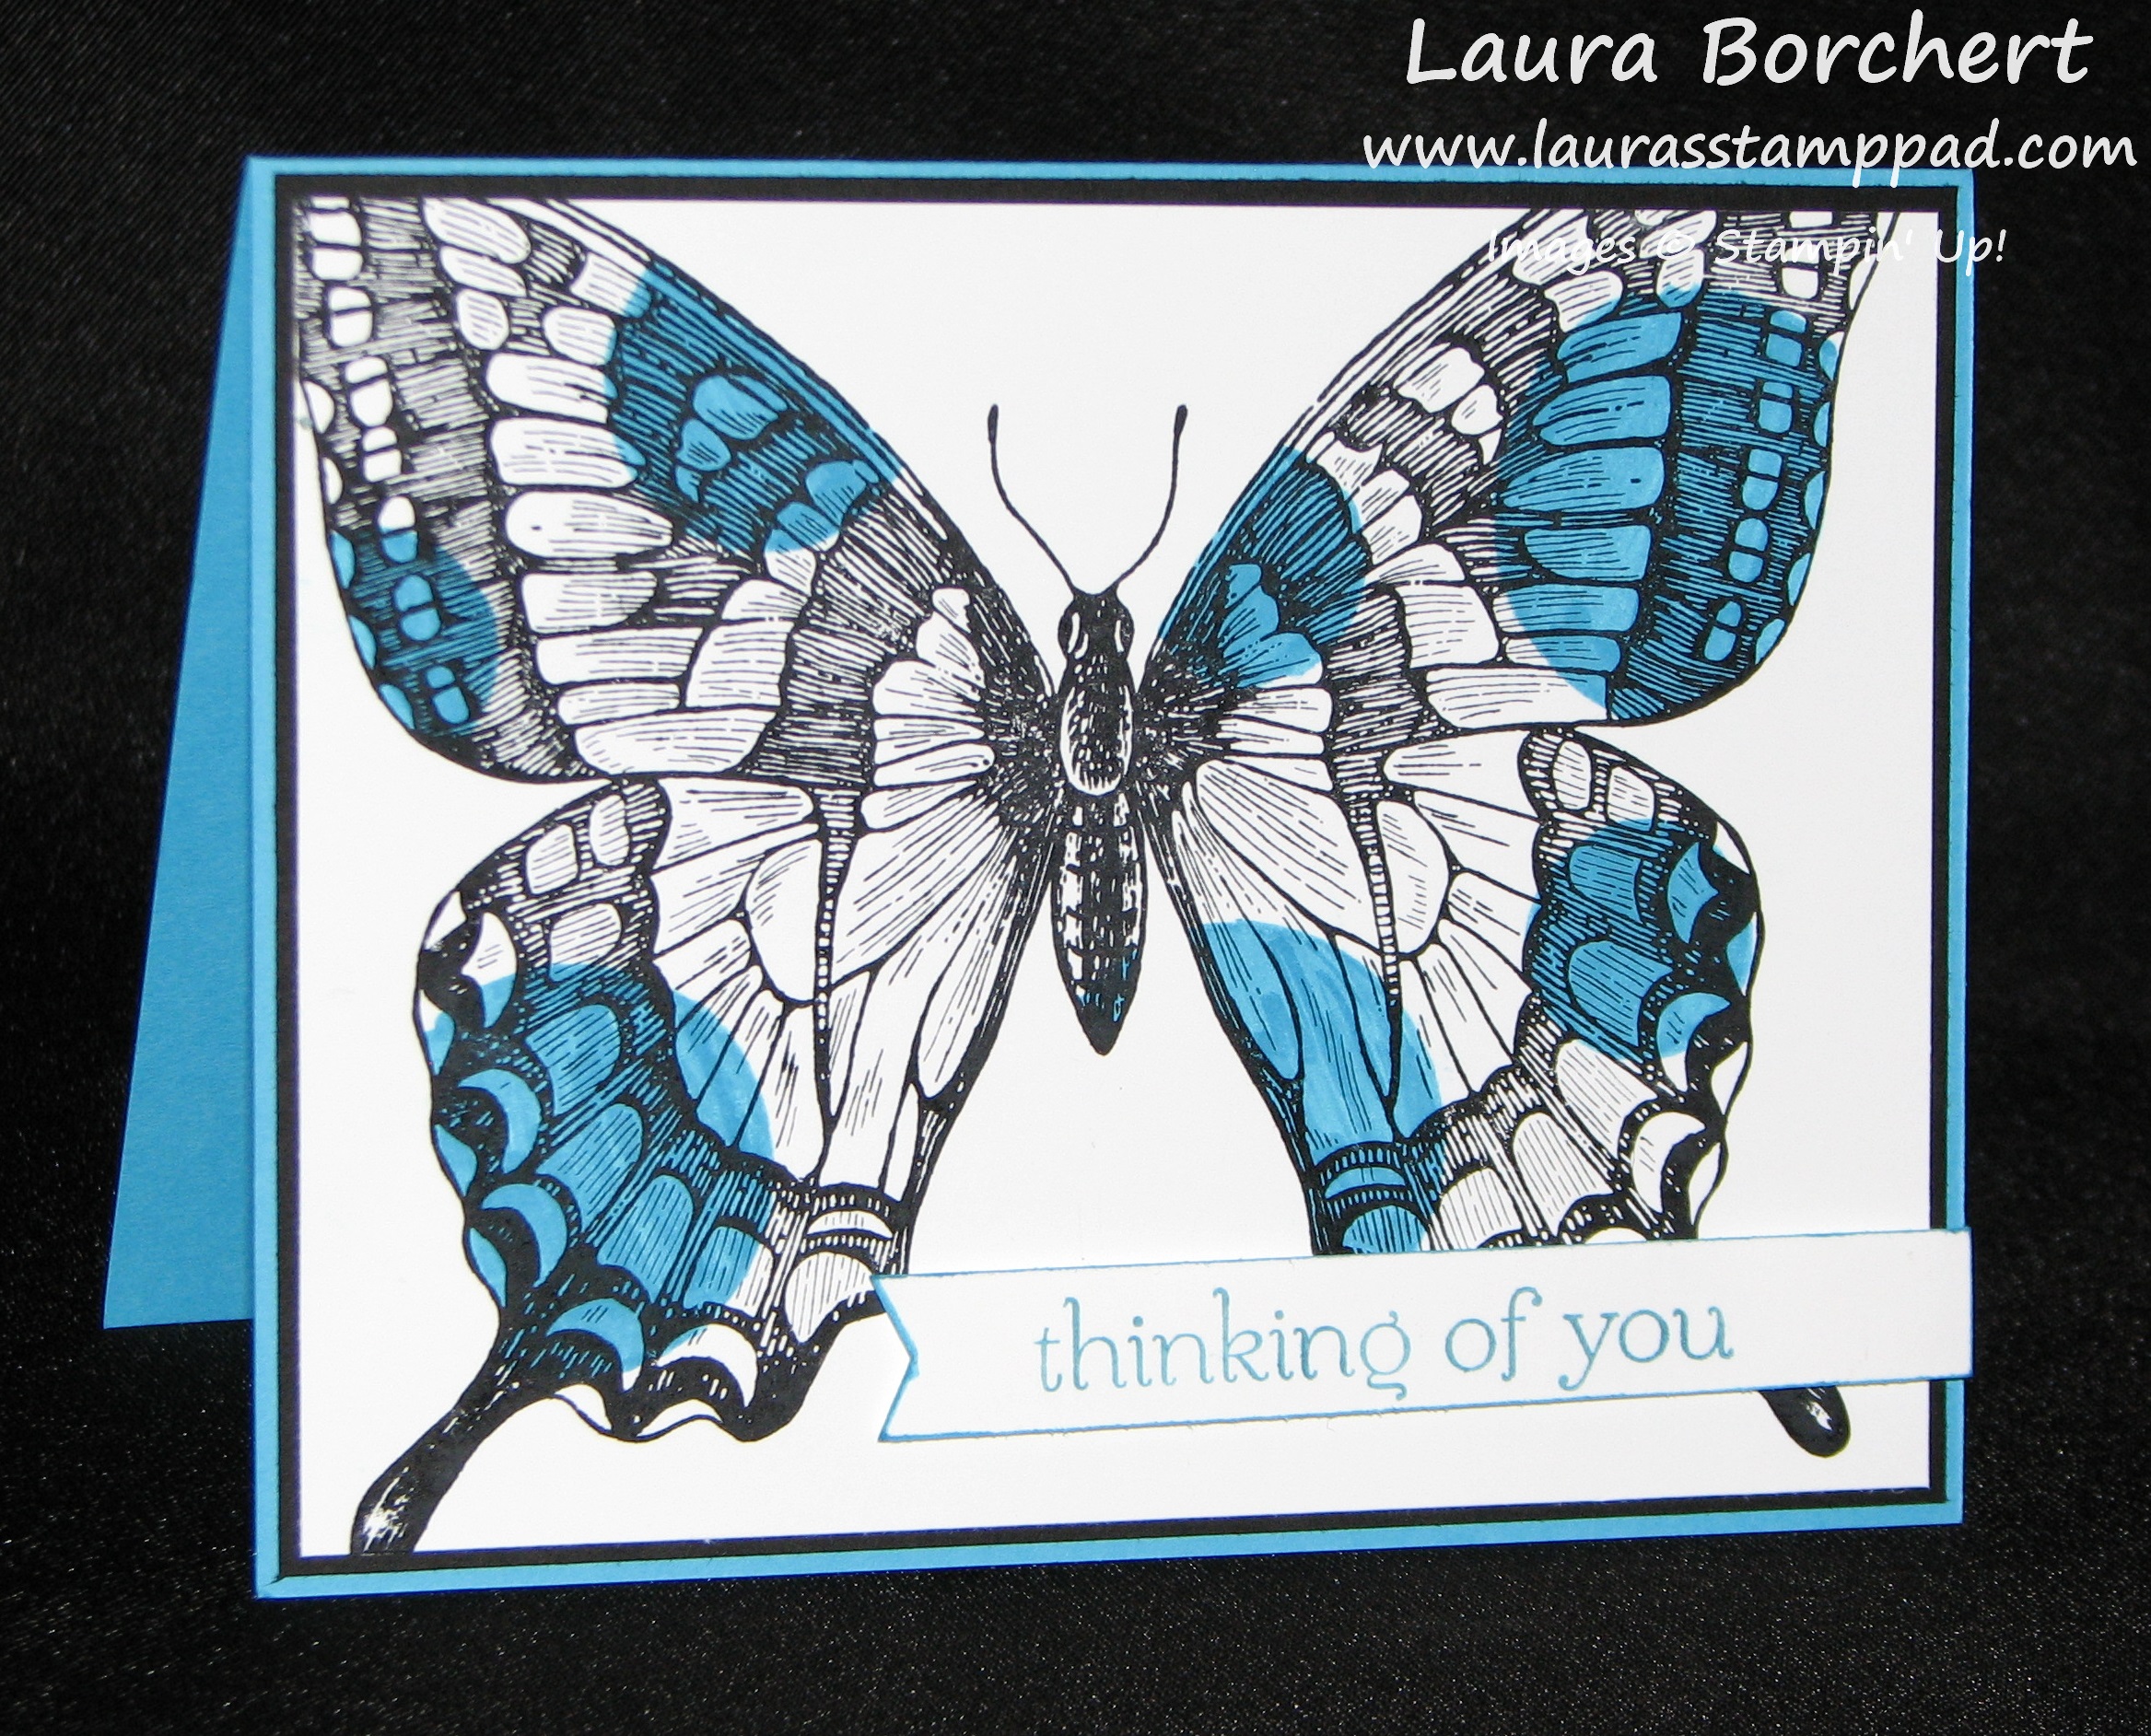
Swallowtail Spotlight Technique, www.LaurasStampPad.com

Now this one looks the same but it is just a bit different. This one I used my Markers and a template to add pops of color.

Supplies Needed: Line image stamp (something you can color in), Stazon Ink, Various Circle Punches, Markers, Cardstock

To create both of these cards at the same time, I took 3 pieces of Whisper White Cardstock measuring 4″ x 5-1/4″. You will then stamp the Swallowtail Butterfly on each of the pieces in Stazon Ink. It doesn’t matter if they are straight or diagonal and each one can be different. Then you will color in one of the butterflies completely with a marker. Using your various Circle Punches, punch portions of the butterfly out. You can punch near the edge or right in the center of the butterfly. You will then puzzle piece these punches circles onto one of your other stamped butterflies. I suggest punching and then finding the matching spot and adhering it down before moving to the next punch. This way it won’t be as hard to find out where the piece should go. Once you have punched and assembled your desired pieces, you can layer that on a card base and add a greeting!

For the second card, you will take your punched butterfly piece and lay it over the other Stazon stamped butterfly and color in the butterfly in the open areas. You don’t have to line it up perfectly, you can move the circles around as you wish! Again once you have the desired amount of color, you can layer that on a card base and add a greeting! Check out my Video Tutorial below to see it done in action! Be sure to “like” and “subscribe” to my videos so you don’t miss any of them!

I hope you enjoyed this technique and try it out! I would love to see some of your creations or variations of this technique so feel free to share them in the comments below or you can email me photos of your project. I would love to see them!

Happy Stampin’

~Laura


THE NEW CATALOG IS HERE!!!!

Posted on

NEW Stampin' Up Catalog, www.LaurasStampPad.com

What a way to start off your Monday!?!?!?! The New 2014-2015 Stampin’ Up Catalog is officially here!!! I am soooo excited because I love this NEW catalog. I love the new stamps – Age Awareness is fabulous. I love the new embellishments and ribbon – Stitched Satin Ribbon is beautiful! I love the new Designer Series Paper – Sweet Taffy says LAURA all over it but Back to Black looks amazing too. I love my black and white!!!! I love love love all of the kits for stamping, gift giving, treats, treats, and more treats. LOVE IT! Also, there is an index for the Accessories this year! Even better….there is an index for greeting and alphabet stamps WITH A PHOTO! How amazing is that!?! Oh I could go on and on….which I will do at my New Catalog Girls Night Out Event which is June 10th!!!!! You are all invited!!

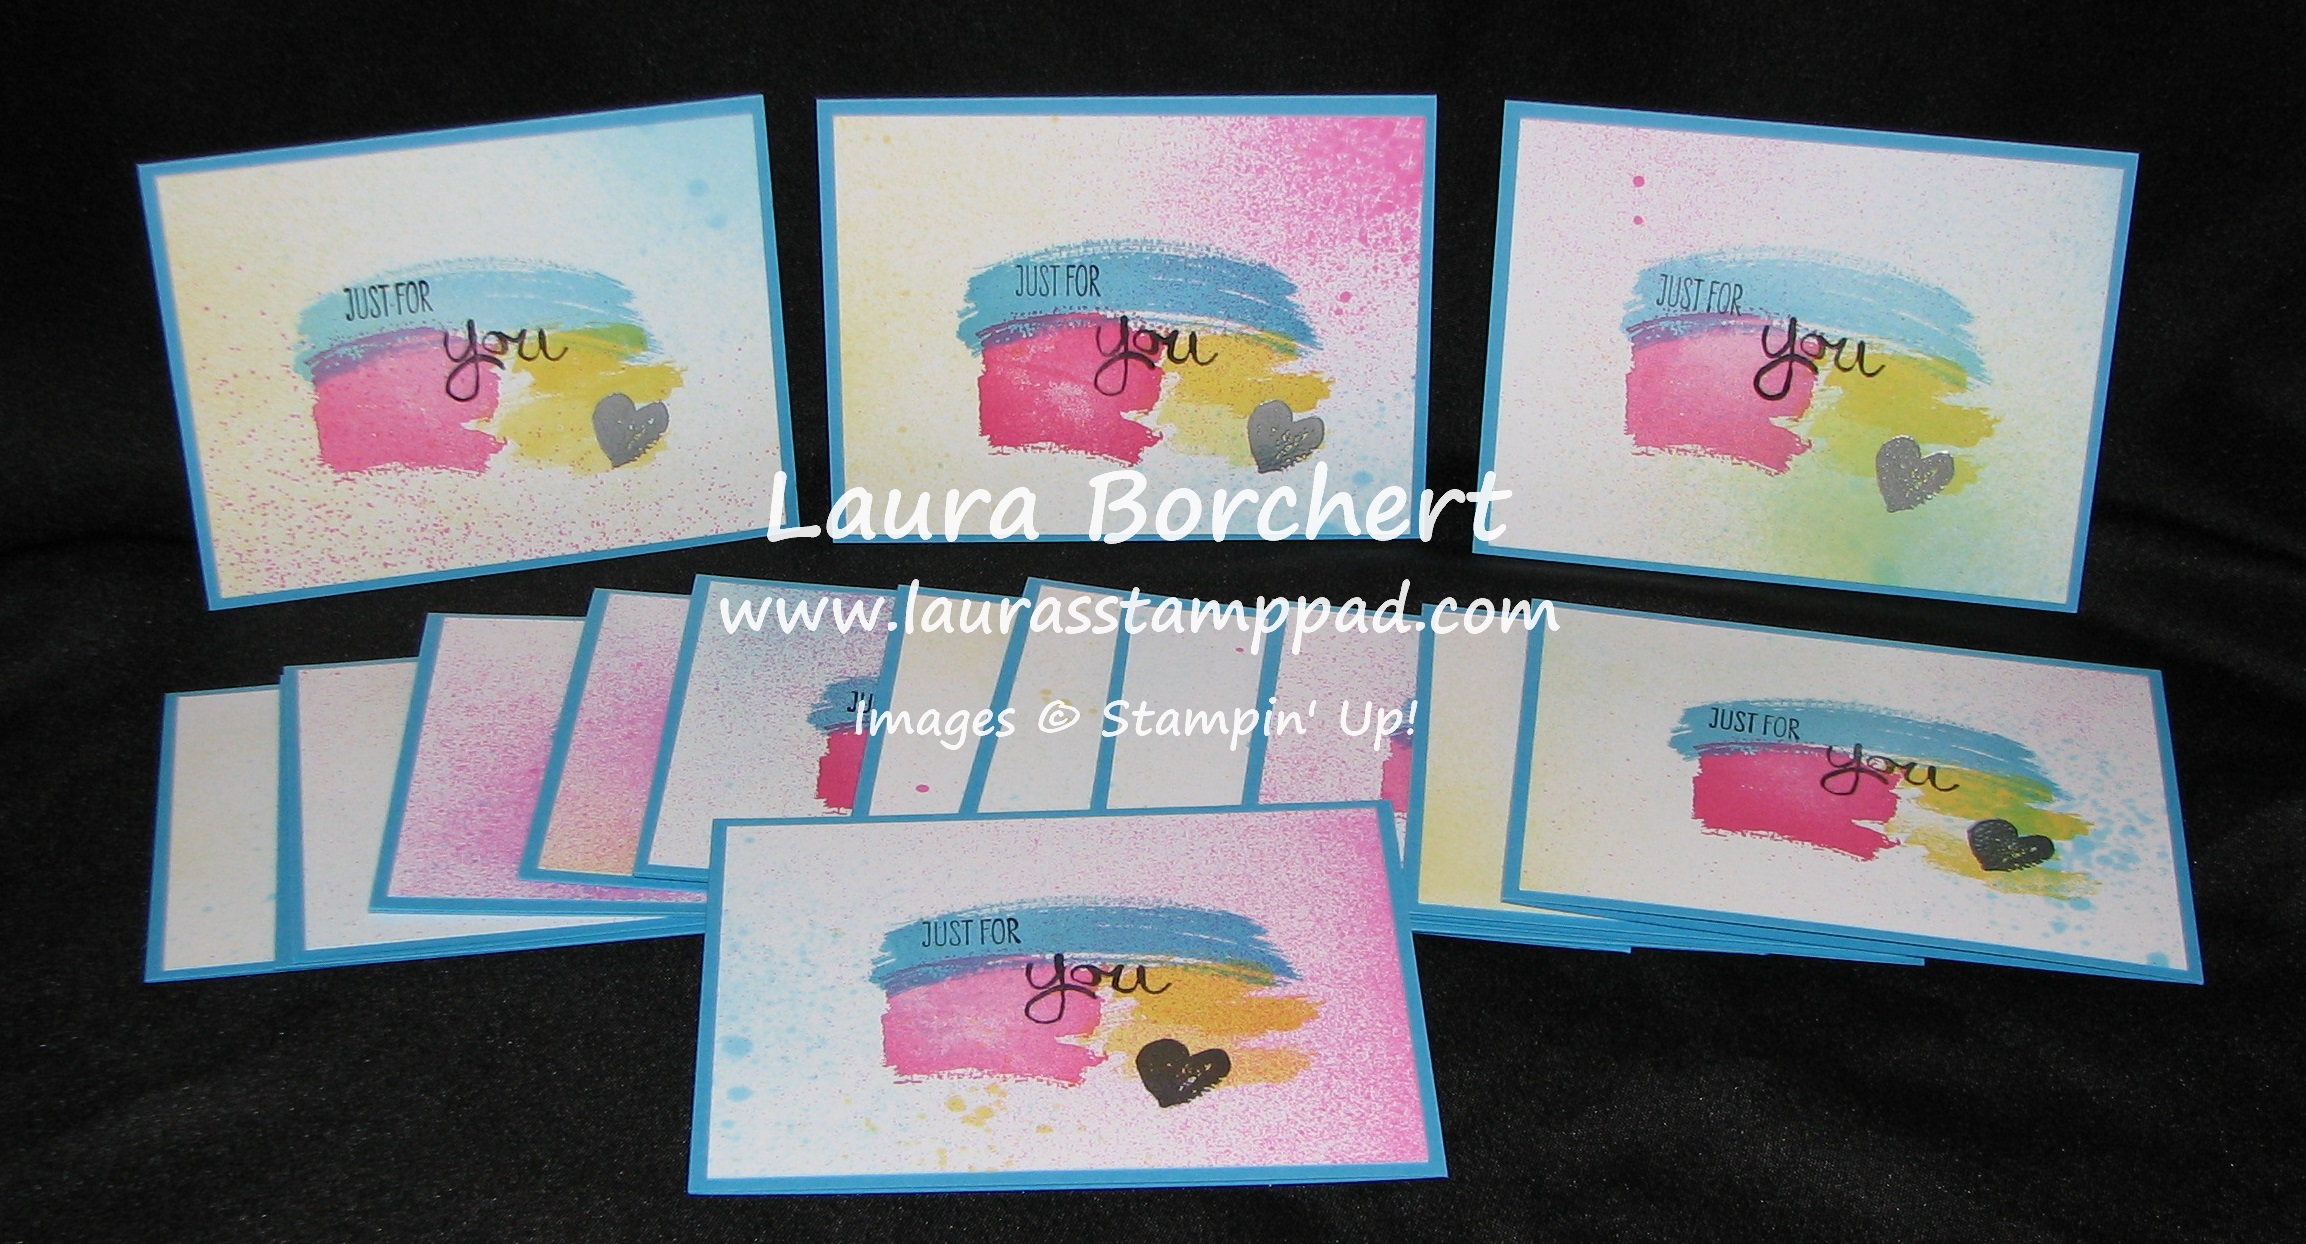
Work of Art, www.LaurasStampPad.com

This is using the NEW Work of Art Stamp Set which is amazing!!! Thank You to Stampin’ Up for giving it to me for FREE because I don’t think I would have looked twice at this set! Check out my Video Tutorial on this card!!!

Happy Shoppin’

~Laura


Fabulous Friday!!!!

Posted on

Happy Friday!!! Boy this week went by fast! Wish all weeks had 3 day weekends! 🙂 Boy do I have some AMAZING deals for you!!! First off the Weekly Deals this week have LOTS of my favorite (and sad to see go) items!!!

Weekly Deals 5.25

Can you guess my favorite??? I think I’m going to have to go with the Naturals Composition Paper and then the Stripes Embossing Folder and then the Heart Punch. The Naturals Composition Paper is like a hidden gem….it is thick Designer Series Paper in that kraft color BUT it is clear embossed with the image you see – musical notes, flowers, fleur de lis, wood grain and more. You can then use your SPONGE DAUBERS (all time favorite tool, don’t worry they are coming back in the new catalog, just repackaged) to add in color. You can also use markers to color in the flowers or any fine details. It is SOOOOO much fun and super cool. You can see samples here and here.

As for the stripes….texture is so simple and fun to add to any type of card! It really makes it pop! Here and here are a few of my favorites with the Stripes Folder!

And now on to something even more AMAZING!!!!

Join for $50

Right now (through the end of June) YOU can join Stampin’ Up for just $50.00. How amazing is that? This promotion is perfect for any crafter who loves Stampin’ Up! product (after all who doesn’t?)!!!!! You can now sign up for just $50.00. Here are just a few perks of being a demonstrator and why you should sign up NOW!

  • Amazing discount on Stampin’ Up Product!
  • You get ME at your mentor and cheerleader! I’m here to answer any questions and help you get what you want out of being a demonstrator – whether that be just to get a discount or to make some money and pay the bills!
  • You get an “in” on all the NEW stuff – New Catalog coming out on June 2nd and Holiday Mini Catalog coming out on August 1.
  • $55.00 worth of product, a 30% discount on your first order, a 20% discount on all future orders
  • Free Paper Pumpkin Kit!!!! WOOT WOOT!
  • Free entrance to our annual Convention* (must be registered by the 20th of June)
  • You can quickly make your money back on this $50.00 kit with your first party!!

Of course I could go on and on about the amazing benefits of being a demonstrator but I thought I would stop there. If you have any questions at all or would like to know more, you can always reach out to me and you can check out my Join Now section on here as well!! I’m so excited about this fabulous promotion. They are still offering the regular $99.00 Kit as well.

I hope you have an AMAZING weekend and Happy Stampin’

~Laura


That Little Red Dress!!!

Posted on

Embossed Puzzle Card, www.LaurasStampPad.com

Everyone loves a good little Red or Black Dress!!! This card is sure to be loved too!!!! I love this technique! You can more samples and the how-to by clicking here!

This isn’t the only thing you can create with this fabulous Dress Up Framelit Set!!! But be sure to order them today because this item is retiring, click here to order now (IT’S ON SALE TOO)! Here is another fabulous creation!!!

Dress Treat Box, www.LaurasStampPad.com

How precious is this? Perfect for a place setting decoration at a Bridal Shower or for a Pageant! 🙂 Here is a little Photo Tutorial for you to see how it was created!!!!

Dress Treat Box Tutorial, www.LaurasStampPad.com

I used the Summer Picnic Designer Series Paper and added a little Ruffled Ribbon and some Pearls! Love it!!!!

Don’t forget to get these Framelits and all of the other Retiring Goodies before they are gone – only 5 more days!

Happy Stampin’

~Laura


How Many Cards Can You Get from One Sheet???

Posted on

I did another set of One Sheet Wonder cards!!! I can’t help myself! It is so much fun and so simple to make a lot of cards in a little amount of time! I was able to get 15 cards out of this One Sheet of 12″ x 12″ piece of Birthday Basics Designer Series Paper (retiring soon)!!!!

One Sheet Wonder Cards, www.LaurasStampPad.com

Aren’t these just AMAZING! For this set, I used a lot of both sides of the paper! I just love this paper! My card bases were Bermuda Bay, Primrose Petal, Summer Starfruit, and one Crisp Cantaloupe!!! I used greetings from Label Love and Lots of Thanks! Of course I used the coordinating punch, the Artisan Label Punch too! Here is a more up-close look at most of them!

One Sheet Wonder Technique, www.laurasstamppad.com

Of course you can check out other One Sheet Wonder Samples here, here and here! And if you would like to see the Video Tutorial for dimensions and how-to, then click here!!!!

Happy Stampin’

~Laura


Technique Tuesday – Double Slider Card!

Posted on

Happy Tuesday!!! That means I have a fabulous technique to share with you, right? RIGHT!!!! I love this card because the colors are so rich and bright and the WOW factor is like a 12 (scale 1-10)!!!! So let’s get started!!!

Double Slider Card, www.LaurasStampPad.com

Isn’t that just fabulous? I think so too so I’ll just stop there! What’s that? You want more? OF COURSE YOU DO!!!!

Supplies Needed: Cardstock, Scoring Tool (Stampin’ Trimmer Score Blade, Simply Score, Bone Folder), Stamp Set of your choice (Secret Garden), Ribbon, Brad, Word Window Punch, Circle or Oval Punch, Corner Rounder Punch, Plastic Bag or Cellophane Bag

  1. Starting with a 5-1/4” x 11 piece of cardstock, SCORE at 2-1/2”, 6-1/2” and 10-1/2”.
  2. Cut a slight notch (to help hide place bag) on each end of the 2-1/2” section using your Word Window Punch. Wrap a 1-1/2” x 10” strip of plastic bag around the two notches and seal together on the right side, trimming off extra. This is the sliding mechanism so it needs to be tight yet moveable.
  3. Cut two panel inserts 3-3/4” x 4”. It is best to decorate these before assembling them into your card. Attach first panel to place bad on the INSIDE (with 2-1/2” flap closed). Attach the second panel to the plastic (with 2-1/2” flap closed) ON THE TOP.
  4. Apply Sticky Strip along the ½” flap and tuck it in behind the moving pieces and seal the card closed.
  5. You can add a 5-1/2” x 4-1/4” base to the back of the card for writing and decorating on.
  6. Decorate the front panel!

Here is a Video Tutorial for you to watch and follow along! Be sure to LIKE the video and SUBSCRIBE to my Channel because that would be fabulous! Also, wanted to throw a shout out to my stamper friend Rachel Chamberlain for this amazing idea! She is amazing!

Happy Stampin’

~Laura


Spiral Flower Fun!!!!

Posted on

Spiral Flower Die, www.LaurasStampPad.com

How amazing is this treat bag? Don’t you just wish your mail came in something this cute every day? Or your dinner came all packaged up like this every day? That would just be fabulous! Okay back to reality….let’s make this treat bag and give it to someone that means the world to us and let them enjoy the fabulous treat!!!!

I used the Spiral Flower Die to make these amazing flowers! I used Raspberry Ripple for the solid one. I used Raspberry Ripple and Very Vanilla for the bi-colored one and I used Primrose Petal Core’Dinations (retiring) cardstock for the one on the right!

Now I am going to share some tips and tricks that I learned along the way:

Spiral Flower

  • You can cut 2-3 layers of cardstock at a time when running this through your Big Shot.
  • Run the die-cut image over your bone folder to break down the fibers of the cardstock. This will make it start to curl as well.
  • The middle of the flower is the smallest little scallop, not the bigger end. (That was a surprise to me, I totally thought start big and work your way down.
  • Fold the first (smallest) scallop back and then start rolling forward. This will create a nice flower center. You can see it in the Vanilla and Raspberry flowers below if you look closely in the middle.
  • Your hot glue gun and Silicone Mat will be your best friend for these!
  • When making a flower with 2 colors, just lay the 2 pieces together and start rolling! You can even do 2 of the same colors and roll them together for a nice full flower!
  • After you have rolled it all nice and tight, throw it in the air and let it bounce around a little to loosen up if you want a fuller, more open flower!
  • Add your hot glue glob to the last circle/scallop and press your flower rolls into that glob and hold for 10 seconds. You can then add some hot glue to the 2nd scallop to adhere it to the side of your flower if you want a tight look.
  • Once you are finished and it is dried/cooled, take a clear block and press it on the top of your flower (too much pressing can result in a ripped/smoothed flower). This will flatten the petals out a little and make your flower look more open. You can also use your bone folder to fold the petals out a little too!

Spiral Flower Die, www.LaurasStampPad.com

I hope these tips helped you create fabulous Spiral Flowers! If you have any questions or have some tips to share, leave a comment down below. I would love to hear from you!!! Also, don’t throw away the negative of your spiral flower. I will show you how to use that in an upcoming Technique Tuesday!!! 😉

Happy Stampin’ & Happy Memorial Day!

~Laura


Fabulous Friday!!!

Posted on

Happy Friday!!! There is are so many fabulous SPECIALS!!!!! You have to check these out! First of all…the Weekly Deals! Stock up on RIBBON!

Weekly Deals 5.22

Ribbon is for sure my go-to embellishment! I loving all of the ways you can use it:

  • Tying it around the card into a knot
  • Doing a faux tie (using 2 pieces laying down like a “t”, folding the ends of one piece to the back of your cardstock and tying a knot with the other ends)
  • Making bows!!!
  • Using it to wrap around boxes or stacks of cards
  • Adding to the top of a bookmark
  • And sooooo many more other ways

Another BIG SPECIAL going on right now is the Retired Stamps and Accessories Sale!!!! Some of the items are 25%, 30%, 40% and even 50% off which is just fabulous! Remember these items are while supplies last so if you see something you want/need (after all it is a NEED) 😉 be sure to get them right away!!!! You can check out which items are on sale by clicking the links below:

Retiring Stamps in PDF WITH SALE ITEMS!!!

Retiring Accessories in PDF WITH SALE ITEMS!!!

What: 50% off June’s My Paper Pumpkin Kit
When: Subscribe by Friday, May 23 – TODAY
Where: MyPaperPumpkin.com/signup  (Demonstrator #82500 – Laura Borchert)
How: Enter the promo code SHELLIDEAL

Trust me you will LOVE My Paper Pumkin! These kits are super fun!!!!

Label Love Stamp Set, www.LaurasStampPad.com

Of course, I couldn’t leave you without an adorable sample!!! Isn’t this super cute? It is also super simple! I used Smoky Slate for my card base, Kaleidoscope Designer Series Paper, and Strawberry Ruffled Ribbon. I used the Label Love Stamp Set and coordinating Artisan Label Punch for greeting! I sure have been reaching for that set a lot lately! Love it!

Hope you have a fabulous weekend! Stay safe and Happy Memorial Day!

Happy Stampin’

~Laura


Super Cool Stained Glass!!!

Posted on

Bermuda Bay Stained Glass Flower, www.LaurasStampPad.com

This is one is absolute favorite!!! I’m not sure if it is because of the Bermada Bay and Coastal Cabana colors or what! LOVE IT!!! I created this amazing flower with the Stained Glass Technique! It is super simple!

Supplies Needed: Vellum, Line Image Stamp Set (not an image that is filled in), VersaMark, Embossing Powder, Heat Tool, and markers

You will stamp your line image stamp onto the Vellum with VersaMark. Then add the embossing powder of your choice (don’t pick clear…..it doesn’t work) and heat it so that it melts! Now it is time to color! You will color the image on the BACK SIDE! Don’t color on the same side that is heat embossed, but the back of that! This will give that smoky, stained glass look! Then you can assemble onto your card! Easy as that!!!! The card above was done with Whisper White Embossing Powder and the Secret Garden Stamp Set!!!

Black Flower Stained Glass, www.LaurasStampPad.com

My second favorite…it’s PINK! This was one done with Black Embossing Powder and the Secret Garden Stamp Set! I love how the black really makes the flower POP! The one below uses the same and the Labels Collection Framelits!

Black Flower Stained Glass Card, www.LaurasStampPad.com

Swallowtail Stained Glass, www.LaurasStampPad.com

I thought this one turned out really cool but it is almost too detailed for this technique. As you can see the more of a line image you have, the better it comes out because it allows for the color to pop through. I used Silver Embossing Powder and my Swallowtail Stamp!

Clear Flower Stained Glass, www.LaurasStampPad.com

And the reason you don’t use clear…..it just looks like a blob! It you look real close and rotate it a bit, it does look kind of cool because you can see the shiny clear powder. Over all, clear was not the best!!!

Let me know in the comment below which one was your favorite!!!

Happy Stampin’

~Laura


More Wonderful One Sheet Wonder!!!!

Posted on

There was just too many amazing cards to make just one post about these amazing One Sheet Wonder cards so I am sharing more with you today!!!!

One Sheet Wonder Designer Series Paper, www.LaurasStampPad.com

The card on the right is the only one that I used the other side of the paper! I just LOVE those blue and green flowers and could hardly bare to cover them up even though the polka dots are fun too!!!

One Sheet Wonder Designer Series Paper, www.LaurasStampPad.com

I am loving the ripped paper look on these cards! See how they are all similar but just a bit different!!!

One Sheet Wonder Designer Series Paper, www.LaurasStampPad.com

It’s like a puzzle! I love how the image matches up and has just a bit of spacing between the pieces of Designer Series Paper!

One Sheet Wonder Designer Series Paper, www.LaurasStampPad.com

This card is so simple yet elegant – perfect for a Wedding, Bridal Shower or Engagement (I like how I went backwards with that one.) 🙂

I used Island Indigo, Gumball Green and Smoky Slate!!!! I used greetings from Label Love, Lots of Thanks, and Bring On The Cake (retiring)! Then I used my Artisan Label Punch and Decorative Label Punch!!! Click here to check out the Video Tutorial which has all the dimensions and information in it!!! Be sure to “LIKE” and “SUSCRIBE” to my videos to show some love!!!

You can check yesterday’s post for more samples!!!! You can also check out a One Sheet Wonder Stamped Sheet by clicking here and here!!!

Happy Stampin’

~Laura