I think my favorite part of this card is the color combination – Pool Party, Black and White!!! LOVE IT!!!!!
I started with a Pool Party card base and stamped the greeting from the Happy Birthday Everyone Hostess Stamp Set! I love the font of the Happy Birthday!!! I recommend stamping first……I did it last and made a boo boo but apparently I’m the only one who can see it!!! Leave me a comment down below if you know where it is! 🙂 For the shirt, I used a 3″ Whisper White square and put a little mark in the center along the top. Then I took my 1″ Square Punch and slide the cardstock in diagonal with that center marking in the middle. This is how I got that triangle cut out! I layered the white on a black square of cardstock measuring 3-1/4″. For the Bow Tie, I used the Bow Builder Punch and some of the Neutrals Designer Series Paper Stack! I used Mini Glue Dots to assemble the bow and adhere to the card! To finish it off, I added a few Pool Party Candy Dots!!! Pearls would have been fabulous as well!!!
What do you think? Loving the color combo like me? Would you use Pearls, Candy Dots, or Rhinestones? Let me know in the comments below!!!
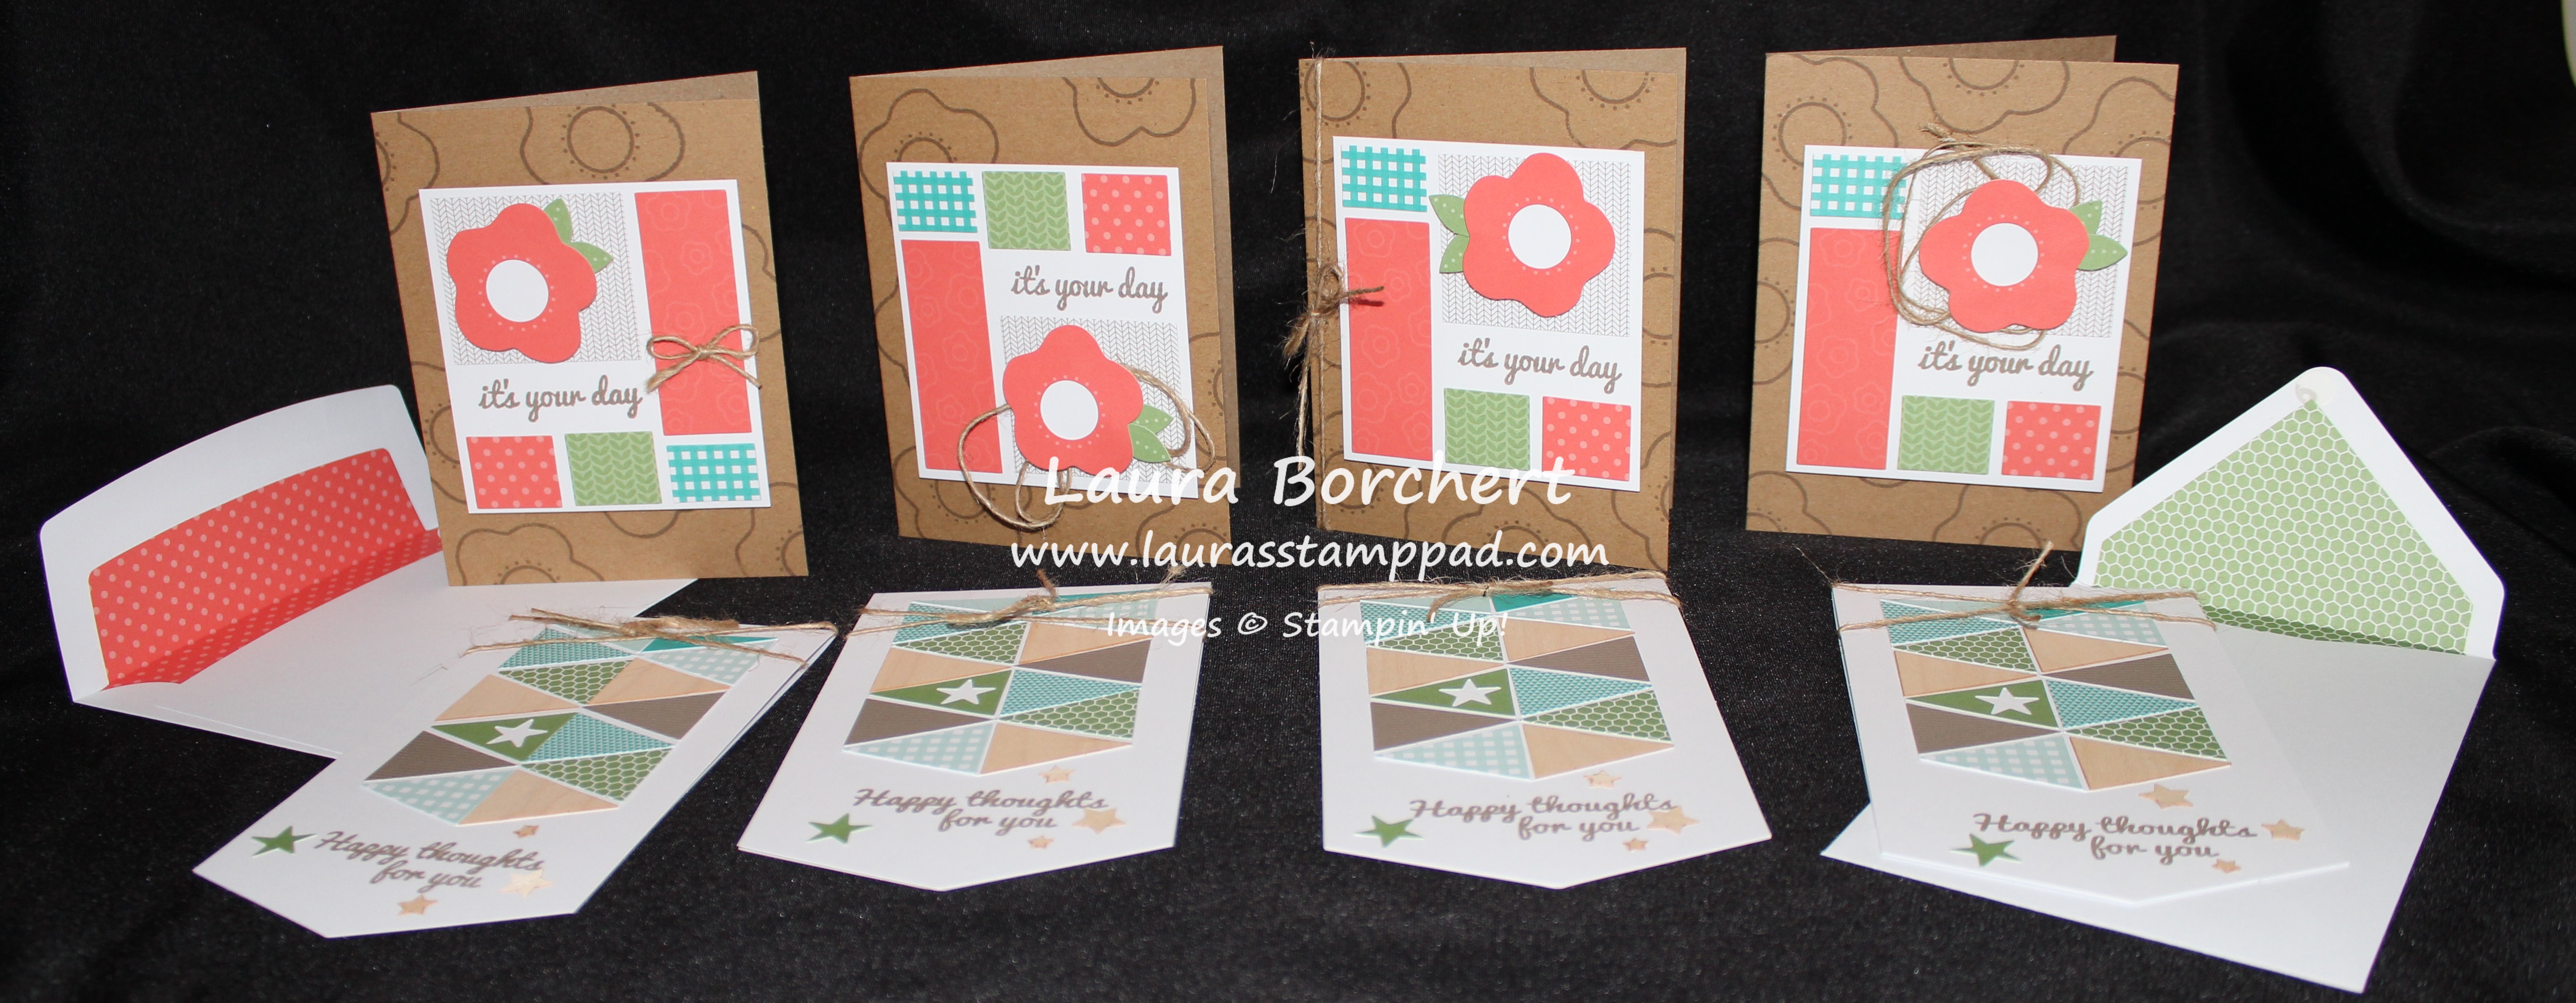
Look at all of these adorable cards from the June 2015 Paper Pumpkin Kit!!! I love how it is a perfect mix of masculine and girlie cards!!!! Also, I am in love with the adorable envelope liners. There were a total of 8 cards with envelopes, a great stamp set, and Tip Top Taupe was the ink pad. I love that Stampin’ Up did a NEW In-Color!!!! The font on the stamp set is perfect and loopy……just the way I life it!!!
Here is an upclose look at one of the coral cards. Each of those rectangles were a sticker and you could arrange them any way you wanted. Stamp your greeting, add the flower, and the twine and you are all set. I did the twine differently on each card – bow, peaking out from the flower and around the card!!! I also stamped the flower image all over on the card base! Love it!!! There were large faceted buttons for the center of the card but I am holding off on putting those on in case I need to mail the card. I will either attach it for a hand delivered card or I will use them for another project!!!
Here are all of the coral cards!!!
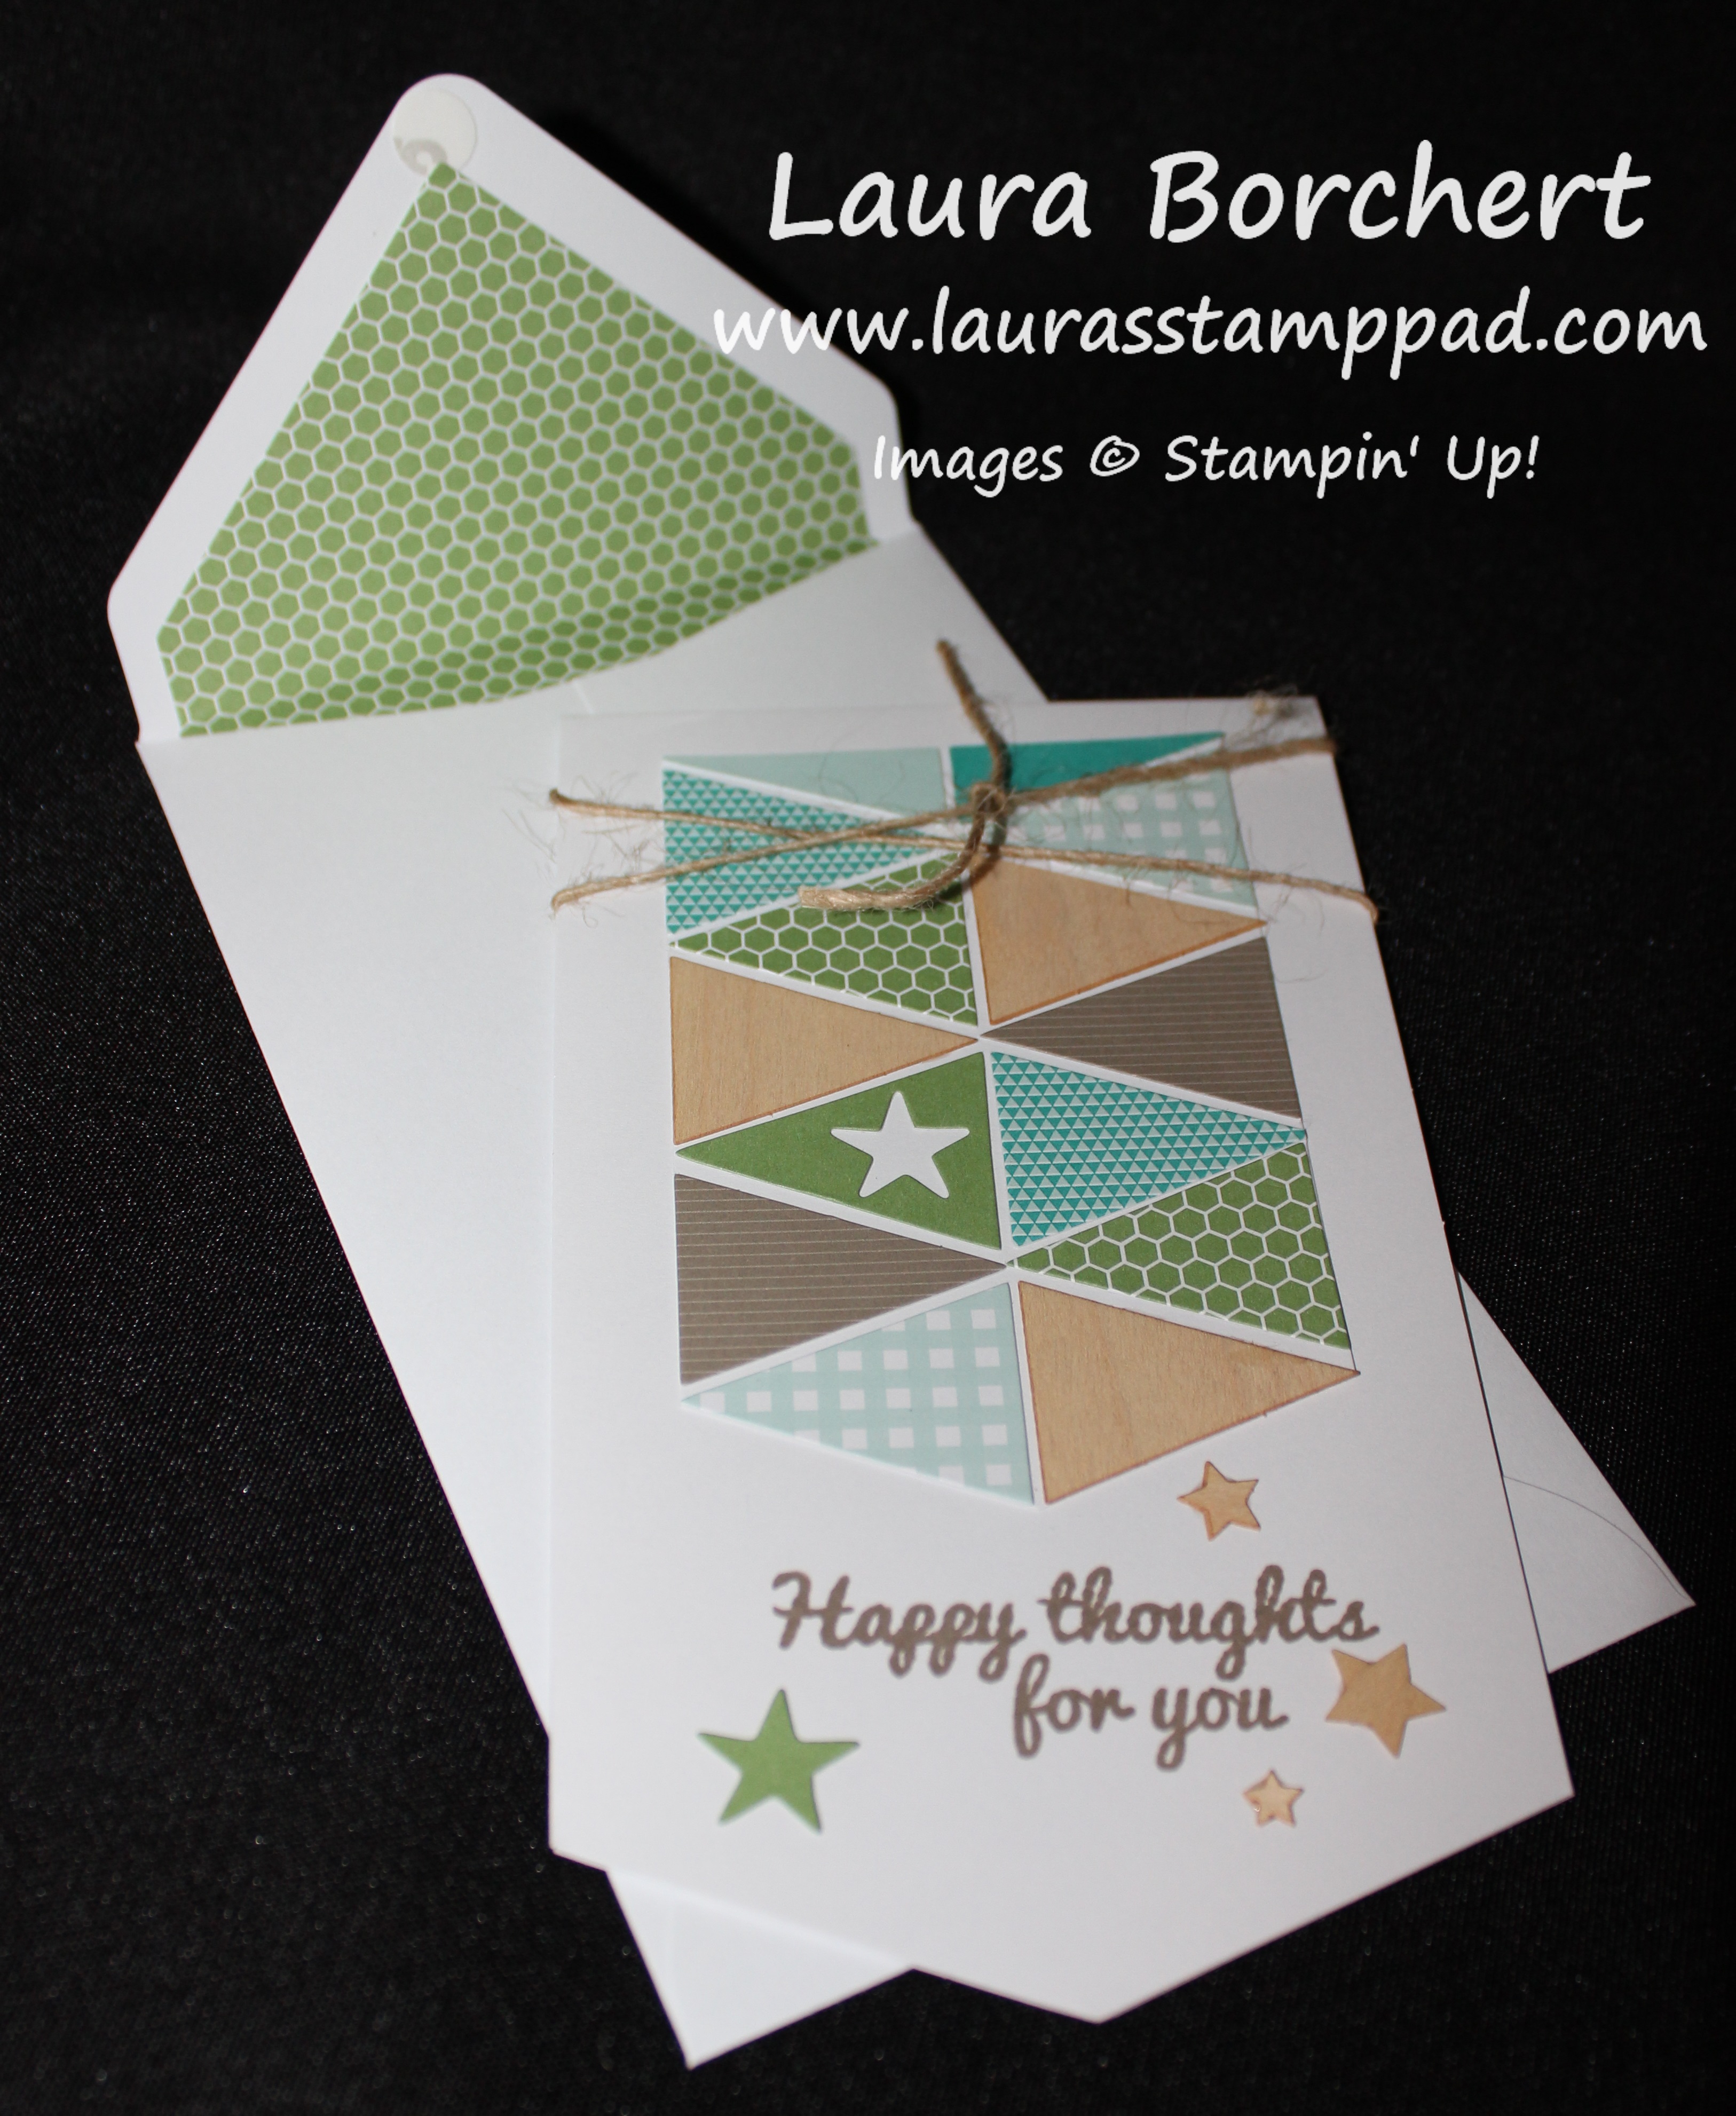
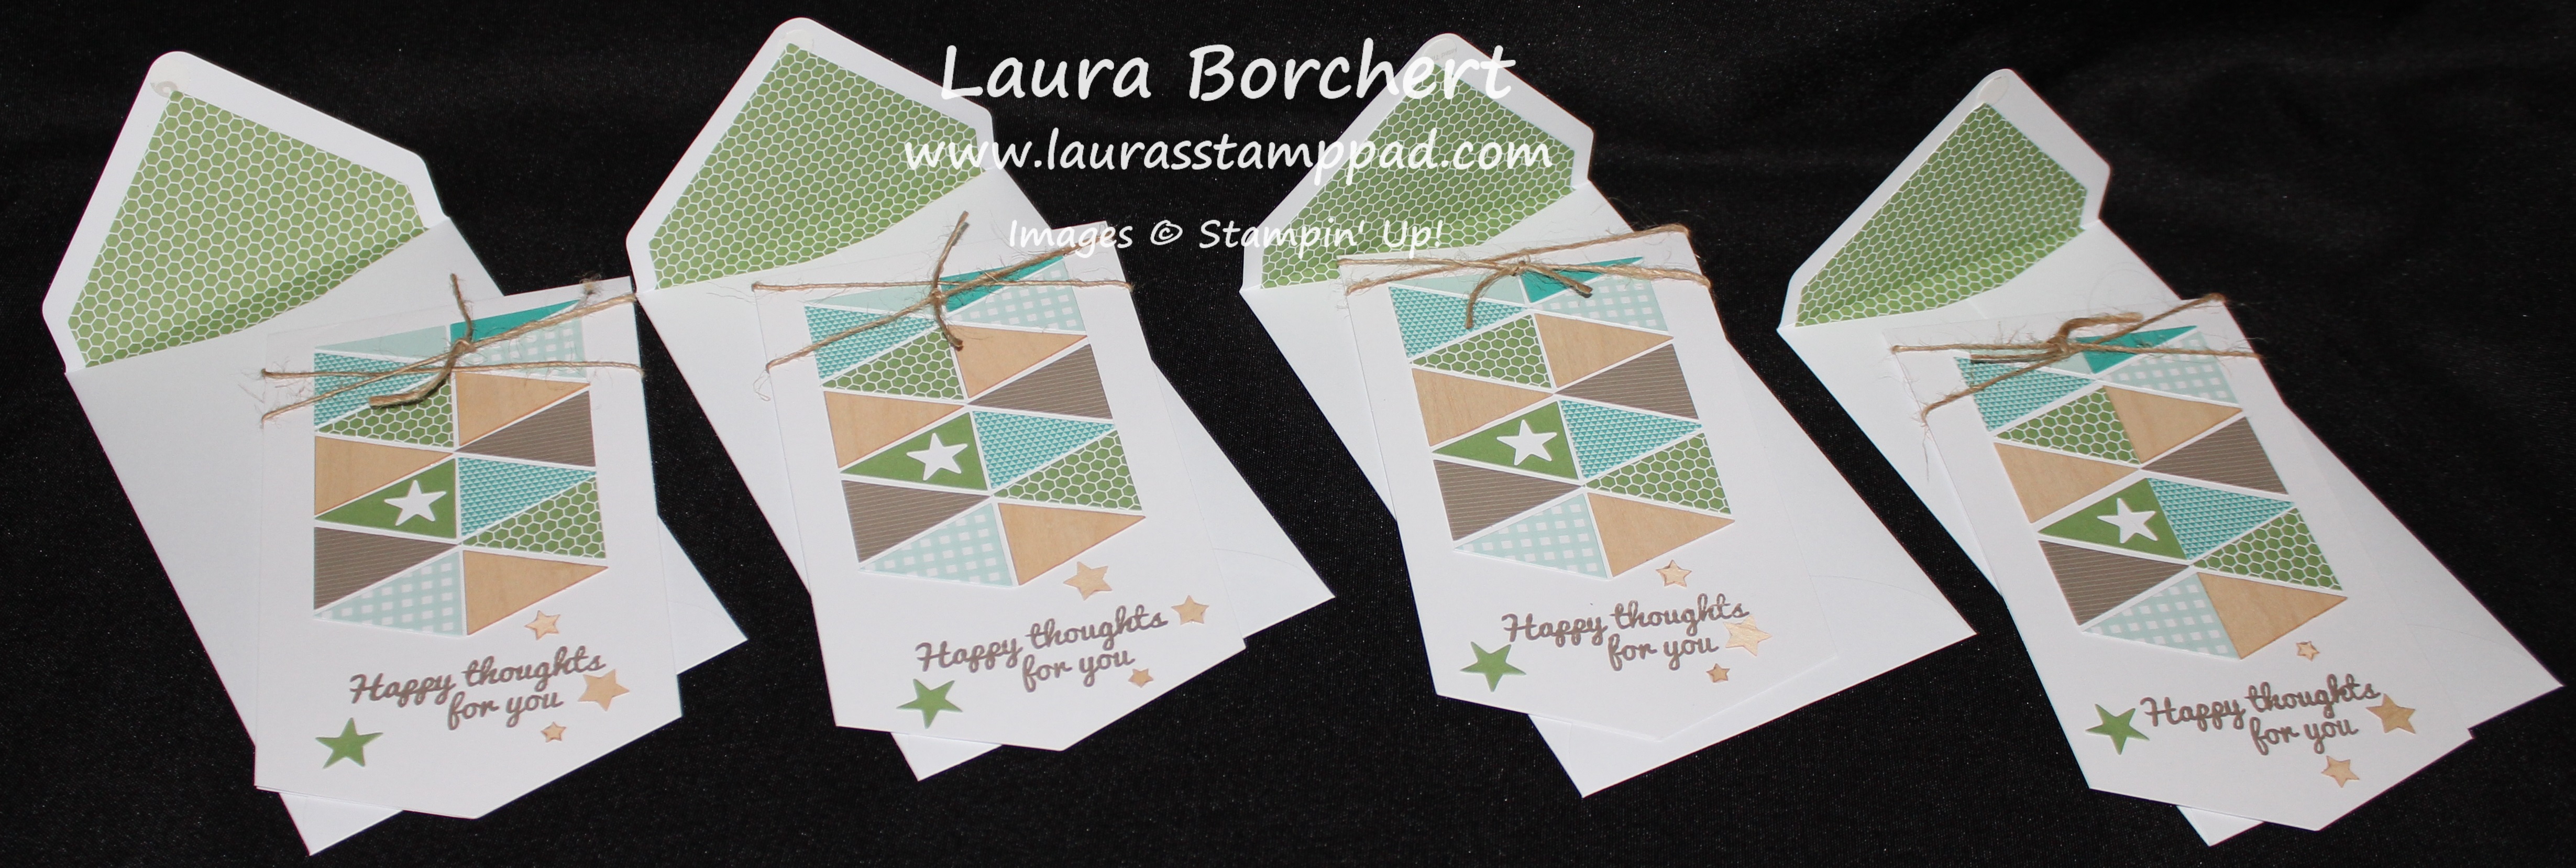
Here is an upclose view of the man cards! The banner style of the card is super fun and different! It also has a longer envelope! Each of the triangles were die-cut stickers and then the tan ones are wooden elements. I added the green star from the center of the one triangle to the bottom for some flare as well as the wooden element stars! Those are really thin so they will mail just fine!!! I wrapped my twine around twice and just did a knot rather than a bow so they could stay masculine! 🙂
These I did all the same!!! I loved the look and didn’t want to change it!!! That’s the thing about Paper Pumpkin; you can follow the directions and just have fun without thinking up a new idea or you can let your mind go wild and create anything you want. This day my mind was mush and I just wanted to play without thinking!!!
Be sure that you don’t miss out on the July Paper Pumpkin Kit!!! You will want to be signed up by the 10th! Click here to sign up!! Also, don’t forget that you can purchase 1,3,6, and 12 month subscriptions!! They make perfect gifts for you or a friend; or both so you can do the kits together!!! You can even earn Laura’s Loyal Stampers Points when you purchase online AND you can earn Hostess Benefits when you purchase the 12 month subscription!
If you would like to see my excitement opening the June Paper Pumpkin, you can check it out here! Be sure to subscribe to My Channel so you don’t miss out on the July Reveal!
Happy Tuesday!!! That means I have a technique to share with you…..the “technique” this week is quick and simple and a wonderful gift item for anyone!!!! The NEW Stampin’ Up! Catalog has so many wonderful kits in it and I love each one of them. So far though, my favorite is the Tin of Cards Project Kit!!! I think the Mint Macaron and White striped tin is just adorable!! The kit makes 16 cards with envelopes and dividers for the tin to keep the tin organized! This is the perfect gift item for anyone! We all need cards to use throughout the year so this is perfect for any occasion (I started listing them but it went on and on)!!!
Look at all of this! It is stunning and would make a wonderful gift!!!! Now lets get into the specifics!!!
Are you swooning over this adorable tin like me??? I love it!!! The kit comes with 9 tabbed cards for you to create. There are lots of the Mint Macaron Designer Papers for you to pick from (and 1 extra) to adhere to the front. Then the Tin of Cards Stamp Set has these adorable 3 sided rectangle image that fits perfectly on each tab and then of course all of the card types – Birthday, Thanks, Sympathy, Wedding, Just Because, Baby, Hello, Congrats, Misc. You could always use this for a recipe card box and add other tags to those tabs!
Here is the first set of cards! There are 4 each of 4 designs and coordinating envelopes. This set has these amazing die-cut card bases with that heart across the front. You just adhere the designer series paper in, stamp your greeting on the banner, and add some epoxy hearts! It’s that simple! You can always mix it up and turn your paper over like I did in one of them (that wasn’t a mistake). You can place your greeting and hearts any where you wish and you can use any greeting you need!!!
I love these the most I think!!! That gold foil POPS so much….even my photos were all shiny! I love it! I stamped the Happy on the gold foil and on the white card. The kit came with the white circles already with greetings on there (in lots of different languages) or you could always stamp a greeting from the Tin of Cards Stamp Set in the middle! I love the look of the Baker’s Twine behind a greeting but I think I need to practice some more…..mine all came out looking a little weird I thought. To finish these cards off, there are clear epoxy stars randomly placed on the card!!!
These cards were super quick and simple. The base was already printed with the Bermuda Bay strip. Adhere the Crushed Curry Designer Paper and stamp the border from the Tin of Cards Stamp Set along the top. It was easy to stamp the border because it is a Photopolymer stamp set and you can overlap the center since it is covered by the greeting. I was really impressed with the stamped image on the wooden accents. It came out really clear and bold. I was thinking it would look all grainy and light. Woot Woot for that! Then finish it off with the die cut gold glimmer hearts. I wanted the one to be more manly so I just put 2 hearts on another one!!!
These cards are amazing but they took a little bit longer. All of the butterflies came die cut out already. The vanilla solid butterfly is stamped with a greeting to match the main greeting. Then I used Mini Glue Dots in the center of the butterfly to adhere the yellow one onto the vanilla one. I used them for the coral medium butterfly as well. For the little butterfly I used the curly border stamp to create a center. I also stamped that border on the top and bottom of the card base. The original card base comes with that rectangle popped out and you adhere the polka dot window sheet over that cut out. Behind the big butterfly is some gold thread that is wrapped in loops and peaking out. You really can’t see it in these photos. Now add your butterflies and greeting and you are all set.
Also, look at all of these leftover pieces – 8 white circles, tons of gold foil strips, gold thread, 4 banners, white hearts, and a mint maracon piece of designer paper!!!
To see all of these up close and in action, be sure to check out my Video Tutorial here!!! You can also check out the unboxing and reveal of this kit here! Be sure to give the video a thumbs up if you liked it and let me know if there is something you would like to see in action and I’ll do my best to make it happen!
Start thinking of those upcoming holidays and gifts that you need so you can order these kits now!!! Click here to get yours today!
How cute is this Dino-rrific card??? I love it!!! There are so many possibilities and color options with these dinosaurs too! I struggled with creating this card because I wanted to do it all on just this one card. I had to stop, step back, and say Laura you can make another one. Does anyone else talk to themselves while stamping?? No? Just me! Okay!
Let’s get started on how to create this masterpiece with the No Bones About It Stamp Set! I have a Cucumber Crush card base which I stamped the dino feet along the bottom in Cucumber Crush as well. I added the greeting in Memento Black Ink! Then in the middle of the card base I added a 2″ strip of Designer Series Paper from the Cherry On Top Stack! I cut out a piece of Pacific Point measuring 3″ x 3″ and Whisper White measuring 2-3/4″ x 2-3/4″! On the white piece, I stamped the greenery piece along the top in Cucumber Crush. I stamped a few times before going back to the ink pad which is how I got those various shades. Then I stamped the dino in Pacific Point. I did another sample where I stamped his bones in black and I didn’t really like that. I’m not a fan of black and blue together so I think that is why. I can’t wait to play with this set and the different colors more and more. I added the stamped white piece to the Pacific Point cardstock and then added it to the card front with Stampin’ Dimensionals. All done!! This card would be perfect for kids and kids at heart!
What colors would you stamp your dinosaurs in? Let me know in the comments below!
Friday is here and it’s Fourth of July Weekend!!! Woot Woot! My husband got the day off work so I guess that means I should take the day off as well!! 🙂 Yeah for a day spent with the hubby!!! But first check out ALL OF THESE items on the Weekly Deals! Stampin’ Up! decided to add more items to the list this week! Love it!!!
What are your favorites??? I ordered some of the Silver Sequin Trim!!!! I was super excited to see that in the New Catalog because I’m more of a silver girl. Although the gold is starting to grow on me!!! 🙂 Also, I love having all of the Circle Punches. It is just so simple to grab the punch, POP, and you are all set to continue on your project!!! Calypso Coral Seam Binding is some of the most gorgeous ribbon ever. I’m not a huge fan of seam binding because it frays sometimes and I like a clean cut but oh my goodness the coral is just amazing! I know I’m crazy! Be sure to stock up on Fast Fuse at this price or if you are like me and you threw away half of the Fast Fuse contraption, you need to get another one. With the Snail Adhesive, you pop it apart and throw away the one side and keep the other side to pop in a refill. Well I pulled apart my Fast Fuse and did the same thing……not realizing you keep both sides and pop in the refill tape. See even demonstrators make mistakes! Be sure to check out the Clearance Rack as well. Stampin’ Up! added goodies on there this week and the items are up to 60% off!
Don’t forget to check out my YouTube Channel as well!! I posted a few fabulous videos this week on there!!
Happy 4th of July (be safe)!!!! See you on Monday!
On Monday, I shared with you a few of the pages that I have created with Project Life!!! You can check that out here! Today, I’m going to share with you a few other ways to use your Project Life Card Collections!!!
Here are a few others using cards from a few other Card Collections. The Hi card was simply made by adding the Card Collection to a card base with Stampin’ Dimensionals! It can’t get much simpler than that!!!
Here are a few more cards that were created at the Project Life Class that I had. I love how creative everyone got! So simple and yet so fabulous!!!
Here is another set of cards that were created with the Moments Like These Card Collection and the Love Story Card Collection! The card on the right was created by one of the stampers in my class as a wedding card and then this is the gift!
This is an 8″ x 10″ piece that will go in a frame with pictures in the black squares! How fabulous is that?? I love it!!!
There are so many wonderful things you can create with the Project Life Card Collections!!! Have you tried Project Life yet? Let me know what you think in the comments below!
Happy July!!! I can’t believe it is July already….where does time go??
Today I’m sharing one of my “Man Cards” with you! This one is basic and could be used for any occasion for a guy! I started with a Crumb Cake base and then added a piece of Mossy Meadow cardstock measuring 4″ x 5-1/4″. Then I took a piece of Very Vanilla cardstock (3-3/4″ x 5″) and stamped on it. For the ombre look, I used the image from the Work of Art Stamp Set and inked it up in Mossy Meadow. Starting at the top, I stamped it and then continued to move down and stamp again without ever returning to the ink pad. So simple and yet super amazing looking!! I also stamped the greeting in Mossy Meadow. It is from the Crazy About You Stamp Set. The tree from Lovely As A Tree was stamped in Chocolate Chip! I added the stamped piece to the Mossy Meadow and wrapped some Linen Thread around it twice and tied a knot (not a bow, since it’s a man card). I added this to my card base with Stampin’ Dimensionals!!! Simple and yet fabulous and not flowers, pink or girlie!!! Love it!!!
Happy Tuesday All!!!! Tuesdays means one thing and that is a fabulous technique!!!! Today, I’m sharing with your this fabulous Pop Up Explosion Card Insert. It is super fun and has a 10 on the WOW scale. Also, it can be inserted into any card you create!!!
SUPPLIES NEEDED: a piece of printer paper, Bone Folder, and stamps to decorate
This is rather simple once you get the folds down! (That is a big part of it. hehe) You will need a piece of 8-1/2″ x 8-1/2″ Printer Paper. If you use Whisper White cardstock it is too bulky and thick. I started out folding the piece of printer paper in half so that I would know where the middle was. Be sure when you fold it that you are use a bone folder for a nice strong crease and it will fold and unfold much better this way. Now that you know where your center is, you can start stamping all over……like this!!!!
See how fabulous that is!!!! You totally have to watch the video below to see it in action! It is amazing!!! You can see my center line right above the greeting “there’s something really worth celebrating today…” I wanted that line so I knew to stamp that greeting either right above or right below for the center. That is the only fold that I did in the beginning because it is much harder to stamp on folded paper than flat. So I stamped the greetings from the Remembering Your Birthday Stamp Set and the candles, confetti, and cupcake from the Sprinkles of Life Stamp Set!!! Once you have decorated, it is time to do the rest of the folds. Fold it in half diagonal corner to corner both ways so that it creates an “X” on your paper. So now you should have a line across the middle and an X. So now, fold it in half diagonal on the line you created to make a triangle. Fold it again on the other diagonal line, making it into a smaller triangle. Now with your triangle, you will fold in both ends that have the open sides (not folding the tip that is all folds but the other 2 that have openings so you can see your stamped images). I hope that makes sense…..that is why I created a Video Tutorial. 🙂 Fold the 2 sides into the middle, be sure to use your Bone Folder for those nice strong creases. Now unfold it all and it’s time to make it into the explosion piece. You are done making new folds. Fold it in half on your line, pop in the large triangle sides. Then you will pop in the 4 little triangles as well. Now you are all done and it is time to insert it into any card!!! I used Fast Fuse for a strong hold but I’m pretty sure that Snail would work as well! Add adhesive all along the edges, peak in to see if you added it to the top or bottom so you are inserting it into your card correctly. Then lay it in your card, adhesive side up, be sure to line it up with the edge of the card and centered. The point of the insert should be in the crease of the card. Once it is all lined up, close the card, pressing on that adhesive. Now flip it over, add adhesive to the other side and again, close the card to seal it. You are all done and can decorate the front of your card as well!
For the front, I used the Cherry On Top Designer Series Paper Stack and then added another cupcake from the Sprinkles of Life Stamp Set! Now for what you have been waiting for……the Video Tutorial. I hope it helps you create this amazing insert because it is really fairly easy (just hard to write out). Let me know if you have any questions and feel free to share your creations. I would love to see them!!!
Don’t forget to give the video a thumbs up if you liked it!
Have you heard about Project Life??? It is a wonderful line of memory keeping products that make it fun and simple. For anyone who has never scrapbooked before, this is totally for you because it is simple and yet exactly what you want – organized photos with information to remember through the years!!! To get started all you need are your photos, an album, pages, a Card Collection Kit, and Journaling Pens. It is that simple! I’m serious!!! Of course you can always add more embellishments and do more to the pages but I think they look great when they are simple! My style of memory keeping is lots of photos and some journaling with very little foo foo. Everyone has their style!
Here is a page that I did for my Family Album! This album has about 2-4 pages each year from the Family Reunion. I love how I didn’t have to cut the pictures at all; I just slid them right in! Also, I loved the 4 pockets for me to journal on. It was perfect. Another bonus I love about Project Life is that many of the cards have a grid or lines on them which make it perfect to write without trailing down or going big to little when you write. Come on, I’m not the only one out there who does that?? 🙂 I used a little washi tape and a few stickers from the Accessory Pack. That little green heart on the far right is covering up a mistake…..come on we all make them and just know how to fix it!!!!
Here is another page that I did which was quick and simple. I popped the photos in, a decorative Card Collection and a journaled card collection with a little washi tape!!! Love it!!
I have done “traditional” scrapbooking in all size. I have done digital scrapbooking and now I have done Project Life. Each one has its pros and cons and it is all based on personal preference! I have done a few classes on Project Life and I have really enjoyed seeing all of the creations!!! Stay tuned as I will be showing you some OTHER things that you can create with the Project Life Card Collection!!
Happy Friday everyone!!!! It has been a great week as I have been “playing” with lots of new stuff and prepping for upcoming classes as well as working on lots of weddings which make me so happy! I love weddings!!! Speaking of love……check out what I got in the mail this week from a blog follower – Julia D.! She sent cards for the Ronald McDonald House!!!! Thank you so much!!!
Of course it wouldn’t be a Friday without the Weekly Deals!!!
Oh how I love my some Glimmer Paper and Embossing Folders!!! Time to stock up for sure!!!