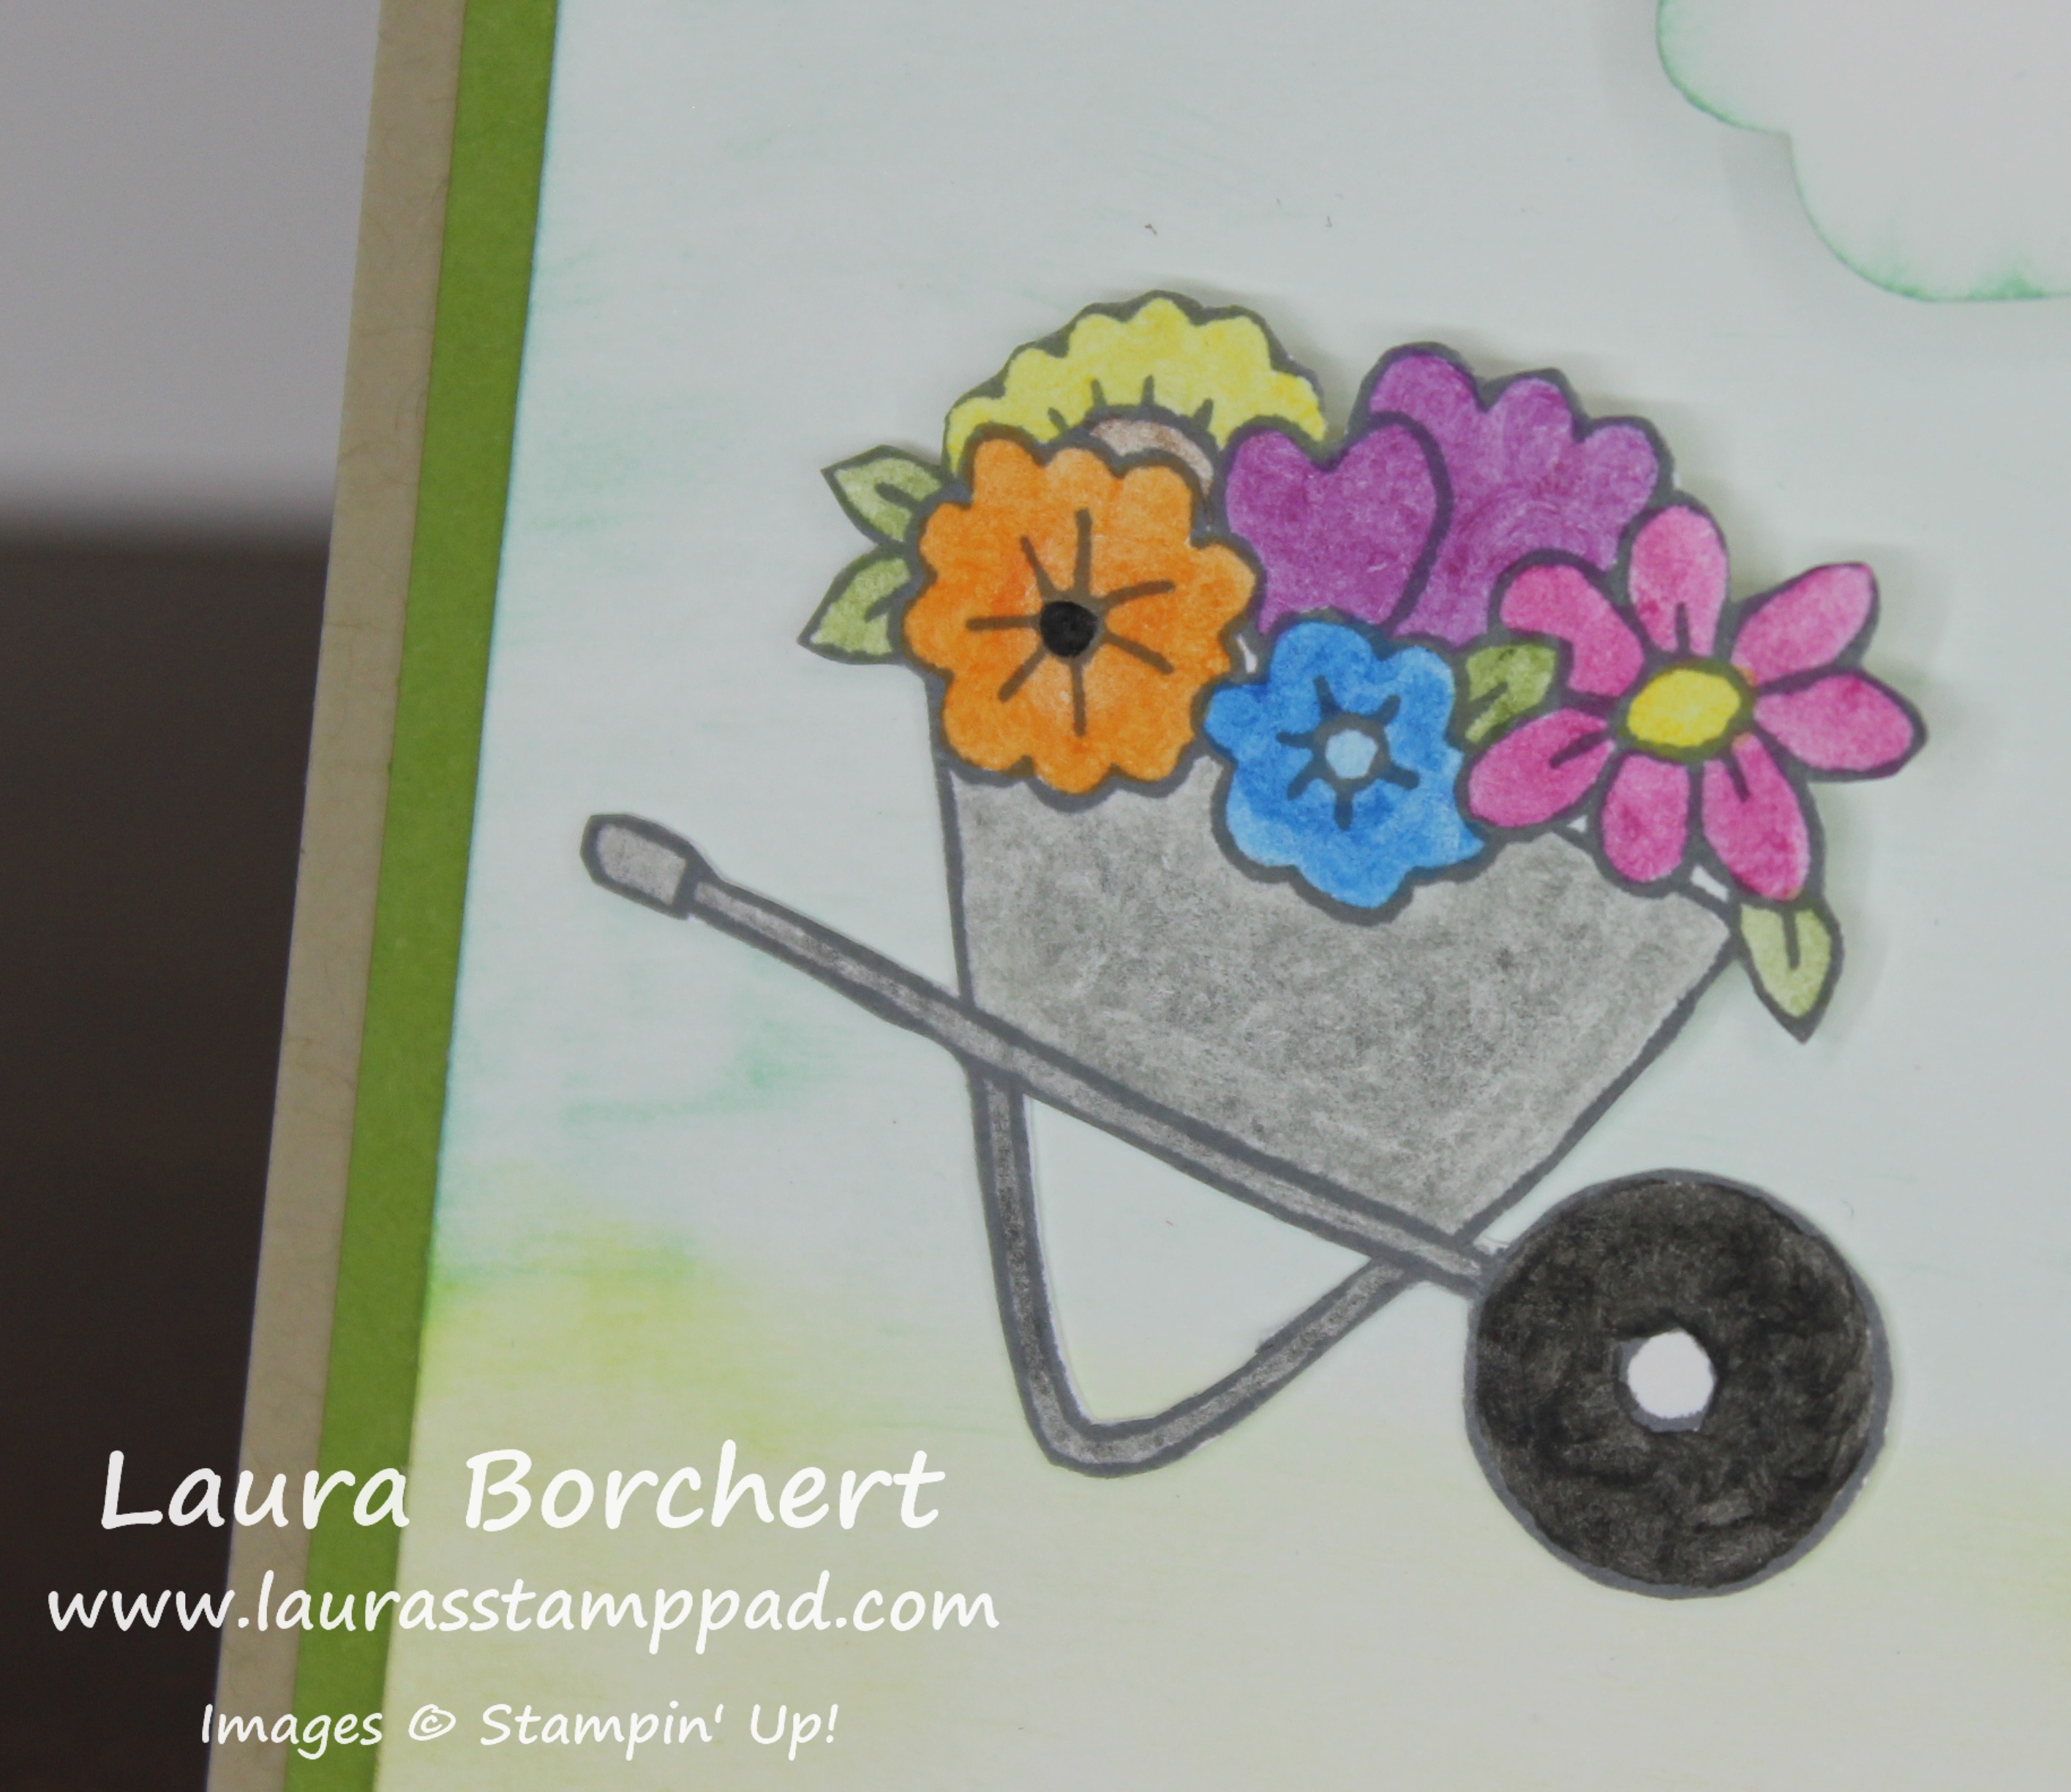
The Tasty Trucks Stamp Set from the Sale-A-Bration Promotion is super cute and can be turned into so many different looks – sweets, tacos, hot dogs, and any other type of delivery. Super cute! I got this idea of cupcake exhaust from a fabulous stamper friend, Mary Ellen Stites! I would follow this truck all over town! I love cupcakes!!!
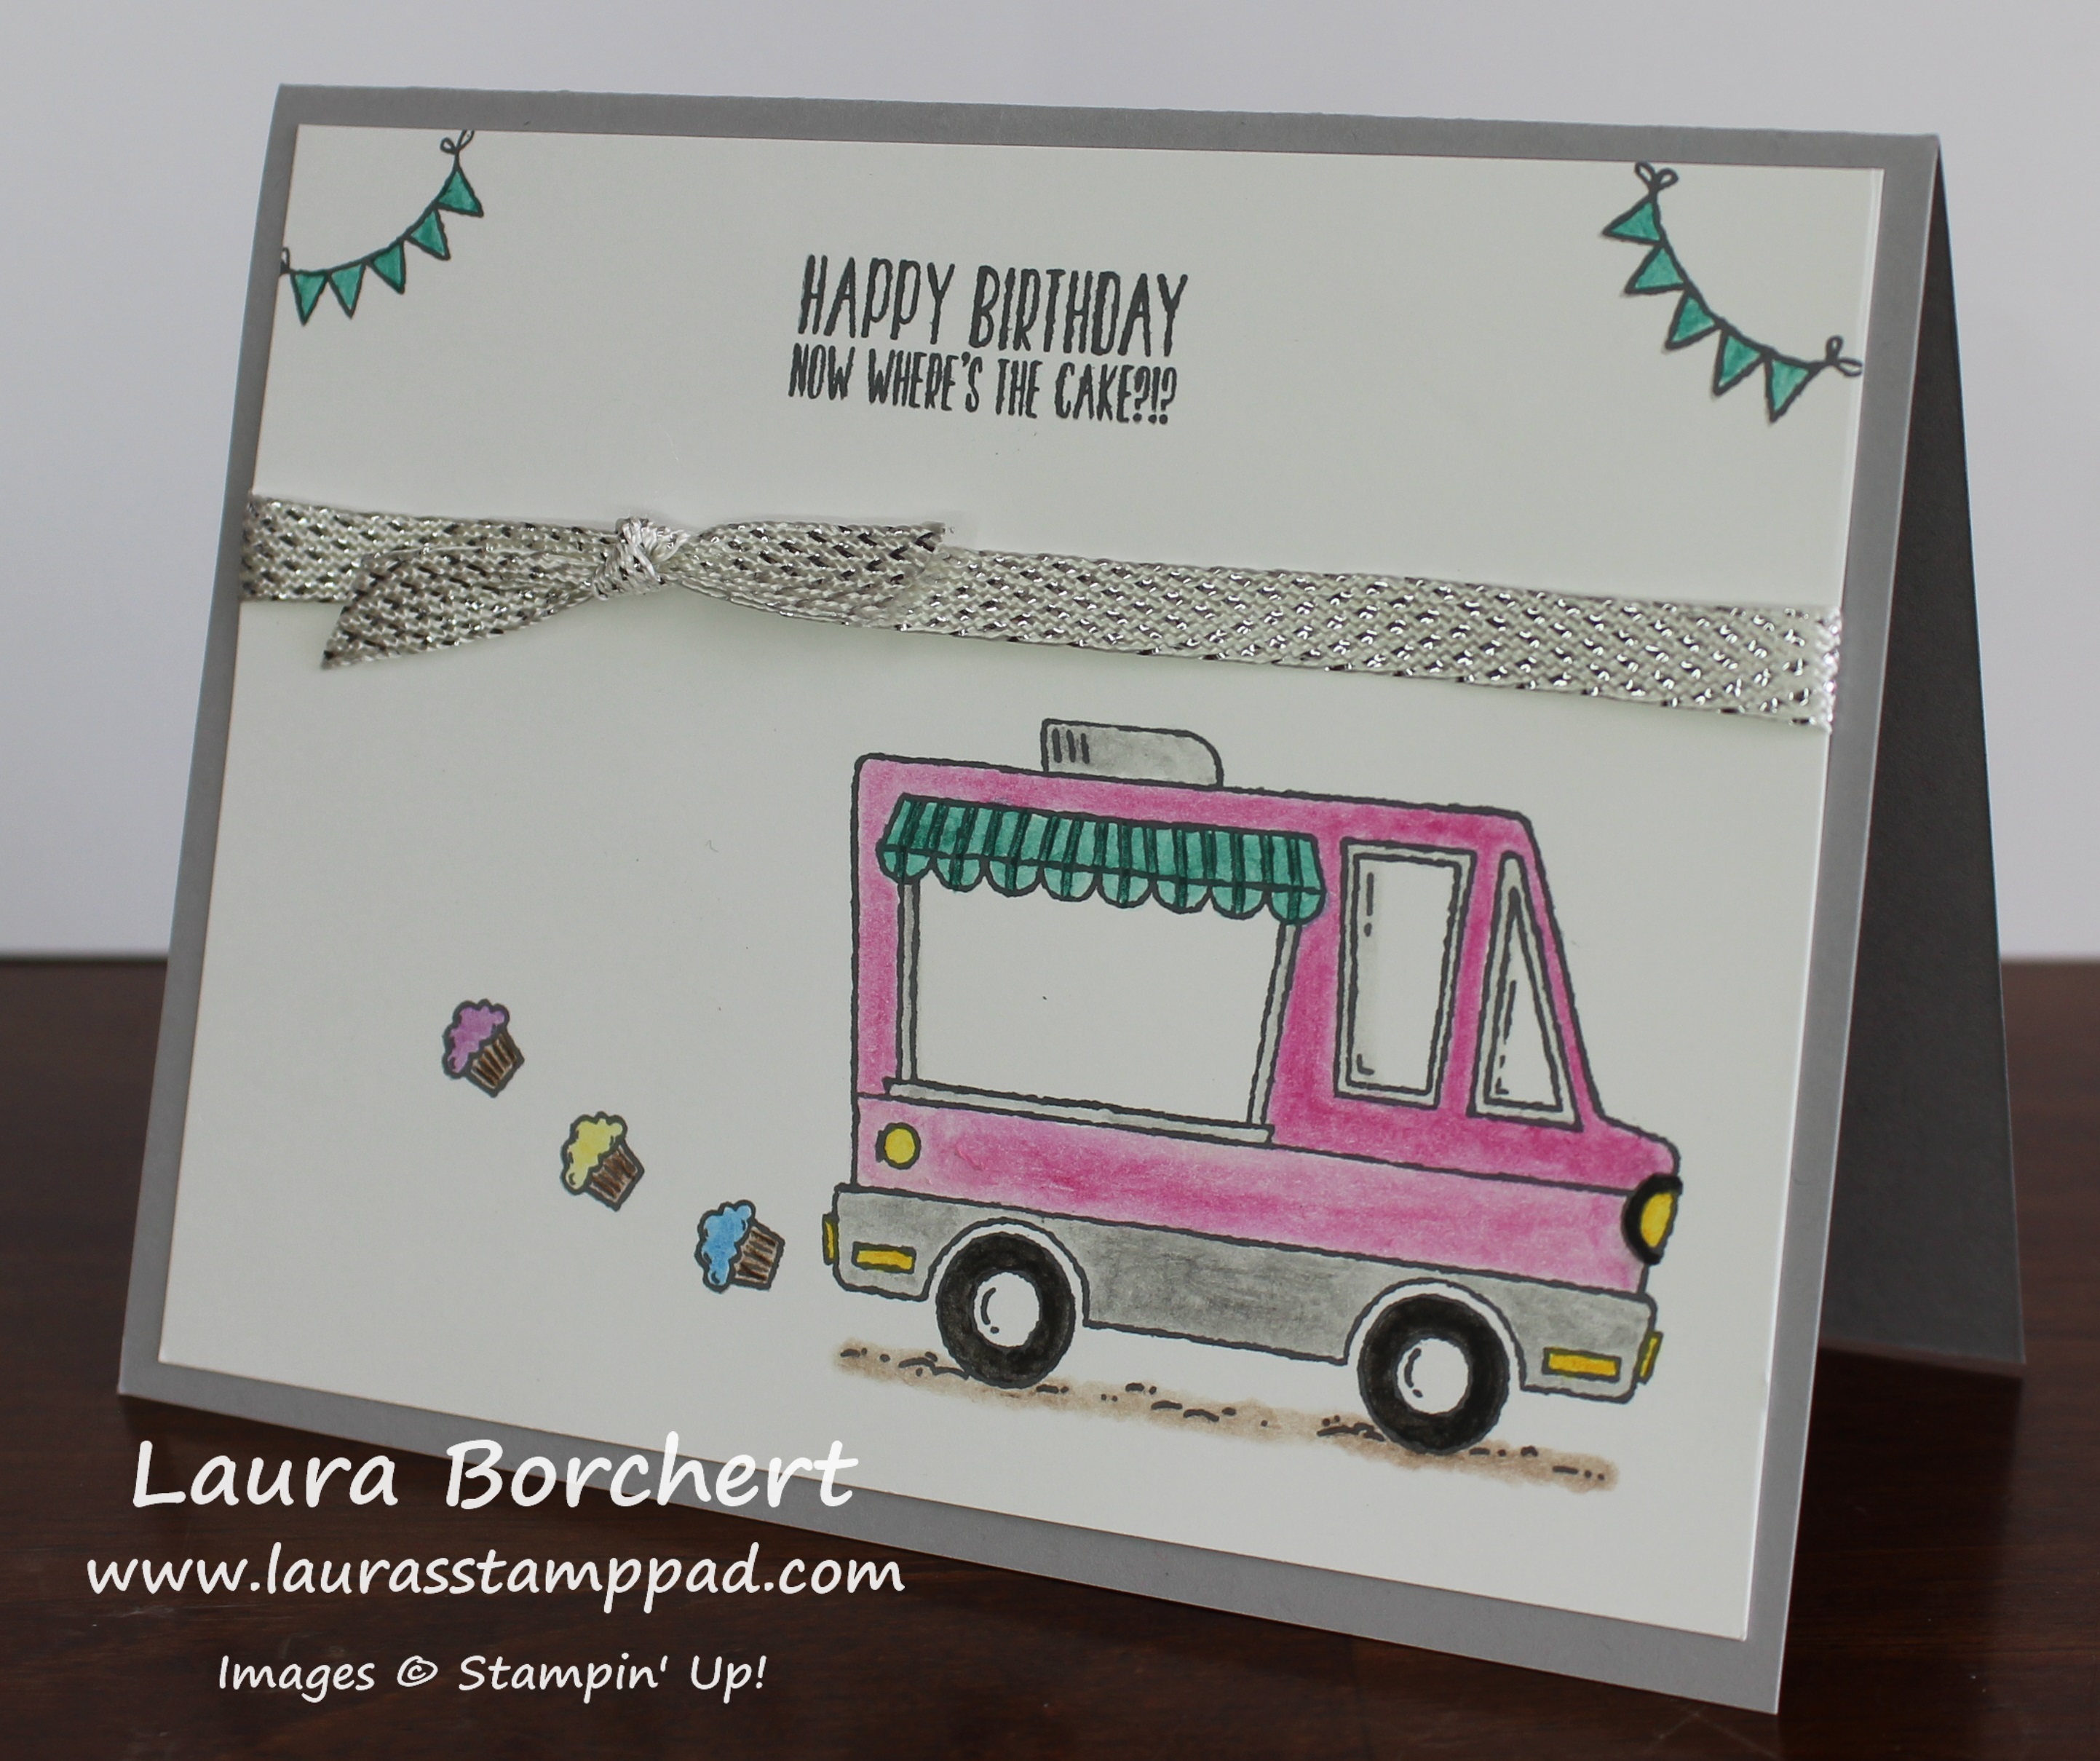
For this card, I started with a Smokey Slate card base which is perfect because then you can use any colors for your truck! Then I took a piece of Whisper White (4″ x 5-1/4″) and stamped everything from the Tasty Trucks Stamp Set in Basic Gray Archival Ink! I like using gray over black because it is a softer look! I colored in everything with the Watercolor Pencils and Blender Pens!
I love the Watercolor Pencils because you can just outline or color in a bit and then take the Blender Pen and even out the color! I like to go in a circular motion and just swirl around till everything is colored in. If you would like certain spots to be darker, just go back in with pencil and add more color! I love it!! After coloring everything in, I tied some Silver Metallic Ribbon (Sale-A-Bration) around it. That ribbon is super fabulous and a little bling-y! Then I added the piece to the card front! Love it!!
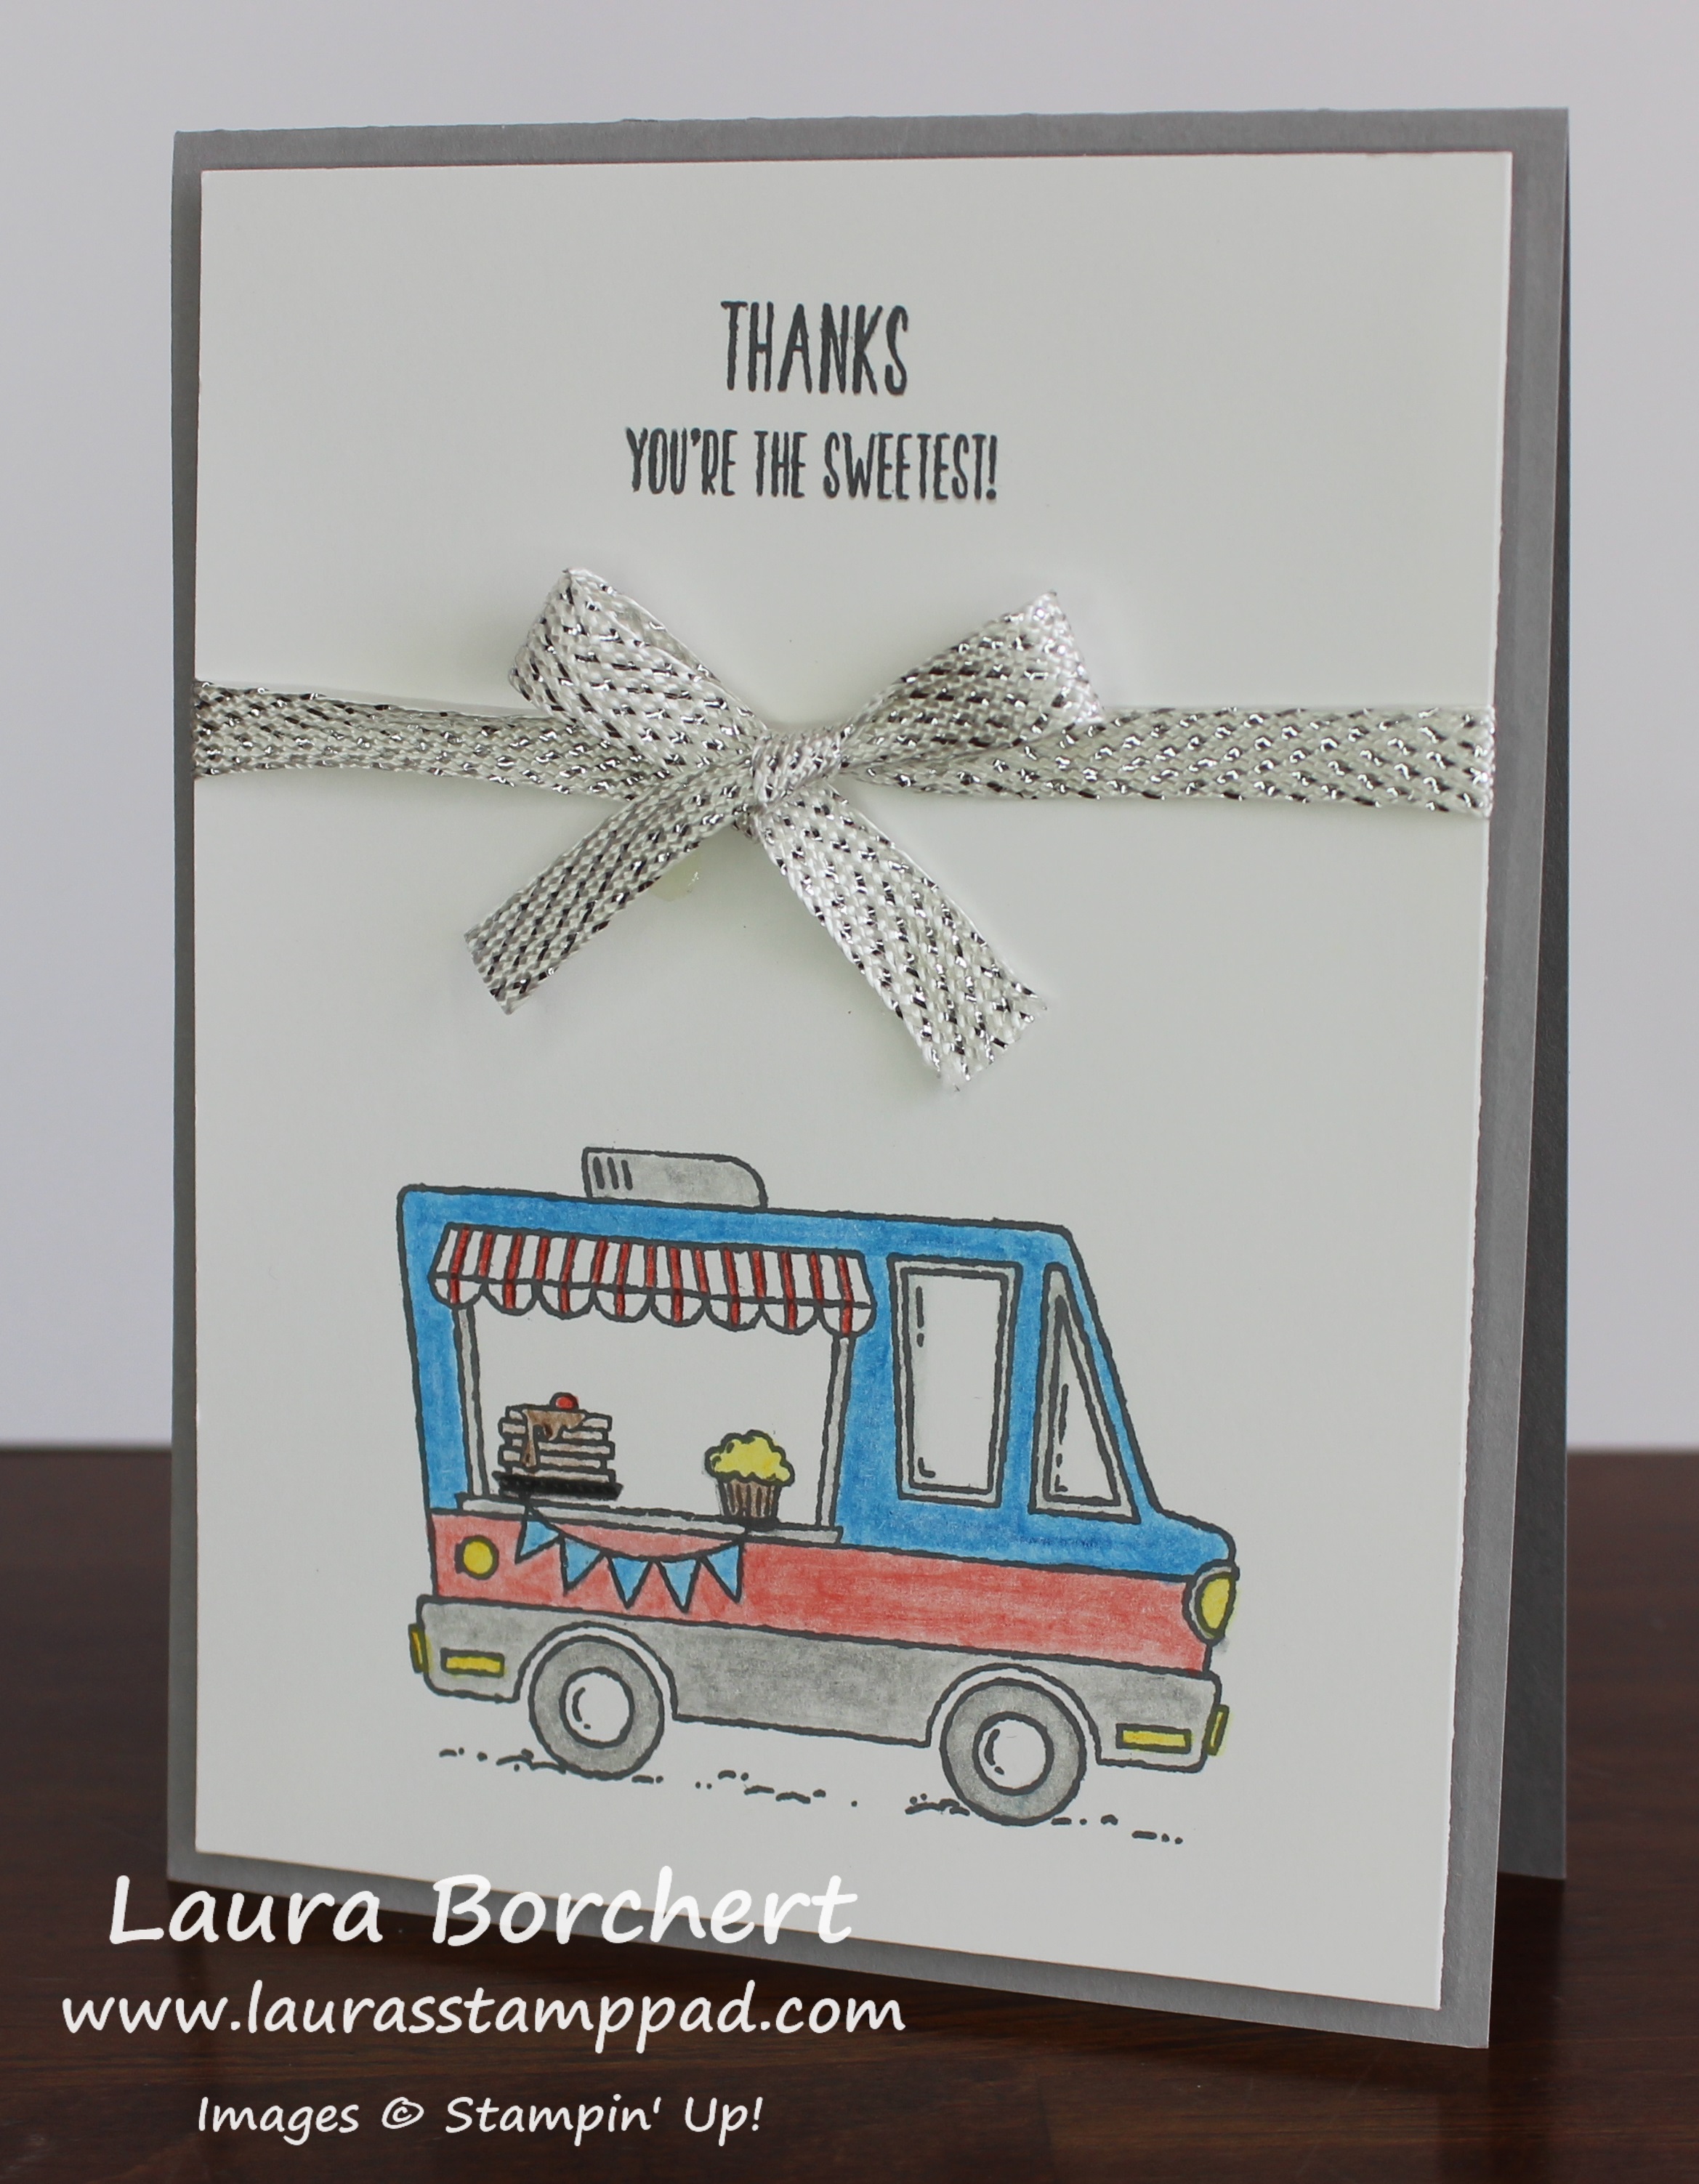
I couldn’t stop with just one truck so here is another!!! I tied the ribbon into bow on this one and went up and down! Super fun!!

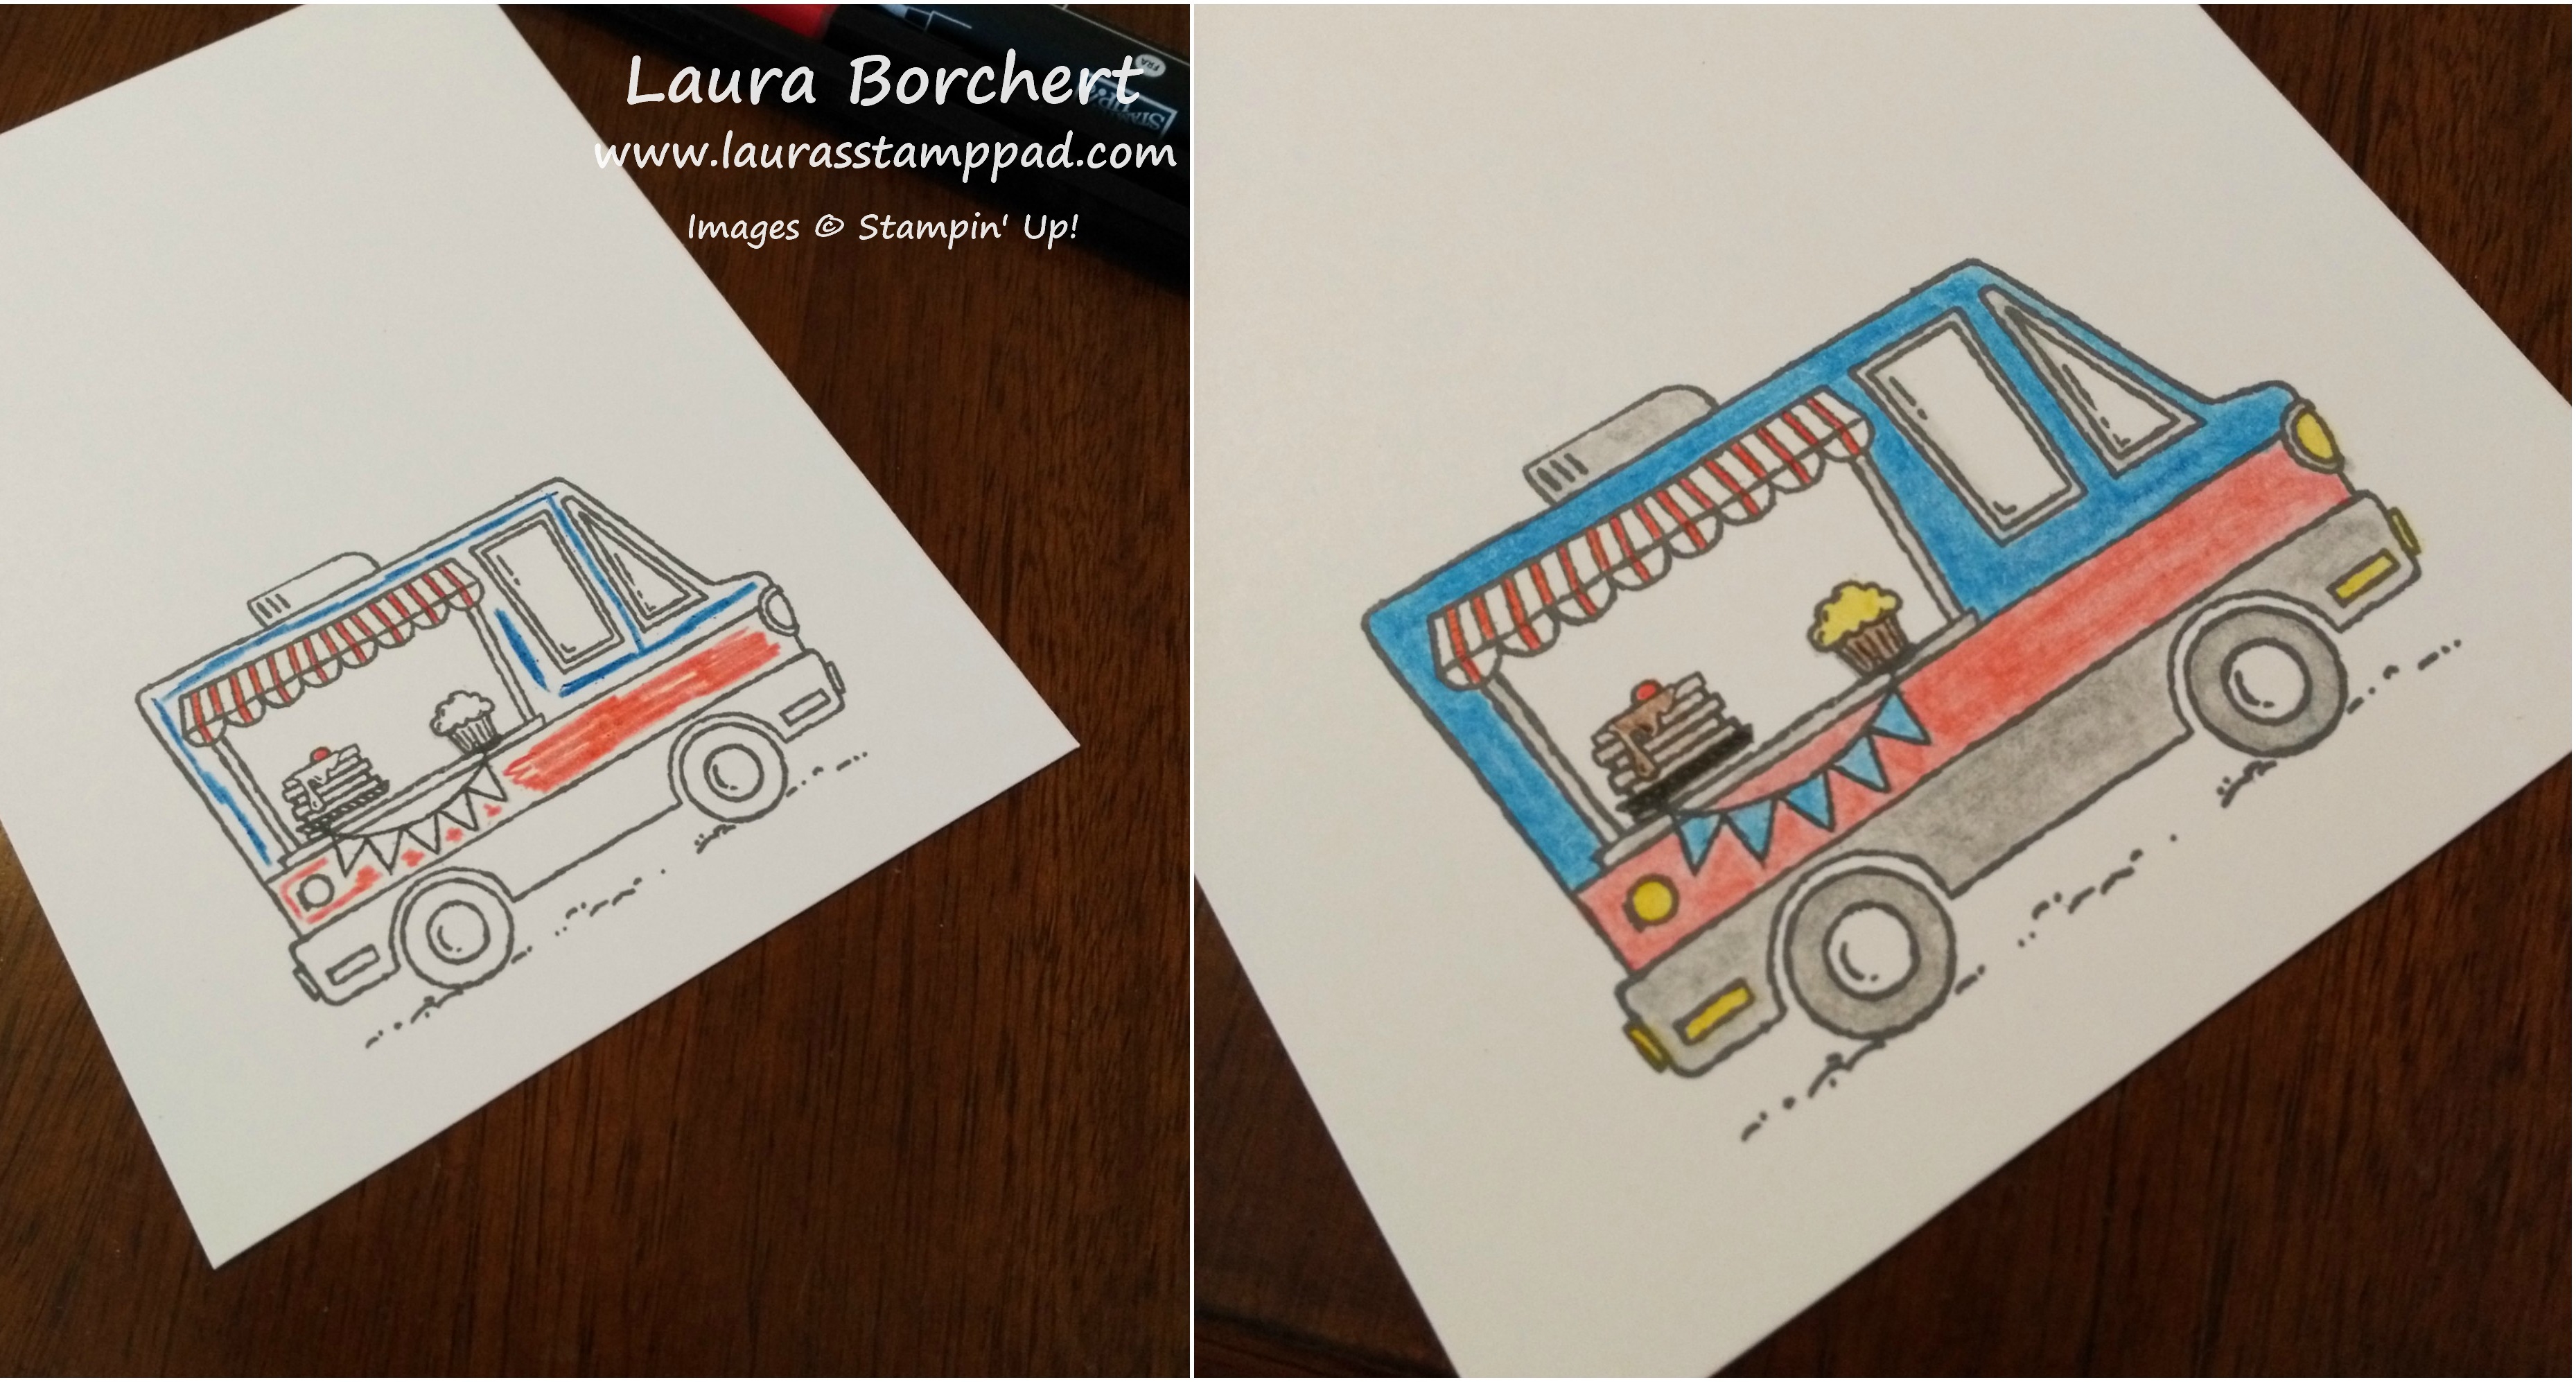
Here I colored with the Watercolor Pencils in 3 different ways – colored in (Coral), with the Blender Pens (Purple), and with an Aqua Painter (Blue). They are super easy to use and I have found that the color looks so even. Sometimes when using ink or markers with the Blender Pen or Aqua Painter, there can be streaks and lines on your project. With the pencils, there are no lines or streaks. It is just pure, rich color. You can always add in more details with the pencil after blending it together. You can even add more color by touching the Blender Pen or Aqua Painter to the tip of the pencil to pick up some color. There are so many fun ways to color with these! There are 13 pencils in the pack for just $16.00! That is a steal for so many colors, I think!
If you would like to see an up close and personal on the Watercolor Pencils, check out the Video Tutorial below or click here! Don’t forget to give this video a thumbs up if you liked it and be sure to subscribe if you are new! I post a video every Tuesday and Thursday!
Do you like Watercolor Pencils, Markers, or Ink Pads for coloring in with Blender Pens and Aqua Painters? Let me know in the comments below!!!
Happy Stampin’
~Laura