Happy Tuesday!!! You know what that means….I have a fabulous technique to share with you! You have seen the Cards in a Box before here and here! Well I have another version of a box card and it is super cute and I would say it is easier!!! I sure thought so!
See how cute??? It does still fit in a regular Medium Envelope too!!! Now let’s get started!
SUPPLIES NEEDED: Cardstock, Paper Trimmer, and Fast Fuse
Starting with a piece of cardstock measuring 4-1/4” x 11”, you will score along the 11” side at 1/2”, 4-3/4”, 5-3/4, and 10” with your Paper Trimmer or Simply Score Tool. Turn the cardstock 90 degrees and score along the 4-1/4” side at 1”. Cut along all of the solid lines as shown in the template below. You will be removing the 1/2″ x 3-1/4″ piece on the far left. You will be removing a 1″ x 3-1/4″ piece in the middle and on the far right. Then you can either place the cardstock into your Paper Trimmer or free hand it, you will be cutting 4-1/4″ x 2-1/4″ from the right hand side front piece. This is what allows the box to be open in the front but still have that back piece! Now it is time to assemble. Add Sticky Strip or Fast Fuse to that far left tab (1″ x 1/2″) and then lay the card flat and close it, allowing the adhesive to stick to the opposite end. By laying it flat to seal it, you make sure that is isn’t crooked or off. It will now be flat and close well for mailing!
Now with a piece of cardstock measuring 1” x 5-1/4”, you will score 1/2″ from each end along the 5-1/4” side. This will be uses on the inside of the box to hold your greeting (That middle piece of cardstock in the photo above!) Fold along score lines to create a “Z” shaped fold. Add Sticky Strip or Fast Fuse to both scored ends of 1” x 5-1/4” strip on opposite sides. Now you will place it on the inside of your box with the sticky facing out to adhere to the sides of the box.
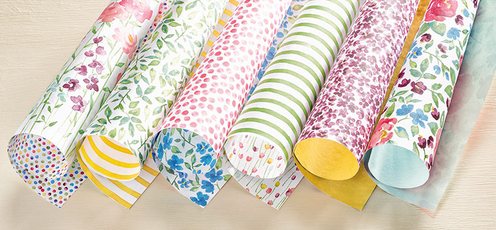
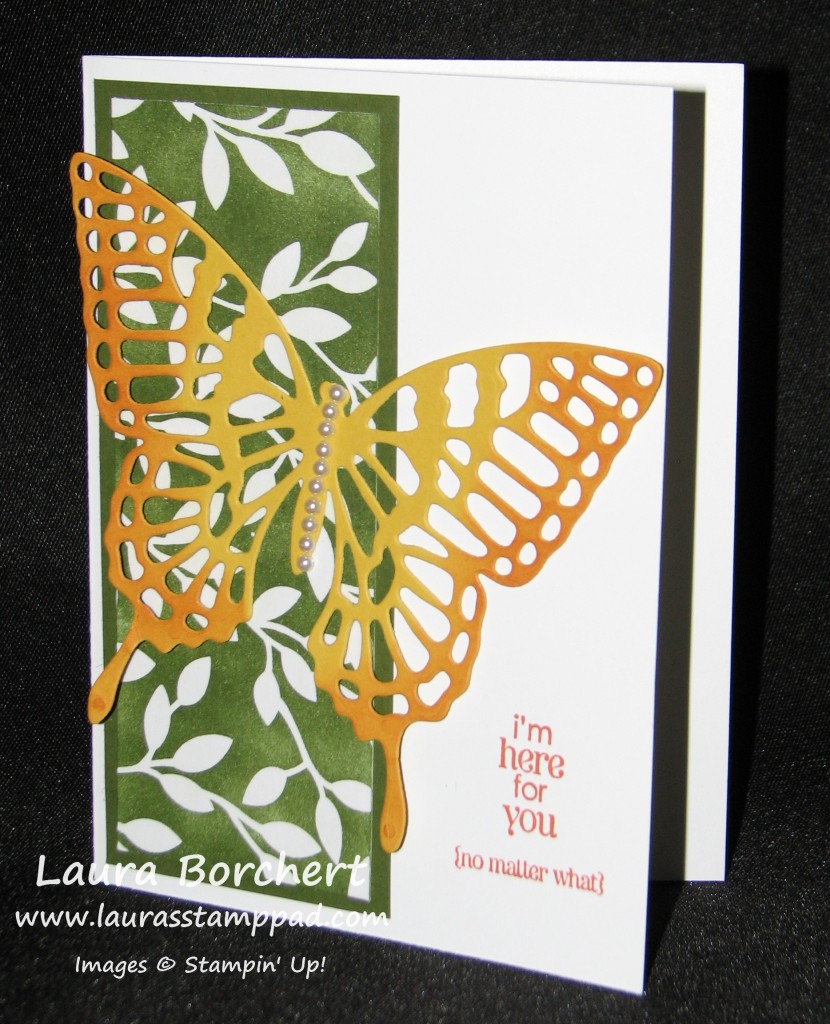
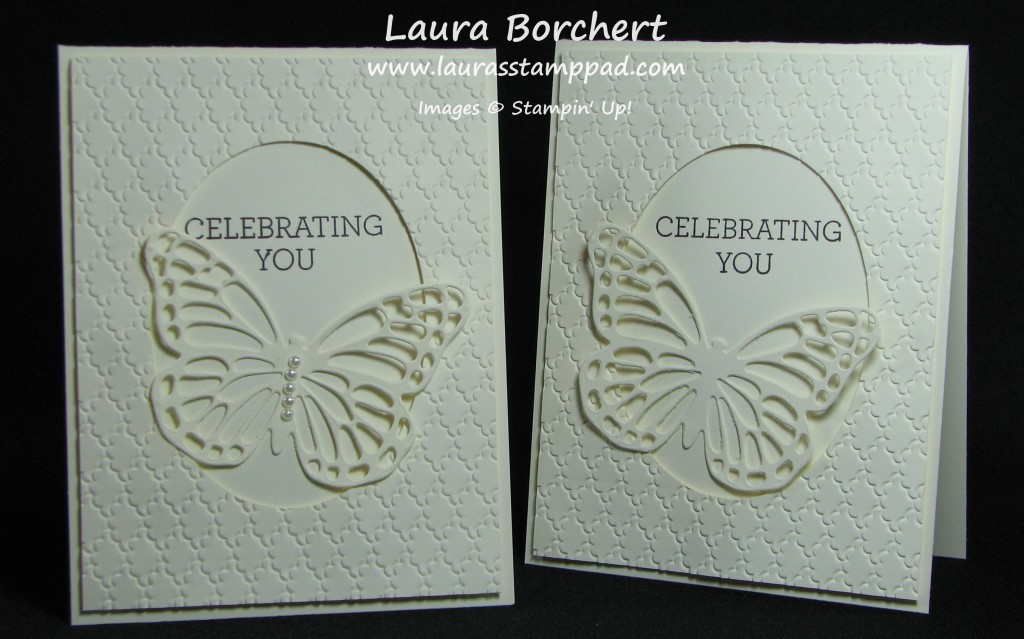
Now you can decorate!!! I used the Birthday Bash Designer Series Paper from the Occasions Mini Catalog for the back (3″ x 4″) and for the front lip (3/4″ x 4″). I layered the Designer Series Paper piece on the lip onto a piece of Tangelo Twist (7/8″ x 4-1/8″). For the greeting, I stamped Birthday from the Bloom with Hope Hostess stamp set on a scrap piece of Whisper White and made little banner tips. I added this with Stampin’ Dimensionals (of course)! I used the Cupcake Builder Punch for the background. For the Happy, I used the Hello You Thinlits and some Gold Glimmer Paper. I LOVE how that turned out – just beautiful! I used some Multipurpose Liquid Glue (green lid) to adhere it to some little Window Sheets and then adhered the window sheets to that center tab! Love it!!!! Super cute and fun to create and give!!!
Don’t forget to save the negative of your Happy to use on another project like this one! I love using up scraps and getting the most out of my paper!!!!
Happy Stampin’
~Laura


