I love kitty cats and think they are just precious and fun. I don’t really feel like black cats are spooky unless it’s Halloween! Do you think this is a spooky kitty??

Today, I’m going to share some tips on how I can create fun Halloween cards without buying lots of Halloween goodies. First of all, I’m not a huge fan of Halloween but that doesn’t mean I can’t make a few cards to send out! Therefore, I like to purchase minimal Halloween products but still create fabulous projects. Do you like to send out Halloween Cards?
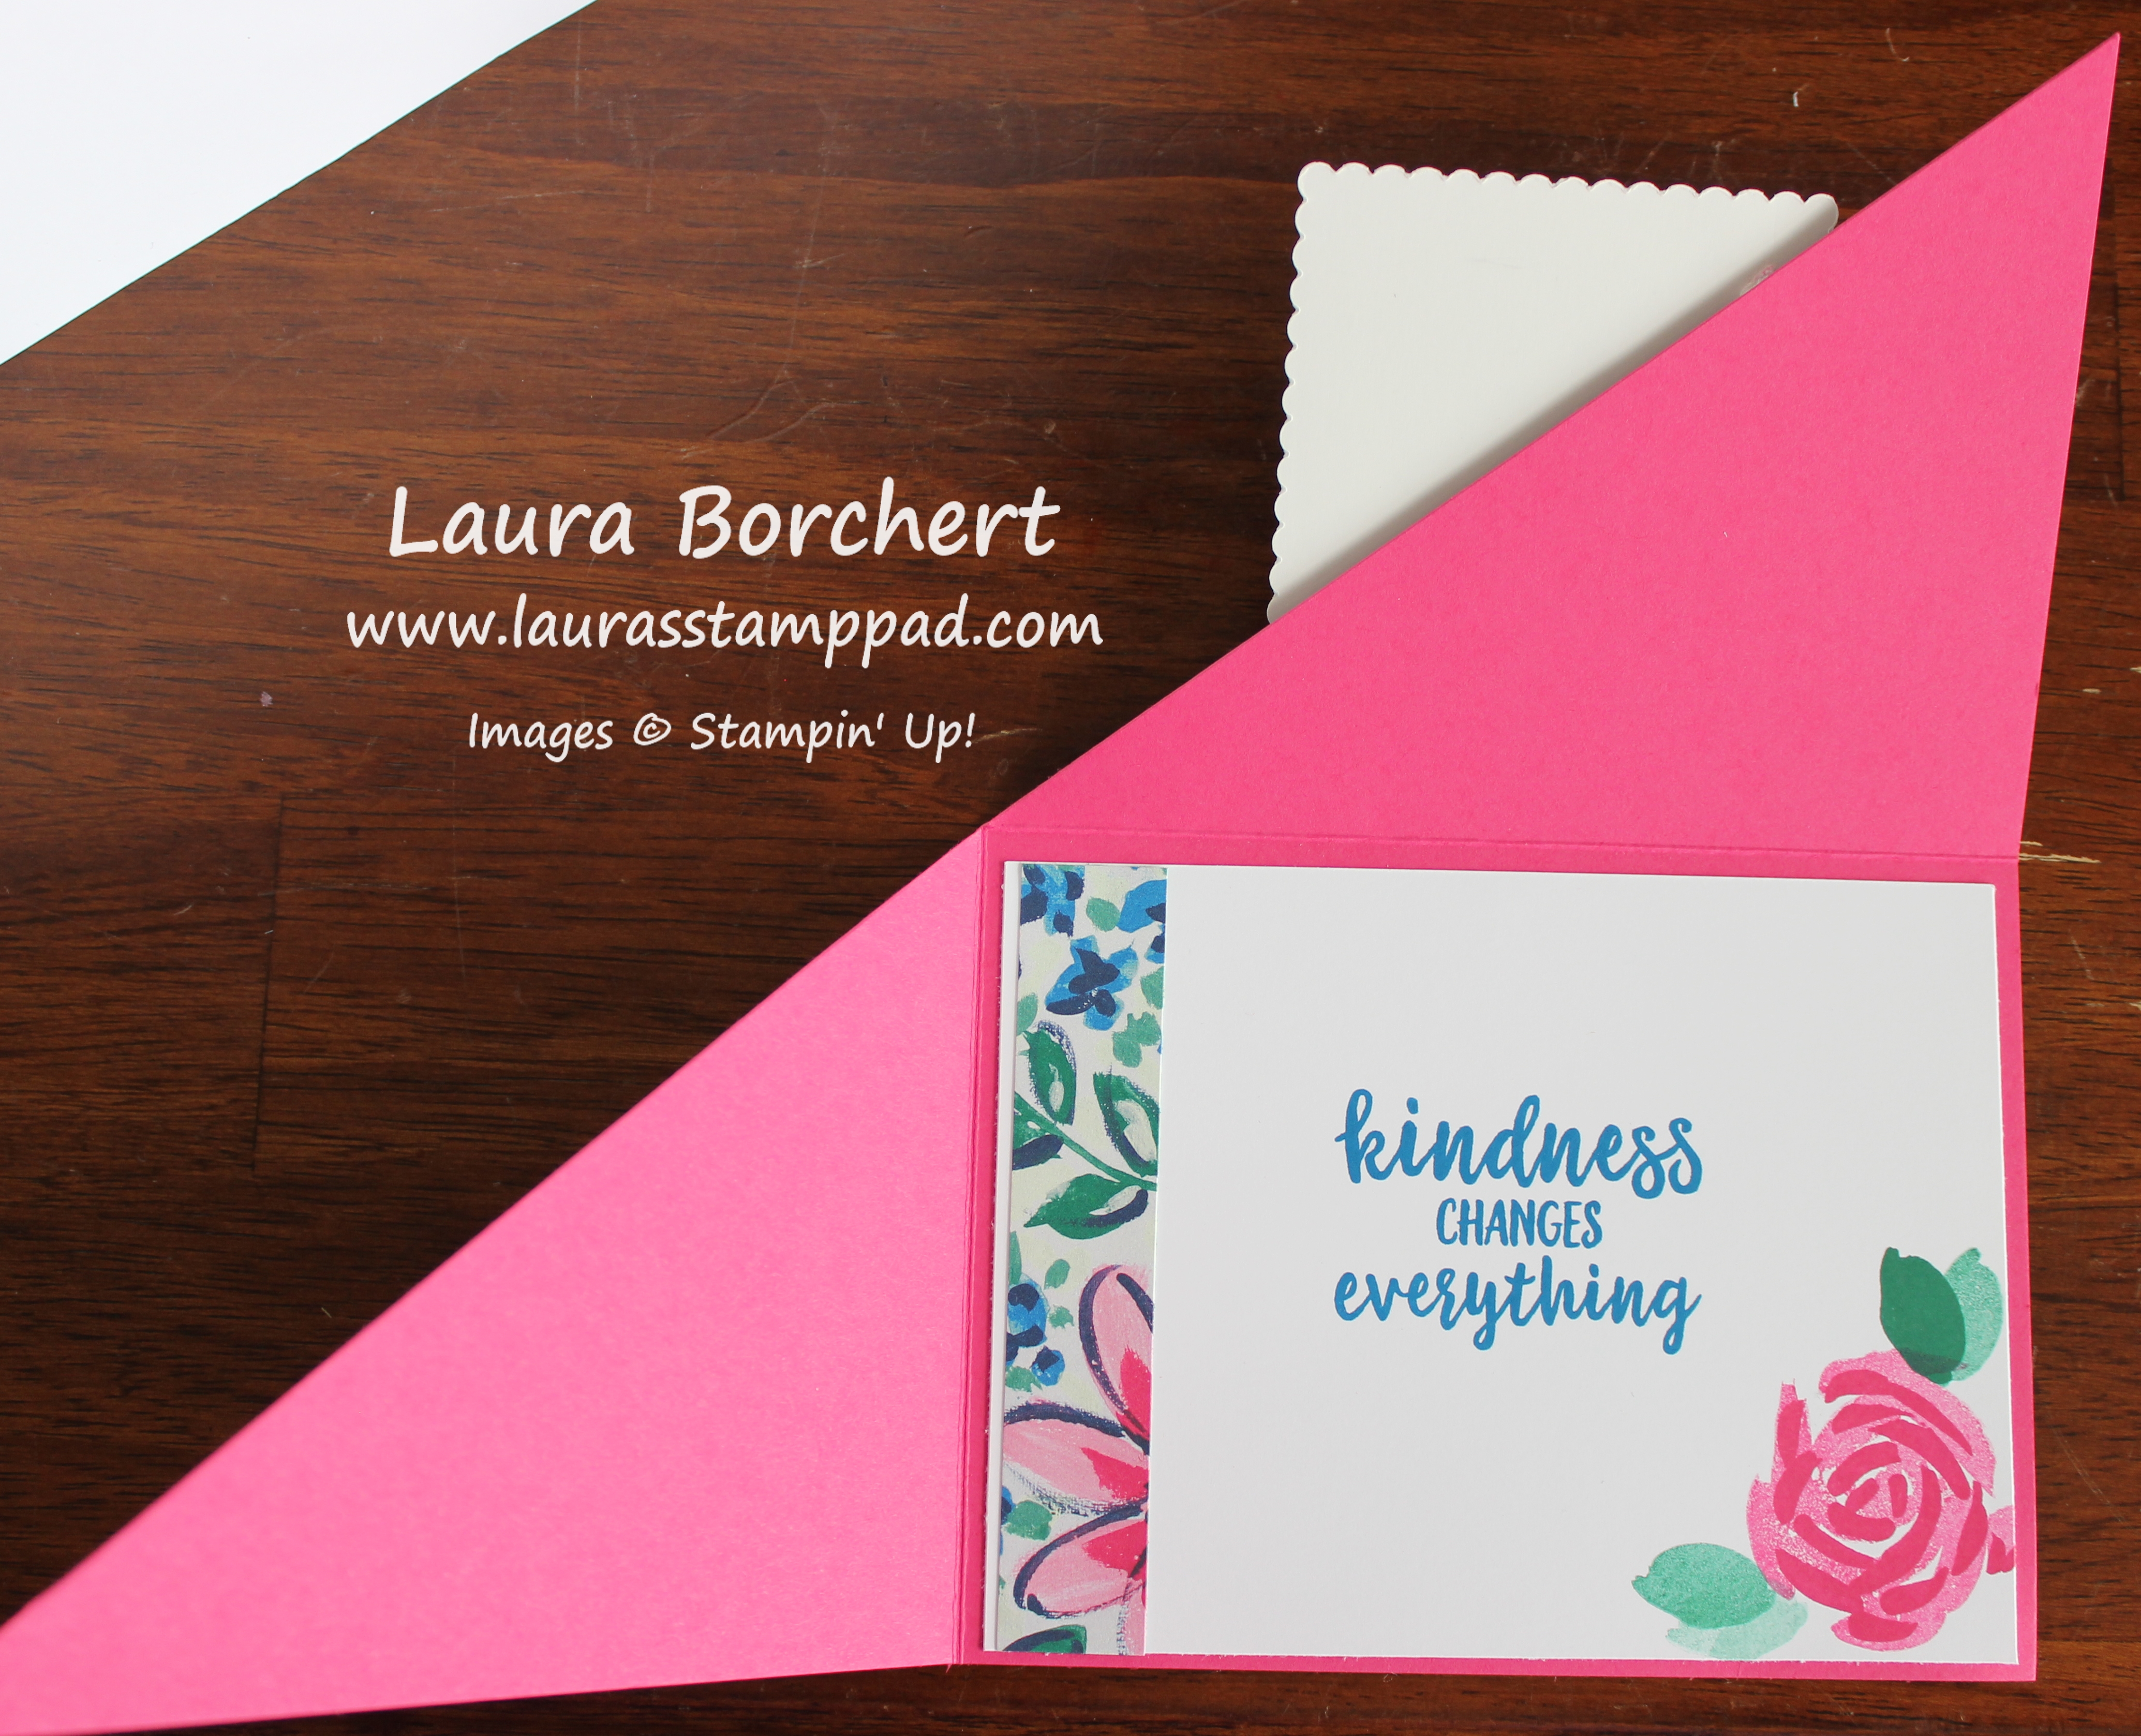
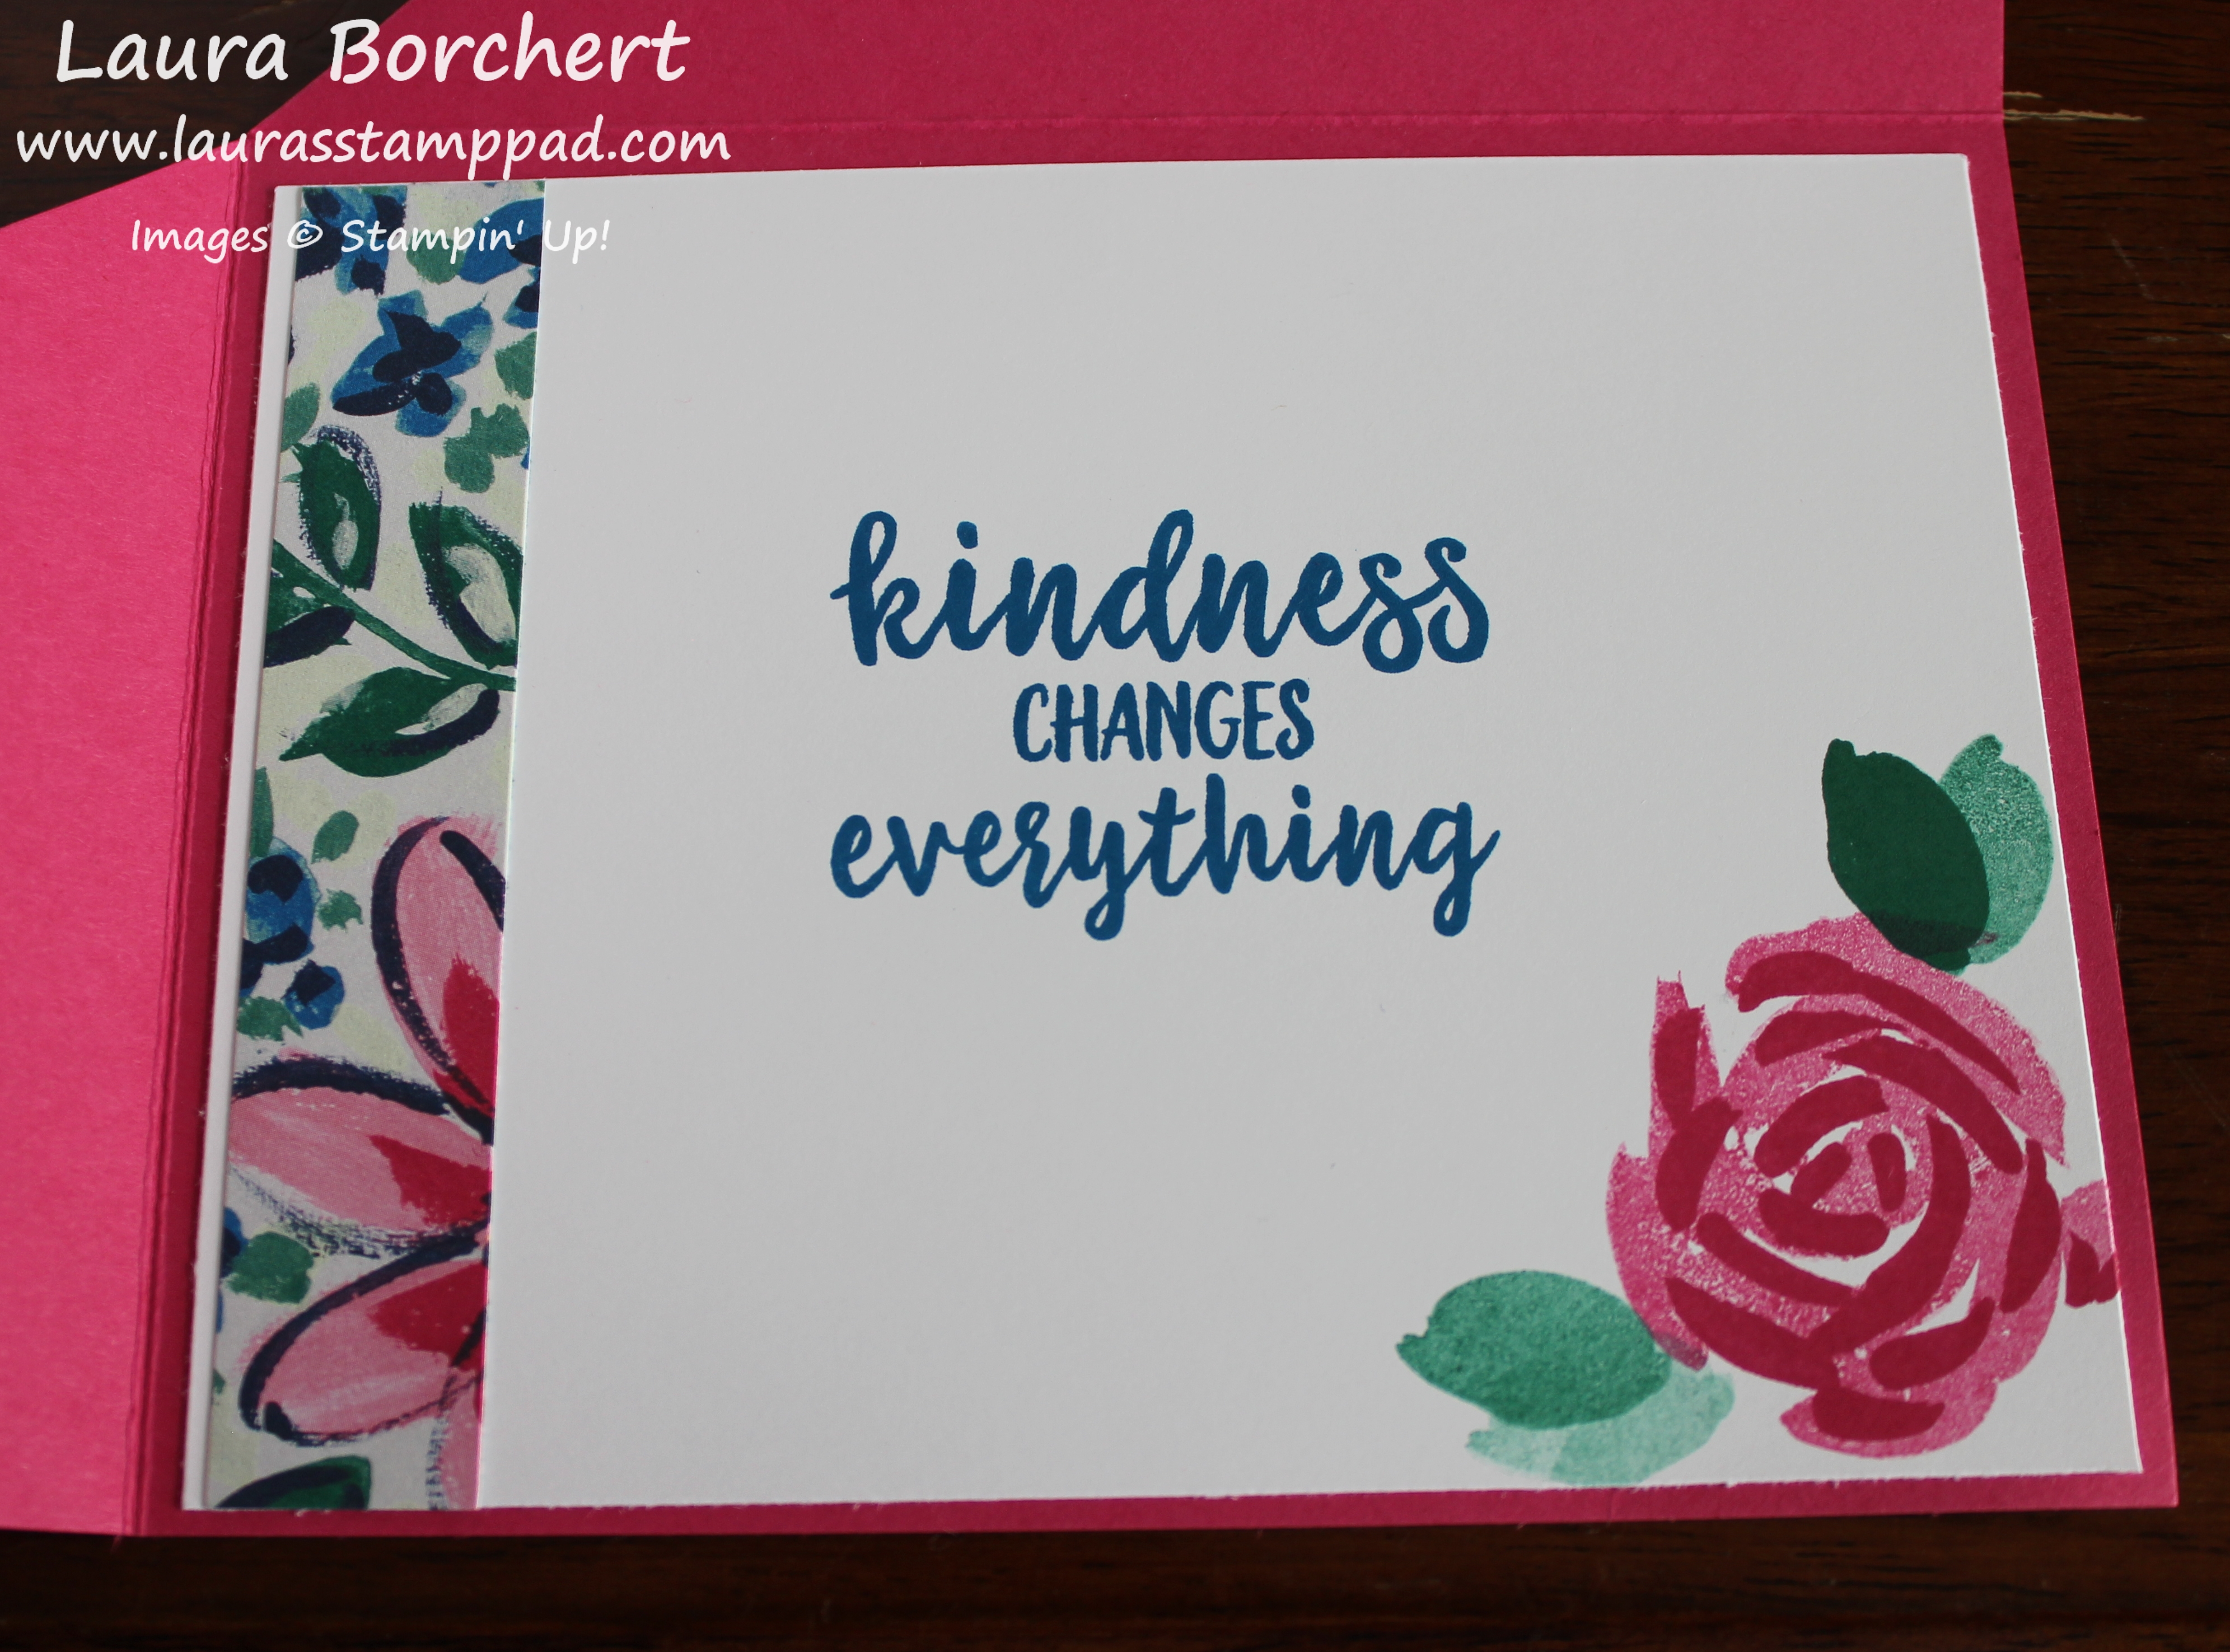
For this card, I started with a Pumpkin Pie card base. Next, I took a piece of Highland Heather cardstock and added some Toil & Trouble Designer Series Paper to the bottom (4″ x 3″). Using the Black Glittered Ribbon, I tied it into a knot around the top of the designer paper because it smooths out the transition from designer paper to cardstock. Next, I stamped the greeting which is from a past September Paper Pumpkin kit which was Halloween themed. Paper Pumpkin always has perfect holiday stuff in it that can be used over and over. I love it!!! The greeting was stamped in Pumpkin Pie Ink so it pops out on the purple.

Finally for the decorations, I used the Cat Punch and more Toil & Trouble Designer Paper. The spooky hat was fussy cut from one of the sheets. This was quick and it’s super cool to add an accent like this to your card even if you don’t like fussy cutting like me! The cat was added to the card front with Snail Adhesive and the hat was added with Stampin’ Dimensionals for texture.
So for this adorable card, I only purchase the Toil & Trouble Designer Series Paper. The Paper Pumpkin subscription stamps and the Cat Punch were items I had on hand already. If you would like to sign up for Paper Pumpkin to get fun holiday stamps for every occasion, click here!!!
I hope you enjoyed this simple and fun card!!! Hope you enjoyed this card and it gives you inspiration for your Halloween Cards this year! Click the supplies below to get yours created!
Happy Stampin’
~Laura
Product List
 Designer Series Paper")


 Braided Linen Trim")
 Designer Series Paper")

 Polka Dot Tulle Ribbon")


 Specialty Designer Series Paper")


 Mini Ruffled Ribbon")


 Designer Series Paper")


 Reversible Ribbon")


 Glittered Organdy Ribbon")
