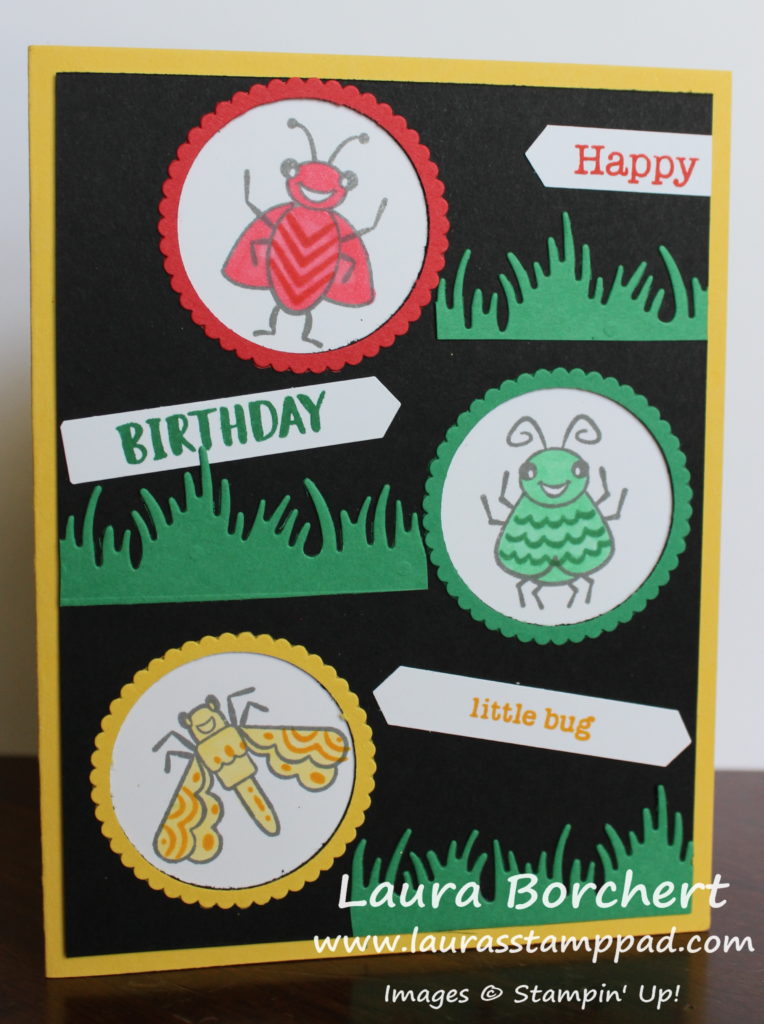
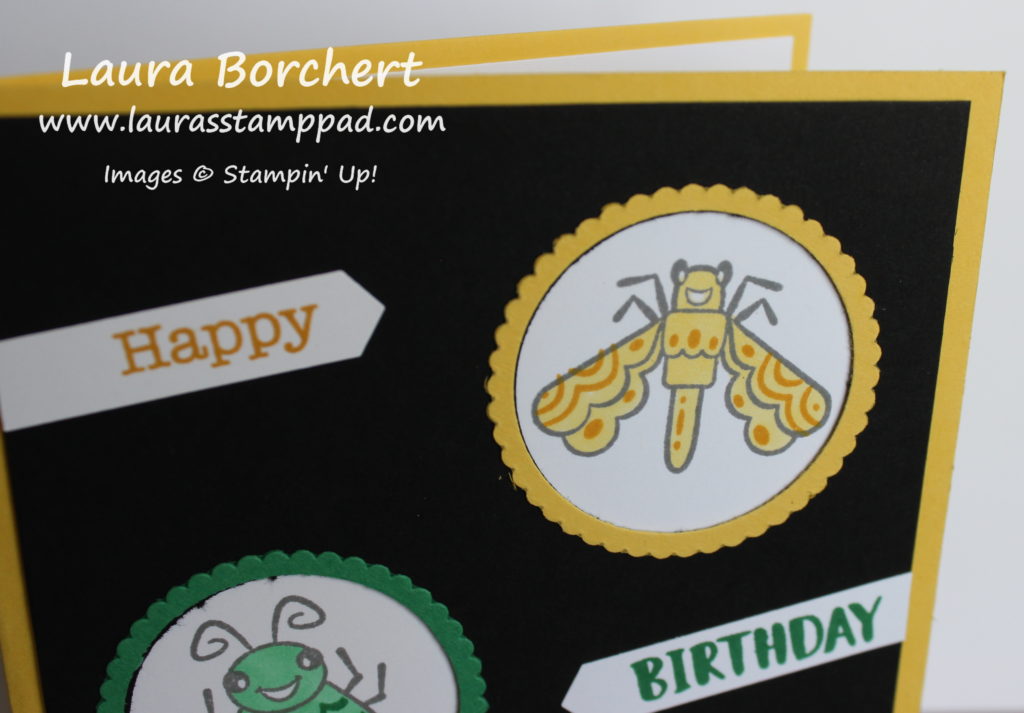
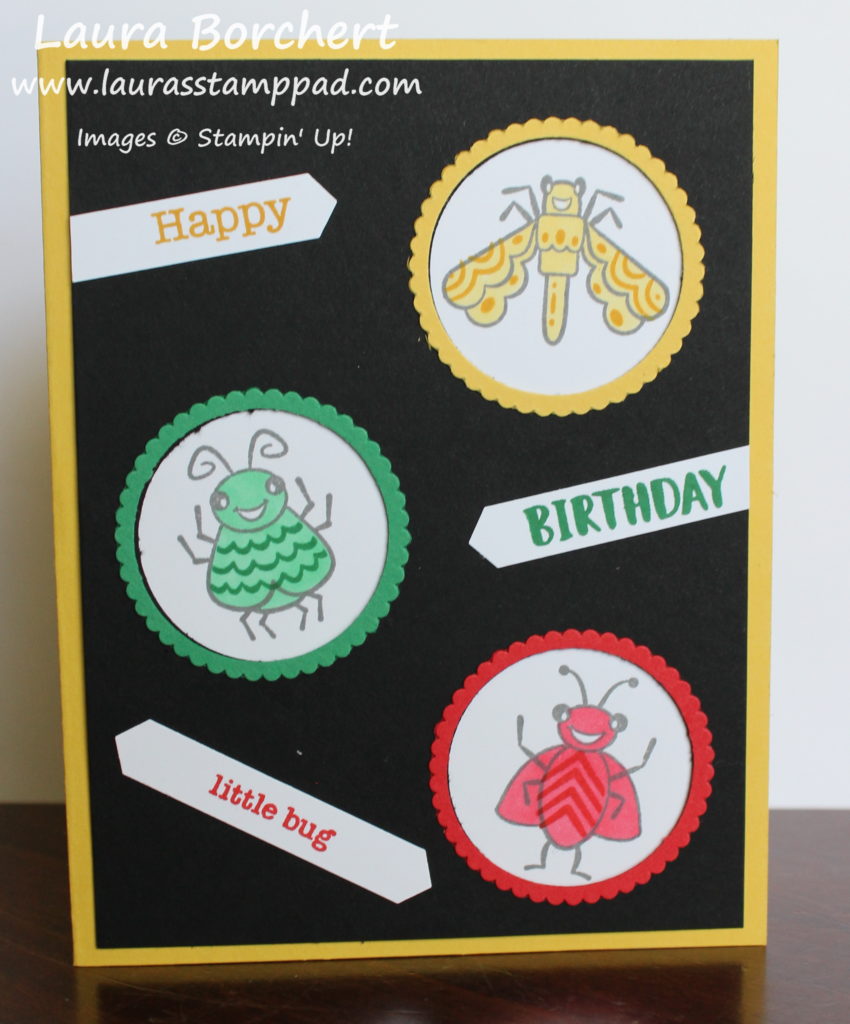
Happy Tuesday!! You all know what that means!! I have an adorable card to share with you today. These little framed wiggle worms are super fun and perfect for a kids card (or a kiddult)!!!

Isn’t this the cutest thing ever?? I love it!
First, I started with a piece of Basic Black (4″ x 5-1/4″) and punched 3 holes in it with a 1-1/2″ Circle Punch. I did these in a “random” pattern which for me is a triangle pattern! 🙂 Next, I made 3 scallop rings for each of the holes. This was done by punching out the colored cardstock with the 1-1/2″ Circle Punch and then layering the scallop circle from the Layering Circle Framelits over it. I used a post-it note to hold it in place. This is much easier than cutting the scallop circle and then trying to line it up in the punch correctly!

Since these little frames are so delicate, I have found this little technique to adhere them on. Of course the Fine Tip Glue Pen would work too! Take a little bit of Multipurpose Glue and put it on the Silicone Mat. Then using a sponge, dab on just a little bit of glue all around the frame. This gives just enough glue to hold but not too much to have it squish out the sides.
Now for the bugs, I simply stamped them in Basic Gray onto Whisper White, added the details and then colored them in with Stampin’ Blends. Once they are all ready to go, I cut them a part from each other and secured them to the back of the black. Be sure to not cut too close to the bug or you won’t have enough white to cover the open circle. I added just a bit of adhesive to the back side of the black and then pressed the bug over it. If you have white hanging over the edge, simply trim it off.

For the greeting, I stamped it from the Wiggle Worm Stamp Set. The “happy” and “birthday” were stamped by just inking the word needed on the edge of the ink pad and stamping it down. Then clean it off and do the next word and color. Using the Classic Label Punch, I punched out each one. Some of the words, I placed on the edge with only 1 arrow end and some I placed father in for both arrow ends. This is all up to you! Another option is to add grass like the sample above. The grass if from the coordinating Wiggly Bugs Dies. Of course I stamped a little bug on the inside as well!
If you would like to see this Framed Wiggle Worms card in action, check out the video below or click here! Be sure to give the video a thumbs up if you liked it and don’t forget to subscribe if you are new. If you would like a notification when I post a new video, be sure to click the bell right next to the subscribe!!!
Happy Stampin’
~Laura
Product List


Pingback: This Cute As A Bug Card can be created in any color combination!Laura's Stamp Pad