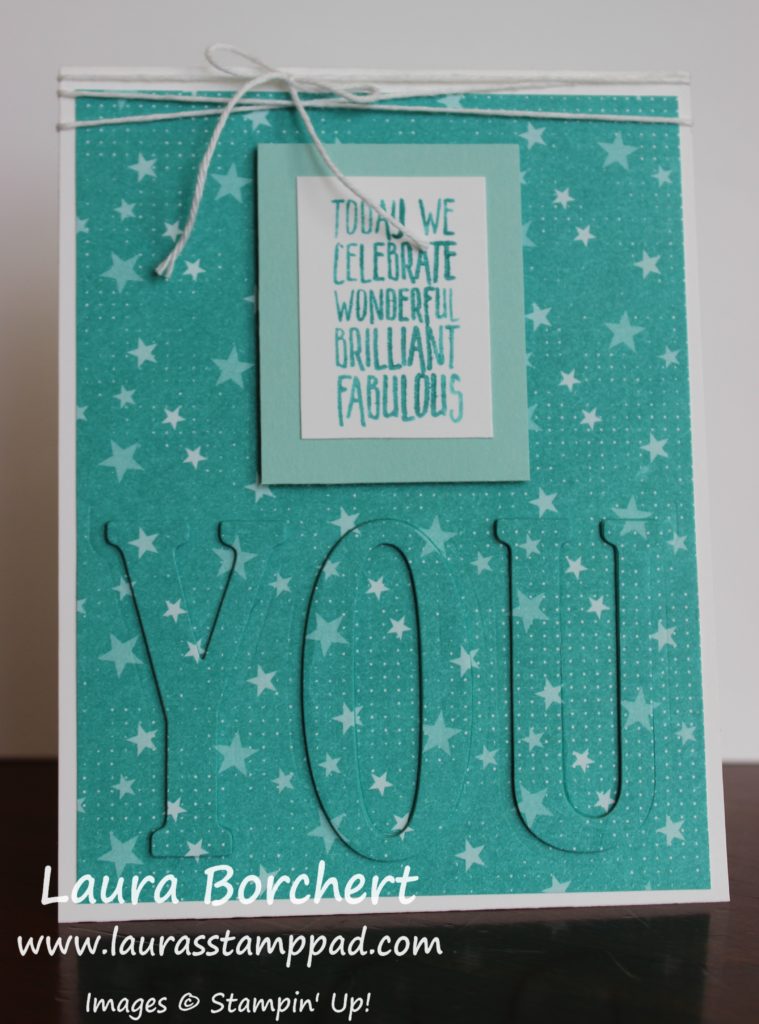
Happy Tuesday!!! You all know that means I have a fabulous technique to share today! This Eclipse Card is super fun and has a major WOW factor!!!
I love the subtle and double take effect you get with this card! There are also so many options for greetings with this as well!
I started with a Whisper White card base. Then I took a piece of the Bubbles & Fizz Sale-A-Bration Designer Series Paper (4″ x 5-1/4″) and I die cut the word “YOU” in the bottom. The Large Letters Framelits make this super fun and any words could be created!
To keep the letters all lined up and it was easier to move all of them around together, I added some Post-It Note tape across them. After die cutting out the words from the designer paper, I die cut out Bermuda Bay cardstock 3 more times. I totally thought I would need 5 layers but 3 seemed to be plenty for that popped up look! Next, I adhered the designer series paper outline onto the card base making sure to add in the center of the “O”. All of this layer was flat on the card. Then I added all three layers of the cardstock letters in each spot like a puzzle. I used the Fine Tip Glue Pen to adhere the letters. It went fairly quickly. After the cardstock layers, I added the designer series die cut letter to the top layer. Perfect!!!
Now that the focal point is complete, I needed to add the rest of the greeting and embellishments! Using the greeting from the Picture Perfect Birthday Stamp Set that ends in You, I stamped it on a piece of Whisper White. In order to omit the You, I inked it with a Bermuda Bay Marker. Next, I layered that piece on Pool Party cardstock and added it to the card front with Stampin’ Dimensionals for some texture. I added some Whisper White Baker’s Twine around the top of the card because I felt like it needed a little more!
What word would you spell out with the letters? I need more fun ideas!!! Let me know in the comments below! Also, don’t forget that if you purchase the Large Letters Framelits before the end of the month, you will earn Sale-A-Bration items as well as Laura’s Loyal Stampers Stickers and my Free Stamp Set of the Month!!!
If you would like to see this all in action, check out the Video Tutorial below or click here! Be sure to give the video a thumbs up if you liked it and don’t forget to subscribe if you are new. If you would like a notification when I post a new video, be sure to click the bell right next to the subscribe!!!
Happy Stampin’
~Laura
Product List


Pingback: Happy Birthday 2 U created with the Eclipse Technique!Laura's Stamp Pad