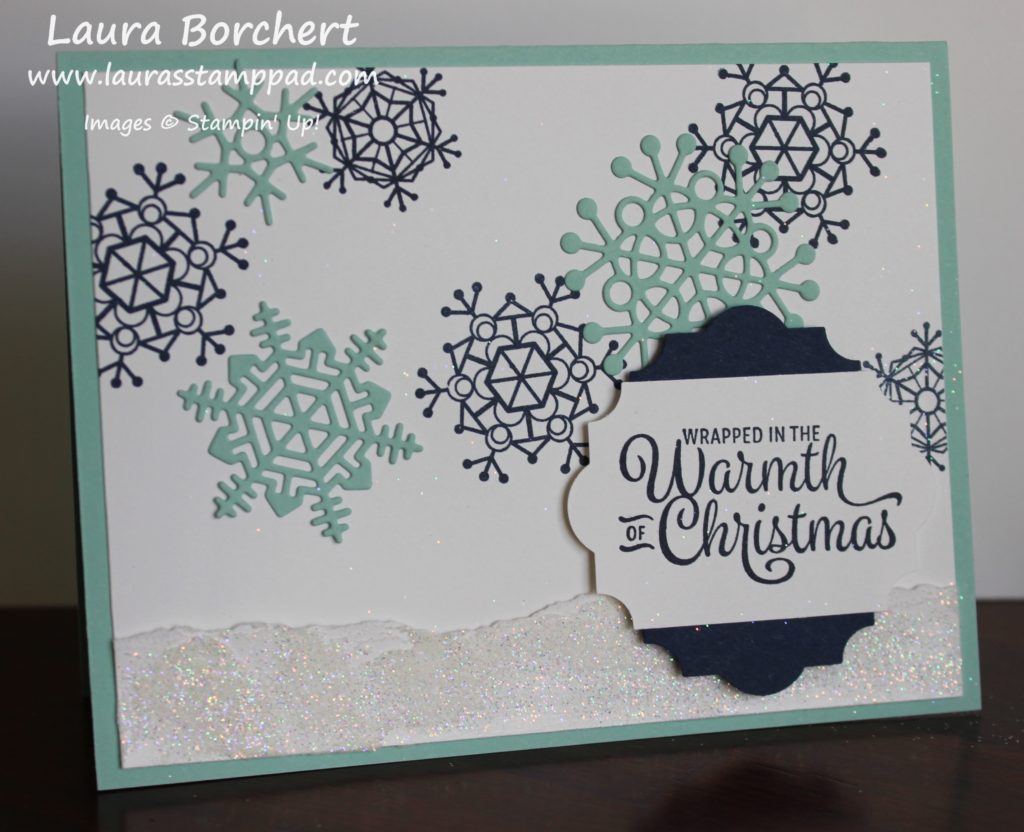
Happy Tuesday!!! That means I have a fabulous technique to share with you today! We are adding snow with Embossing Paste to create a fabulous winter scene!
I’m not a fan of winter….like at all but this card sure looks amazing. I would be just fine stamping winter and not actually having it happen! Do you like Winter? Let me know in the comments below!!!
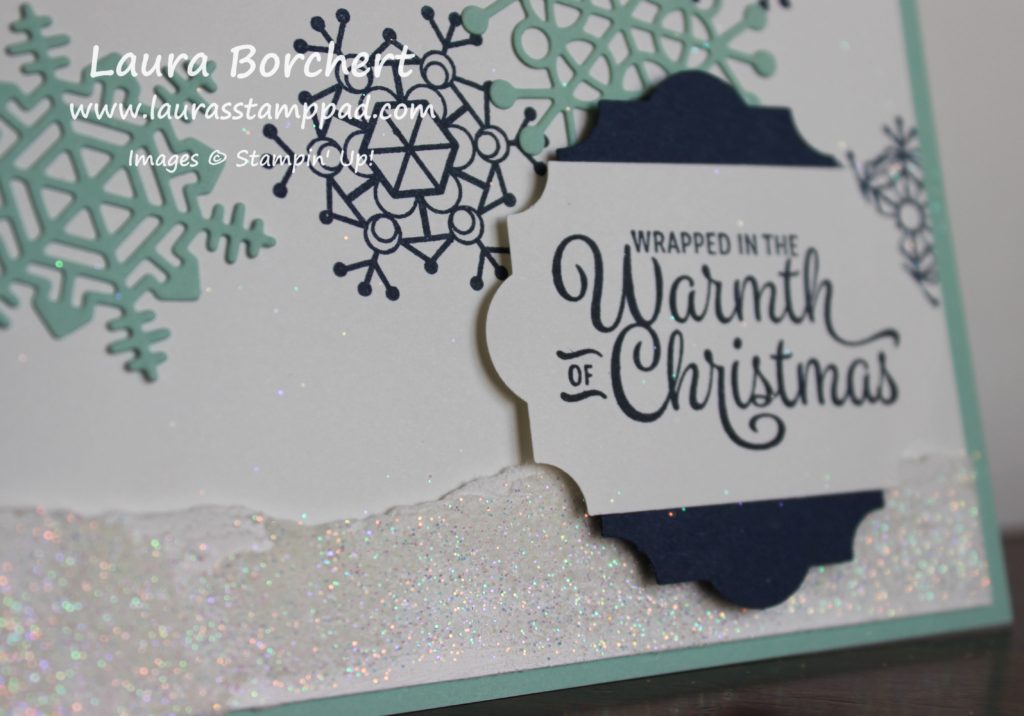
I started with a Pool Party card base. Next I took a piece of Whisper White (4″ x 5-1/4″) and stamped snowflakes all over in Night of Navy Ink. I used the Colorful Seasons Stamp Set. Now for that amazing snow on the bottom! I simply took a scrap piece of white and tore along the top for texture. Next, I smeared a thin layer of Embossing Paste over the top. Then sprinkle some Dazzling Diamonds glitter all over the top. Right after that, I added Snail adhesive along the bottom of the snowflake stamped white piece and pressed the glitter strip onto it.
I did this while it was still wet for a few reasons. 1. I found that adding it to the base first would allow for glitter to stick and hold around the cardstock and under it. 2. If I let the Embossing Paste dry with the glitter first, sometimes it curls and when I would press it flat, it cracks. Pressing it on while still wet gets a perfect look with minimal glitter and isn’t really not that messy. Simply wash your hands to get any excess glitter off after pressing it on!
Next, I die cut some snowflakes with the coordinating Seasonal Layers Framelits (Bundle & Save 10%). I loved this bundle because there are 3 snowflakes in the set so I only had to crank through the Big Shot once for every card! I used the Fine Tip Glue Pen for adhering the snowflakes to the card. For the greeting, I stamped it with the Snowflake Sentiments Stamp Set and punched it out with the Everyday Label Punch. I punched a second one in Night of Navy and placed that one up and down and the greeting over the top side to side. I added this to the card front with Stampin’ Dimensionals! Just stunning!
If you would like to see this in action, check out the Video Tutorial below or click here! Be sure to give the video a thumbs up if you liked it and don’t forget to subscribe if you are new. If you would like a notification when I post a new video, be sure to click the bell right next to the subscribe!!!
Happy Stampin’
~Laura
Product List


