Technique Tuesday – Just Add Salt!!!

Posted on

Happy Tuesday!!! That means I have a fabulous technique to share with you today!!! We will be playing with water and salt and it is so cool!!! I learned this technique from Mary Ellen at our Demonstrator Meeting! I love sharing ideas with fellow demonstrators! If you are interested in becoming a demonstrator to get a fabulous discount on the product, have lots of fun and learn new techniques, click here for more information or reach out to me any time! I would love to chat with you and answer any questions you might have!

Night Sky Salt Technique, www.LaurasStampPad.com

Can you see that fabulous background that is all crackles and amazing looking?? I love it! it adds so much more to the project and it is very simple. I used Table Salt!!!! We all have that in the house, right? Let’s get started!!!

SUPPLIES NEEDED: Table Salt, Stampin’ Spritzer (water), Shimmery White Cardstock, Sponge Daubers, and Ink

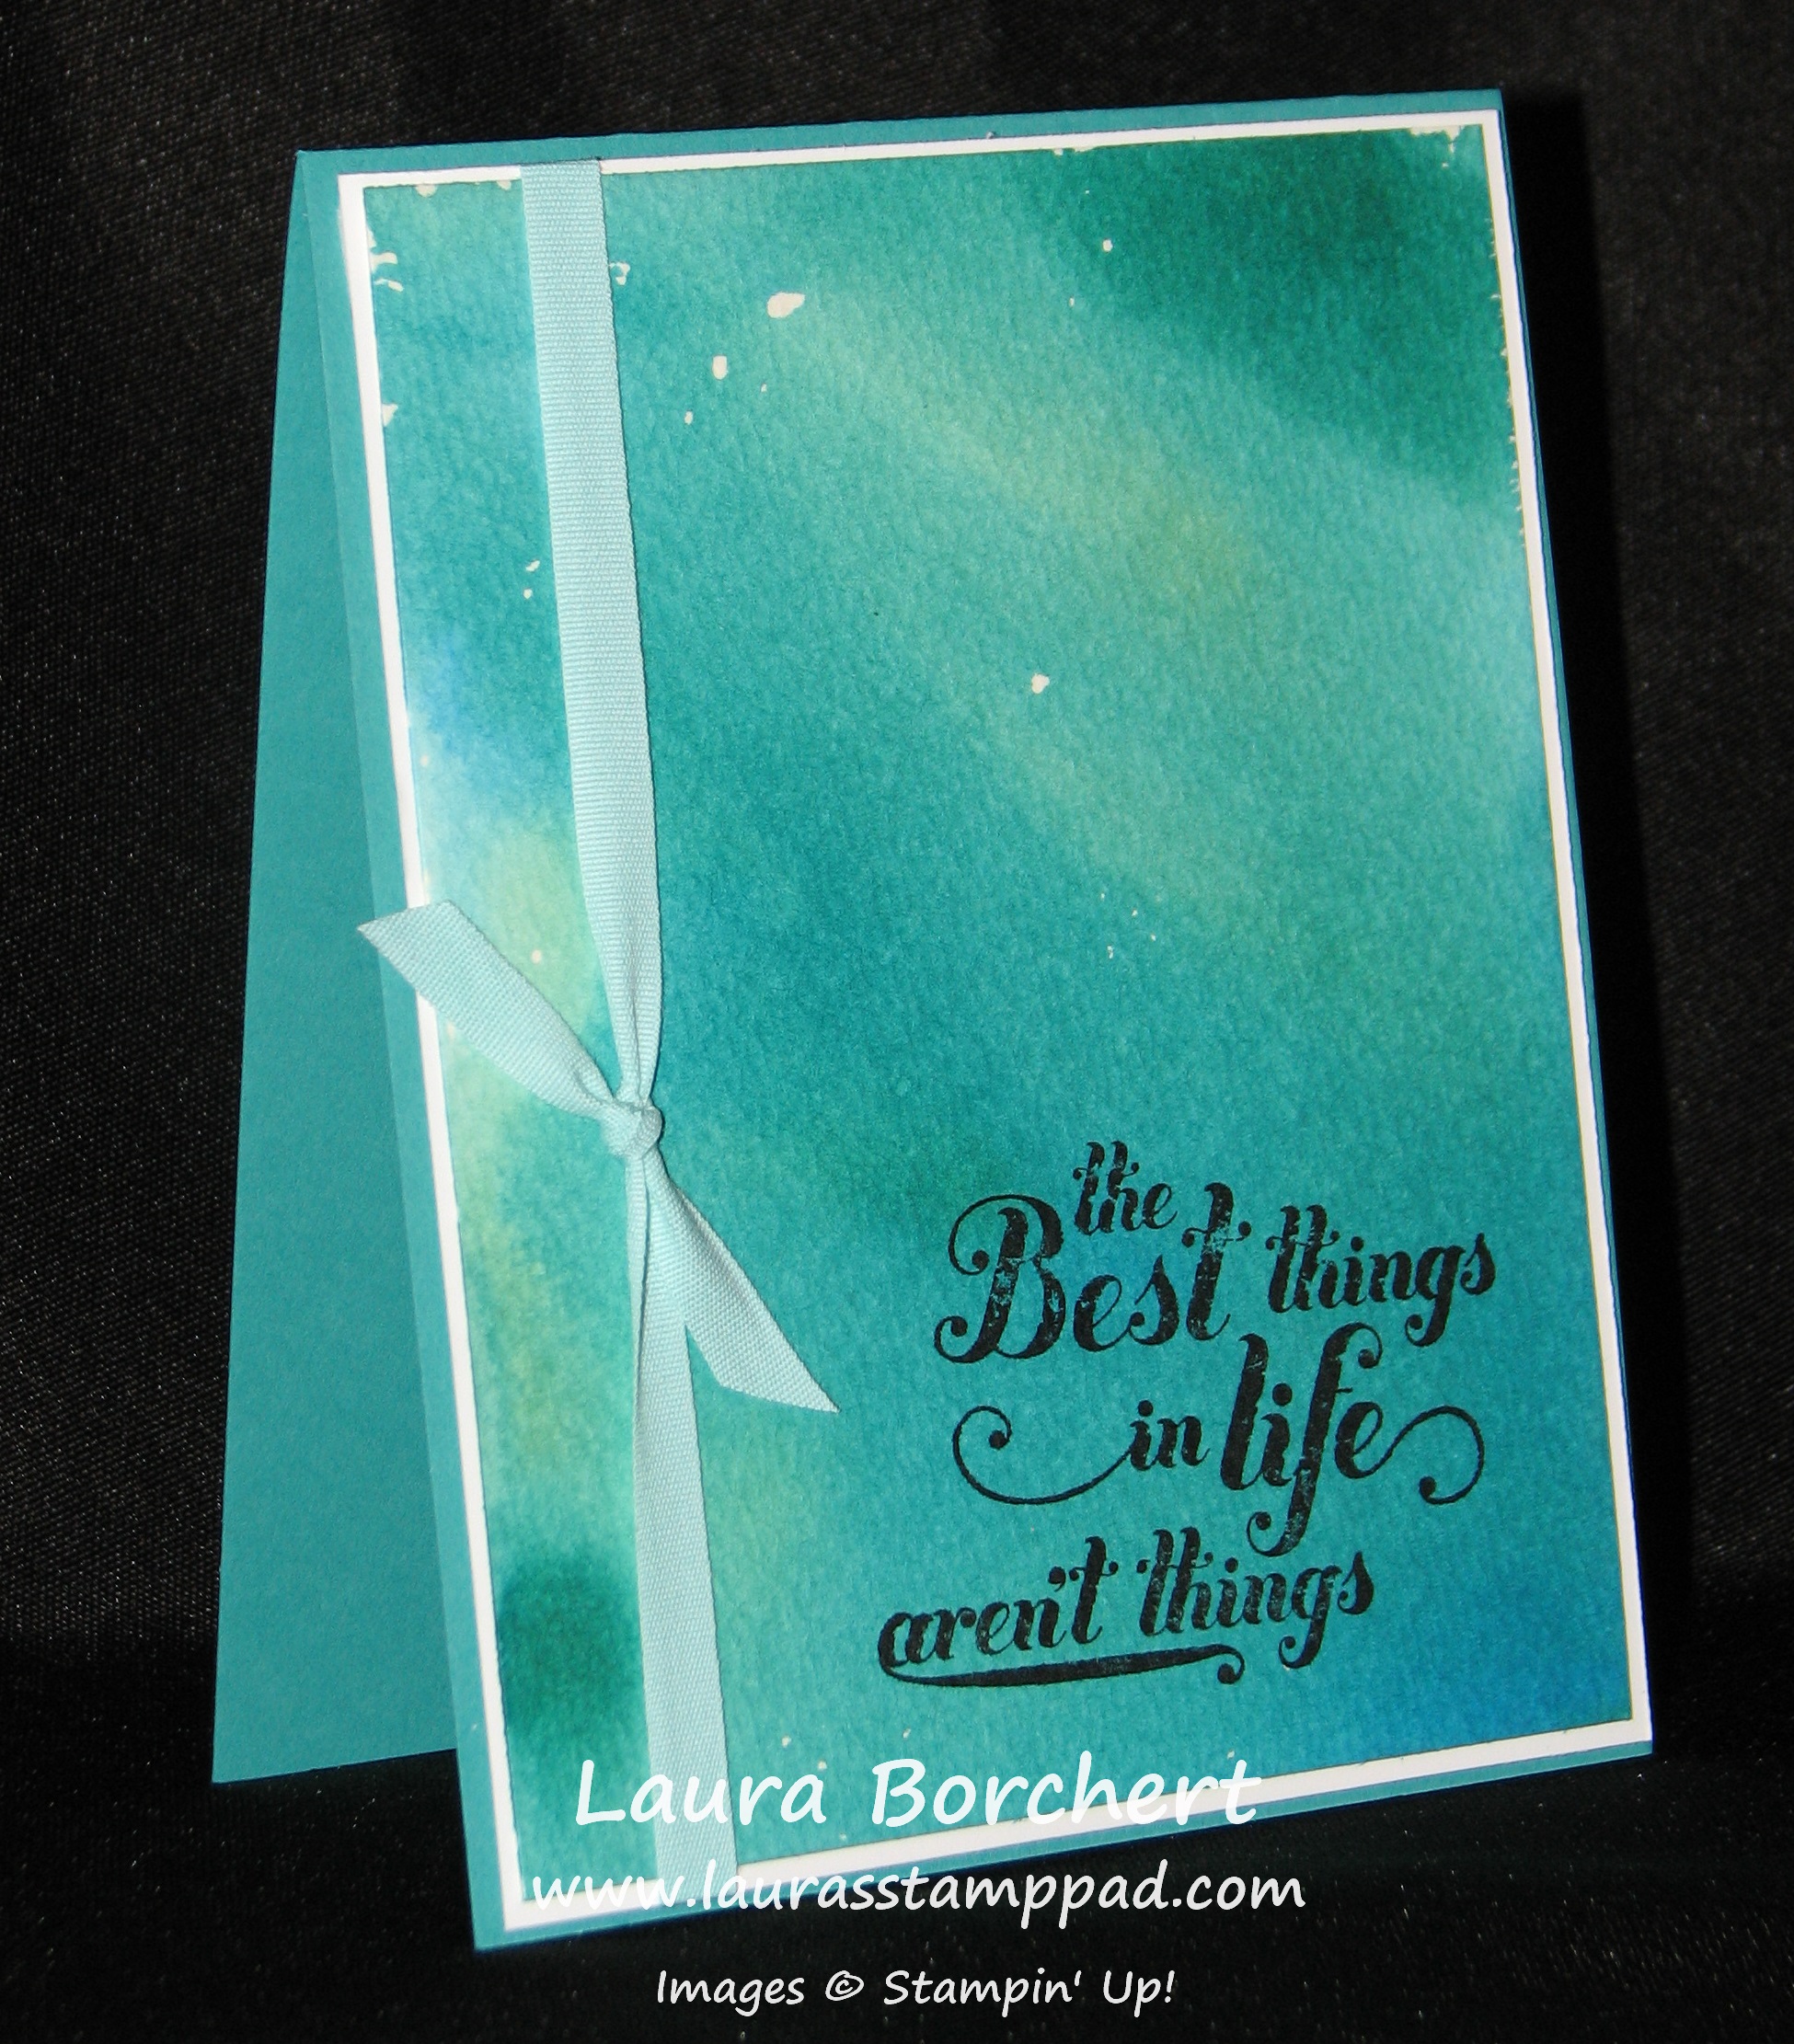
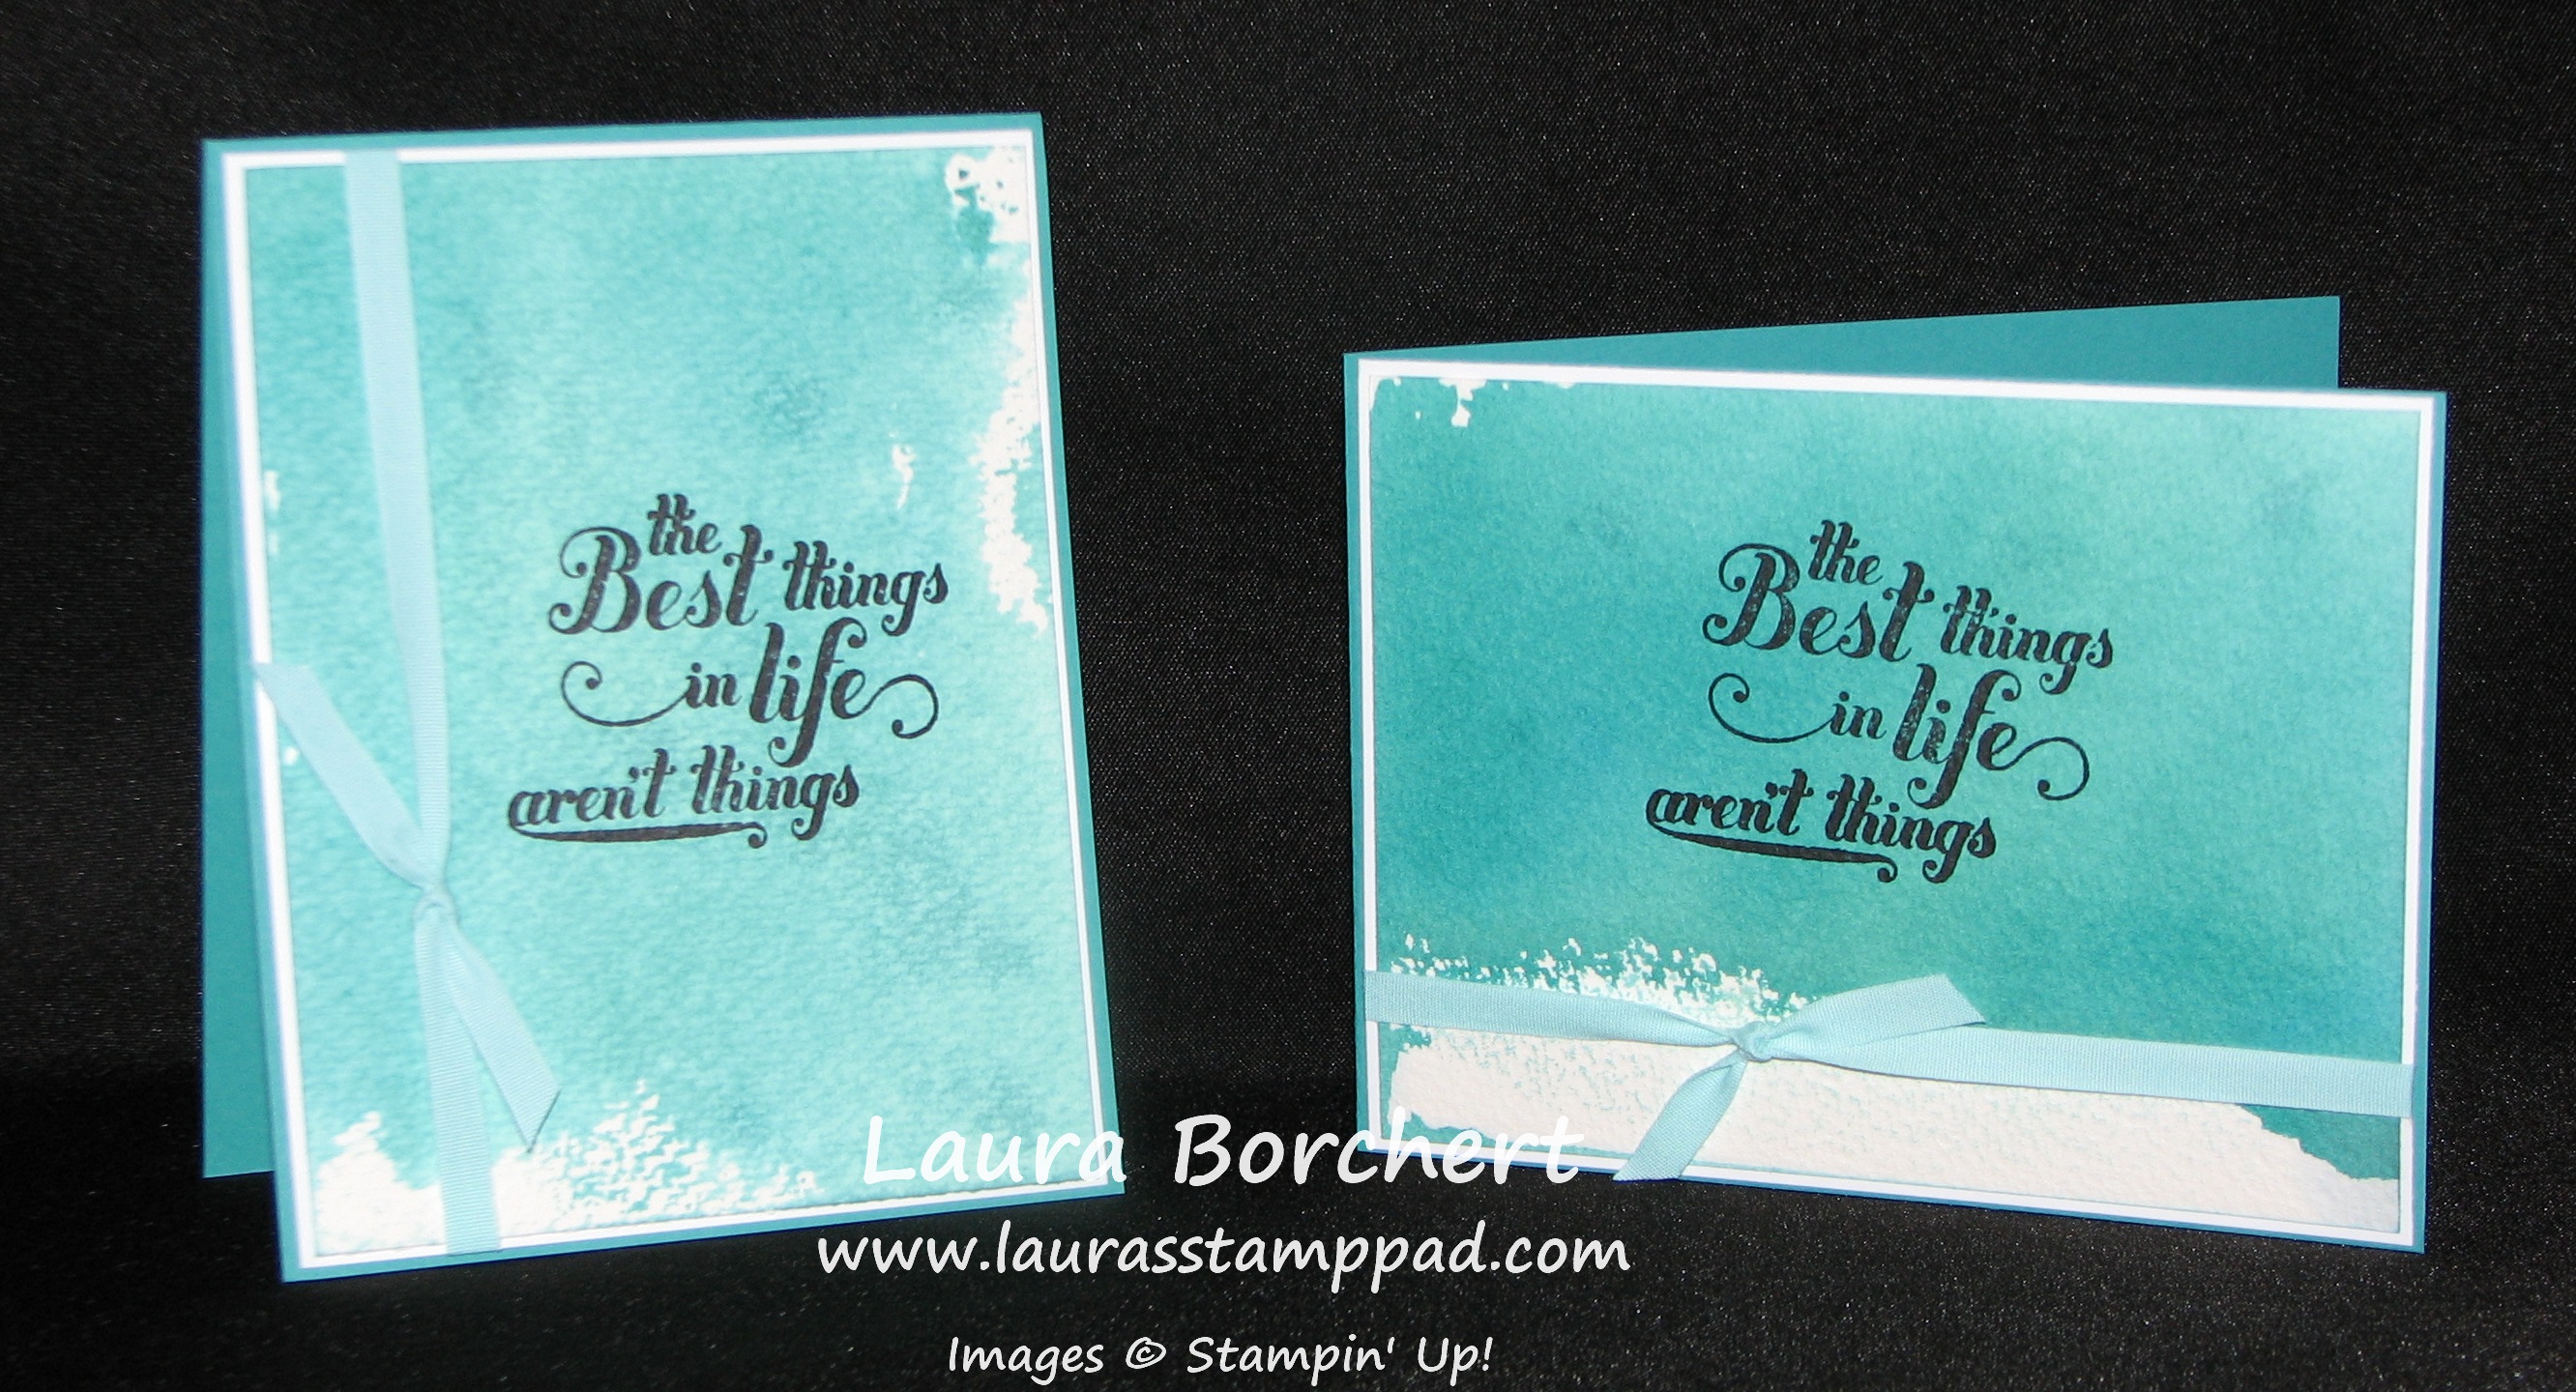
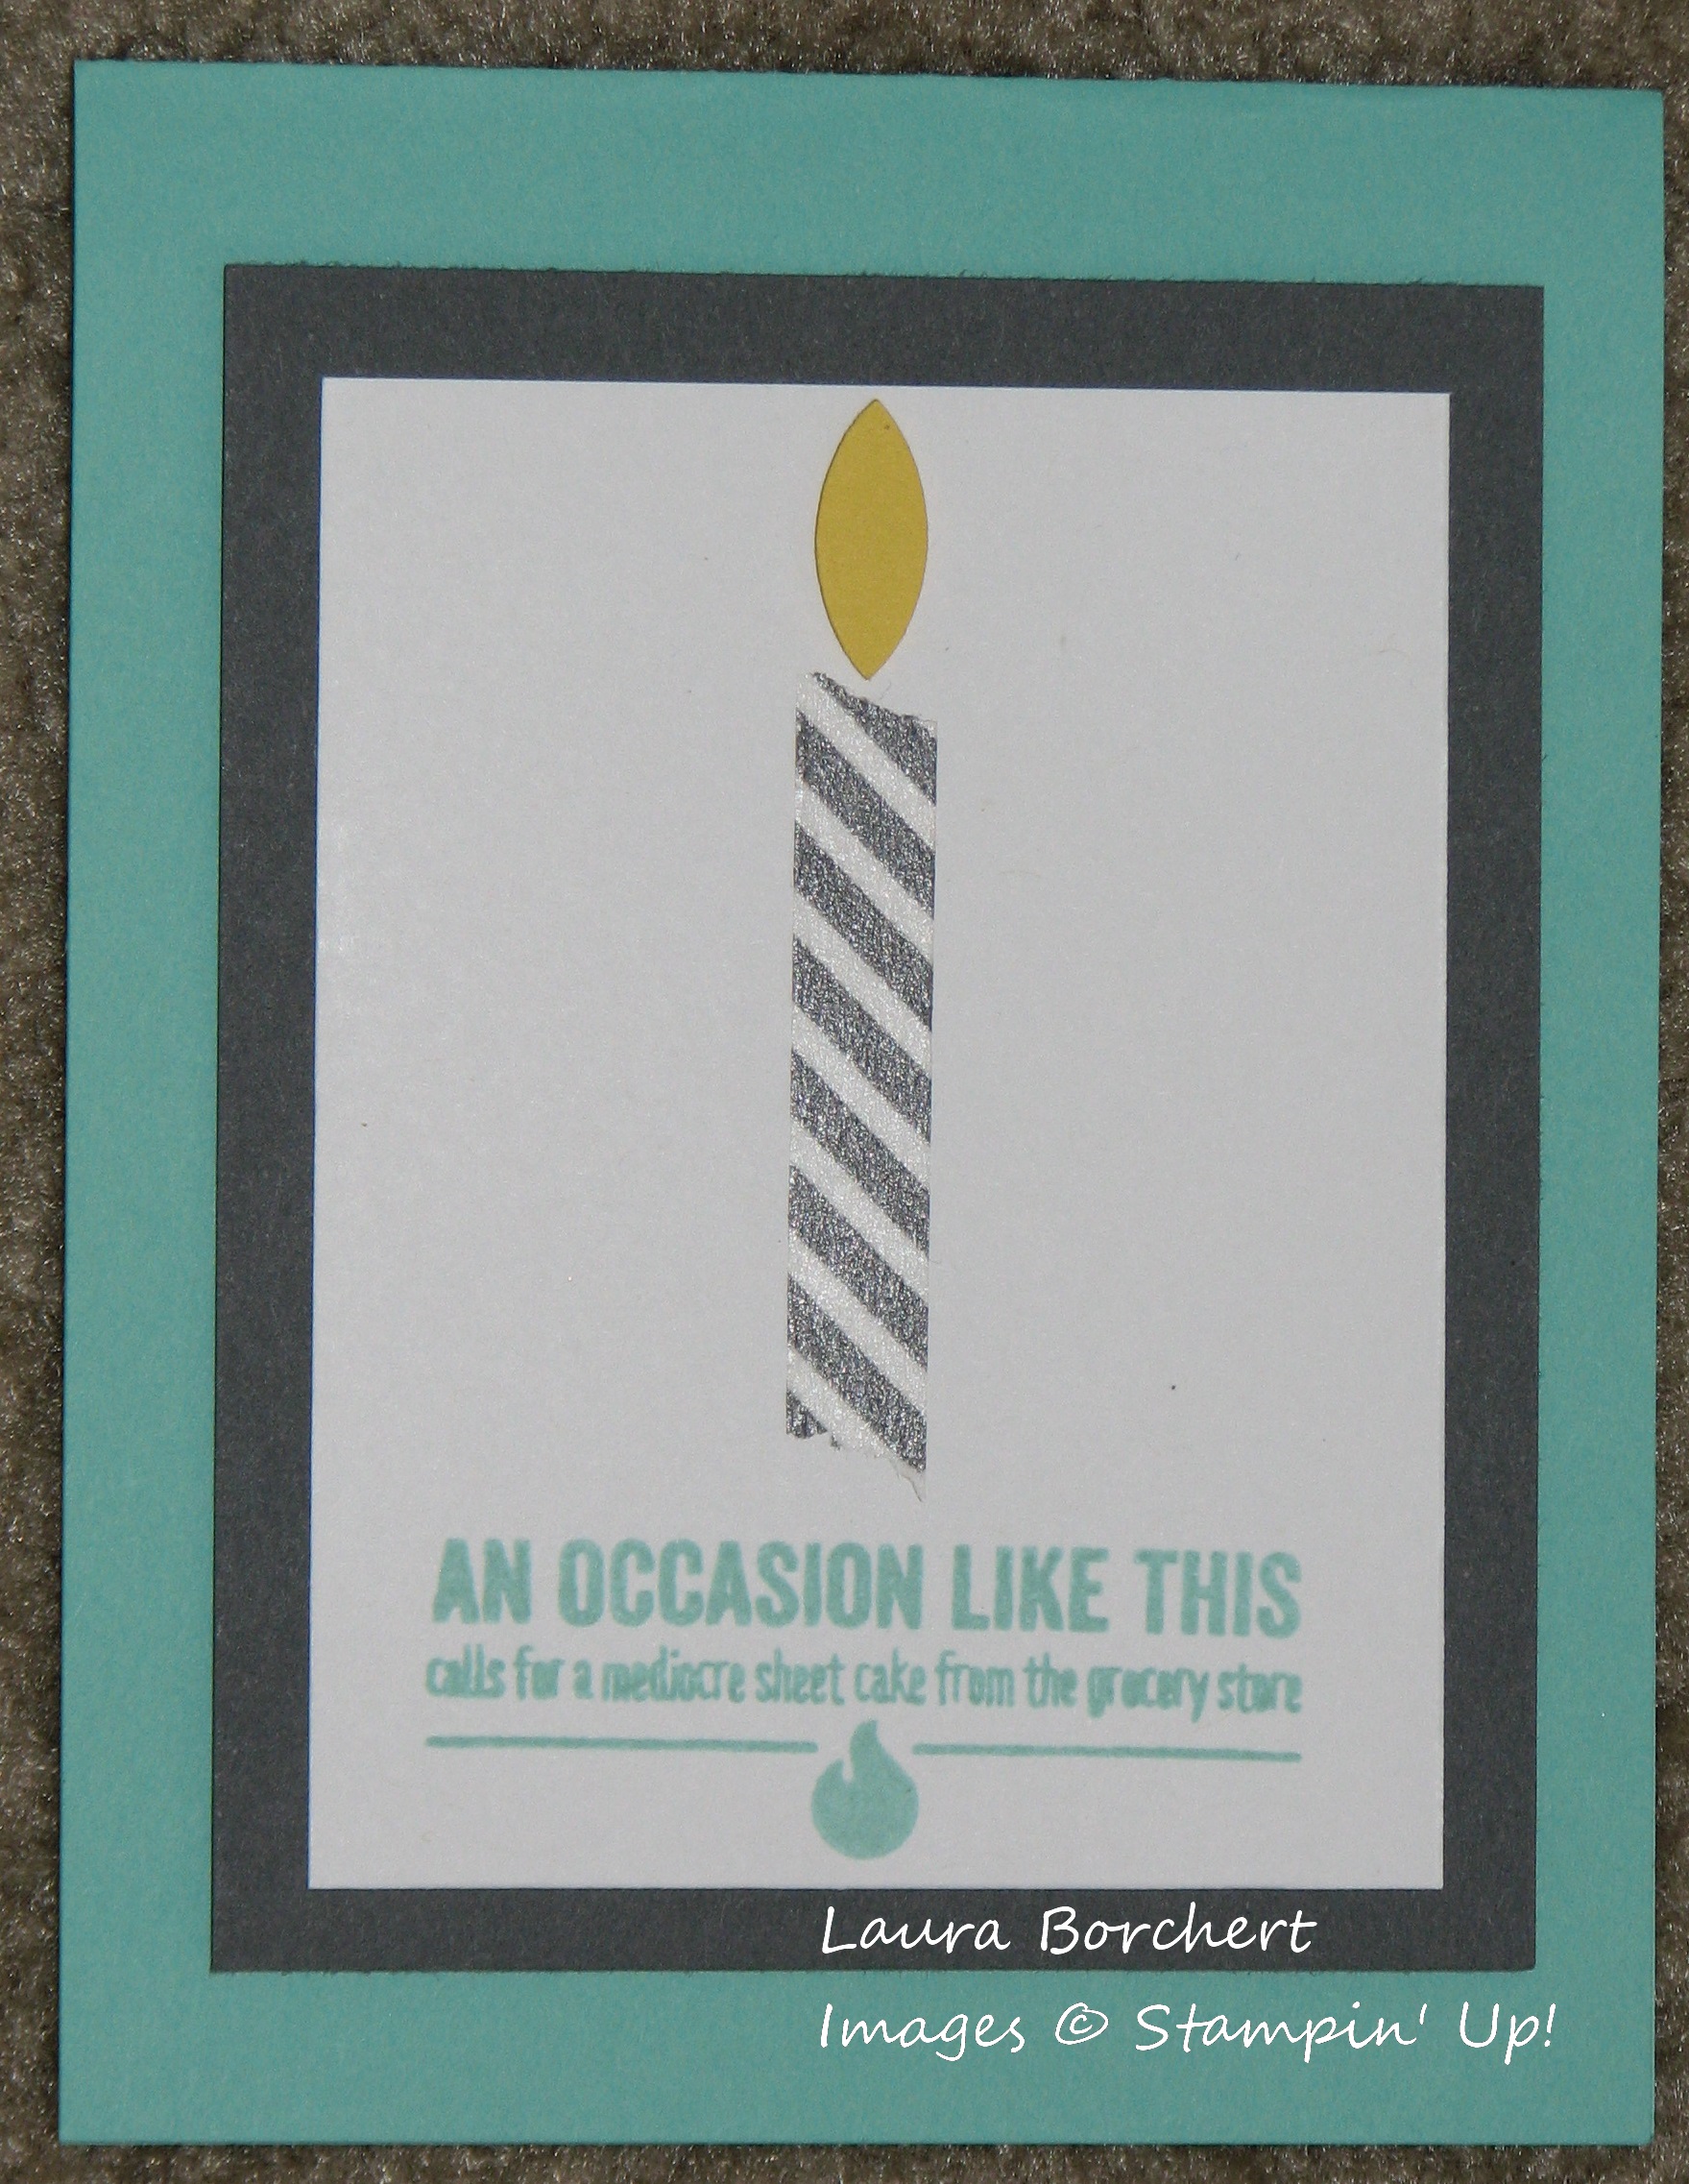
I started with a piece of Shimmery White cardstock measuring 4″ x 5-1/4″. This paper adds a little extra shimmer to your project and it is a little bit thicker so it works well when you spritz it with water! You will sponge your background any way you like. You can do lots of colors, just one color or a night sky. I was going with a sunrise/sunset look in the sample above! I used Night of Navy, Bermuda Bay, and Crushed Curry (the green came from the bleeding of the yellow and blue). Once you have added your color with the Sponge Daubers, spritz it all over with the Stampin’ Spritzer. The spritzer should have just regular water in it. This allows the colors to run and bleed. Then you will add regular table salt and watch the magic happen! You will start to see the salt soak up the water/color. You can set it aside to dry or use a Heat Tool to speed up the process. I like using the Heat Tool because 1. I have no patience and 2. I love to watch the magic happen. You will see the paper start to flatten back out and the water crawls around and the crackles begin to appear. It really super cool to watch! Once it is all dry, you can decorate. You could stamp an image over top and cut it out or use it as a background. I stamped the trees from Lovely As A Tree in the sample above. I thought it needed a little more but then I didn’t want to cover up the amazing look. I finally decided on the Silver Ribbon and simple greeting from One Big Meaning! I punched the greeting out with the Washi Label Punch!

Rainbow Salt Technique, www.LaurasStampPad.com

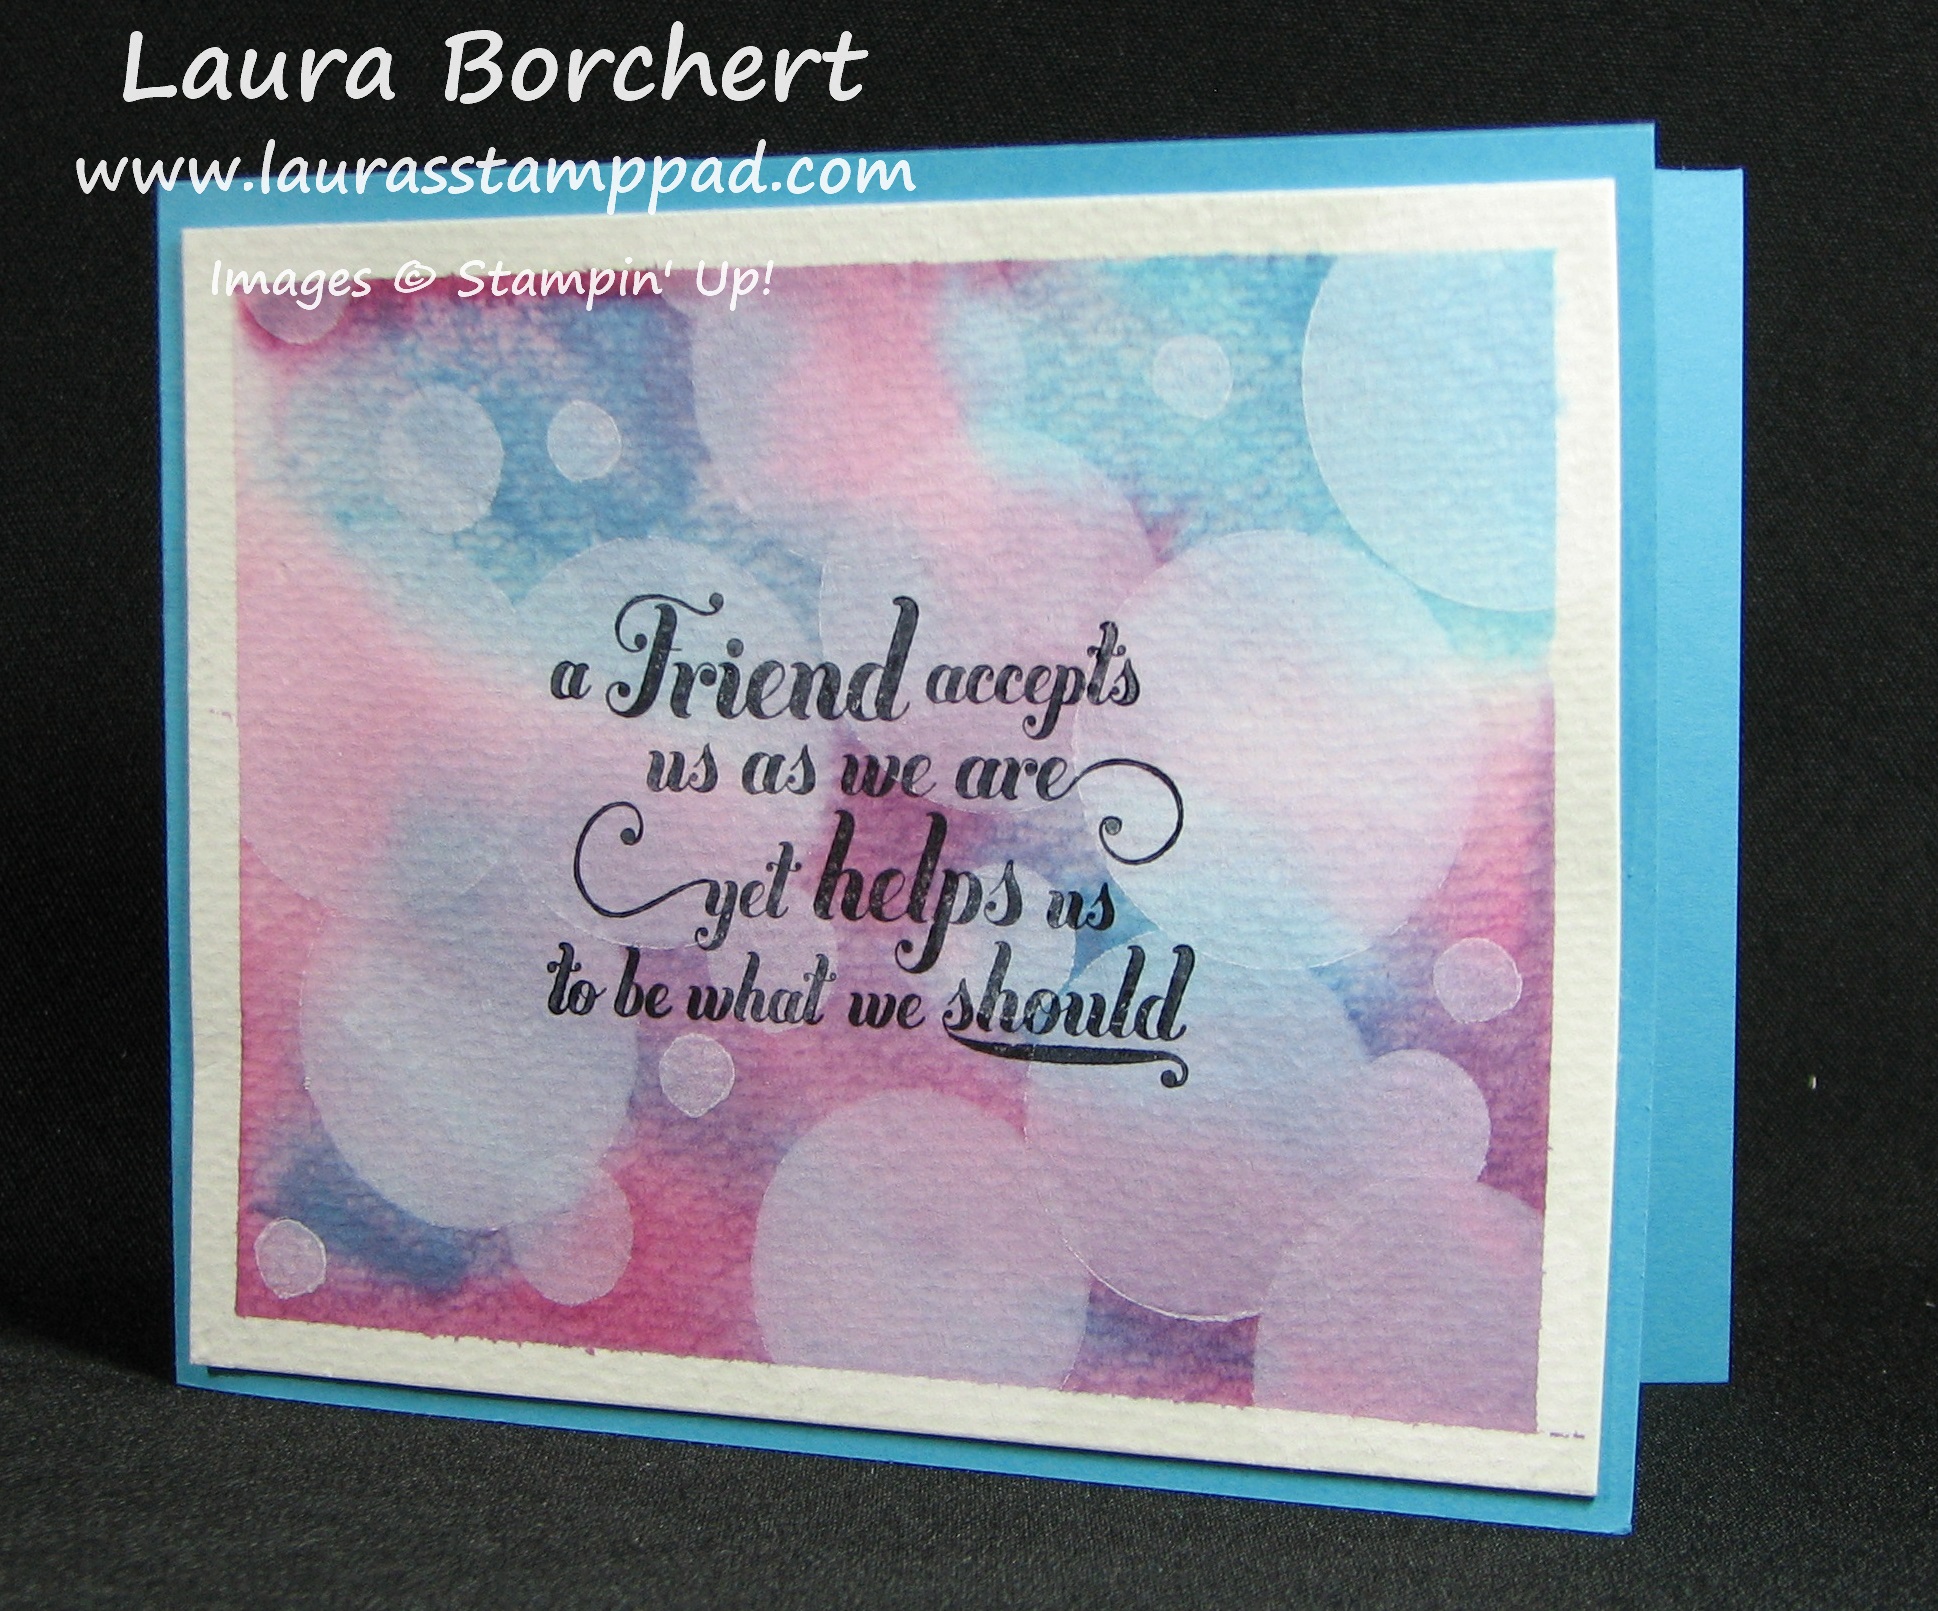
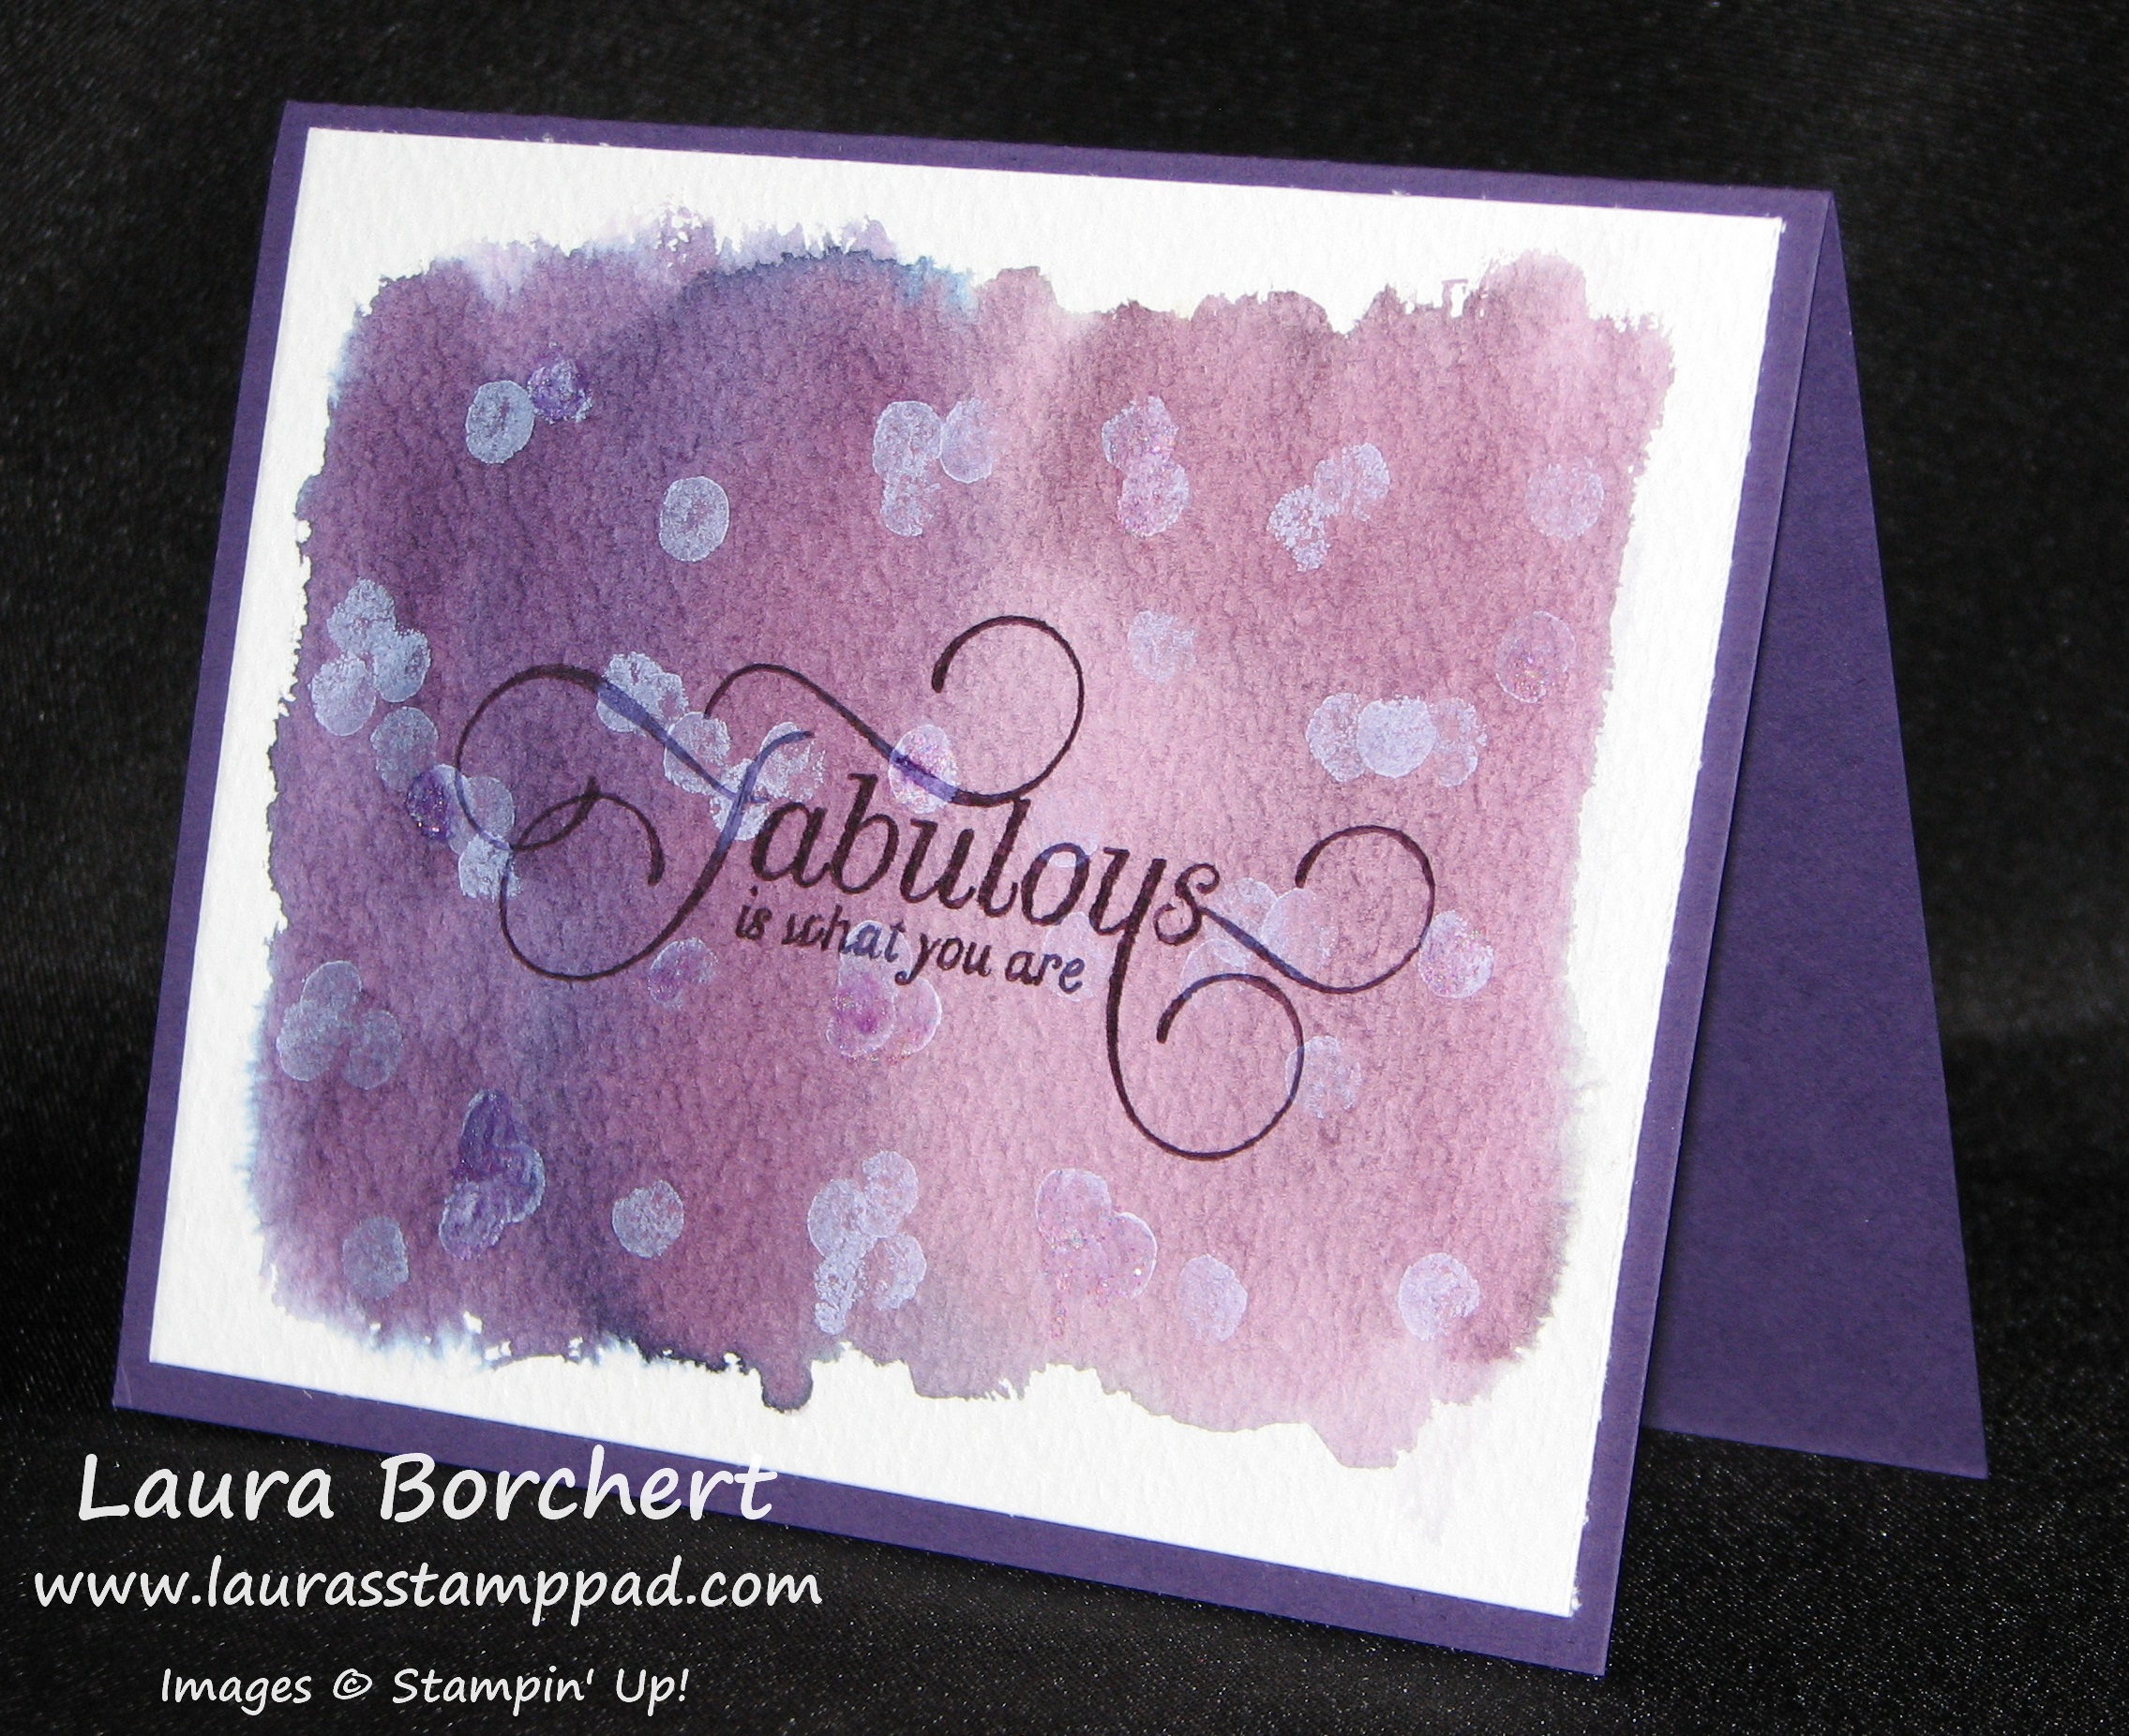
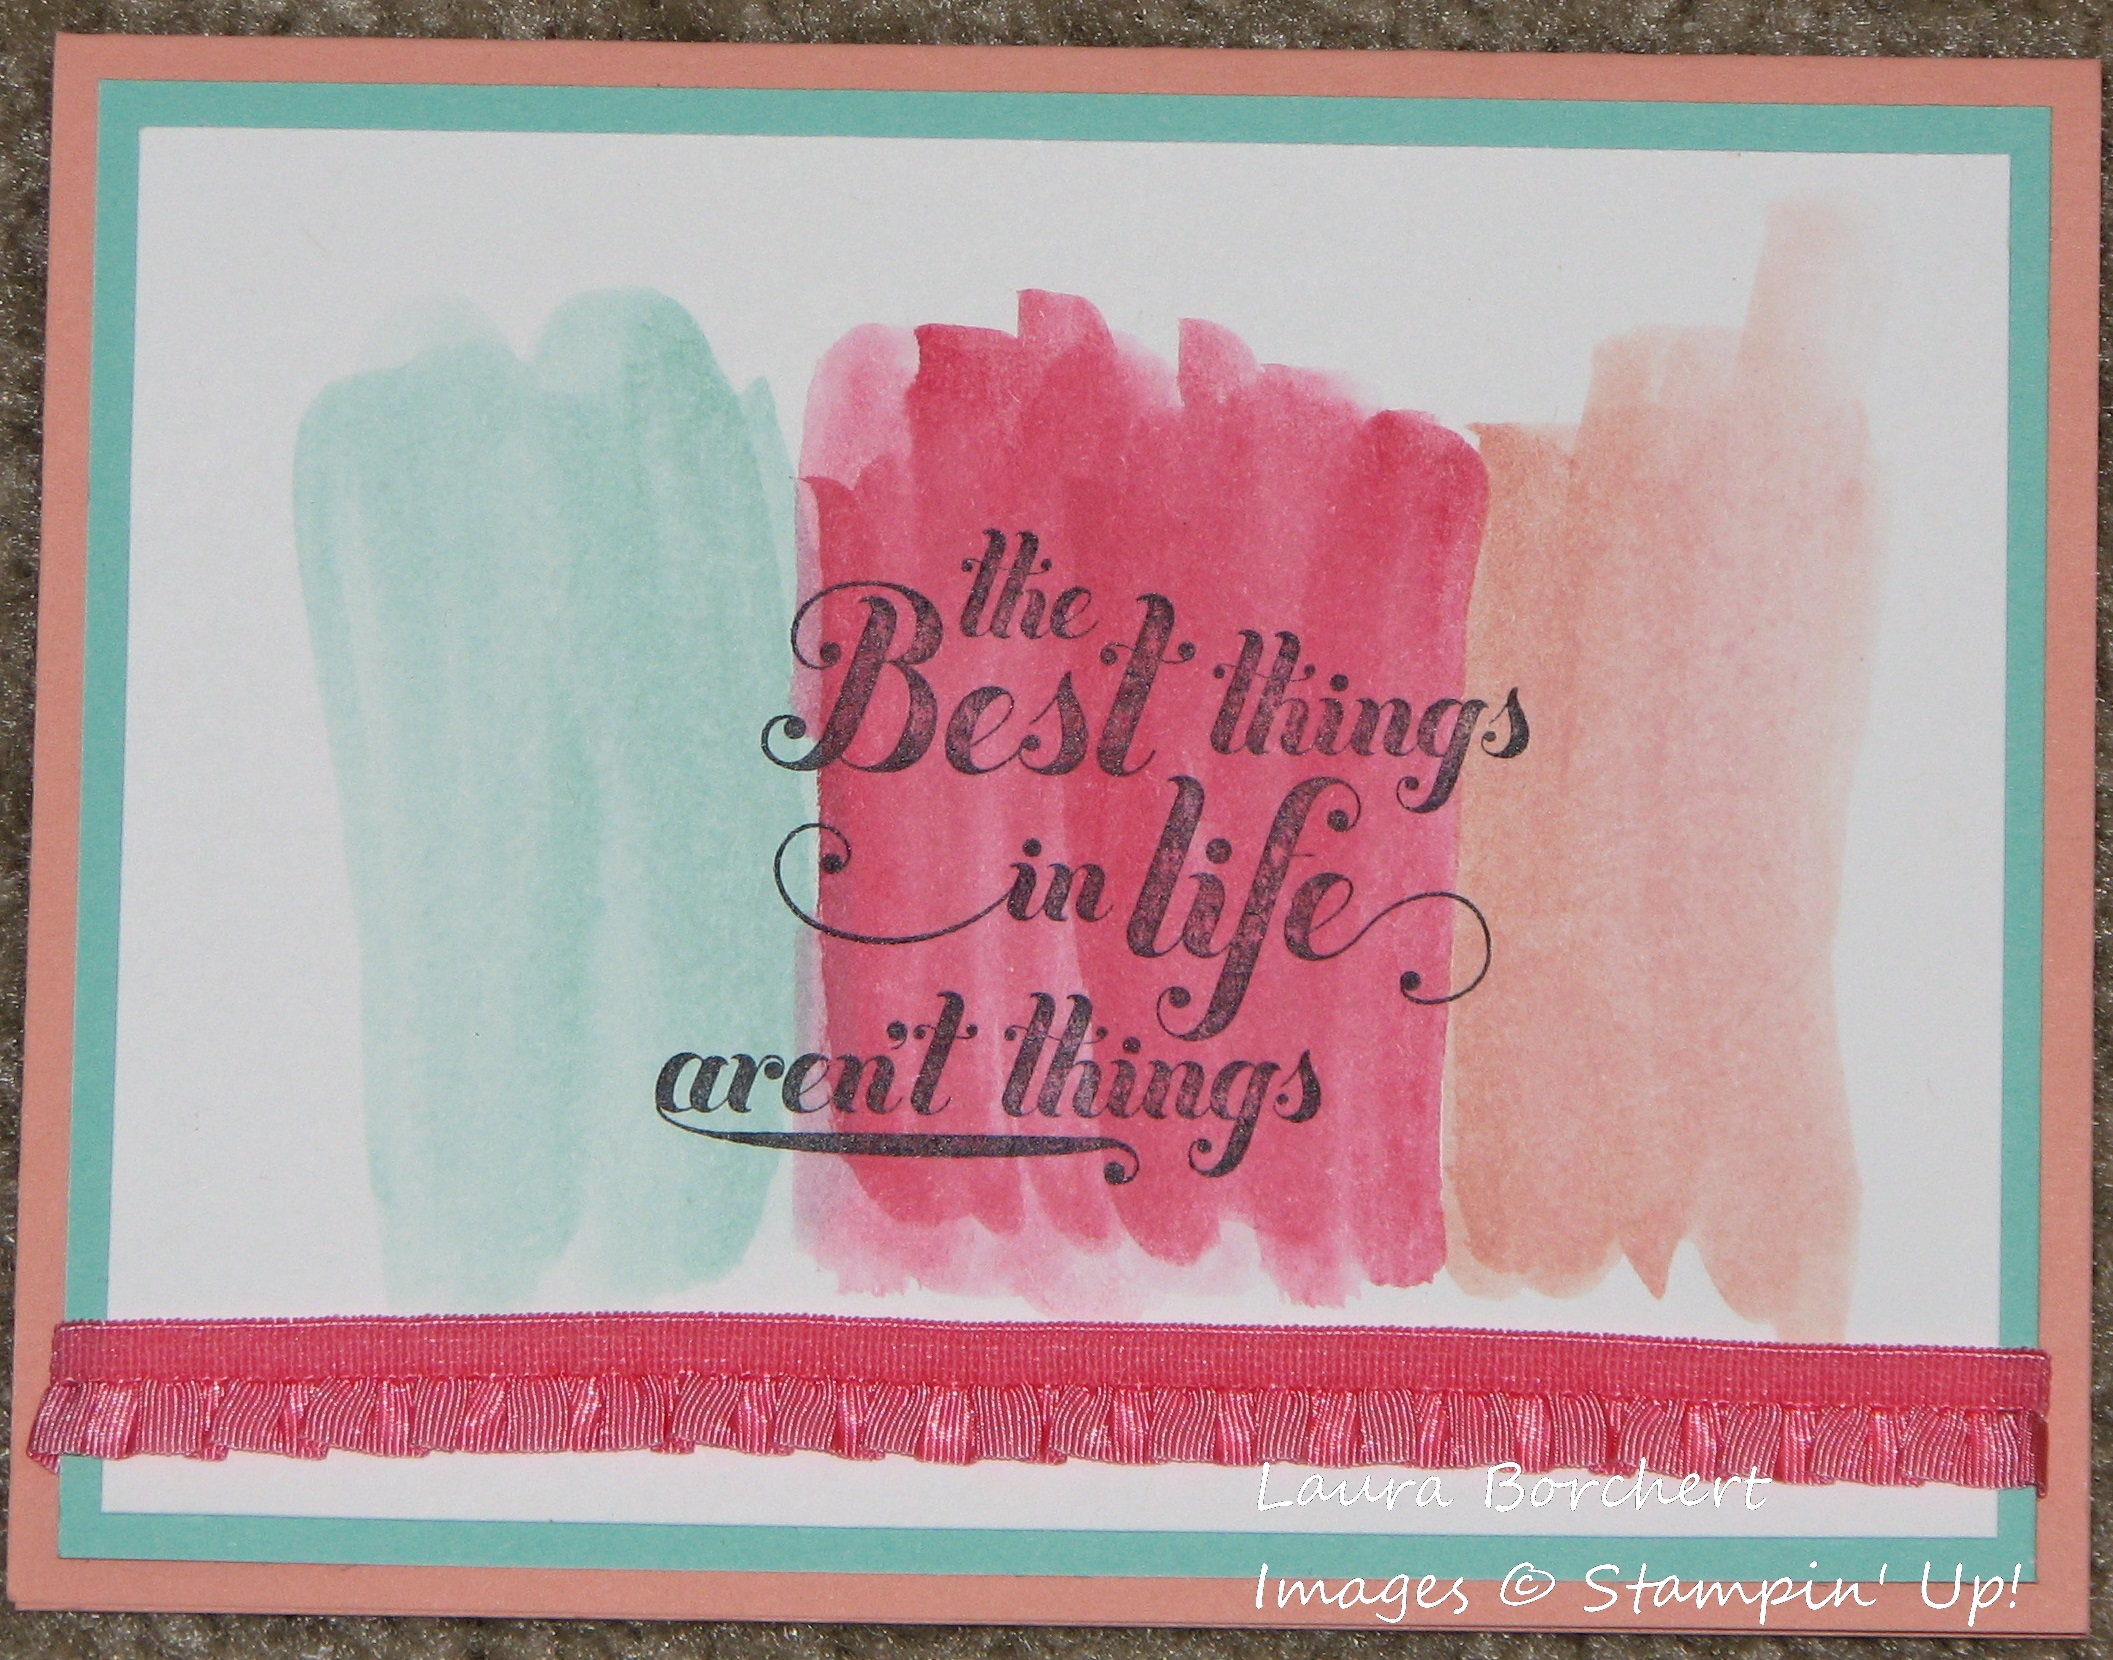
You all know how I LOVE bright colors! This one I created like a rainbow using Real Red, Pumpkin Pie, Daffodil Delight, Cucumber Crush, Pacific Point, Bermuda Bay, and Elegant Eggplant! I love how amazing the colors look with that crackled look and a hint of shimmer. I thought the greeting from the Feel Goods Stamp Set went perfect on this card! I added a little bit of Whisper White Cotton Ribbon and was all set! I love it!!

If you would like to see this technique in action, check out the Video Tutorial below or by clicking here! Don’t forget to give it a thumbs up if you liked it!!!

Happy Stampin’

~Laura


Technique Tuesday – Beautiful Bokeh!!!

Posted on

Happy Tuesday!!! That means I have a fabulous technique to share with you and this one is exactly that….fabulous!!! I’m sure you have heard of or see the Bokeh look before. It is those shiny blotches of light in a photograph. So the real definition is the visual quality of the out-of-focus areas of a photographic image, especially as rendered by a particular lens. See you know what I mean, right?

Bokeh Technique, www.LaurasStampPad.com

Isn’t this just gorgeous??? I used Tempting Turquoise and Rich Razzleberry for the background and the greeting is from the Feel Goods Stamp Set! This style I got from a fellow demonstrator Mary Ellen! You can check her out here and see her tutorial on this technique here! I love the idea of using Painter’s Tape to hold down your Watercolor Paper and it gives that perfect trim!!!

Bokeh Technique, www.LaurasStampPad.com

Here is another look at this technique!!! With this one, I just added a few brush strokes of ink (Island Indigo and Pool Party) to some Watercolor Paper with my Aqua Painter. After it dried, I used the Wondrous Wreath Berry Stamp to create the dots. I added the dots with Whisper White Craft Ink! How fabulous?!?! The greeting is from the A Dozen Thoughts Stamp Set! I layered it with the Oval Punch and Scallop Oval Punch! Here is another sample using Perfect Plum and Elegant Eggplant. I added some Dazzling Details and the dots were created with Whisper White Ink and my pencil eraser!!!

Bokeh Technique, www.LaurasStampPad.com

Want to see this in action?? Check out my Video Tutorial below! Be sure to give it a thumbs up if you like it!!!

I hope you try out this technique and let me know how it goes. I would love to see your creations. You could do this technique in a million different colors and get a different look with each! Love it!

Happy Bokehin’

~Laura


Puddles of Ink!!!!

Posted on

Who doesn’t love inky fingers? Wait, am I the only one who does LOVE inky fingers? 🙂 Ahh It washes off eventually and it is just so much fun being messy! Well this technique I am going to show you is for sure messy but so much fun and super cool!

Ink Dropper Card, www.LaurasStampPad.com

Disclaimer: No 2 Watercolor Cards come out alike! Playing with watercolors is always a toss up on the outcome! 

I felt I needed to put that disclaimer out there because I can’t really teach you how to achieve this EXACT look because they all come out different. I’m not going to lie this one did come out amazing – I love the colors, I love those white spots on the top left, it’s perfect to me! I have done a few others and my fellow stampers like the ones I don’t like and don’t like the ones I do like so you never know what you might get! Okay let me tell you about this technique!!!

I started with some re-inkers and my Silicone Mat! In the card above I used Pool Party, Coastal Cabana, Bermuda Bay, and Tempting Turquoise! Drop dots of the re-inker all over the silicone mat. You can make some of the drops touch or keep them all apart. Then you will take a Spritzer with alcohol or water and give it about 5 spritzes or so. Enough to add some liquid to the mat and to make a few dots bleed a little. Then you will place your Watercolor Paper right on top. Feel free to instantly pick it back up for lots of white areas, press it all around and let ink really soak in, or press in only a few spots. Now you will pick it up and turn it over to see what you have!

Reinker Watercolor, www.LaurasStampPad.com

Again here you can set it aside to dry, tilt it around to mix the colors, use your finger to move some color around and fill in white spots, whatever you decide! You can also get multiple watercolor pieces out of one set of re-inker drops. Just lay another piece down! I have also added a few drops of a preferred color or added a few spritzes to get it more wet! Here is another set that I did in Melon Mambo, Pumpkin Pie, and Hello Honey! I thought I would love these but for the most part….ehhh not my favorites!

Reinker Watercolor, www.LaurasStampPad.com

I will have a Video Tutorial for you to see this technique in action, but we decided to stay an extra day on vacation so I will be posting the video later today! 🙂 Thank you for understanding!!! Be sure to subscribe to my Channel though so you don’t miss out on this one and other videos!

Happy Spritzin’

~Laura


The Ombre Look!!!

Posted on

It was probably less than a year ago when I heard about the Ombre look (I never said I was a fashionista or super knowledgeable about current trends). 🙂 BUT since then I have seen it literally everywhere…..cakes, hair, clothing, decorations, and so much more! I have loved the look with my cards too!!! It is so beautiful and the gradual colors are amazing! You can check out another Ombre Card here!

Ombre Card, www.LaurasStampPad.com

This card is so beyond simple I almost felt the need to add something more to it but then I thought no, simple it good! I have punched Night of Navy, Marina Mist, and Soft Sky one inch squares. You could just use your paper cutter to create the one inch squares too! The greeting is from the Feels Good Stamp Set and I used my markers to ink it up so I could use more than one color! This is a great use of those left over scraps that you have laying around too! Try out an Ombre look and send me you masterpiece! I would love to see what you come up with!

Happy Stampin’

~Laura


Friday Fun with Photopolymer

Posted on

Stampin’ Up! Photopolymer Stamps are so cool and here is why!

1. They are so amazingly sticky that they never fall off your clear block and you can even mold them differently (like taking the arrow stamp and curving it on your clear block to then stamp a curved arrow.) Cool, huh?

2. They are clear and you can see where you are stamping since there is no label or wood block or anything in your way (that’s not the cool part). You can see the ink go squish or splatch (that’s a word, I promise hehe) when you stamp it down. So cool!!! So the next time you are using Photopolymer Stamps be sure to watch your ink when you stamp it down and make the noise its more fun!

Laughing CardThere is no need for more reasons why these stamps are so cool because lets face it, your still on #2 – stamping and watching the ink! I don’t blame you! I love it too! Although I should mention another fabulous thing about these stamps, they are only $13.95!!!! Yep! Each set is only $13.95 and where can you find an alphabet set (with other images) for just $13.95? This adorable card on the left was created with the Designer Type Photopolymer Set and my favorite Feels Good Stamp Set! (Click here for more about my Favorite Stamp Set!) I used Daffodil Delight and Tangerine Tango Ink and just stamped around and around until it was covered!!! And it is a square card BUT no extra postage here….it still fits in one of our Medium Envelopes!!! Woot Woot!

The Bombs Away Birthday Set just cracks me up! I love the saying in this stamp Washi Candleset! They just make me giggle, maybe because we love getting a sheet cake for Birthdays and other celebrations and it comes from a grocery store! But hey, we love it and the cake is amazing! And then this week Stampin’ Up! came out with a Thank You Stamp Set! You all know I love my Thank You Sets! I do send out a ton of Birthday Cards each month to all of my extended family but I send lots and lots of Thank You Notes too! There is just so much to be thankful for I guess! (Which is why Thanksgiving is my favorite Holiday, I guess!!!) Well go check out the entire line of Photopolymer Stamps and leave a comment below on which one is your favorite or how you love to watch the ink squish too! 🙂

Happy Friday and Happy Stampin’

~Laura


Favorite Stamp Set – Feels Good!

Posted on

Do you have one stamp set that you go to every time you sit down to craft? I DO! The Feels Good Stamp Set is my favorite stamp set right now! The greetings are so fun and unique! And since they are so large, I find there is no real need for lots of extra decoration because the greeting is enough! What do you think?

Color SplashThis card was created with a few of the NEW In-Colors – Coastal Cabana, Strawberry Slush, and Crisp Cantaloupe. All I did to get this look was dab my Aqua Painter in some ink and brush it over the cardstock! Voila! Then I stamped the Feels Good Stamp in Stazon Ink.

IMG_1845This card is just a ray of sunshine AND the perfect use for those scraps of Designer Series Paper that you have left over. Check out this post using Designer Series Paper but their is a 1 inch strip left over!

IMG_1140So this one combines my favorite Stamp Set Feels Good with another favorite set of mine – Swallowtail!!!! I stamped this amazing butterfly over the 2 pieces of Whisper White cardstock and then assembled them with the Primrose Petal Cardstock layered in between. Then I put a strip of Sticky Strip towards the bottom and created a rippled ribbon look with a piece of cardstock (it is the little extra piece left over after cutting a layer of 4″x 5-1/4″). Of course, I had to put a little bling on there too!!!

Are you in love with the Feels Good Stamp Set now?

Happy Stampin’

~Laura