Ornaments that Glimmer!!!!

Posted on

Glimmer Ornament, www.LaurasStampPad.com


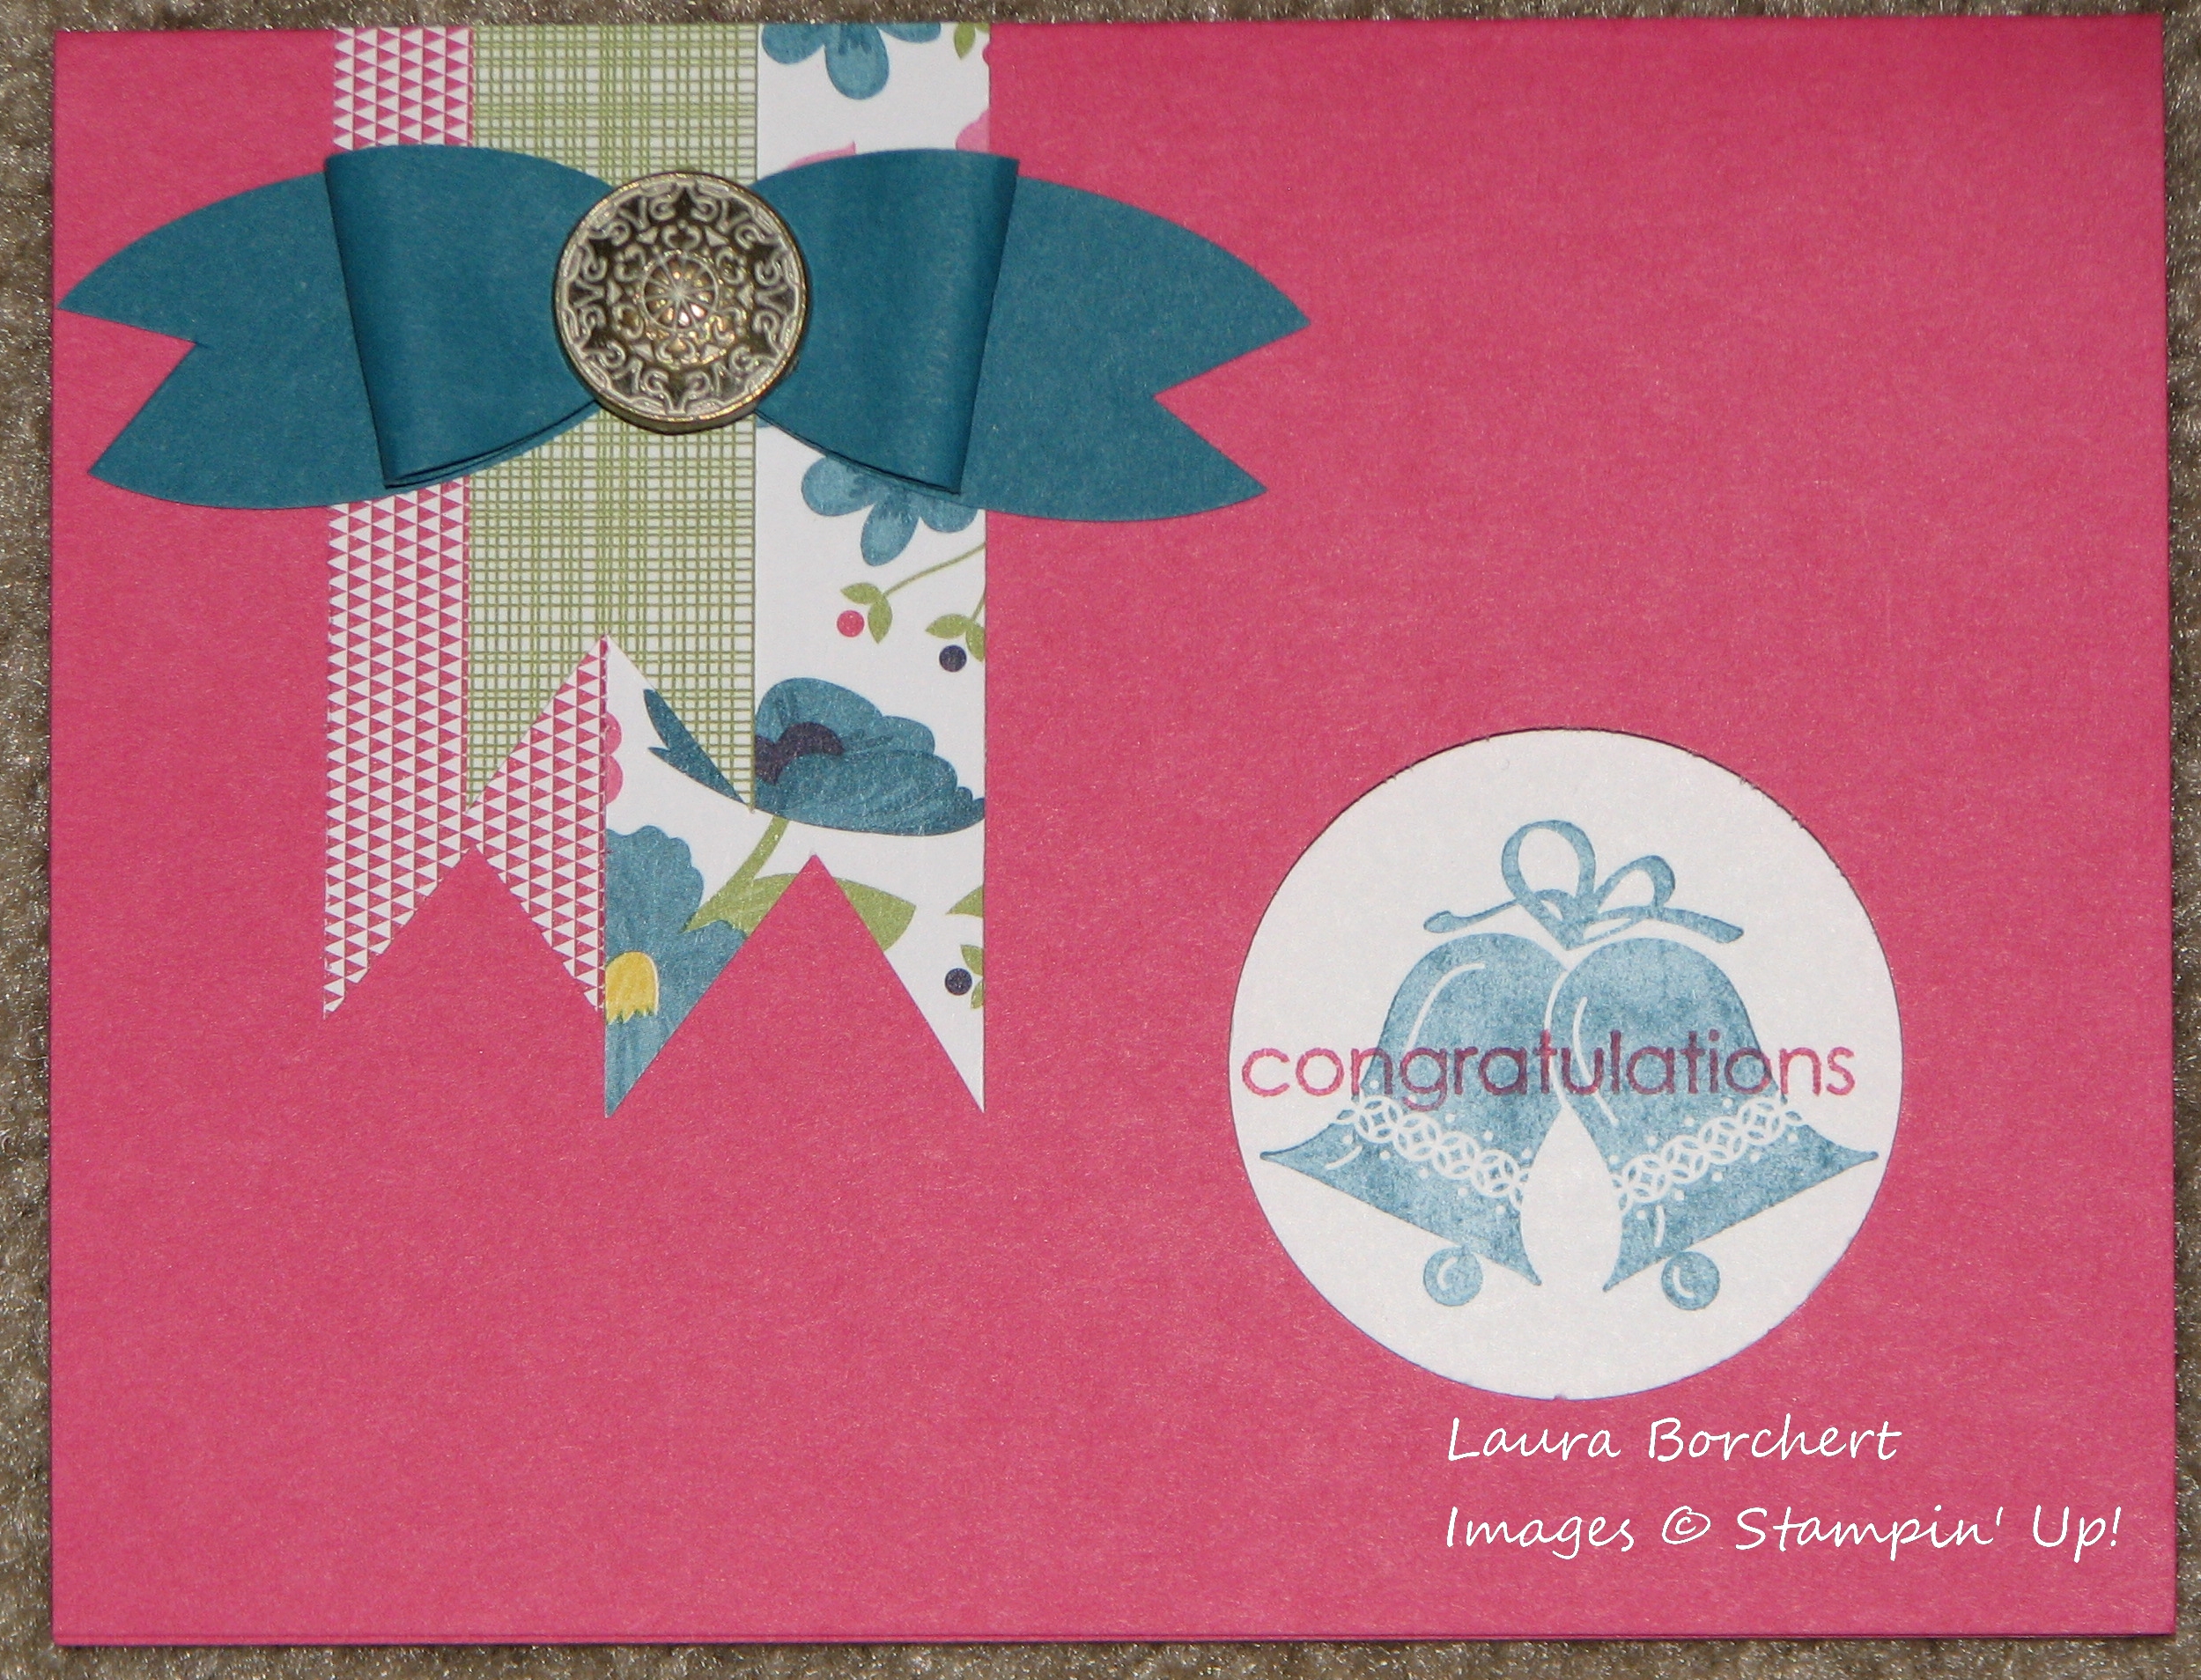
I have heard many Oooo’s and Aaaaaa’s over these amazing Holiday Cards and I’m thinking it is because of the Glimmer Paper! I’m telling you a little bit of glimmer makes every card FABULOUS! And I have an extra special trick to share with you! The card above was created by putting a strip of the each of the Season of Style Washi Tape on the Whisper White piece of cardstock! For the Glimmer Ornament, you will take your Mosaic Punch and punch a piece of Glimmer Paper. Then using your 1-3/4″ Circle Punch, you will line up that mosaic image in the middle of your circle punch and Punch! This gives you that fabulous ornament! AND hold that mosaic punched piece for this next card!!!

Mosaic Ornaments, www.LaurasStampPad.com

This fabulous card was created using that Mosaic punched Glimmer piece and 2 other decorated pieces. For the Glimmer Ornament, I wrapped a piece of the green Washi Tape from Seasons of Style around it and it was complete! For the Cherry Cobbler ornament, I embossed the cardstock with my Mosaic Embossing Folder and then punched it out. This gave it that raised edge for a little texture! Then using the crumb cake Washi Tape from Seasons of Style, I wrapped it around, added a thin strip of Glimmer Paper and a few small rhinestones. I found that using my 2-Way Glue Pen worked the best for adhering that small piece of Glimmer Paper. For the last ornament, I took a small piece of Whisper White cardstock and added a strip of each of the Seasons of Style Washi Tape and then punched out the Mosaic image (at a diagonal). Each ornament is using the Silver Ribbon and I attached it on the back of the ornament with a Stampin’ Dimensional and on the back of the cardstock with Snail Adhesive!

I hope you enjoyed these cards and they made you Ooo and Aaaa! Try adding a little Glimmer Paper to your next card and for more ways to use Washi Tape, check out this post and this post!

Happy Stampin’

~Laura


Pop & Place Tags

Posted on

Pop & Place Tags, www.LaurasStampPad.com

A Gift Tag can really make a present POP!!! Check out the items above – a simple kraft colored box or bag but with an adorable tag! The NEW Pop & Place tags are a super simple way to create tags for all of your presents during this Holiday season and all year around! You can use these tags for presents under the tree, neighbor gifts, teacher gifts, and even to create cards or scrapbook titles on your page.

The Pop & Place Tag Set comes with 70+ tags in 5 different designs and get this…..all of the tags are created from Stampin’ Up punches or dies. This gives you a chance to try out the shapes even though you may not own that specific Punch or Big Shot Die. If you find that you are loving a certain shape, you will know what to put on your wish list to Santa! 😉

Christmas Tagables, www.LaurasStampPad.comAnother NEW item that came out is the Christmas Tagables Photopolymer Stamp Set. There are NINETEEN (19) stamps in this set and it is ONLY $13.95 (plus tax and shipping). HOW AMAZING IS THAT? I love Photopolymer Sets! All of the images in this stamp set fit in the Pop & Place Tags. And I know what you are thinking…..How will I line up the image since Laura always says Stamp First, Then Punch? Photopolymer Stamps are completely clear, no label or wood block to work around so you will be amazing at stamping it in the center! You can order these items alone or as a bundle. Pop & Place Tags, Christmas Tagables Set, OR a Bundle with both, OR the Starter Bundle which includes the tags, stamp set, Clear Block C, and a Soft Suede Stampin’ Spot!

Happy Taggin’

~Laura


Technique Tuesday – Flip Flop Card

Posted on

It is Tuesday and so I’m sharing a fabulous technique with you!!! This week it is the Flip Flop Cards!!!

Flip Flop Card, www.LaurasStampPad.com

Okay so Stampin’ Up came out with these amazing Thinlit Dies which makes making Flip Flop cards super easy! But I have some tips for using the Thinlit Dies and a little extra trick to show you! The card above was created in Gumball Green and I used the Birthday Basics Designer Series Paper to decorate it. The circle is a 2-1/2″ Circle Punch from Whisper White and the cute little chameleon is from the Tag It Stamp Set! I just wish you all could Flip Flop the card in person since it is so much fun!Stampin' Up Thinlits, www.LaurasStampPad.com

The Thinlits are available in two different styles and check out all the amazing goodies you get with each one! You will notice that the dimensions for the card are 6-1/4″ x 5-1/2″. In the card above, you can see there really isn’t a spot to write your greeting. Although I have used the back for that which works perfect (and then you are using all of the card 🙂 ). But here is a trick for you to have an extra spot to write your greeting! Cut your cardstock to 5-1/2 x 8-1/2″ (regular card size) and you will put it in the Big Shot with the Thinlit but on the end you will pop it through and leave the “tail” on the top side so it doesn’t get cut when running it through the Big Shot. See photo below and how the cardstock is above the Thinlit on the right side.

Flip Flop Thinlit, www.LaurasStampPad.com

Dimensions: Card – 5-1/2 x 8-1/2″, Candle Designer Series Paper Piece – 1-7/8 x 5-1/4″, Inside Polka Dot Designer Series Paper – 2-3/4 x 5-1/4″, Whisper White Greeting Piece – 2-3/8 x 5-1/4″, Outer Flap of Polka Dot Designer Series Paper – 2-3/8 x 5-1/4″. And when you have assembled your card, you get this! The extra little flip for your message! Super cut and still fits in a regular envelope!!! LOVE IT!

Flip Flop Card, www.LaurasStampPad.comI know my instructions can sometimes be confusing so post a comment below if you have any questions.

Happy Stampin’

~Laura


Introducing My Digital Studio…on my blog!!!

Posted on

My Digital Studio is digital software for you to create fabulous projects using the same Stampin’ Up colors, stamps, and embellishments you already love. You can create cards, scrapbooks, calendars (perfect for Christmas gifts), and much more! Every Tuesday, Stampin’ Up comes out with new fresh downloads which can vary from a template for your Family Tree Photo Album to your next Birthday Party accessories (invites, banners, tags, cupcake flags, napkin rolls, and more.) You can also create your project by picking cardstock and placing a stamped image on there and hitting print! Here are a few of my latest projects:

My Digital Studio, www.LaurasStampPad.com

This card was created using many products you are use to seeing but I was able to change the sizes and make them work for my card. For example, I used the Decorative Label Punch for my names and I increased the size of the black one so it would border the entire white label. Another great feature is the items never retire even when the real one does in the catalog. Baroque Motifs stamp set is (was) one of my favorite stamp sets but it has retired.

My Digital Studio, www.LaurasStampPad.com

This project was created with one of the templates – For the Bride Ensemble. The sample template for this shows up in yellow and gray but I love PINK so I changed the color! You can create so many different projects it is so much fun! You can even use this for a Birthday Party or even just a regular card, just change the wording!

You can try out My Digital Studio (MDS) for 30 days for FREE by clicking here! You can purchase it after the trial or now by clicking here!

I will be posting more projects soon! Be on the lookout!

Happy Digital Stampin’

~Laura


Technique Tuesday – Shaker Cards

Posted on

It is Tuesday and so I’m sharing a fabulous technique with you!!! This week it is Shaker Cards!!!!

Leaf Shaker Card, www.LaurasStampPad.com

I so wish that you all could shake this card while reading this post so you could really see how cool these cards are! But since you can’t, you are just going to have to take my word for it! The Champagne Glass Glitter that you see covering part of the leaf actually shakes around inside a little sealed area! Super cute and fun! And Stampin’ Up has these things called Shaker Frames so it’s super simple too!

You will need: Cardstock, a Punch to create your window, Window Sheets, Shaker Frames, and confetti of some sort (Glitter Glass, small punched out shapes, anything)

Basic Instructions: Stamp your image onto a piece of cardstock (this will be the image in the window). Place a Shaker Frame around the image (could be the entire image or just part of it). Pour in your confetti and place the Window Sheet on top to seal the confetti in. Take another piece of cardstock and punch an image out (this will be your window) and place on top of the window sheet to hide the window sheet edges and shaker frame.

Butterfly Shaker Card, www.LaurasStampPad.com

You can use all kinds of punches and images and confetti! The possibilities are endless and they are super fun the shake around and admire! I hope you try out shaker frames and share your thoughts or questions in the comments below!

Happy Stampin’

~Laura


It’s a Polka Dot Parade!!

Posted on

Polka Dot Parade, www.LaurasStampPad.com

Check out all of these fabulous cards! Super cute and super simple since they use a lot of the same basic items. I hate when my card box gets low on cards and then every time you need one you have to sit down and create it. And lets be honest, when that happens you mind goes completely blank on all creative thoughts. I did this class the other night and we all had a great time! Many people loved the flower bouquet and the champagne glasses so they used those images in place of the ones they didn’t like. I was able to get about 10 sets of these 8 cards shown above out of one pack of Polka Dot Parade Designer Series Paper! How fabulous is that? I used the Embellished Events and Tag It stamp sets. It is super simple to get out some circle punches, 2 stamp sets, your markers, and the cardstock, rather than dig though lots of ink pads and stamp sets. These cards are also perfect for every occasion – Thank You, Sympathy, Get Well, Birthday, Christmas, Baby, Wedding, Valentine’s Day, and more! Try it out and see what you come up with when using one pack of Designer Series Paper and one or two stamp sets!!!!

Happy Stampin’

~Laura


15% off on the Butterfly Bundle

Posted on

Butterfly Bundle

Oh Butterflies…..I love them so much! And now they are even better because they are on sale!!! Purchase the Papillion Potpourri Stamp Set and Bitty Butterfly Punch Bundle and you will receive 15% off!!!! This stamp set also coordinates with the Elegant Butterfly Punch too! Here are a few samples I have created with this fabulous stamp set!!! And here is another post with Butterflies!

Poppy Butterfly Card www.laurasstamppad.com


Butterfly Card


I hope you enjoy the butterflies as much as me!!!!

Happy Stampin’

~Laura


Something for all Occasions!

Posted on

Wedding CardI love stamp sets that have images and greetings because you can create a card when you pull out that one stamp set! Embellished Events is one of my favorite sets right now! I love the simple greetings and the fabulous images!!! The wedding bells in the Congratulations card here on the left is perfect for a Wedding, Anniversary, and even Christmas! Of course the photo doesn’t do the amazing card any justice. The circle with the bells and greeting is actually on the inside of the card with the circle cut out of the front of the card creating a peek-a-boo!!! Isn’t that cute? Oh and you see that fabulous bow on the banners! You can create that with your oval punch! Yep, that’s right! Just 4 punched ovals and you have that fabulous bow! Curl 2 of the ovals and adhere with a Stampin’ Dimensional Thank You Flowersand then cut little V’s out of the other 2 ovals to create the tails! I put an Antique Brad in the center but you could use any type of Brad or Ribbon or even a cardstock loop! Precious!

Of course, flowers can be used for ANY occasion, at least that’s my moto because I LOVE flower stamps! These flowers are perfect for a Thank You, Birthday, or Just Because Card! I love how these flowers are super cute and bold and easy for coloring with your markers. When you color your stamps with you markers, you can have multiple colors like the Thank You card here on the right! If you feel like it took you a long time to color the stamp and it may have dried, don’t worry just huff on it! Don’t blow on it but instead huff (like when you eat something hot and you go ha ha). I hope that makes sense! There are many other images in this stamp set too! Check out this post for more samples! I hope you try out some of these card styles and even this stamp set!!!

Happy Stampin’

~Laura


Technique Tuesday – Ombré Style Stamping

Posted on

It is Tuesday and so I’m sharing a fabulous technique with you!!! This week it is the Ombré Look!

Happy BirthdayI’m not going to lie, when I first heard of the Ombré Technique I had no clue what it was and had to look up the word Ombré.  Ombré is a French word meaning to shade. In art it means beautiful color gradation!

So there you have it! And now I’m loving this technique! You all know I’m a huge fan of bright colors and whats even better….lots of Bright Colors! Color is an amazing thing! It sets a mood, shares a feeling, and can even brighten your day. Here are a few samples using a variety of ombré techniques. It’s an easy technique that offers impressive results.

Hang In ThereThe Birthday Card above is my #1 Man Card right now! You can make that card in shades of blue like I did or shades of green, or neutrals! And as my husband says, no ribbon on a man card but Linen Thread is okay! So all in all the perfect Man Card and it uses scraps of cardstock too!!!!! (For other Man Cards, check out this post!)

This little 3″ x 3″ Mini Card is super cute and perfect for a little Birthday Gift Tag or pick me up card to pass along to a co-worker! Quick and simple to put together and again a great use for scraps! I used the 1″ Circle Punch, Modern                                                                                                               Label Punch and Word Window Punch! Oh                                                                how I love my punches!

This too Shall PassThis last card here was created with Watercolor Paper! All you do is pick up some reinker with an Aqua Painter and swish back and forth on your paper starting with the lightest color! How fabulous is that?? Then the image was heat embossed with white embossing powder and cut out with the Labels Collection Framelits! And isn’t this saying just perfect?!?!

I hope you have enjoyed this technique and try it out in your next stamping project!

Happy Stampin’

~Laura


You’ve Got Male!

Posted on

I love Flower Stamps & Punches, the color Pink, and Ribbon (my husband says a card with ribbon isn’t manly)! Well because I have all of these traits, I find it really hard to come up with a good Man Card when I need one! I have found that the more simple the card is, the more manly it is and I have found a “ribbon” that isn’t manly – Linen Thread!!!! I am in love with Linen Thread and it seems to last forever. I think I finally used up my first package of it…..like over 6 months later! That is amazing! So here are a few samples I have come up with for all of my upcoming man birthdays and events!

Beer Mug CardYou can’t get much more manly that a Beer Mug, right? This card is created with a different punches – Corner Rounder, X-Large Oval, Large Oval, 3/4″ Circle Punch, 1-3/8″ Circle Punch, and Itty Bitty Shapes Punch Pack. I used Sponge Daubers to add a So Saffron color to the “beer foam.”

Woodgrain CardThis is another perfect card for the men in my family because they are farmers and hunters so the whole wood look goes very well! I used a piece of Chocolate Chip Core’dinations Cardstock and ran it through the Big Shot with the Woodgrain Embossing Folder! I then rubbed the Sanding Block over the top to reveal that lighter cardstock layer that is underneath. Added a little bit of Linen Thread and a punched greeting!

Tie CardAnother fabulous and simple Man Card. I added a little texture for the background with the Stripes Embossing Folder! And then I made the little tie with some of the new Chevron Ribbon in Marina Mist! I know I know….my husband said no ribbon but this is still manly since it is a bow tie!

I hope you enjoyed these Man Cards and now I can go back to my Flowers and Pinks!!!

Happy Stampin’

~LauraEm