Happy Tuesday! To keep the celebration of my 16 years with Stampin’ Up going, I’m sharing my 16 Favorite Products!!! This has been an annual tradition for a few years now and I find it so interesting to see what they are! You can check out past years here and here!

These are my favorite products that I’m loving right now! What are some of yours?? Let me know in the comments below!
~Stampin’ Shammy – I use this so much and it’s AMAZING!!!
Champagne Rhinestones – Bling Bling in a fun, fabulous shade!!!
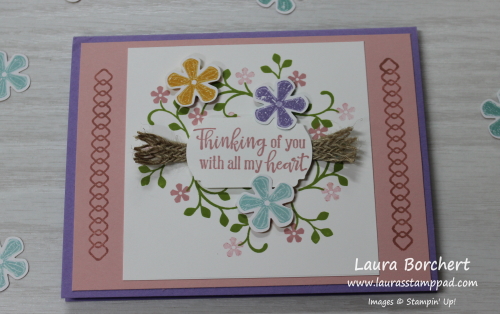
~Peaceful Moments Stamp Set – I love the greetings and that fabulous font!!!
Under My Umbrella Stamp Set – It’s perfect for Spring! Beautiful!!!
~Umbrella Builder Punch – Of course you have to get the coordinating punch!!!
Best Dressed Designer Series Paper – The flower side is just stunning!!!
~Take Your Pick Tool – This thing is so handy and makes crafting easy!!!
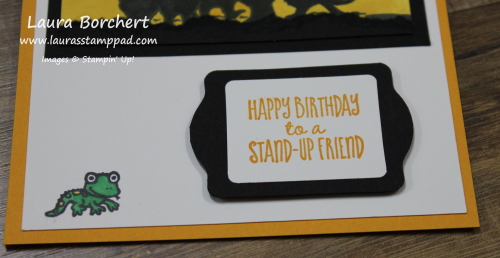
Ornate Style Stamp Set – That corner image is perfect for ALL Cards!!!
~Ornate Layers Dies – These are perfect for greetings, decoration, and more!!!
Lovely Lipstick & Daffodil Delight – These are my 2 favorite colors right now!!!
~Label Me Lovely & Label Me Fancy Punches – I grab for these for almost every card! Layering them and cutting them is super fun!!!
Stampin’ Blends…..ALL OF THEM! I am really starting to enjoy coloring because of these amazing markers!!!
~Daffodil Delight Ruched Ribbon & Petal Pink Metallic Edge Ribbon – Both of these are so beautiful and fun to use for any card occasion!!!
To see this all in action, check out the video below or click here. Be sure to give the video a thumbs up if you liked it and don’t forget to subscribe if you are new. If you would like a notification when I post a new video, be sure to click the bell right next to the subscribe!!!
Happy Stampin’
~Laura
Product List


 Ruched Ribbon")


")


")

 Designer Series Paper")
 Metallic-Edge Ribbon")


 Crinkled Seam Binding Ribbon")

")


 Crinkled Seam Binding Ribbon")
")

 Circle Punch")
 Circle Punch")


")


 Organdy Striped Ribbon")
")


")


")

 Braided Burlap Trim")


