This month’s Paper Pumpkin was soooo exciting!!! Not only was the box PINK but it was in support of Breast Cancer Awareness! Stampin’ Up donated $36,378 to the Breast Cancer Research Foundation! Thank you to everyone who got the October Kit!!! Also, the stamp set is flowers and you know how I love flowers!!!
You can see the reveal of this kit in this video! The colors and flowers are so much fun and I didn’t even get to color them in! I will be playing with this stamp set a lot!!!
Here are all 9 of the cards that the kit creates! I really loved the colors and was super impressed how the dark outline really made the flower and leaves POP! Check this out!
The Designer Paper looks amazing as is but then when you stamp the outline of the leaves and flowers using the Basic Gray Ink, wowza, they look amazing! I love it!!! Of course there is always tons of extras left in the kit so I created these cards!
I used Note Cards & Envelopes to create these cards! Cute and simple and a great way to use up the items! I still have the twine and some gold leaves left! There is also like a half a sheet of Stampin’ Dimensionals left! WOOT WOOT!
You can check out some of the past Paper Pumpkin Kit here! Be sure to sign up before November 10th to get the November Kit! I can’t wait to see what it is….I’m guessing it will be Holiday or Winter themed but we shall see! Click here to get signed up!
Would you like to check a few people off your Christmas List? Paper Pumpkin is a wonderful option for those who are crafty and/or would like to spend some quality time with someone each month whether it be your daughter, mother, grandmother, aunt or friend! You can purchase a 1,3,6 or 12 month Subscription! It fits every budget! Click here to get started!
Look at all of the fabulous goodies that came in the September Paper Pumpkin Kit! The theme is for sure fall with the kraft colored items and Cajun Craze Ink Spot!!! You can check out my excitement and reveal of this kit here! I couldn’t wait to bust into this kit and play with the stamp set! It is just so cute and perfect for all fall occasions with the leaves, acorn, pumpkin, witch’s hat, candy and greetings! I made a few of the treat bags into Hostess Gifts for my fall parties!
Some of these look a little oddly shaped because of the prize inside! 🙂 It was super simple to assemble these bags. The fringe already has adhesive on it and it was easy to wrap around the bag. I found that the raffia ribbon held better without and third hand when tying the bag. Some of the bags used just the Cajun Craze Thick Baker’s Twine and some used just the Raffia and some used both. I loved making the little tags. I used a few other ink colors – Cherry Cobbler, Garden Green, Chocolate Chip, and Soft Suede (as well as the Cajun Craze). That little filigree image is super fabulous!
I made a few more with just candy in them for Trick or Treaters!!! Don’t worry about the size of these bags and thinking you need to really fill them. I found that these treat bags with less in them than the ones above turned out cuter!
Then since I didn’t really need a ton of treat bags, I would I would create a few cards. These 2 cards used 1 of the fringe piece with some still left over. I ran a piece of Tear & Tape Adhesive into 3 lines on a piece of Crumb Cake Cardstock. Then I took the fringe and laid it down, trimmed it off, laid it down on the one above, trimmed it off and so on. For the last set (top one) I just torn off the adhesive backing that was already on there and stuck it down! I used both the Baker’s Twine and Raffia on these cards and added the tags! Super cute but since I used one of the fringe piece, I had to do this…….
I just folded the bag down and stapled it on either side and then tied some ribbon around it. It’s so cute and little!!! I still had some tags left so I created this little note card!
This was super simple and I used up some small raffia pieces as well as one of the tags. This would be perfect for Thanksgiving! Even after all of these projects, I still had goodies left over! I love these kits!!!!
Don’t forget to sign up for the October PINK Box before the 10th!!!! Stampin’ Up will donate $1 for all current subscribers and $2 for all new subscribers to Breast Cancer Awareness!!!! I love supporting a good cause and enjoying some crafting time!!! Win Win! Click here to subscribe today!!!!
You can see more samples using this kit in alternative ways here!
Of course, it isn’t a Friday without the Weekly Deals as well!
Have a fabulous weekend!!! See you back here on Monday!
Can you hear me squealing with delight???? Well I am!!! I want to order like 500 of these because this beautiful pink Paper Pumpkin box is AMAZING and it supports a great cause!!!! In October, Stampin’ Up is going Pink with their Paper Pumpkin box. For every current subscriber, Stampin’ Up is donating $1.00 to Breast Cancer Research. If you aren’t a subscriber and you sign up between NOW and October 10, Stampin’ Up! will donate $2.00!!!! Click here to get signed up now if you aren’t already a subscriber! Try it out for a month and support a great cause!
SPOILER ALERT: I have been told the inside project is not Pink but I’m okay with that! I’m still loving the August Kit which was Pink inside. Now we have Pink on the outside!!!! Eeeeeeee 🙂 Also, my September Paper Pumpkin should be arriving any day now! Stay tuned on my YouTube Channel to see when that happens!
Of course it isn’t a Friday without the Weekly Deals!!!! I’m sure you all know what I LOVE in this set – Butterflies Thinlits!!! Woot Woot! You can check out samples using these Thinlits here, here and here! I also love the Whisper White Satin Ribbon because it is super versatile. You can use it as is or you can die it with your re-inkers!!! Love it!!!
Happy Labor Day!!!! No need to labor today because this fabulous kit does all the hard work for you!!!
From the moment I opened the August Paper Pumpkin Kit (video here), I was in love!!! Pink mixed with Black, Vanilla, and Gold is just amazing! The little gold foil ribbons on the card front. The adorable boxes with the flowers on top. The AMAZING stamp set with a beautiful font and perfect greetings. There is just so much fabulous-ness in one box and it’s awesome!!! For the tags, I stamped ALL OF THEM at one time. I just used the different images from the stamp set and did a little bit of everything. I love the With Sympathy greeting because it is a beautiful font and I was in need of a good Sympathy stamp. Thank you, Stampin’ Up!!! Stampin’ Up! must have known it was my Birthday month and hand-picked this amazing one for me! 🙂 After stamping all of the greetings, I went and had lunch to allow them to dry since it is Craft Ink. I came back and assembled the rest of the kit!!!
Here are the 3 boxes that come in the kit. As always the kits come with plenty of supplies….including ribbon….so I only followed the directions for one box and just wrapped it around. For another box, I wrapped it around and tied a knot. For the third box, I had enough leftover to tie a bow!!! Love it! The flowers were very simple to assemble and look stunning. I didn’t really complete these boxes since I am not sure how I will use them so I just placed the flower on top and the ribbon can be slid off.
Be still my heart. These light pink cards with gold foil ribbons on them are just to die for. I mixed up one of the banners and added a Vanilla banner to one of these and a pink banner to one of the other cards. Just wanted to mix it up a bit.
Simple and yet so elegant! I love it!!! Of course, there is still so much leftover from the kit as well…..besides the ink pad and stamp set. There were 3 tags left which I couldn’t seem to find the 3rd at picture time.
AND look at all of this fabulous pink paper!!!! I plan on keeping this to punch out some flower or something for a little extra flare to one of these cards or for another project!!!
So while I was making this kit, I thought this would be perfect for a Baby Girl Baby Shower!!! Use the cards for Invitations and the boxes as centerpieces/party favors or to hold the mints/nuts/silverware. Purchase refill kits (not available just yet but soon) for even more cards for Thank You Notes or any other piece of the event. I love it!!! You could always cut up the cards to use an a banner strip on a card. That would create more cards from just one kit. There are just so many fabulous ways to create amazing cards!!!
If you aren’t a Paper Pumpkin Subscriber, WHAT ARE YOU WAITING FOR? You missed out on this one but can purchase the refill kit once you are a subscriber. 🙂 BONUS!!! Also, if you sign up now (before September 10th), you can get your first 2 months at half price with the Promo Code: HALFOFF. That is an amazing steal. All of the items above plus a stamp set and ink pad for $9.98 plus tax. That’s a steal!!! try it out for 2 months and if you love it like me, keep going or you can cancel at any time! Click here to sign up!!
Can’t wait to share the excitement of the September Kit with you!!! Stay tuned and be sure to subscribe to my YouTube Channel where I will unbox and reveal it as soon as it arrives!!!
The July Paper Pumpkin Kit was super fabulous and so IN right now! Is it just me or are succulents and little potted plants like THEE THING right now? I feel like I see them everywhere in stores and my mom just created this little succulent garden that is just precious. So of course when I saw this kit, I thought it had my mom written all over it with the little plants and she drinks tea a lot!!! The little tea bag stamp is adorable…..although I was unsure how to use it since it goes inside the cup. Unless the cup is clear, where do you stamp it??? Let me know how you would use it in the comments below. I did stamp it once alongside the cup on the card above (top row, second from the left).
I love the bright green and orange with that subtle gray!! Super fabulous! Also, the texture is perfect with the notebook fringe and the Stampin’ Dimensionals on the cup and the ribbon and paper clip! Love it! The stamp set includes the cup, the 2 plants shown above, the tea bag, and a few greetings. It is very versatile and could be used again and again for lots of different card styles.
See this is how I used the little tea bag…..how would you use it??? Can’t wait to hear your ideas!!!
Don’t forget that there is still time for you to join Paper Pumpkin and get your September and October Kits at half off (regular $19.95). Click here to sign up and enter the Promo Code: HALFOFF to enjoy this deal!!!
I can’t wait to get the August Kit in the mail any day now!!! I will be doing the unboxing and reveal of that kit on my YouTube Channel!!! Stay Tuned!!!
Have you tried Paper Pumpkin??? WHAT ARE YOU WAITING FOR? It is a super fabulous kit that comes right to your door with everything in to create the perfect craft. Sometimes it is cards, sometimes treat bags/favors, and sometimes home decor…..it’s a surprise every month!!! You can check out some of the past month here!!
Now is the time to try it out for half off (regular $19.95 + tax))!!! Just click here and enter the Promo Code: HALFOFF when you sign up and you will get August and September at half off. If you sign up after August 10th, you can get September and October half off!!! WOOT WOOT!!! Totally worth every penny as you will be getting a clear block, 2 stamp sets, and a minimum of 2 ink pads (sometimes the kit comes with 2 so you could get up to 4). Also all of the supplies and instructions.
Don’t forget to add my name as your Demonstrator so I can send you a Thank You Card each month!!
I think I’m really starting to like Gray a little more lately! Do you ever have a color that you don’t use for awhile and then when you do, you find yourself reaching for it a lot??
For this card, I used a Whisper White card base. I took a piece of Bermuda Bay and ran it through the Big Shot with the Polka Dot Embossing Folder. Then I took my Sponge Dauber and colored the raised dots a little for a darker look!!! I love sponge daubers! I added that to the card front. I used the Banner Triple Punch to create the banner tips in the gray striped paper from the Neutrals Designer Series Paper Stack!!! For the circles, I used the Circle Framelits which layer so perfectly together. I stamped the Dude greeting from the April Paper Pumpkin Kit in Bermuda Bay and then stamped it a second and third time without re-inking the stamp. I love the ombre look! After stamping the Dude, I added in the Hey! Of course the circles were added to the card with Stampin’ Dimensionals! I thought it needed a little something more so I added the little bow with some Basic Gray Baker’s Twine! Does this mean it isn’t manly anymore?? Let me know in the comments below!
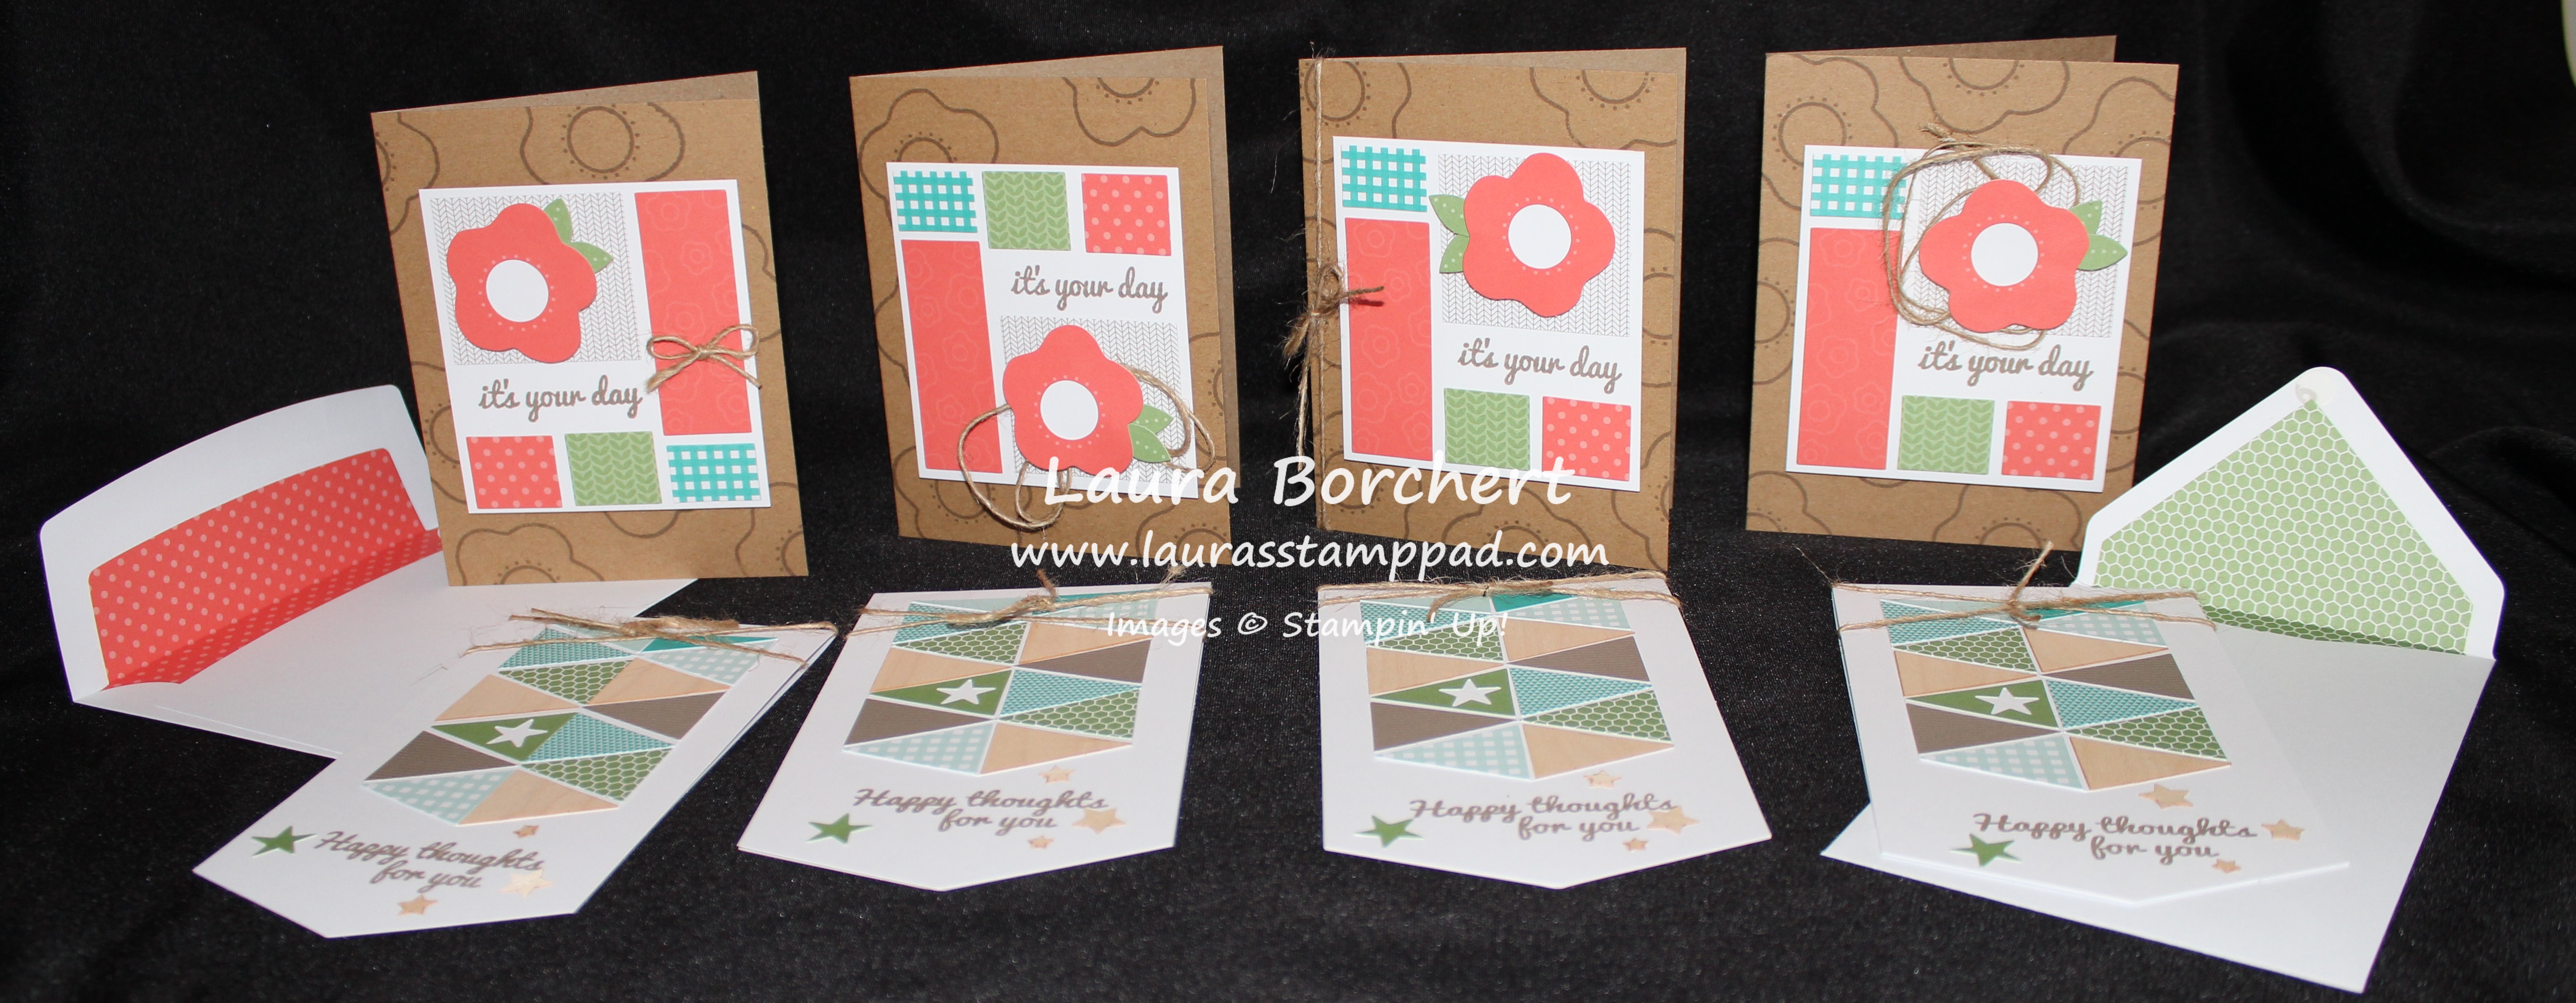
Look at all of these adorable cards from the June 2015 Paper Pumpkin Kit!!! I love how it is a perfect mix of masculine and girlie cards!!!! Also, I am in love with the adorable envelope liners. There were a total of 8 cards with envelopes, a great stamp set, and Tip Top Taupe was the ink pad. I love that Stampin’ Up did a NEW In-Color!!!! The font on the stamp set is perfect and loopy……just the way I life it!!!
Here is an upclose look at one of the coral cards. Each of those rectangles were a sticker and you could arrange them any way you wanted. Stamp your greeting, add the flower, and the twine and you are all set. I did the twine differently on each card – bow, peaking out from the flower and around the card!!! I also stamped the flower image all over on the card base! Love it!!! There were large faceted buttons for the center of the card but I am holding off on putting those on in case I need to mail the card. I will either attach it for a hand delivered card or I will use them for another project!!!
Here are all of the coral cards!!!
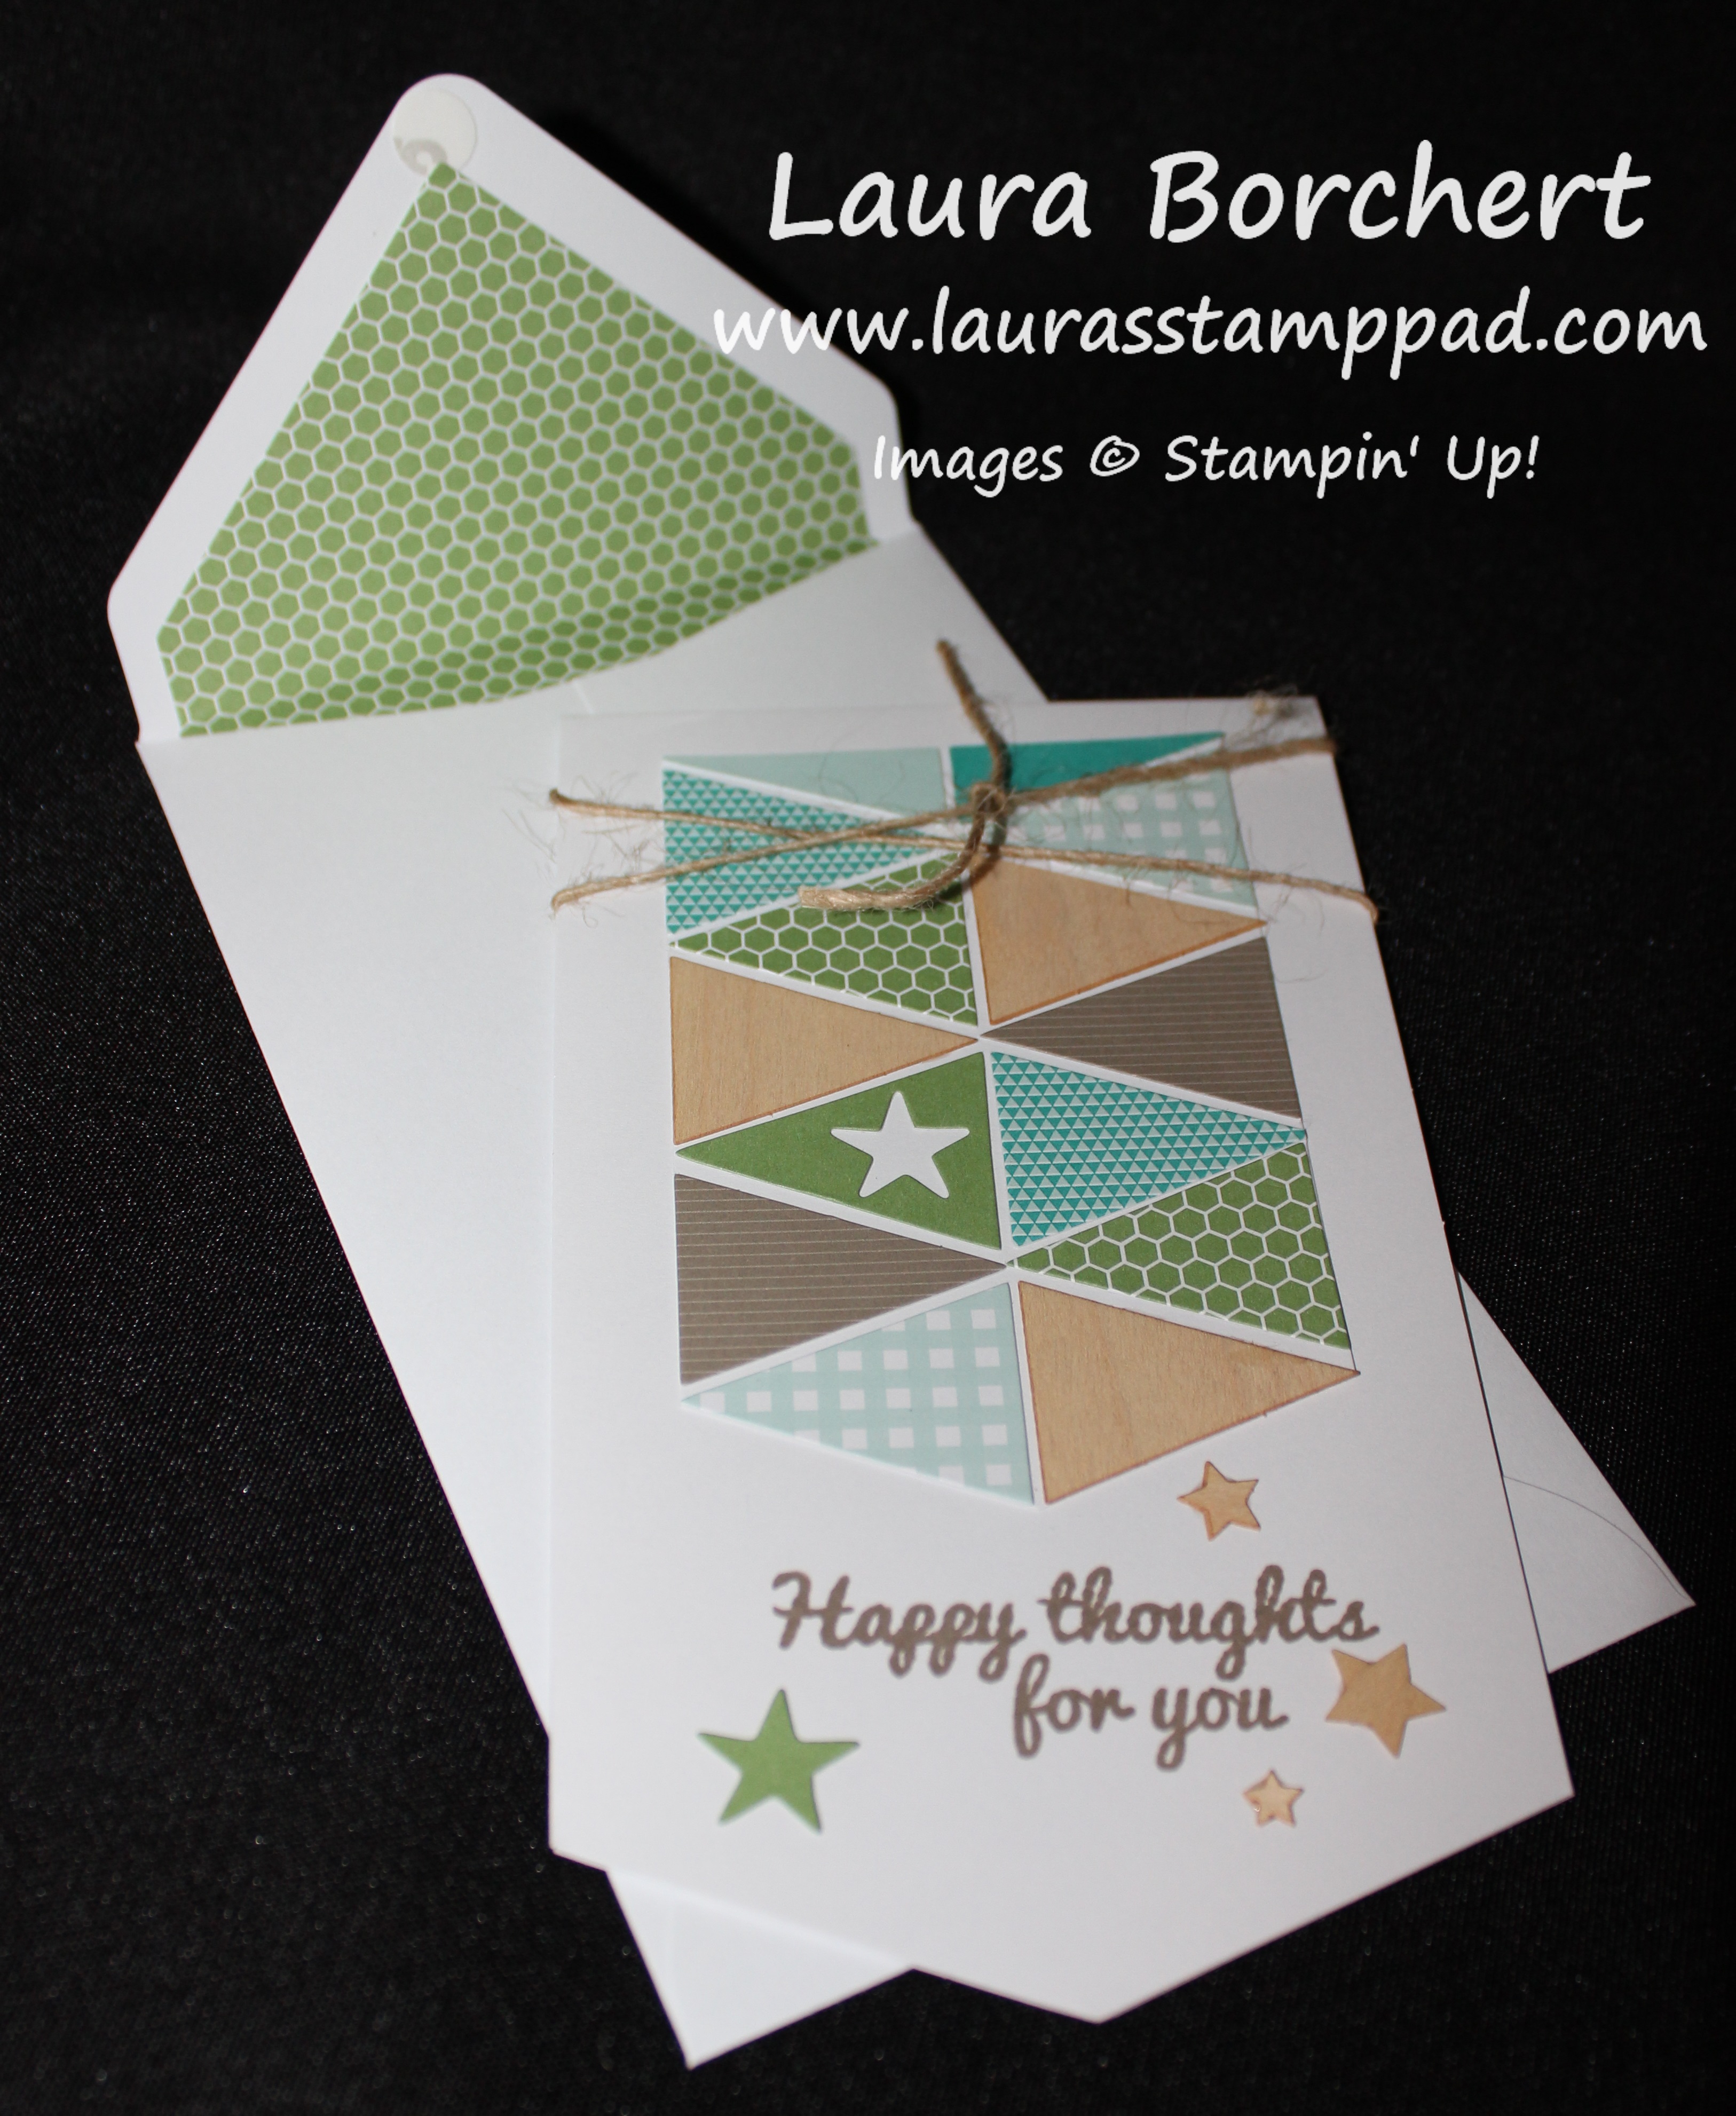
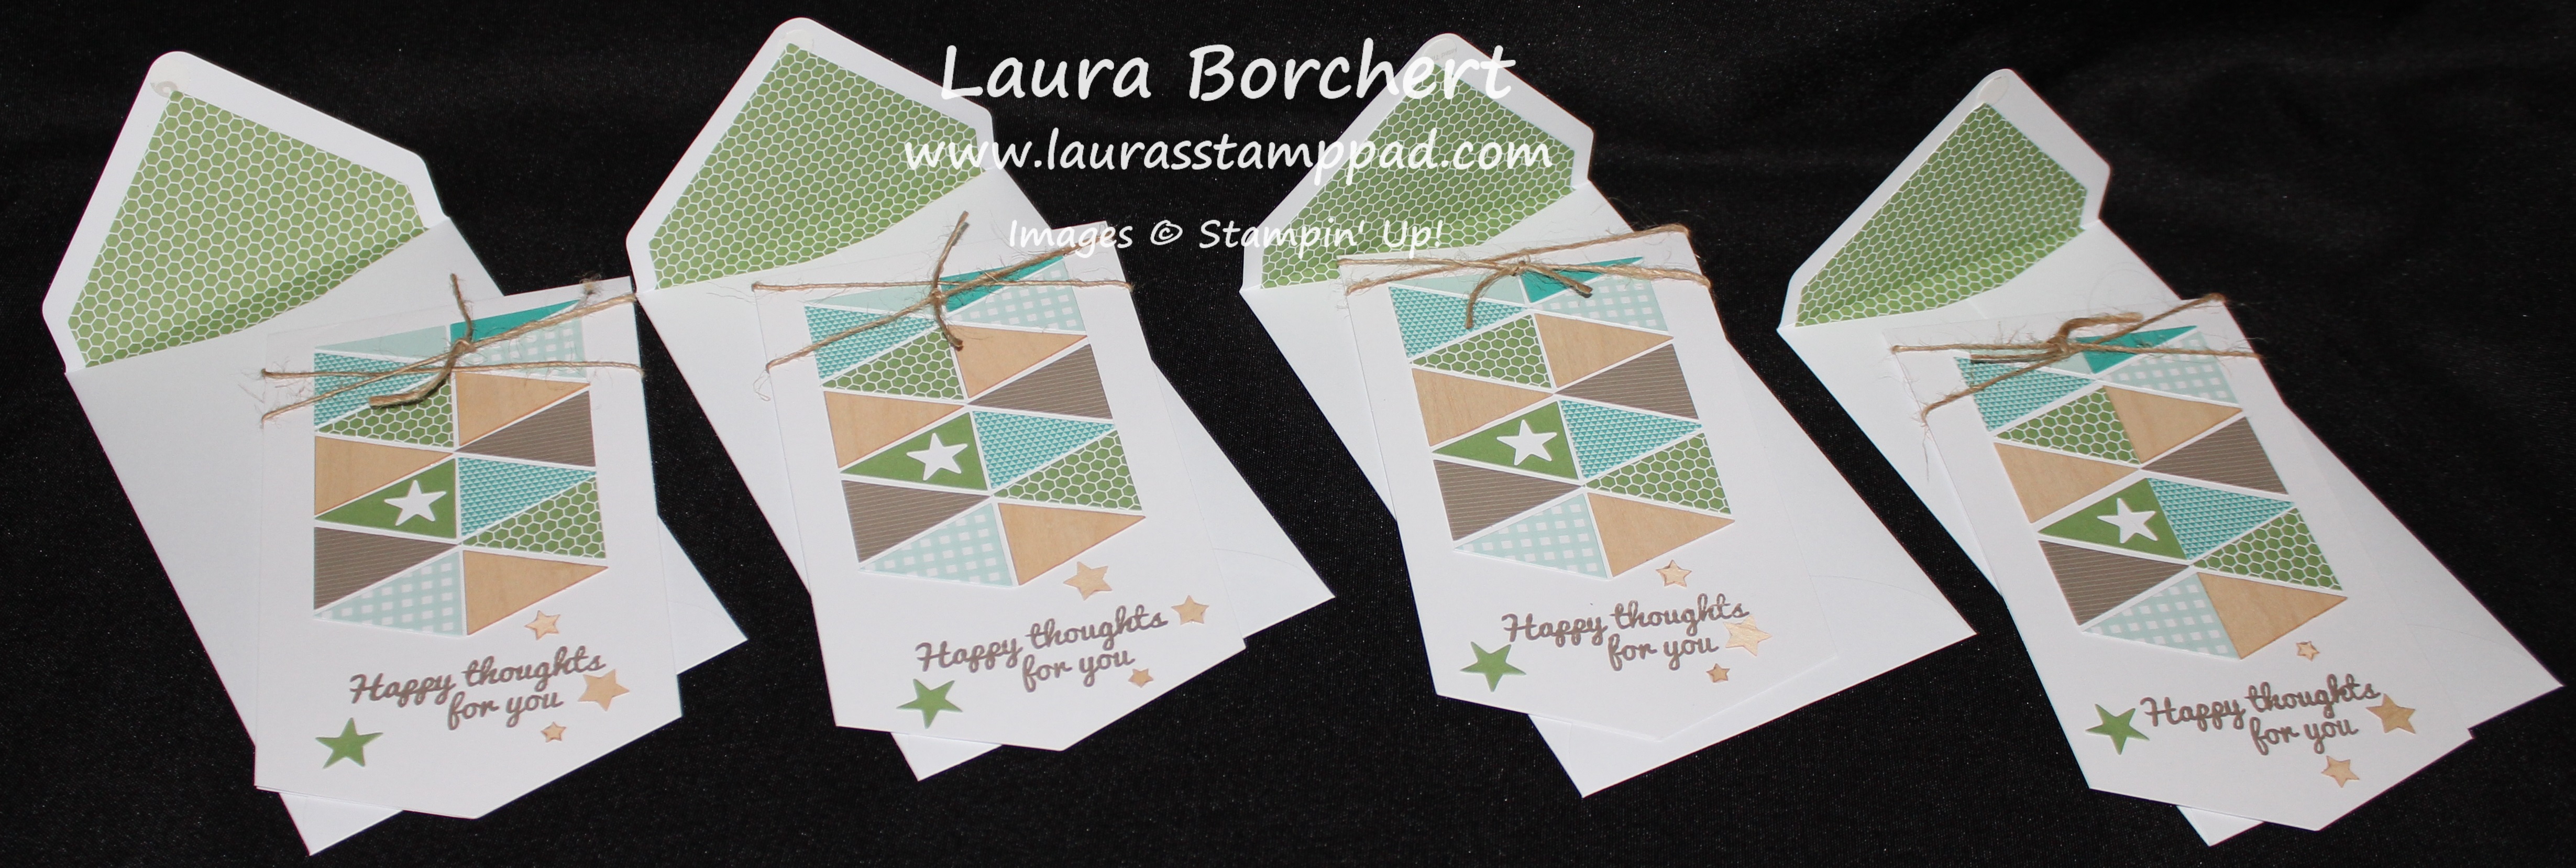
Here is an upclose view of the man cards! The banner style of the card is super fun and different! It also has a longer envelope! Each of the triangles were die-cut stickers and then the tan ones are wooden elements. I added the green star from the center of the one triangle to the bottom for some flare as well as the wooden element stars! Those are really thin so they will mail just fine!!! I wrapped my twine around twice and just did a knot rather than a bow so they could stay masculine! 🙂
These I did all the same!!! I loved the look and didn’t want to change it!!! That’s the thing about Paper Pumpkin; you can follow the directions and just have fun without thinking up a new idea or you can let your mind go wild and create anything you want. This day my mind was mush and I just wanted to play without thinking!!!
Be sure that you don’t miss out on the July Paper Pumpkin Kit!!! You will want to be signed up by the 10th! Click here to sign up!! Also, don’t forget that you can purchase 1,3,6, and 12 month subscriptions!! They make perfect gifts for you or a friend; or both so you can do the kits together!!! You can even earn Laura’s Loyal Stampers Points when you purchase online AND you can earn Hostess Benefits when you purchase the 12 month subscription!
If you would like to see my excitement opening the June Paper Pumpkin, you can check it out here! Be sure to subscribe to My Channel so you don’t miss out on the July Reveal!
I love love love Paper Pumpkin because it is such a fun surprise in the mail each month that I get to unwrap like a present. It comes with so much goodie in such a small box and it’s the perfect little crafting moment for me where I don’t have to pull out tons of supplies or think up the idea! This May Kit is AMAZING!!!! It comes with cards and gift bags!!! Love it!!! Click here to see the video of my opening the box!
Look at all of these fabulous cards and gift bags!!!! For this Kit, I didn’t do any of the cards like the directions stated. I went all out!!!! Get ready for picture craziness!!!!
Here are all of the gift bags! I did these pretty much like directions but had to modify a few. The blue balloon was created by me tracing it with one of the coral balloons from one of the card bases. The little striped balloon was from a card base and I stamped it on the back to use as a guide for cutting it out! Also, that mini bow in the front bag is so little because I didn’t think there was a lot of ribbon. Who am I kidding? These kits always come with plenty and now I have extra! 🙂
This gift bag is tied up and then I unraveled the ribbon a little! Super cute! Now for the cards…
So both of these cards use the regular card base provided in the kit. For the card on the left, I took some of the tissue paper and used my Fringe Scissors to cut it. Then I layered a smaller piece of the Bermuda Bay strip on top. I stamped the greeting on the circle and attached it with Stampin’ Dimensionals and added a few Bermuda Bay Sequins! For the card on the right, I added the Whisper White cardstock (3-3/4″ x 5″) and stamped the balloons on scrap white and cut them out!!! I used Bermuda Bay Baker’s Twine for the strings! Love them!!!
The card on the left uses a piece of Whisper White cardstock (3-3/4″ x 5″) that I stamped the balloon tails in Island Indigo, Bermuda Bay, Crushed Curry, and Calypso Coral. I stamped the 3 balloons on scrap white and cut them out. I added a little Bermuda Bay Baker’s Twine for the bow!!! The card on the right uses the back of the card base (the stripes are on the back of this one). For the white border behind the Bermuda Bay strip was cut from border of the circles (see below).
I love love love this card on the left because it uses my favorite tool – Sponge Daubers!!!!! I used the negative of the punched out Coral Balloons as a template!
For the cards on the right, I cut up one of the card bases where it uses a little bit of front stripes and the back – solid Island Indigo! I cut up one of the Bermuda Bay bands and cut banner tips into it. I also added some Bermuda Bay Baker’s Twine and Bermuda Bay Sequin Trim!
These are the final 3 cards. I used cardstock for all of the bases – Crushed Curry and Bermuda Bay! I did the fun fringe on the middle cards with the tissue paper again! Here is an up close photo of that!
With a little bit of extra cardstock and ribbon/trim, I created 9 cards and 3 gift bags with this kit!!! I love it!!! Many of the ideas were from Stampin’ Up that they showed in the Sneak Peak Video. I loved it so much then that I added a second box to my subscription. These projects were all made with 1 box and I will be taking the other box with my on an upcoming vacation to do with my Mom and Niece! Crafting on the road since all I need is the box and a pair of scissors! LOVE IT!!!
You can sign up and get your June and July Kit at 1/2 Price when you sign up and enter the PROMO CODE: SAVE50. Be sure to sign up before June 10th!!!! Click here to sign up now! Also, as a Paper Pumpkin Subscriber, you can purchase past kits and refill kits so you can order more of this kit of any others. Check out all of them here!
I posted a little video on how to apply the labels to your Stampin’ Up! ink pads last week! If you missed it, you can check it out here!!! See this is why you should Subscribe to My Channel! 🙂 Also, if you noticed the ink pads shown are the NEW In-Colors!!!!! Tomorrow is the big day!!!!
I know I usually don’t post on a Saturday but I have to share this with you!!!! It is super fabulous!!!
FIVE DOLLARS!!!!! If you haven’t tried out Paper Pumpkin yet, NOW is the time to do it because it is only $5.00!!!! All new subscribers can click here to sign up and enter in the Promo Code: 24HOURS and your May Kit will be just $5.00! Also, it will be shipping out early next week since Paper Pumpkin processes on the 10th of every month! Also, I have seen the May Kit and it is one that you will want to get!!!! Birthday Theme is all I will say! 😉 Also, I went in and increased my quantity to 2 because it was so fabulous!!!! Remember this ends tonight at 6:50 p.m. Mountain Time so HURRY!!!
Click here to get your Paper Pumpkin for just $5.00!
Need a last minute gift for Mom???? Sign her up and print this out to give to her as a little certificate!! Adorable!