Fall is here and there is no denying it! Let’s just hope it stays Fall and doesn’t become the next season…..oh how I don’t like winter at all. In the mean time, I’m trying to enjoy the sun, warm fall days, crisp morning, and the beautiful colors of trees!!! This card is made with the Totally Trees Stamp Set from the Holiday Mini Catalog which has every type of try for every location and occasion! It is super fun and perfect for a man card too! If you would like to see more samples, check them out here and here!
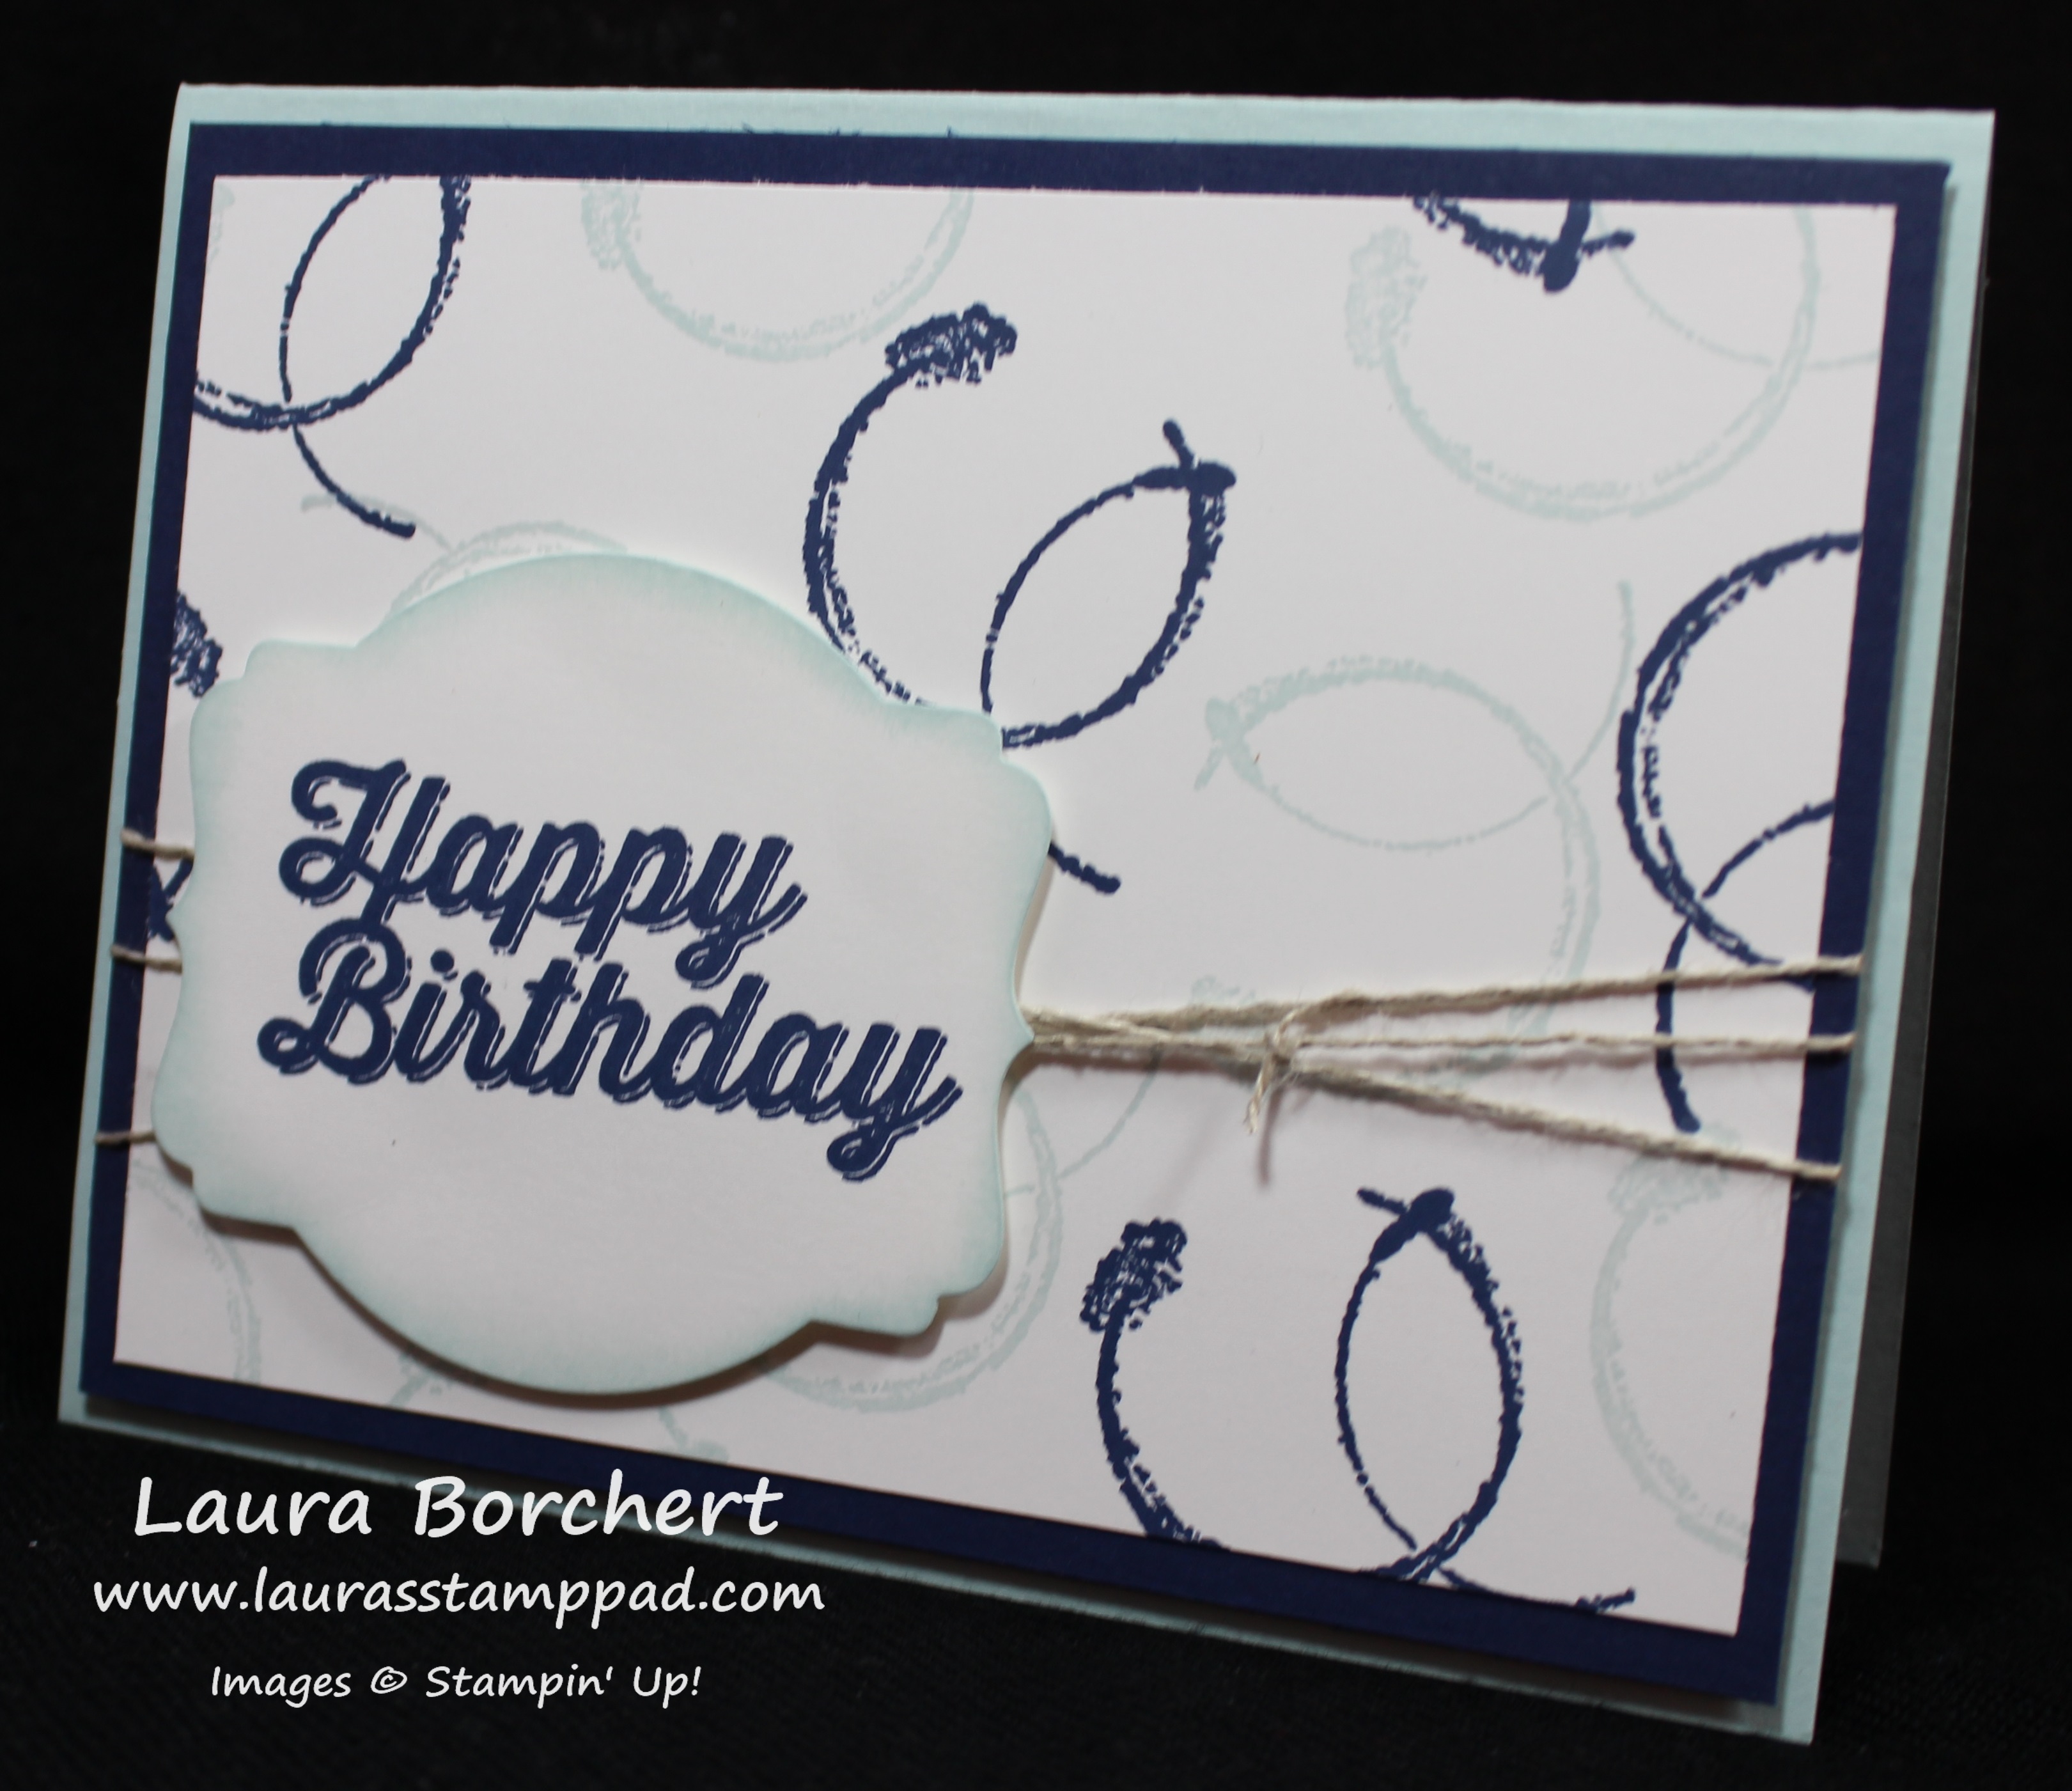
I started with a Cajun Craze card base. This color is one that I only really use during the Fall. It’s the perfect fall color. Then I took a piece of Very Vanilla (4″ x 5-1/4″) and stamped the trees along the bottom from the Totally Trees Stamp Set. I did the base in Chocolate Chip and then the circles in Garden Green, Cajun Craze, Cherry Cobbler, and Crushed Curry. I wanted a more subtle look so I stamped off once with each of them before stamping onto my cardstock. This gives a lighter look so it isn’t so bold. I added a piece of Burlap Ribbon along the top. I added a bit of adhesive in the middle to hold it down since I knew the greeting would cover any sticky that might come through. I placed some Stampin’ Dimensionals on the back side to hold the ends down. I really like using dimensionals when I have ribbon on the back side of my cardstock because the dimensionals give it a smooth look rather than a bumpy one when using Fast Fuse or Snail. Since the ribbon is wide, I just used the dimensional border and placed a long piece over the top. I added more dimensionals along the back and adhered it to the card base. For the greeting, I stamped it from the Tin of Cards Stamp Set in Chocolate Chip Ink onto Very Vanilla cardstock. I punched it out with the Decorative Label Punch. Then I punched another one out in Garden Green and layered it behind by cutting it in half and placing one piece above and one below for a nice layer. You can check out this video on how to do that here. I added the greeting to the card with Stampin’ Dimensionals as well….again for that smooth look and because dimensionals sink into the ribbon and around it rather than just sitting on top! Now you have the perfect fall card!
I hope you all have a wonderful weekend enjoying the Fall weather and don’t some of your favorite things! See you back here on Monday!!!
Happy Stampin’
~Laura

Check out my Cut For Christmas Offer this season! The perfect holiday helper during this busy time of the year!!!