Fall Wondrous Wreath

Posted on

Fall Wondrous Wreath, www.LaurasStampPad.com

Like many of you, I like to have a wreath on my front door! I love driving up to my place and seeing that beautiful wreath and thinking I live here! I love it! It also helps my fellow stampers find my place! 🙂 The Holiday Mini Catalog has this amazing stamp set called Wondrous Wreath & coordinating Wonderful Wreath Framelits (Bundle) and the samples show this amazing holly wreath! While it is a stunning wreath, there are so many other ways you can use this stamp set just like there are so many different styles of wreaths you can put on your front door!

The card above is perfect for Fall! You can use this card for Fall Birthdays, Thank Yous, Thinking of You, and even Thanksgiving Day cards! I started off with a Soft Suede card base and then I cut out another piece of Soft Suede measuring 4″ x 5-1/4″. I used this second piece to stamp my Hardwood image on. You could stamp it right onto your card front but I found this to be easier because if I mess up (it happens) I can just flip over the piece of paper and try again! Thank goodness there are 2 sides to every piece of paper, am I right? The other thing I like about this is that it gives my card some dimension. After stamping the hardwood image, I adhered this piece with some Stampin’ Dimensionals! 🙂 For the Wreath, I used a piece of Very Vanilla cardstock and I stamped the super leafy image in Crumb Cake (being sure to note that the tab on the stamp is facing up). Now you will take your partial leafy image and ink it in Soft Suede and with the tab facing up stamp it right on top of the leaves. Finally, with the dots image, you will ink it up in Tangelo Twist and with the tab up, you will stamp it down. Note: With this one, the tab will be facing up, but you will want to center the stamp around the wreath. No worries, if this all sounds crazy to you, I created a Video Tutorial showing you what I mean! 🙂 Once you are done stamping, you will use the coordinating Framelits – Wonderful Wreath Framelits, you will cut out the stamped wreath! No need for any fussy cutting here! Woot Woot! I added a little bow of Linen Thread and attached it to the card with Stampin’ Dimensionals! For the greeting, I stamped it from the Good Greetings Stamp Set which was a promotional item in October! You can always use a greeting from Teeny Tiny Wishes or another favorite set you have!

Here is the Video Tutorial for you! Be sure to give it a thumbs up if you liked it and don’t forget to subscribe to my blog so you don’t miss out on any of the other samples you saw in the video! 🙂

Happy Stampin’

~Laura


I’m Dreaming of a Blue Christmas!

Posted on

Festival Of Trees, www.LaurasStampPad.com

I am just loving the blues this years…in particular Lost Lagoon!! This card really shows that! 🙂 I started off with a card base of Whisper White and added a piece of All is Calm Designer Series Paper (4″ x 5-1/4″). I am loving the patterns and colors of this paper and have gone through a few packs already! Check out this sample and this sample! Next I stamped 3 different trees from the Festival of Trees Stamp Set in Lost Lagoon and punched them out with the coordinating Tree Punch (Bundle & Save)! I cut a piece of Lost Lagoon cardstock (4-1/4″ x 3-1/4″) and Whisper White cardstock (4″ x 3″) out and used my Corner Rounder Punch on all corners. My greeting is from the Good Greetings Stamp Set which was a promotional stamp set last month! You can always use a greeting from Teeny Tiny Wishes, Endless Wishes or any other favorite set you have. Adhere your Whisper White onto your Lost Lagoon and then tie a piece of Lost Lagoon Satin Stitched Ribbon around it. You can always just tie it into a knot or you can do a bow like I did. That one came out pretty good so I kept it, other times I pull it out and leave it as a knot! 😉 I adhered this piece to my card front with Stampin’ Dimensionals and then added my 3 trees. The solid tree was put on with Snail Adhesive and the other two were put on with Dimensionals! I love my dimensionals something fierce! Now you are all set and just a need to write in the inside and in the mail it goes!

Happy Stampin’

~Laura


Seasonally Scattered!!!

Posted on

Simply Scattered Thanks, www.LaurasStampPad.com

The title of this blog post is the name of this amazing stamp set but while typing this out I feel it defines this time of year perfectly! Leaves scatter across the yard, we run around trying to soak up every last warm nice day before winter comes, and my stamp room is a scattered mess! Can you relate?

In the mist of all the craziness, this card is super simple to throw together. You will start off with a Whisper White card base measuring 4-1/4″ x 11″, layer on a piece of Pumpkin Pie measuring 4″ x 5-1/4″. Then with another piece of Whisper White measuring 3-3/4″ x 5″, stamp the Thanks Greeting from the Seasonally Scattered Stamp Set in Pumpkin Pie and adhere to your card front. Now using your flower punch from the Itty Bitty Punch Pack, you will punch out 6 little flowers in Hello Honey. Adhere them together (off-set) with Mini Glue Dots and adhere to your card randomly (or in a triangle pattern which is what my “random” is). Add some Rhinestones to the flowers and you are all set! How simple was that? Not simple enough….you could always leave out the top 2 layers and stamp your greeting on your Whisper White card base and adhered your flowers! Just as fabulous and with fewer layers! 🙂

Happy Stampin’

~Laura

Technique Tuesday – Curvy Keepsake Boxes!!!

Posted on

Happy Tuesday!!! You know what that means…..I have a fabulous technique to share with you today (with a Video Tutorial)! Woot Woot!!!! These little boxes are so adorable and super easy to assemble (I was surprised at how easy)!

Curvy Keepsake Box, www.LaurasStampPad.com

Supplies Needed: Big Shot, Curvy Keepsake Box Thinlet Die, Cardstock, Vellum or Designer Series Paper, Embellishments, Sticky Strip or Fast Fuse

You will need a piece of cardstock (vellum or Designer Series Paper) measuring 9″ x 5-1/2″. This is enough to cut out 2 pieces with the Curvy Keepsake Die. Place the Die on your paper, run it through your Big Shot and repeat! Now that you have your piece die-cut pieces, you will fold on the score lines (3 per die-cut). If you are using cardstock and would like to stamp on it, now is the time. It is much easier to stamp now then after it is assembled! 😉 Now I like to run the tabs on each die over my bone folder a bit to break those fibers a little and allow the box to curve. Using Sticky Strip or Fast Fuse, you will apply adhesive to one of the squares on the die (don’t go super close to the edge). Now you will take the die-cut that doesn’t have adhesive and lay it on top, matching up the corners to the edge of the score line. Your squares will not overlap exactly (if they do, your corners will not lay correctly). Here is a photo showing you what I mean!

Curvy Keepsake Box Bottom, www.LaurasStampPad.com

Now you just need to pull the 2 tabs together and slip the other ends over the tabs are you are all done! You can always add some ribbon, charms, tags, or punched pieces to decorate as you wish!!!! The box on the left in the top photo was done with Whisper White cardstock and I stamped snowflakes from the Endless Wishes Stamp Set all over it using Night of Navy, Lost Lagoon, and Pool Party Ink. The box on the right was done with All is Calm Designer Series Paper and I added some Silver Ribbon and Pool Party Cotton Ribbon to the top. I also added a little tag using the circle tag die from the Curvy Keepsake Die Set and added a little All is Calm Snowflake Embellishment!

Vellum Lantern Curvy Keepsake Box, www.LaurasStampPad.com

This one is super fabulous because you can use it like a lantern. It was created with the Silver Fancy Foil Designer Vellum (it comes in Gold as well, after all Gold is In!) It was created the same way but in the end I added a little tea light inside for a glow! This would be amazing on a Christmas Tree, in a window, on a table place setting, mantle, wedding decoration and so much more!

Lady Bug Curvy Keepsake Box, www.LaurasStampPad.com

I saved the best for last. Ohhhhh Ahhhhhh I know I know! It is PRECIOUS! This would be the cutest thing ever for a Baby Shower or Birthday Party or a Spring Party (oh I’m dreaming of spring already)! I created the box with Real Red Cardstock, added 1/2″ Circle Punch black dots (5 on each side). For the body, I used a 1-3/4″ Circle Punch in Black and 1-3/8″ Circle Punch in Smoky Slate. For the head, I used a 1″ Circle Punch in Black! The eyes and antenna were created with the Cupcake Builder Punch and Owl Builder Punch. Yep those are cherries you see upside down as the antenna! I did brush the edges of the Smoky Slate with my Basic Black Sponge Dauber to soften the edges and I dotted the eyes with my Chalk Marker! 🙂 Love it!!!!!

To see the Curvy Keepsake Die in action, check out my Video Tutorial below! Don’t forget to give it a Thumbs Up if you like and be sure to Subscribe so you don’t ever miss out on any of my videos!

Happy Stampin’

~Laura


Perfect for Under The Tree!!!

Posted on

I have a fabulous Gift Packaging idea to share with you today and it will look amazing Under the Tree!!!

Large Gift Box Punch Board, www.LaurasStampPad.com

The Under the Tree Specialty Designer Series Paper in the Holiday Mini Catalog is perfect for boxes. It is heavier than typical Designer Series Paper so it holds up much better (and you stylus will punch through the paper)! It is beautiful as well. One side is kraft and white patterned and the other side has a color (Cherry Cobbler, Garden Green & Early Espresso)!

Under the Tree Paper, www.LaurasStampPad.com

See isn’t it beautiful! I used my Gift Box Punch Board to create these boxes! The one pictured above is the largest box which uses a 12″ x 12″ piece of paper and the box is 4″ x 4″ x 4″. I used some Cherry Cobbler Chevron Ribbon to wrap around the box. For the tag, I used a piece of Cherry Cobbler cardstock and punched the end with the Scallop Tag Topper Punch. On the Whisper White cardstock, I stamped a few snowflakes in Cherry Cobbler Ink as well as the greeting from Endless Wishes Stamp Set. I took my Sponge Dauber and added a little bit of Garden Green to the edges! I attached the tag to the Chevron Ribbon with some Whisper White Baker’s Twine!

Gift Box Punch Board, www.LaurasStampPad.com

For this box, I added some Lost Lagoon Satin Stitched Ribbon and a little tag! For the tag, I used the Scallop Tag Topper Punch and my Work of Art Stamp Set! Love that set! Also, you can’t really tell in the photo but I added some bling with my Dazzling Details along the chevron pattern!

I made a Video Tutorial for you so you can see these boxes made in action! Be sure to give it a thumbs up if you like and don’t forget to subscribe to My Channel so you don’t miss any other videos in this series!

Happy Giftin’

~Laura


Watercolor Winter Too!

Posted on

If you missed yesterday’s post, be sure to check that out here! Today I’m going to share the other 2 cards in the kit as well as a few other samples and ideas! Have I said I loved these cards yet? I love these cards! 🙂

Watercolor Winter Kit, www.LaurasStampPad.com

Watercoloring this little sled in Cherry Cobbler was super fun! It brought back memories of sledding down the hills on our runner sled as a kid! 🙂 Ahhhh! The card base already had the white dots on the upper half of the card. I adhered the vellum snowflake from the kit with some Snail Adhesive in the center. I didn’t worry about putting a lot of adhesive on it because I wanted it to flare on the ends and it was going to be on the bottom layer. Next you will add the sled and then the Bermuda Bay banner. I stamped the greeting from the Watercolor Winter Too Stamp Set! Then I added the gold strip and the Baker’s Twine that comes in the kit! Finish it off with a few sequins for a little bling!

Watercolor Winter Kit, www.LaurasStampPad.com

Many of my stampers who come to my classes say mine is always perfect and how come their’s doesn’t look like mine…..can you find my mistake? The snowflake is cut off on top! See everyone makes mistakes and I would say most don’t even notice! I forgot to add the vellum snowflake until after I put the letters on and there was no way I was adjusting them since it took me a year and half to put them on! This was my favorite card in looks but least favorite in patience. Wowza those letters weren’t easy! The directions say to color them with Bermuda Bay and then while they are still intact on the sheet, add adhesive and lay the twine down. Then you can pop the letters through and they are all set on the twine. I’m going to bet I used too much glue, didn’t wait to let it dry long enough or all of the above but that didn’t work. 🙂 Once it was all over though it created a fabulous card!

Watercolor Winter Kit, www.LaurasStampPad.com

Now this card I created with the leftover vellum piece that the snowflake was cut out of. I used my Sponge Dauber to color it with Bermuda Bay Ink and it turned out fabulous! Be gentle around the tips of the snowflake. I adhered that to a Whisper White card base, added some White Satin Ribbon and a greeting from Endless Wishes Stamp Set!!! Love it!

Extra Watercolor Samples, www.LaurasStampPad.com

Here are few other cards that I created a little differently. To be honest, I didn’t like that the twine was more vanilla and the cards were white so I didn’t use it and will save it for another project! I love how these all turned out!!!! I hope that you try out the Watercolor Winter Simple Created Kit and please share your ideas and samples with me! I would love to see what you come up with!

Happy Watercolorin’

~Laura


Technique Tuesday – Watercolor Winter Cards!!!

Posted on

Happy Tuesday!!!! I have a fabulous technique to share with you today!!!! When I first looked at the Holiday Mini Catalog, I was intrigued by the Watercolor Winter Simply Created Card Kit! The cards were so cute and different! And while watercoloring isn’t my favorite technique I do like to do it every once in awhile! I’m glad I did!!!

Watercolor Winter Kit, www.LaurasStampPad.com

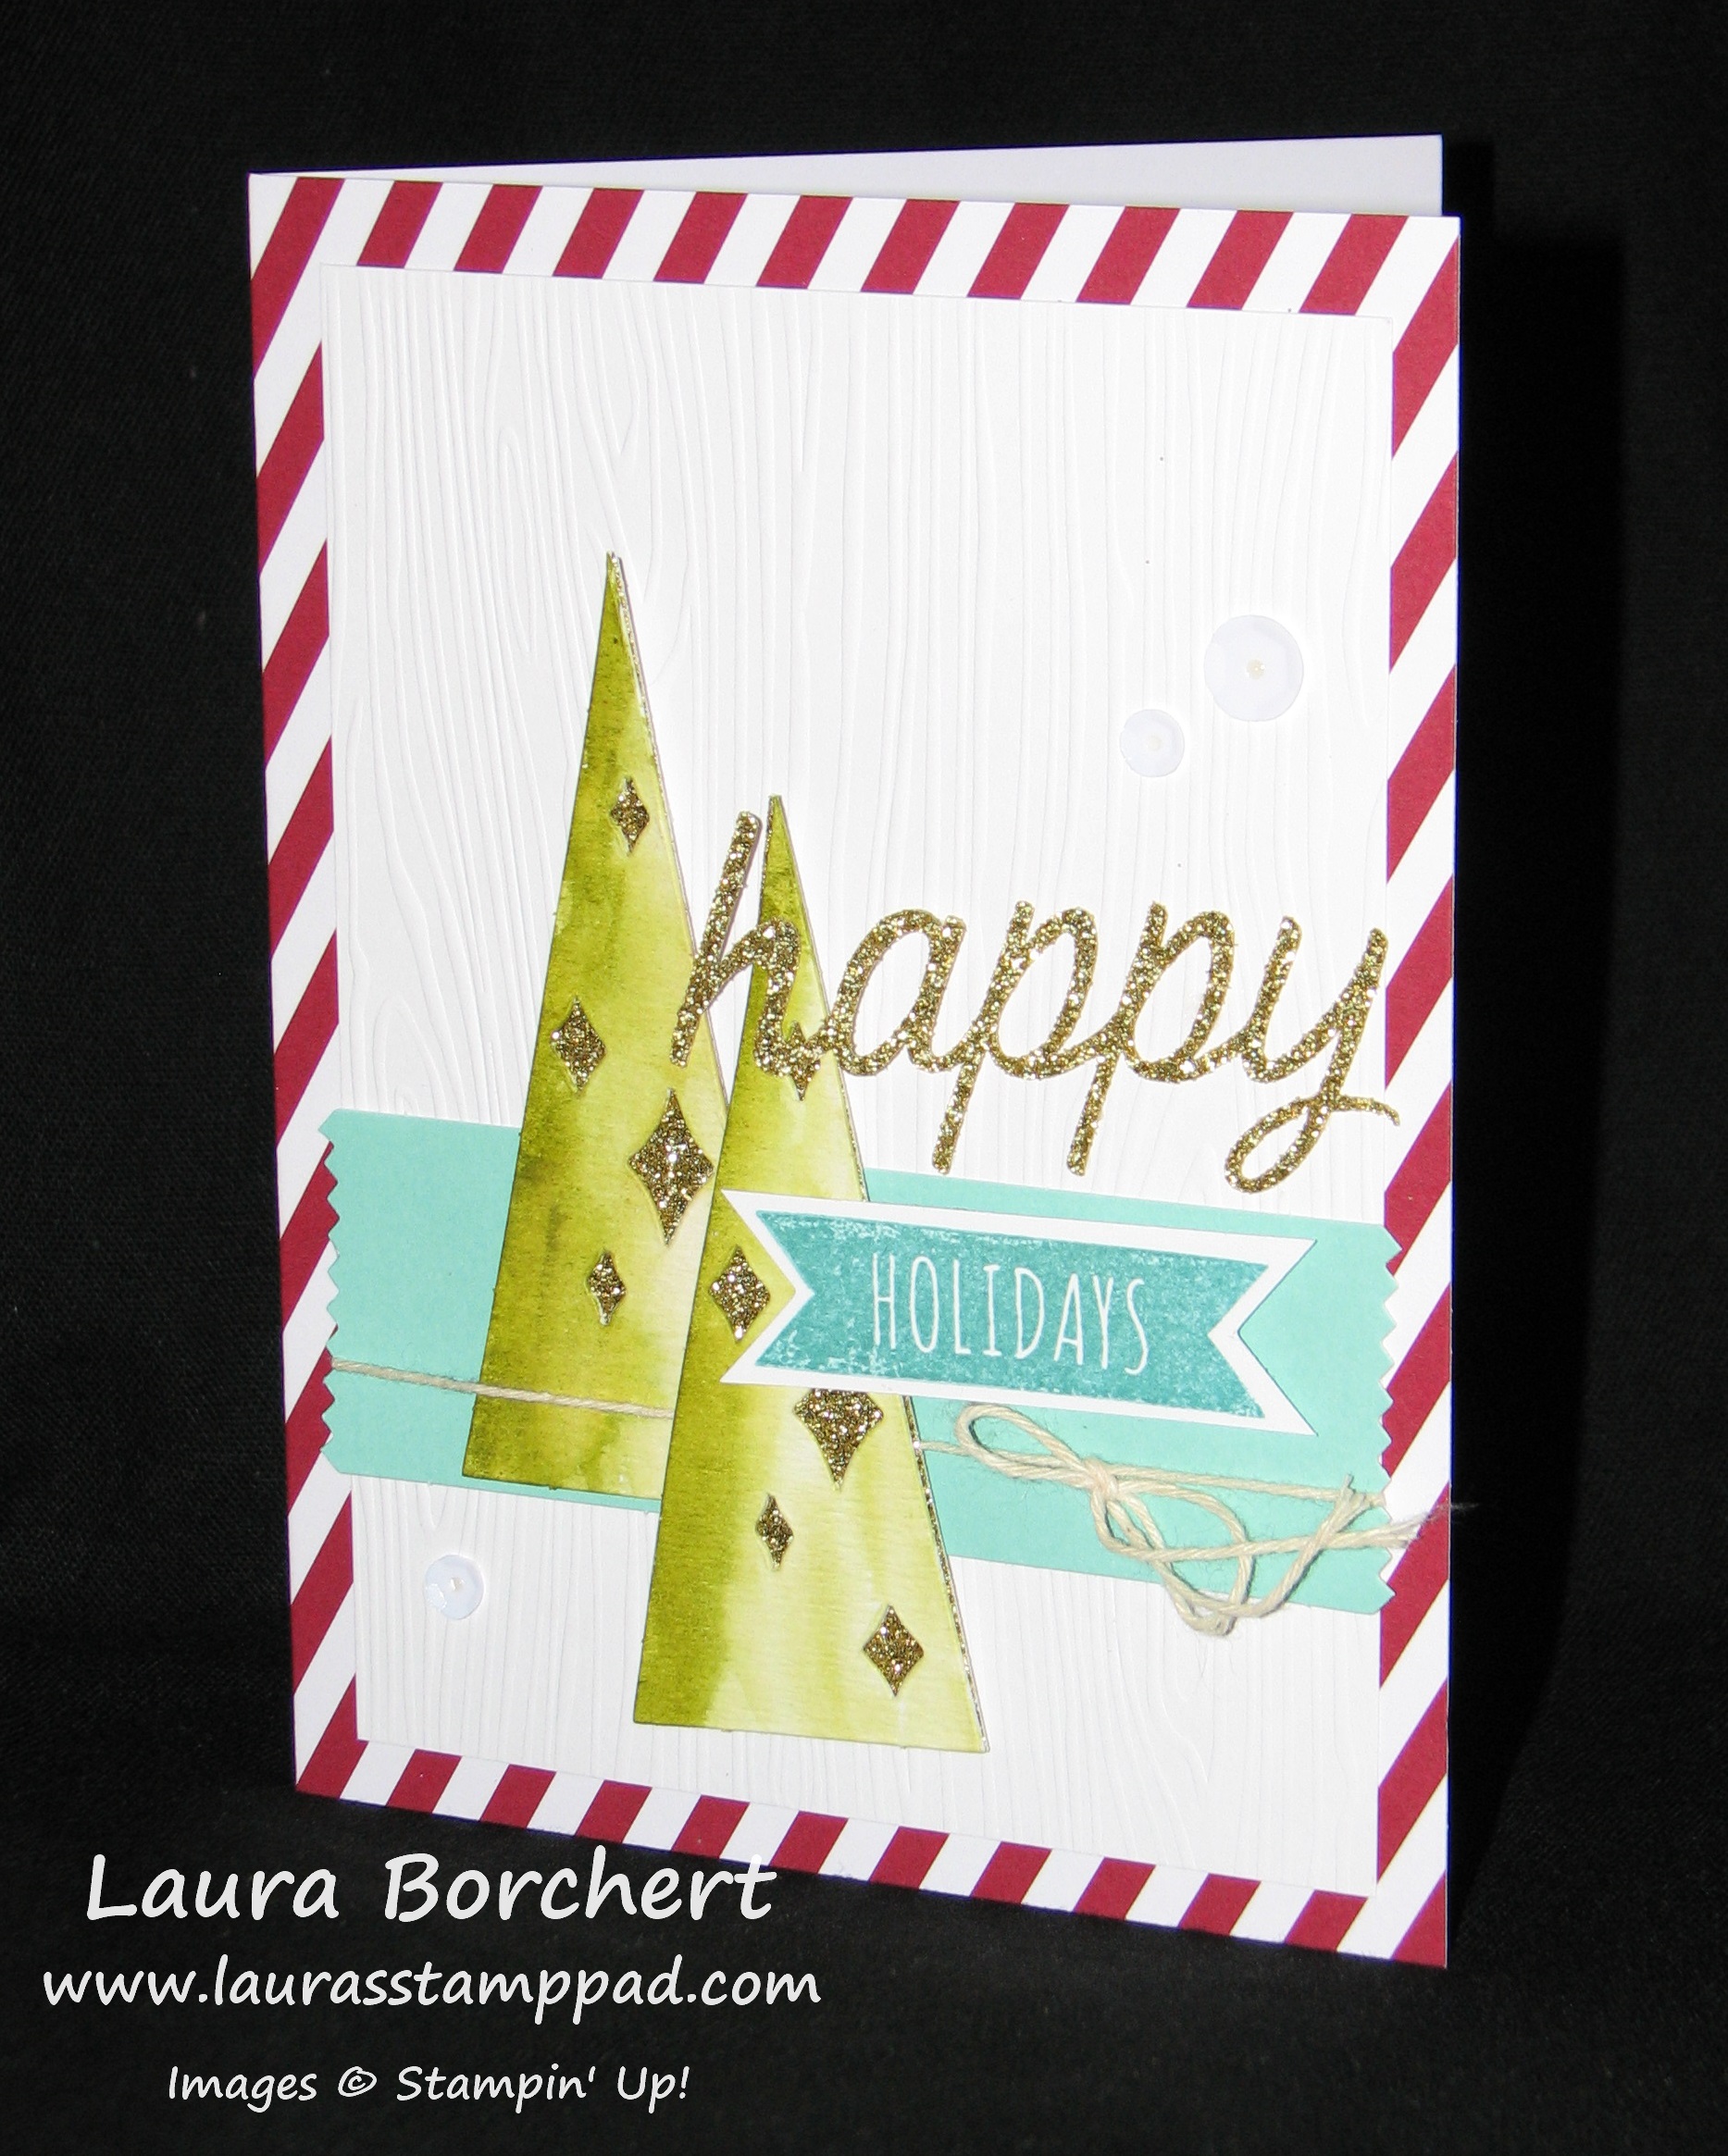
These cards are just so detailed and amazing with the watercoloring! I will also note that you DO NOT have to be good at watercoloring to do this! Trust me! 🙂 The kit comes with all of the supplies as well as a paint brush. I did use my Aqua Painter a little because I liked that it already had water in it! For the card above, you will watercolor the trees with Old Olive and then add the Gold Glimmer Paper to the back of it! I used my Multi-Purpose Adhesive to adhere some of these items to the card  – trees and Happy gold greeting. The stamped Holidays greeting is from the Watercolor Winter Too Stamp Set. Also, you can hardly tell in the photo but the Whisper White rectangle is actually wood-grain embossed for you already! 🙂 Love it!

Watercolor Winter Kit, www.LaurasStampPad.com

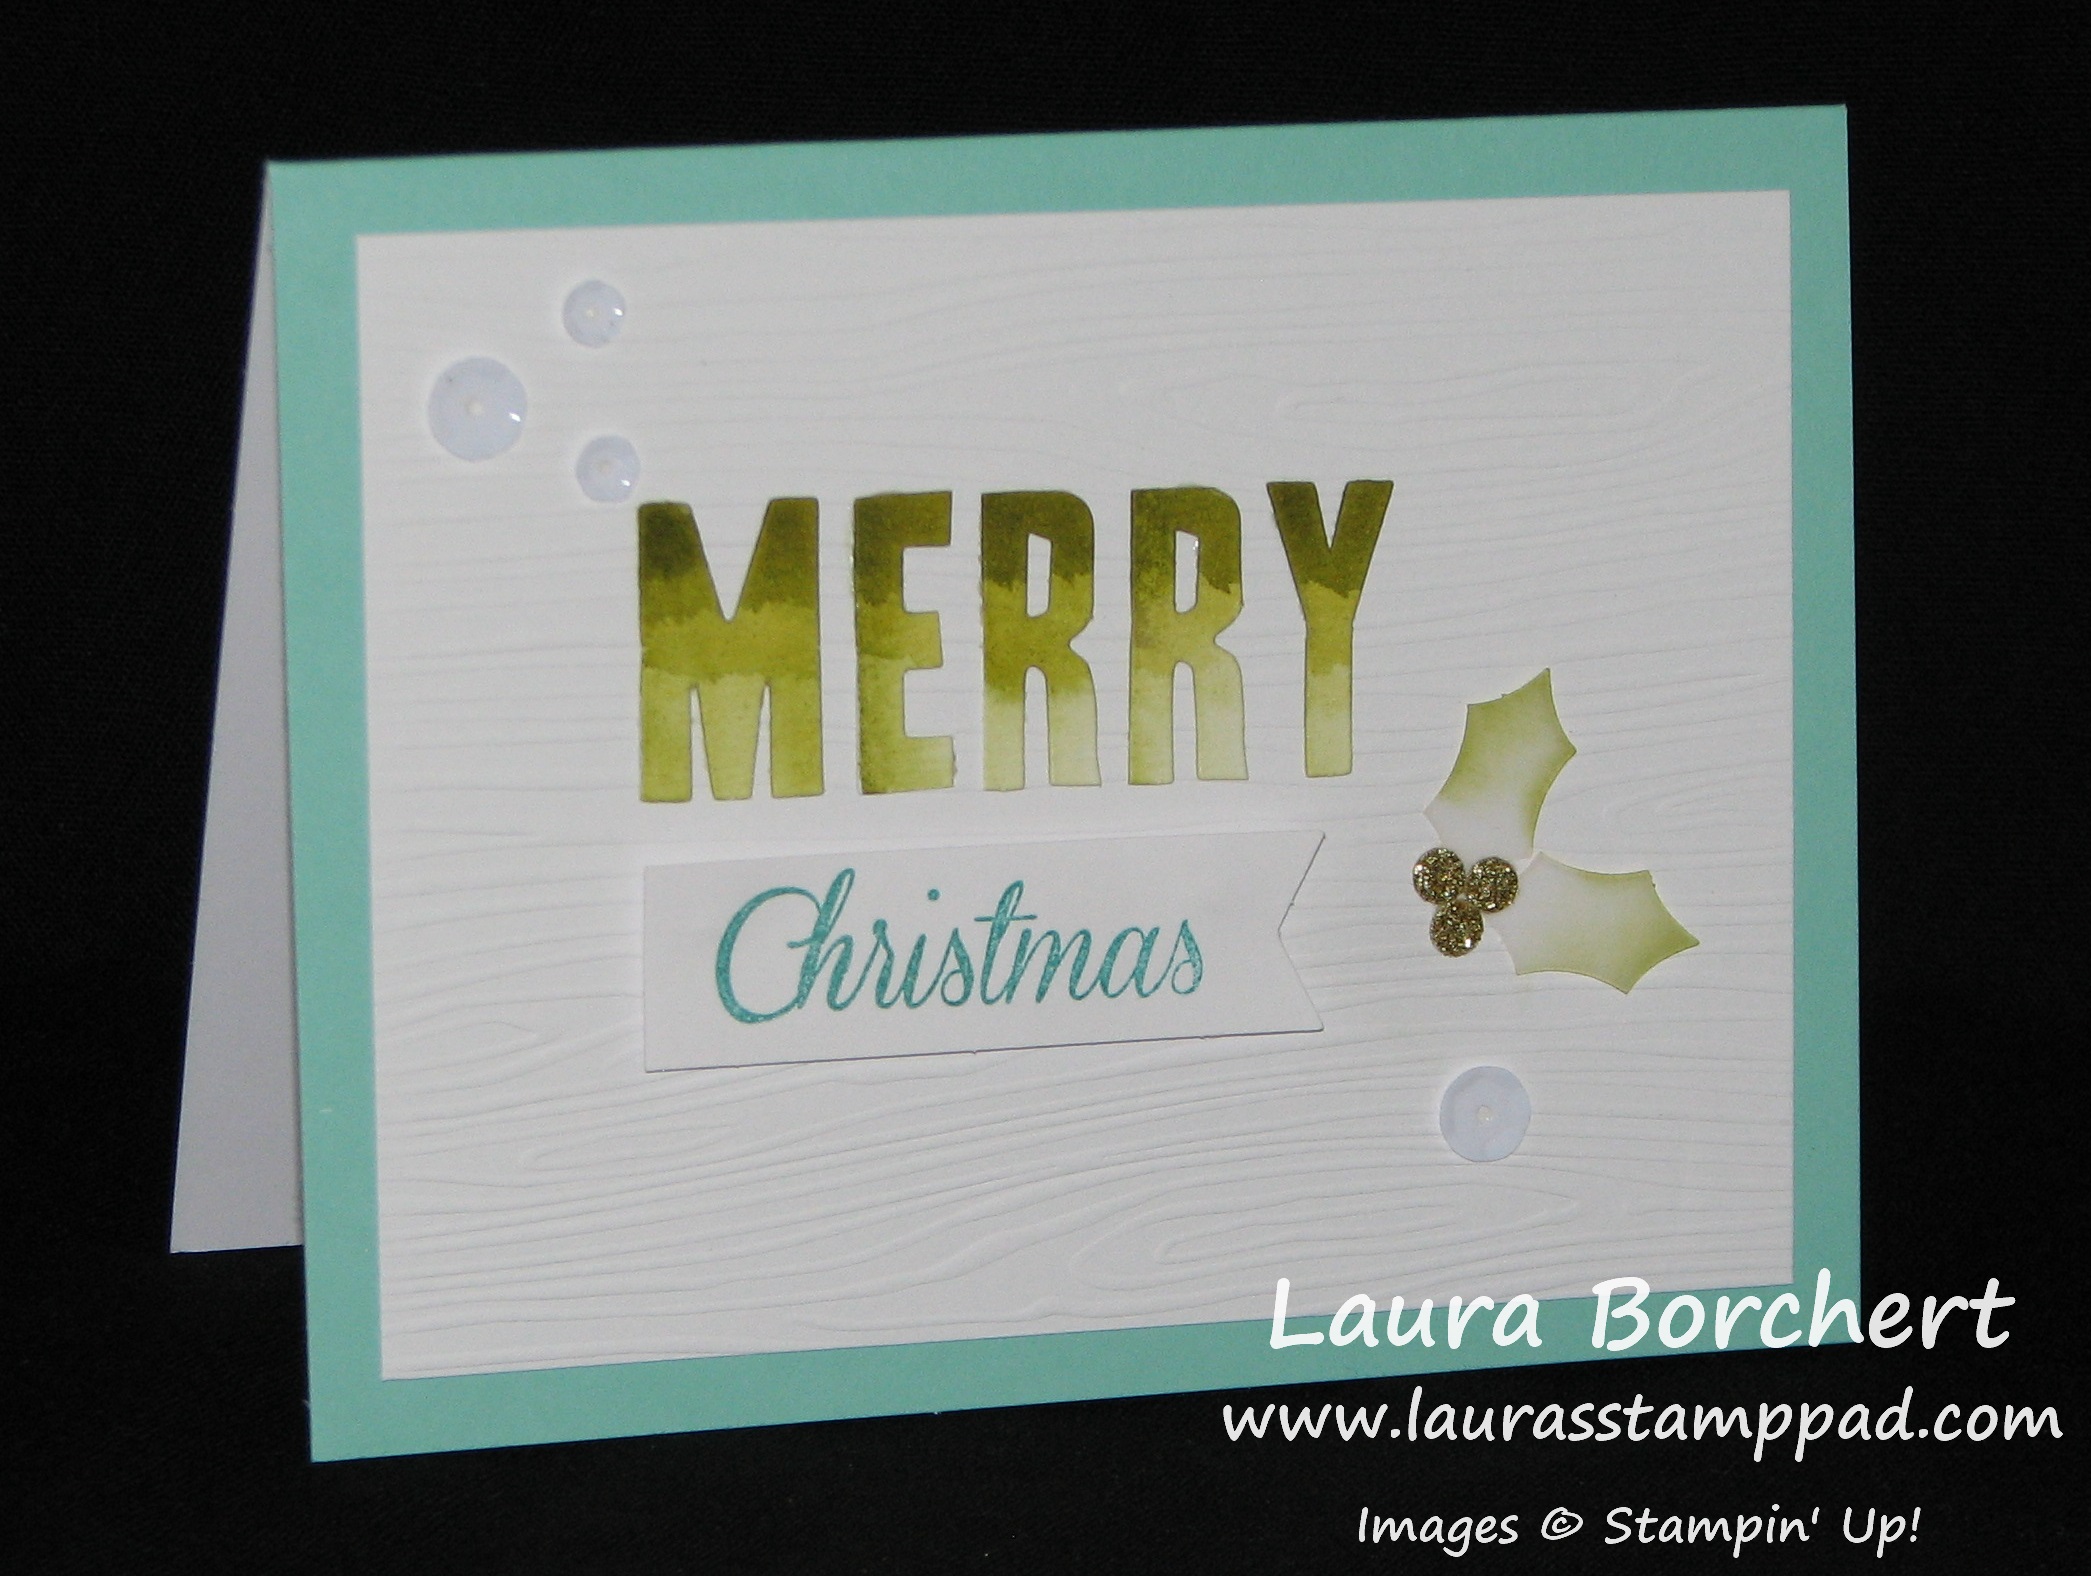
You can see the wood-grain embossing on this one more! 🙂 The letters MERRY were watercolored with Old Olive. I found it best to do a light layer of green all over the letters and then slowly add a little more color to the top half. It will bleed a little up and down. Then get a little more ink and touch just the top. I think mine turned out really well on this sample…..no so much on a few others. 🙂 The holly leaves were already die-cut in vellum and I didn’t like how they didn’t show up well white on white so I added some Old Olive with my Sponge Dauber! Again I used the Watercolor Winter Too Stamp Set and added the Gold Glimmer dots and sequins!

Stay tuned and be sure to come back again tomorrow to see more cards from this kit!!!! Also, Stampin’ Up did a fabulous video showing this kit so you can check that out here!!!!

Happy Watercolorin’

~Laura


Color Me Autumn!!!!

Posted on

Thoughts & Prayers, www.LaurasStampPad.com

The Designer Series Paper that I used for this card is called Color Me Autumn and it has some great patterns and colors for all types of cards! This Get Well Soon card was created with Soft Suede and Elegant Eggplant. I love how Elegant Eggplant gives a pop of color without being too….poppy. Does that make sense? 🙂 It gives the card color but doesn’t scream look at me – a nice subtle look! I used a Soft Suede card base and added some Color Me Autumn Designer Series Paper. For the greeting, I stamped the greeting from the Thoughts & Prayers Stamp Set in Elegant Eggplant and added a few Soft Suede branches to the top and bottom from that same stamp set. I cut out the greeting with the Labels Collection Framelits and my Big Shot. I used the next Framelit up for the layering Elegant Eggplant piece. I love how the Framelit are so easy to use and give you that perfect layering look!

While Get Well Soon cards are not my favorite to make, they are always good to have on hand to send to someone who needs a little hand-stamped card to brighten their day!

Happy Stampin’

~Laura


Northern Flurry!

Posted on

Northern Flurry, Christmas Bliss, www.LaurasStampPad.com

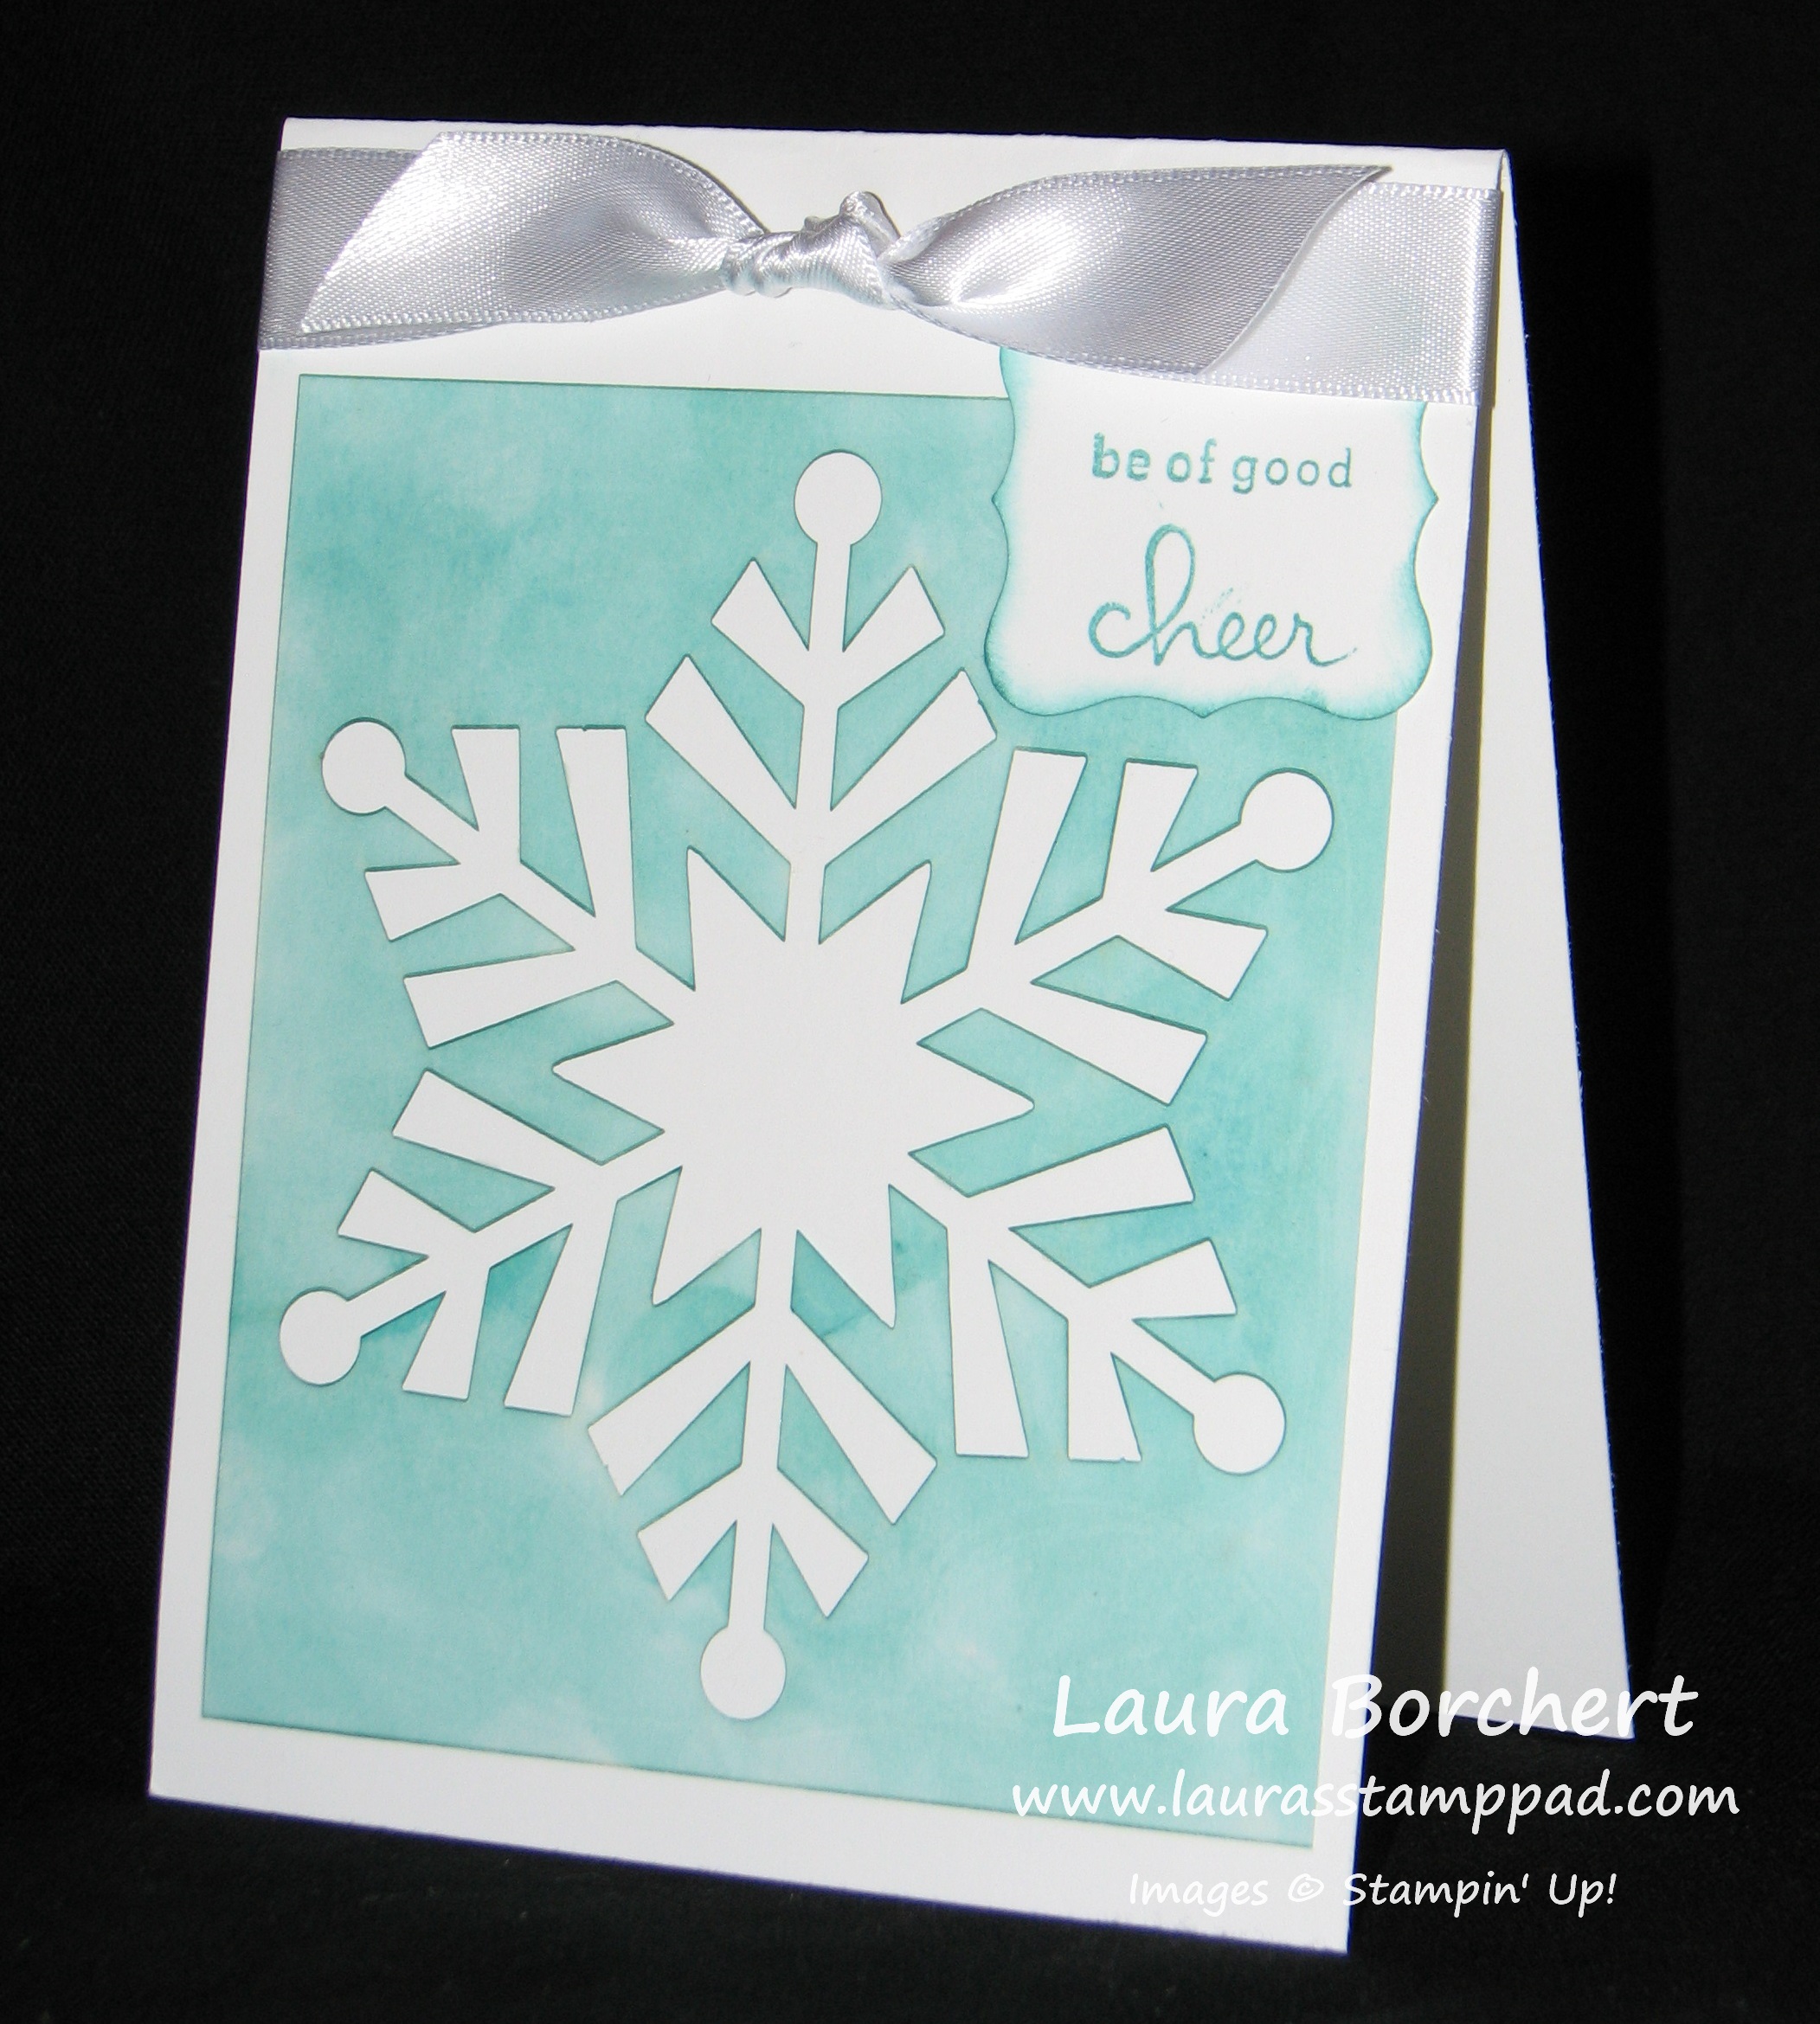
Need a quick and simple Christmas Card? This is the card for you! It is quick to make and has a major WOW factor with the embossed snowflakes and beautiful color! I started with a Pool Party card base. The Whisper White piece measures 4-3/4″ x 3-1/2″ and then run that through the Big Shot with the Northern Flurry Embossing Folder. Then I brushed the edges of the cardstock with my Sponge Daubers! Love them! The greeting is from the Christmas Bliss Stamp Set and it is stamped in Pool Party as well! See! Quick and Simple! You could crank (literally with your Big Shot) these cards out in no time at all.

I like to watch my favorite movie or show while working my Big Shot! What do you like to do while crafting – watch a movie, chat with others, listen to music or books on tape, or just enjoy the silence? I like each of these at different times! 🙂 Leave me a comment down below with your favorite!

Happy Stampin’

~Laura


Technique Tuesday – Cafe Bag Creation!

Posted on

Happy Tuesday!!!! That means I have a fabulous technique to share with you today!!!! Since the Holiday are upon us that means that there will be lots of gift giving – teacher gifts, neighbor gifts, friends gift, family gifts and everyone in between! Why not make the gift packaging just as special as the person you are giving it to!

Stars Cafe Bag, www.LaurasStampPad.com

I am loving these Cafe Bags which are in the Holiday Mini Catalog because they are the perfect size and they come plastic lined which is great for putting homemade treats in them! Love it!!! Now lets tell you how to re-create it!

Supplies Needed: Cafe Bags, Decorative Mask, Sponge Daubers, Ink, Ribbon, and Tag

I left the Cafe Bag all folded up like it comes and laid my Stars Decorative Mask over top! Using my Whisper White Ink and Sponge Dauber, I colored in all of the stars! NOTE: When using Whisper White Ink (Craft), it takes a little bit longer to dry so set that aside while you create your tag! For my Tag, I used some scrap Mossy Meadow and Whisper White cardstock. For the banner tips, I cut up in the center of the end and then from the corner to that center cut line! This gives you even banner tips! I used the Endless Wishes Stamp Set for the snowflakes and greetings! They are stamped in Lost Lagoon Ink! I love how you can mix and match the greetings in that stamp set – just perfect! Once your bag is dry, you can fill it and then roll down the top and secure the tabs! Wrap some Lost Lagoon Satin Ribbon around it and tie a bow or knot! I attached the tag with a Mini Metallic Clothespin! Adorable! Quick and Simple for any of your gift giving this season! The bag below uses Blackberry Bliss Satin Stitched Ribbon and a tag from the Tag A Bag Accessory Kit! The greeting is from the Work of Art Stamp Set! Love it!

Petite Cafe Bag, www.LaurasStampPad.com

If you would like to see this gift bag creation in action, check out the Video Tutorial that I created for you! Be sure to give it a thumbs up if you like it and want to see more in this Gift Packaging Series!

Happy Giftin’

~Laura