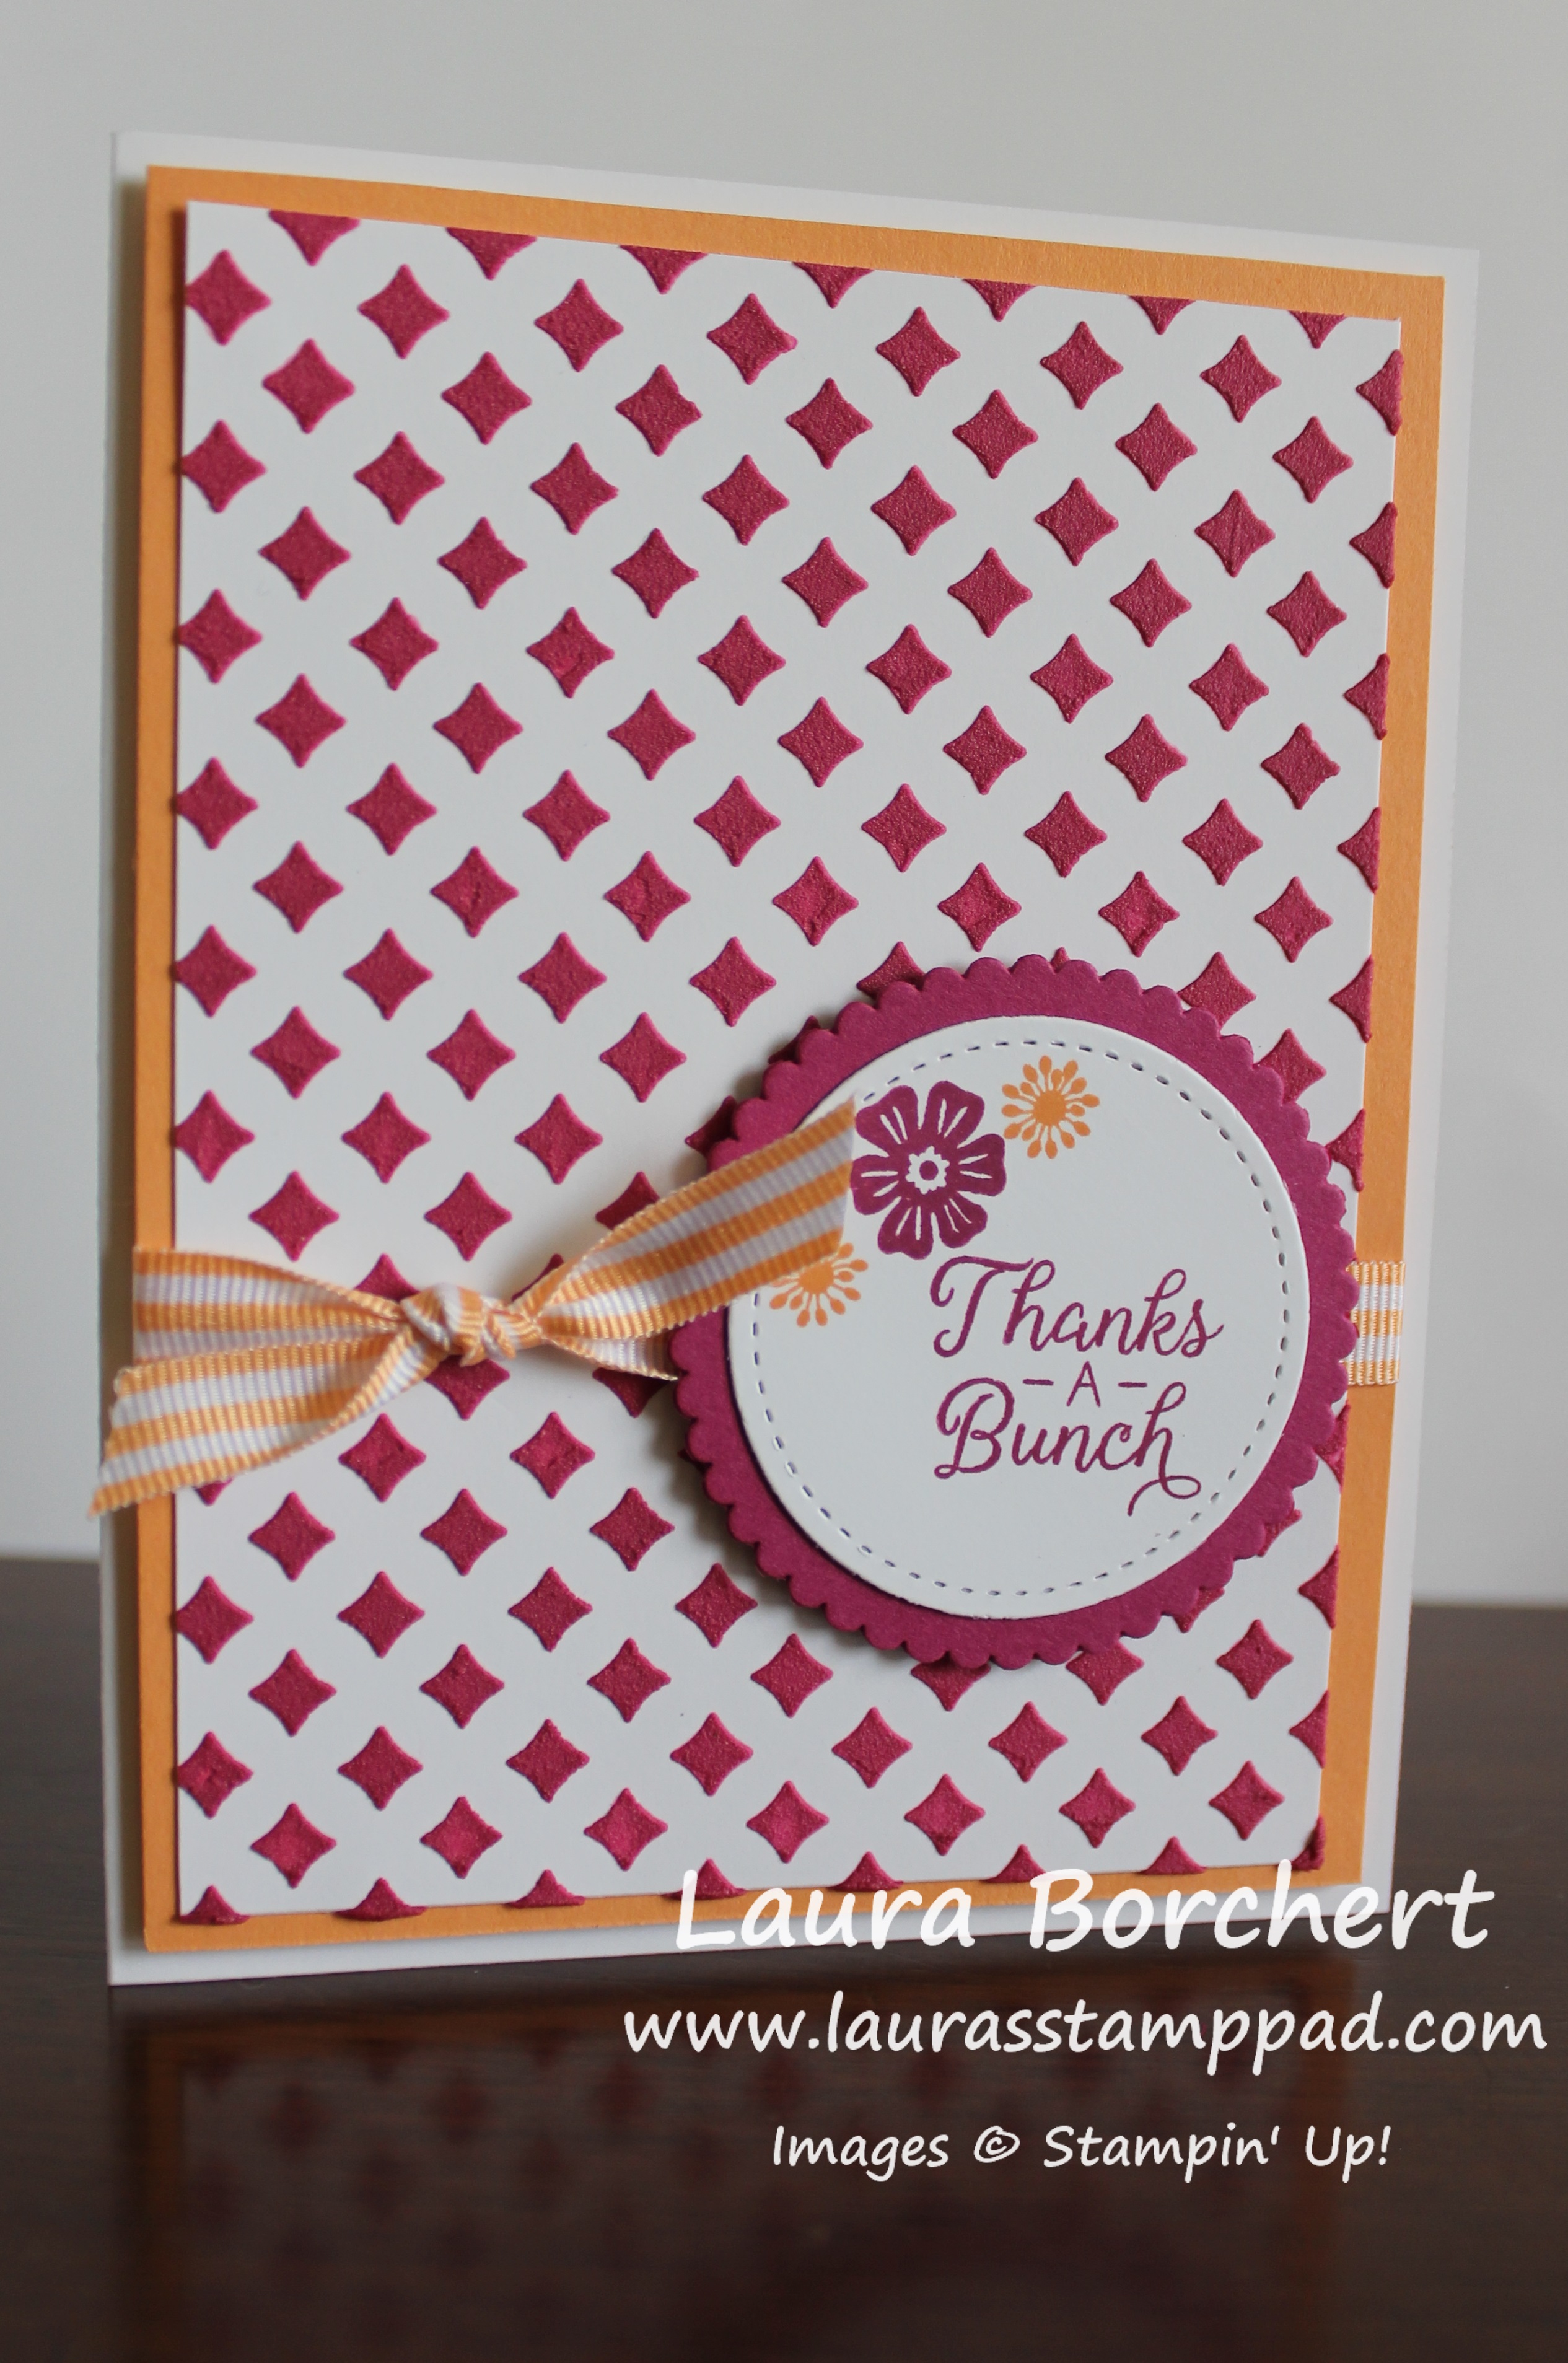
Happy Friday!!! You all know I love flowers and this card is the perfect petal garden with stamped flowers and floral designer paper!

I started with a Calypso Coral card base. Next, I took a piece of Whisper White (4″ x 5-1/4″) and stamped images from the Graceful Garden Stamp Set all over. I did focus a little more to the right hand side but make it go all over so the patter looks like it continues. The trellis image was stamped in Pool Party. For the rose, I used my markers to ink up the stamp with both Old Olive Ink and Calypso Coral Ink. This isn’t something you would want to do when making 100 cards but it’s fabulous for a few!

Next I added a piece of the Petal Garden Designer Series Paper to the left hand side and tied some Whisper White Classic Ribbon around it. Then I added this to the card base with Stampin’ Dimensionals. I do this because I love those things but also because it makes the ribbon look smooth to pop it up rather than press it out flat. For the greeting, I used Beautiful Bouquet Stamp Set and Layering Circles Framelits. I added the greeting to the card with Stampin’ Dimensionals as well! This card is perfect for lots of occasions like birthday, wedding, anniversary, and just because!
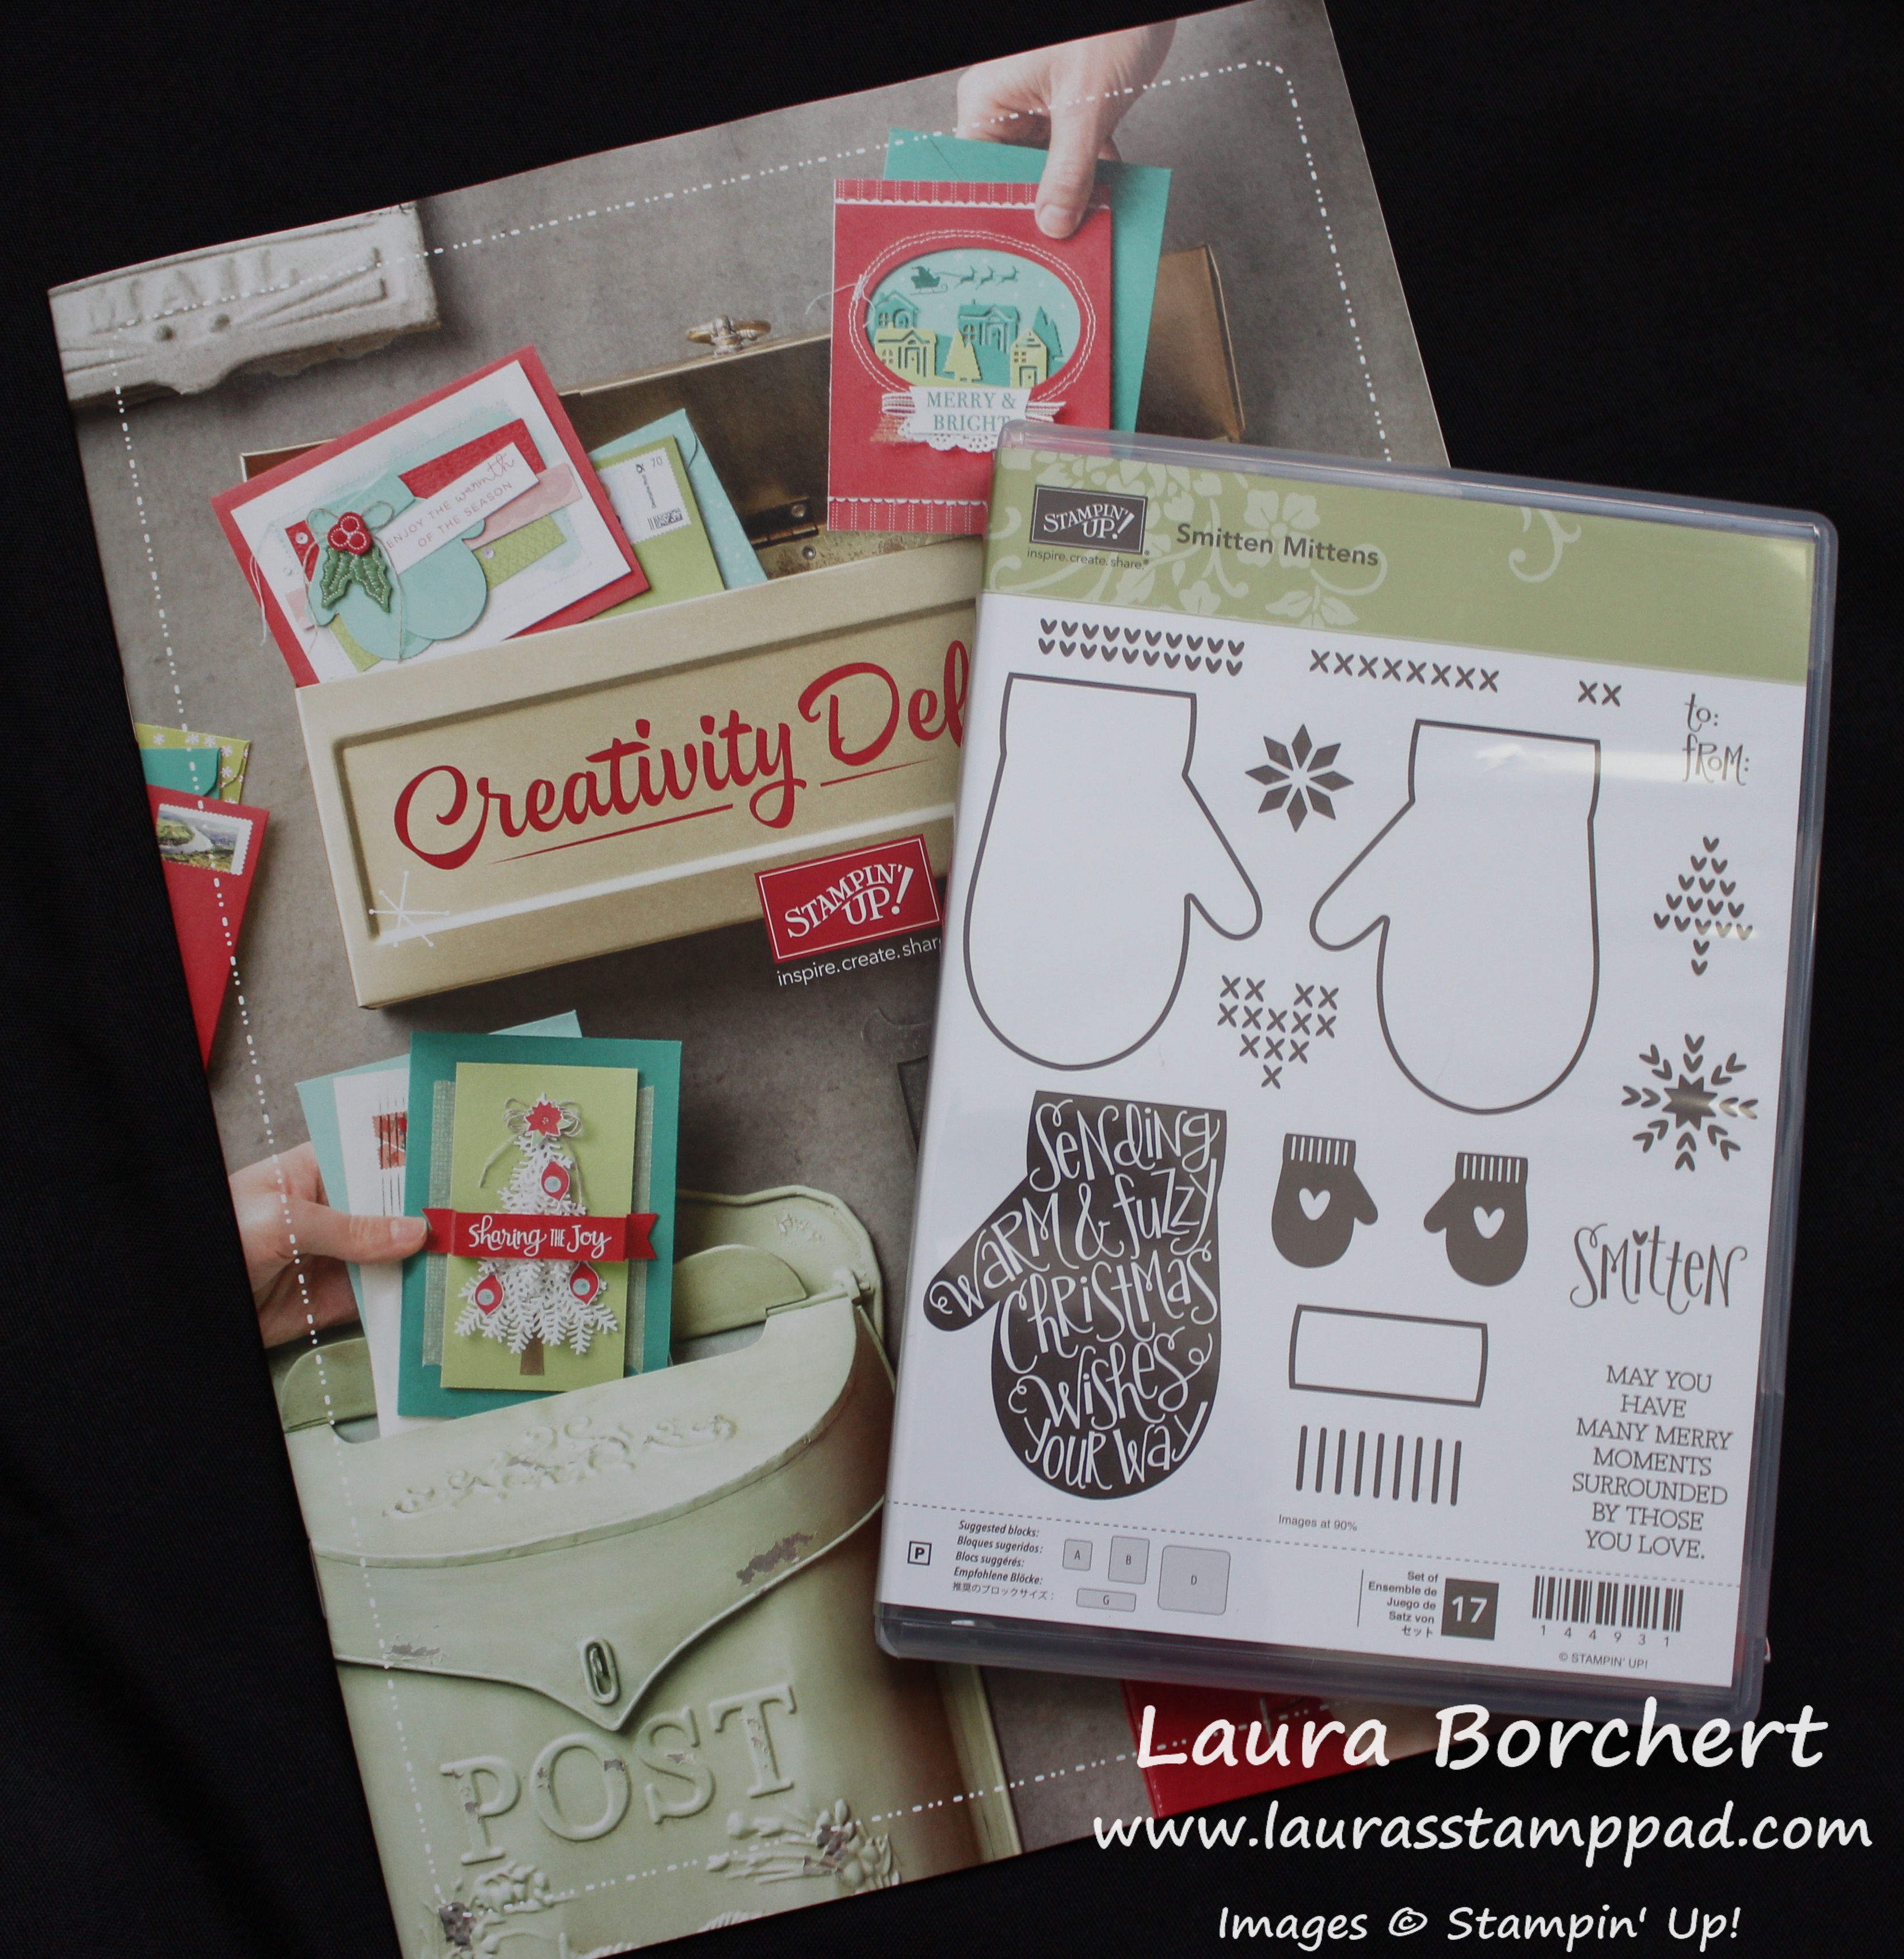
Don’t forget that you can get the Petal Garden Designer Series Paper in the Buy 3, Get 1 Free Special going on this month. Spend $75 and you can get the Graceful Garden Stamp Set from me for FREE! Woot Woot! Click here to start shopping!
Also, if you would like to get tips, ideas, and information on current specials, click here to join my mailing list!
Have a wonderful weekend and I’ll see you back here on Monday! Happy Stampin’
~Laura
Product List