Do you prefer traditional red and green for your Christmas Cards? If so, this card is perfect for you!!! Those little ornaments are just adorable! I started with a Real Red card base and stamped the ornaments from the Christmas Bliss Stamp Set along the bottom of a piece of Whisper White cardstock (4″ x 5-1/4″). Since this stamp set is a Photopolymer Set it is super easy to line up those ornaments all the way across! Then I stamped the greeting from the same set in Real Red on another piece of Whisper White. I layered that onto some Sweet Taffy Designer Series Paper and that onto some more Real Red cardstock. Before adding that last layer of Real Red, I punched the bottom of it with the Scallop Edge Punch! Scallops add such a cute factor to projects! For the final touches I added some Old Olive and Real Red Candy Dots to both sides of the greeting! Adorable!!!!!
There is no better way to show someone you care than sending them a hand-stamped card! The Thoughts & Prayers Stamp Set has the most perfect greetings when you want to show you care but just don’t know what to say. There is also this elegant tree and a flower branch image in the set as well! This card is crumb cake with layered pieces of Very Vanilla, Chocolate Chip and a piece of the Flower Pot Designer Series Paper. I love the neutral colors with a pop of blues – very soothing and calming!!! I stamped the tree and greeting in Chocolate chip and added some Lost Lagoon Taffeta Ribbon. The Thoughts & Prayers Stamp Set has excellent greetings for the inside as well. I plan to keep this card on hand for that moment when I need to let a friend know I’m there for them! This card would also make a great man card for Birthdays and more!
Aren’t these cards super cute? I’m telling you, I love the blues and greens this year!!!! I used a card base of Smoky Slate for both of them and layered on some Lost Lagoon. The Designer Series Paper is from the All is Calm Paper Pack. It is the same sheet of paper – one card uses one side and the other card uses the other side! Isn’t that fabulous that you can create a similar look with the same piece of paper?!?! Love it! I added on some of the New Lost Lagoon Taffeta Ribbon. For the greeting, I stamped the Merry & Bright from the Christmas Bliss Stamp Set in Pear Pizzazz and punched it out with my Decorative Label Punch! I punched a second one in Lost Lagoon, cut it in half sideways (left to right, NOT top to bottom), and then attached the top half to the top of my greeting piece and the bottom half to the bottom of my greeting piece. That is how you get that fabulous layering effect! Simple, Adorable, and Quick!!!
I am loving my Blendabilities Markers! They make coloring so much fun and there are so many ways to use them!!!
How many ways did I use my Blendabilities on the card above? If you guessed 4 then you are correct! I colored my ribbon, my rhinestones, my flower and created the polka dots! How fabulous is that!
For the Ribbon, I started with a piece of Whisper White Organza Ribbon and the lightest Rich Razzleberry Marker. Start coloring on the right side to about half way in, then take the darkest marker and start on the left and color to the middle where it meets the lightest color. Now take your medium marker and color the middle section overlapping over both the dark and light shades. This gives a fabulous ombre look to your ribbon! You know how I love me some ombre! 🙂
For the Rhinestones, just color one rhinestone with each of the 3 markers! It is as easy as that!
For the Flower, I stamped this one from the Flower Shop Stamp Set with my Memento Pad. Then starting with the darkest color, I started coloring the tips of all of the petals, then I grabbed the lightest color and colored the center of the flower and a little out. Finally, take your medium marker and color the middle, overlapping both the dark and lightest colors. I have also done it where I color with the darkest and lightest marker only and use the lines in the flower to color one section light, the next dark. Once I was done coloring, I took the Color Lifter and ran it along those tight lines. The Color Lifter sorta bleaches out the area so this gave a lighter look in those areas! Of course after coloring the flower, I used my Pansy Punch to punch it out!
For the Polka Dots, I adhered my flower to the Whisper White square with Stampin’ Dimensionals. Then using the lightest marker start dotting all around the flower with a few farther out. Then take your medium marker and dot around the light dots and a few father out. With the darkest marker, dot randomly farther out. This will give the look that the dots fade out. I’m not the best with random so mine doesn’t really give that illusion but some come out better than others! 🙂
I put it all together with some Melon Mambo and Rich Razzleberry cardstock with a layer of Sweet Taffy Designer Series Paper in there! I love the bright colors and the way the flower pops! So cute! What is your favorite way to color with your Blendabilities? Leave me a comment down below!
This card just screams elegance and beauty (although if it was elegant it wouldn’t be screaming, right?)!!! I used the fabulous Big News Stamp Set for the greeting!!! For the background, I used a piece of the Park Lane Designer Series Paper which has flowers all over it! I then punched 2 flowers with my Pansy Punch and off set them for a fuller flower look. I finished it off with Gold Sequins all over the greeting, the center of the flower and hanging out from the behind the flower as well! I use Mini Glue Dots to attach my sequins to my project! Remember, place the sequin or cardstock on the glue dot and then lift them both off the paper. If you try to pull the glue dot off with your hands, it will lose it’s shape and might not want to come off your finger. 😉
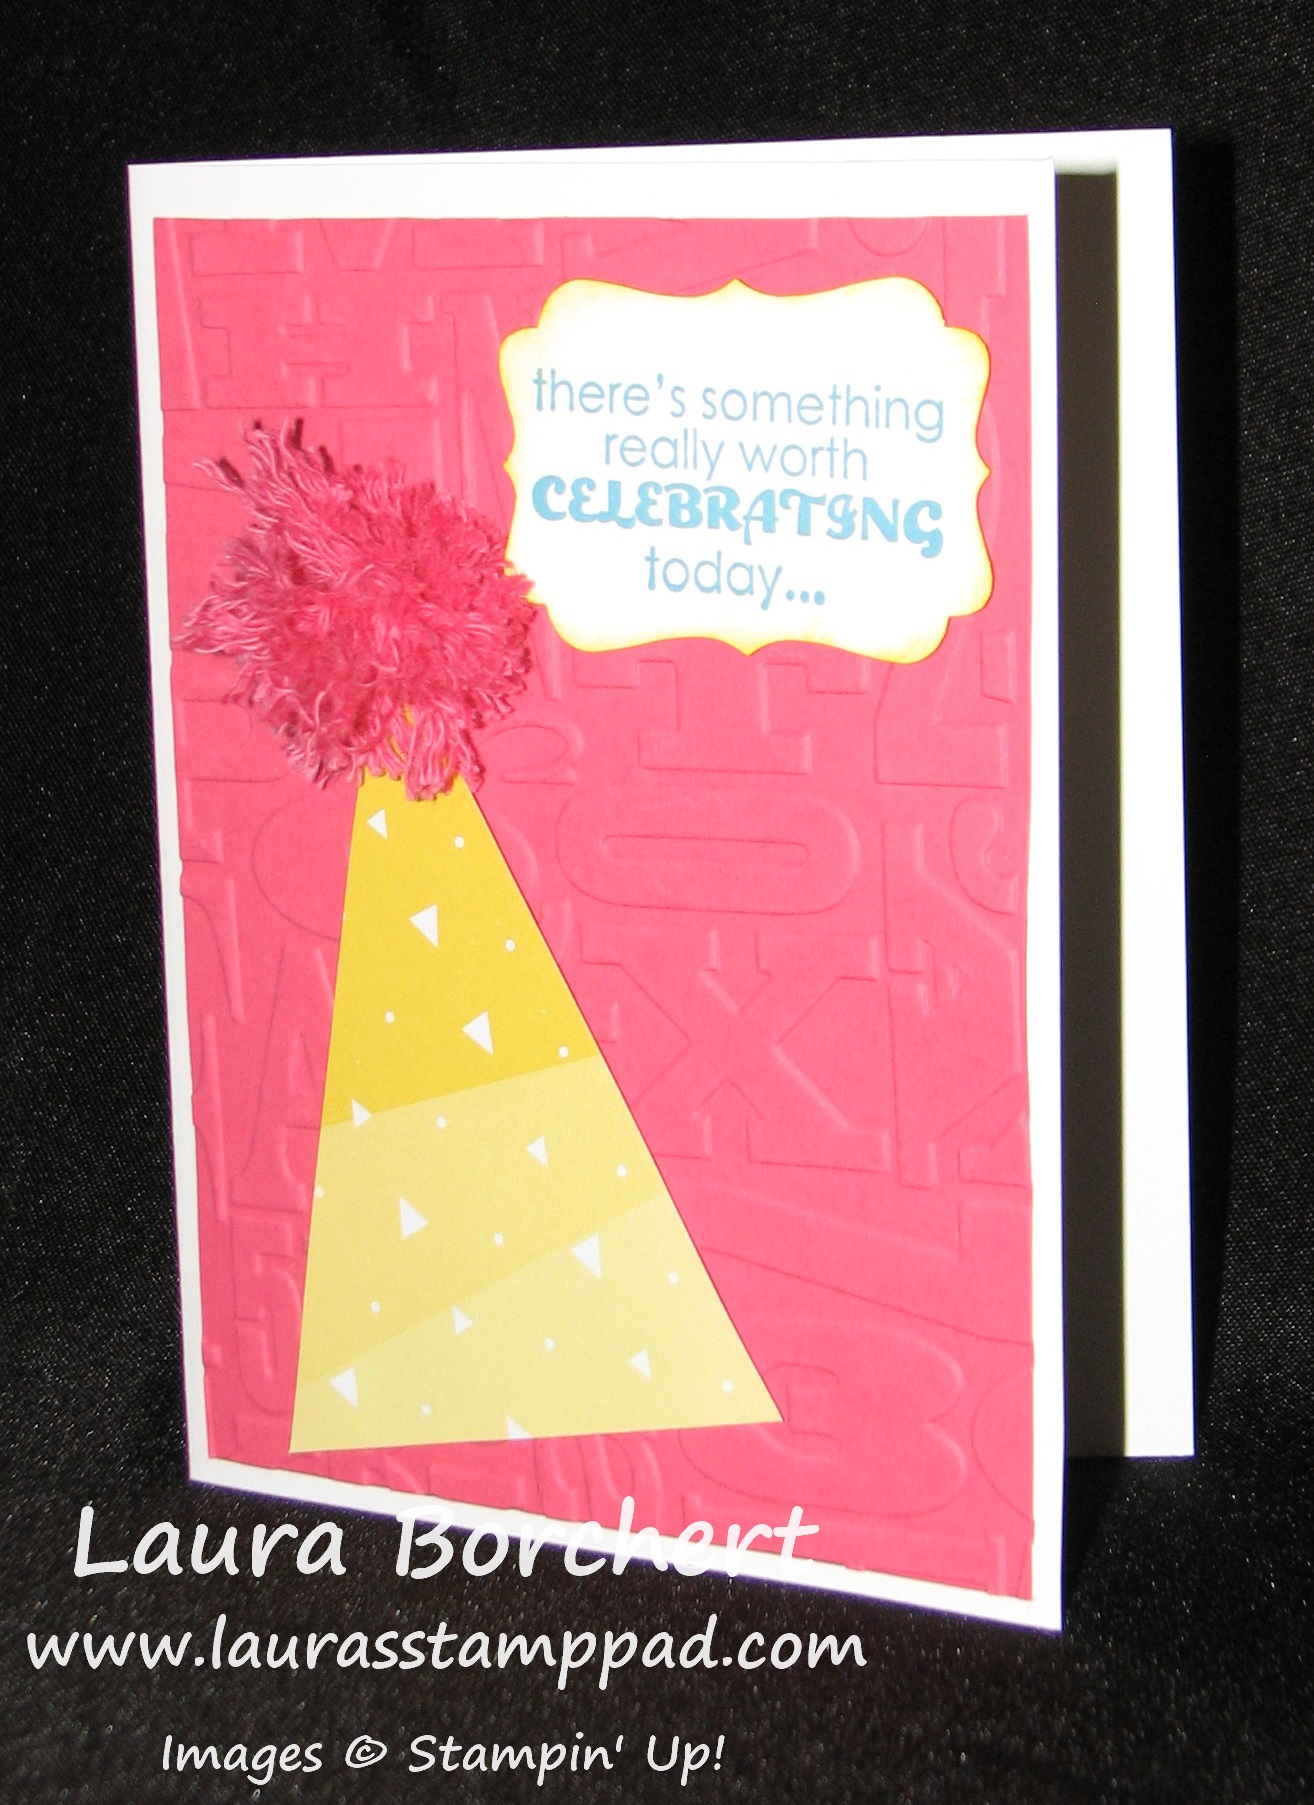
Happy Tuesday!!! That means I have a fabulous technique to share with you and today it is making cut little Pom Poms!!!!
I am loving the Pink little Pom Pom on that party hat!!!! It is just so fluffy!!! And fairly easy to make! Let’s get started!
Supplies Needed: Baker’s Twine (I prefer to use the Thick style), a fork or piece of scrap paper, and a needle
The supply list is short and a little odd but you will see! For this card, I used the Thick Strawberry Slush Baker’s Twine. Since I wanted a smaller pom pom, I just wrapped the twine around the tines of a fork about 10 times. Then you will take another piece of the twine and loop it through the middle tines and tie all of your loops together. Now you can slide the loops off of the fork and cut all of the loops. I do kind of like all of the loops too…super cute! Once you can have cut your loops, you can either stop there or take your needle and run it up each piece of Baker’s Twine to fray the ribbon into lots of smaller strands. This is the part that sometimes can take awhile and make you want to go crazy! Once you think you have done them all, you find another one. 🙂 Fluff all of the pieces and your Pom Pom is complete!!!! I attached the Pom Pom to the Sweet Taffy Designer Series Paper triangle with Stampin’ Dimensionals. I layered the party hat onto a piece of Strawberry Slush that I had run through my Big Shot with the Alphabet Press Embossing Folder! The greeting is from Remembering Your Birthday and I punched it out with my Decorative Label Punch!
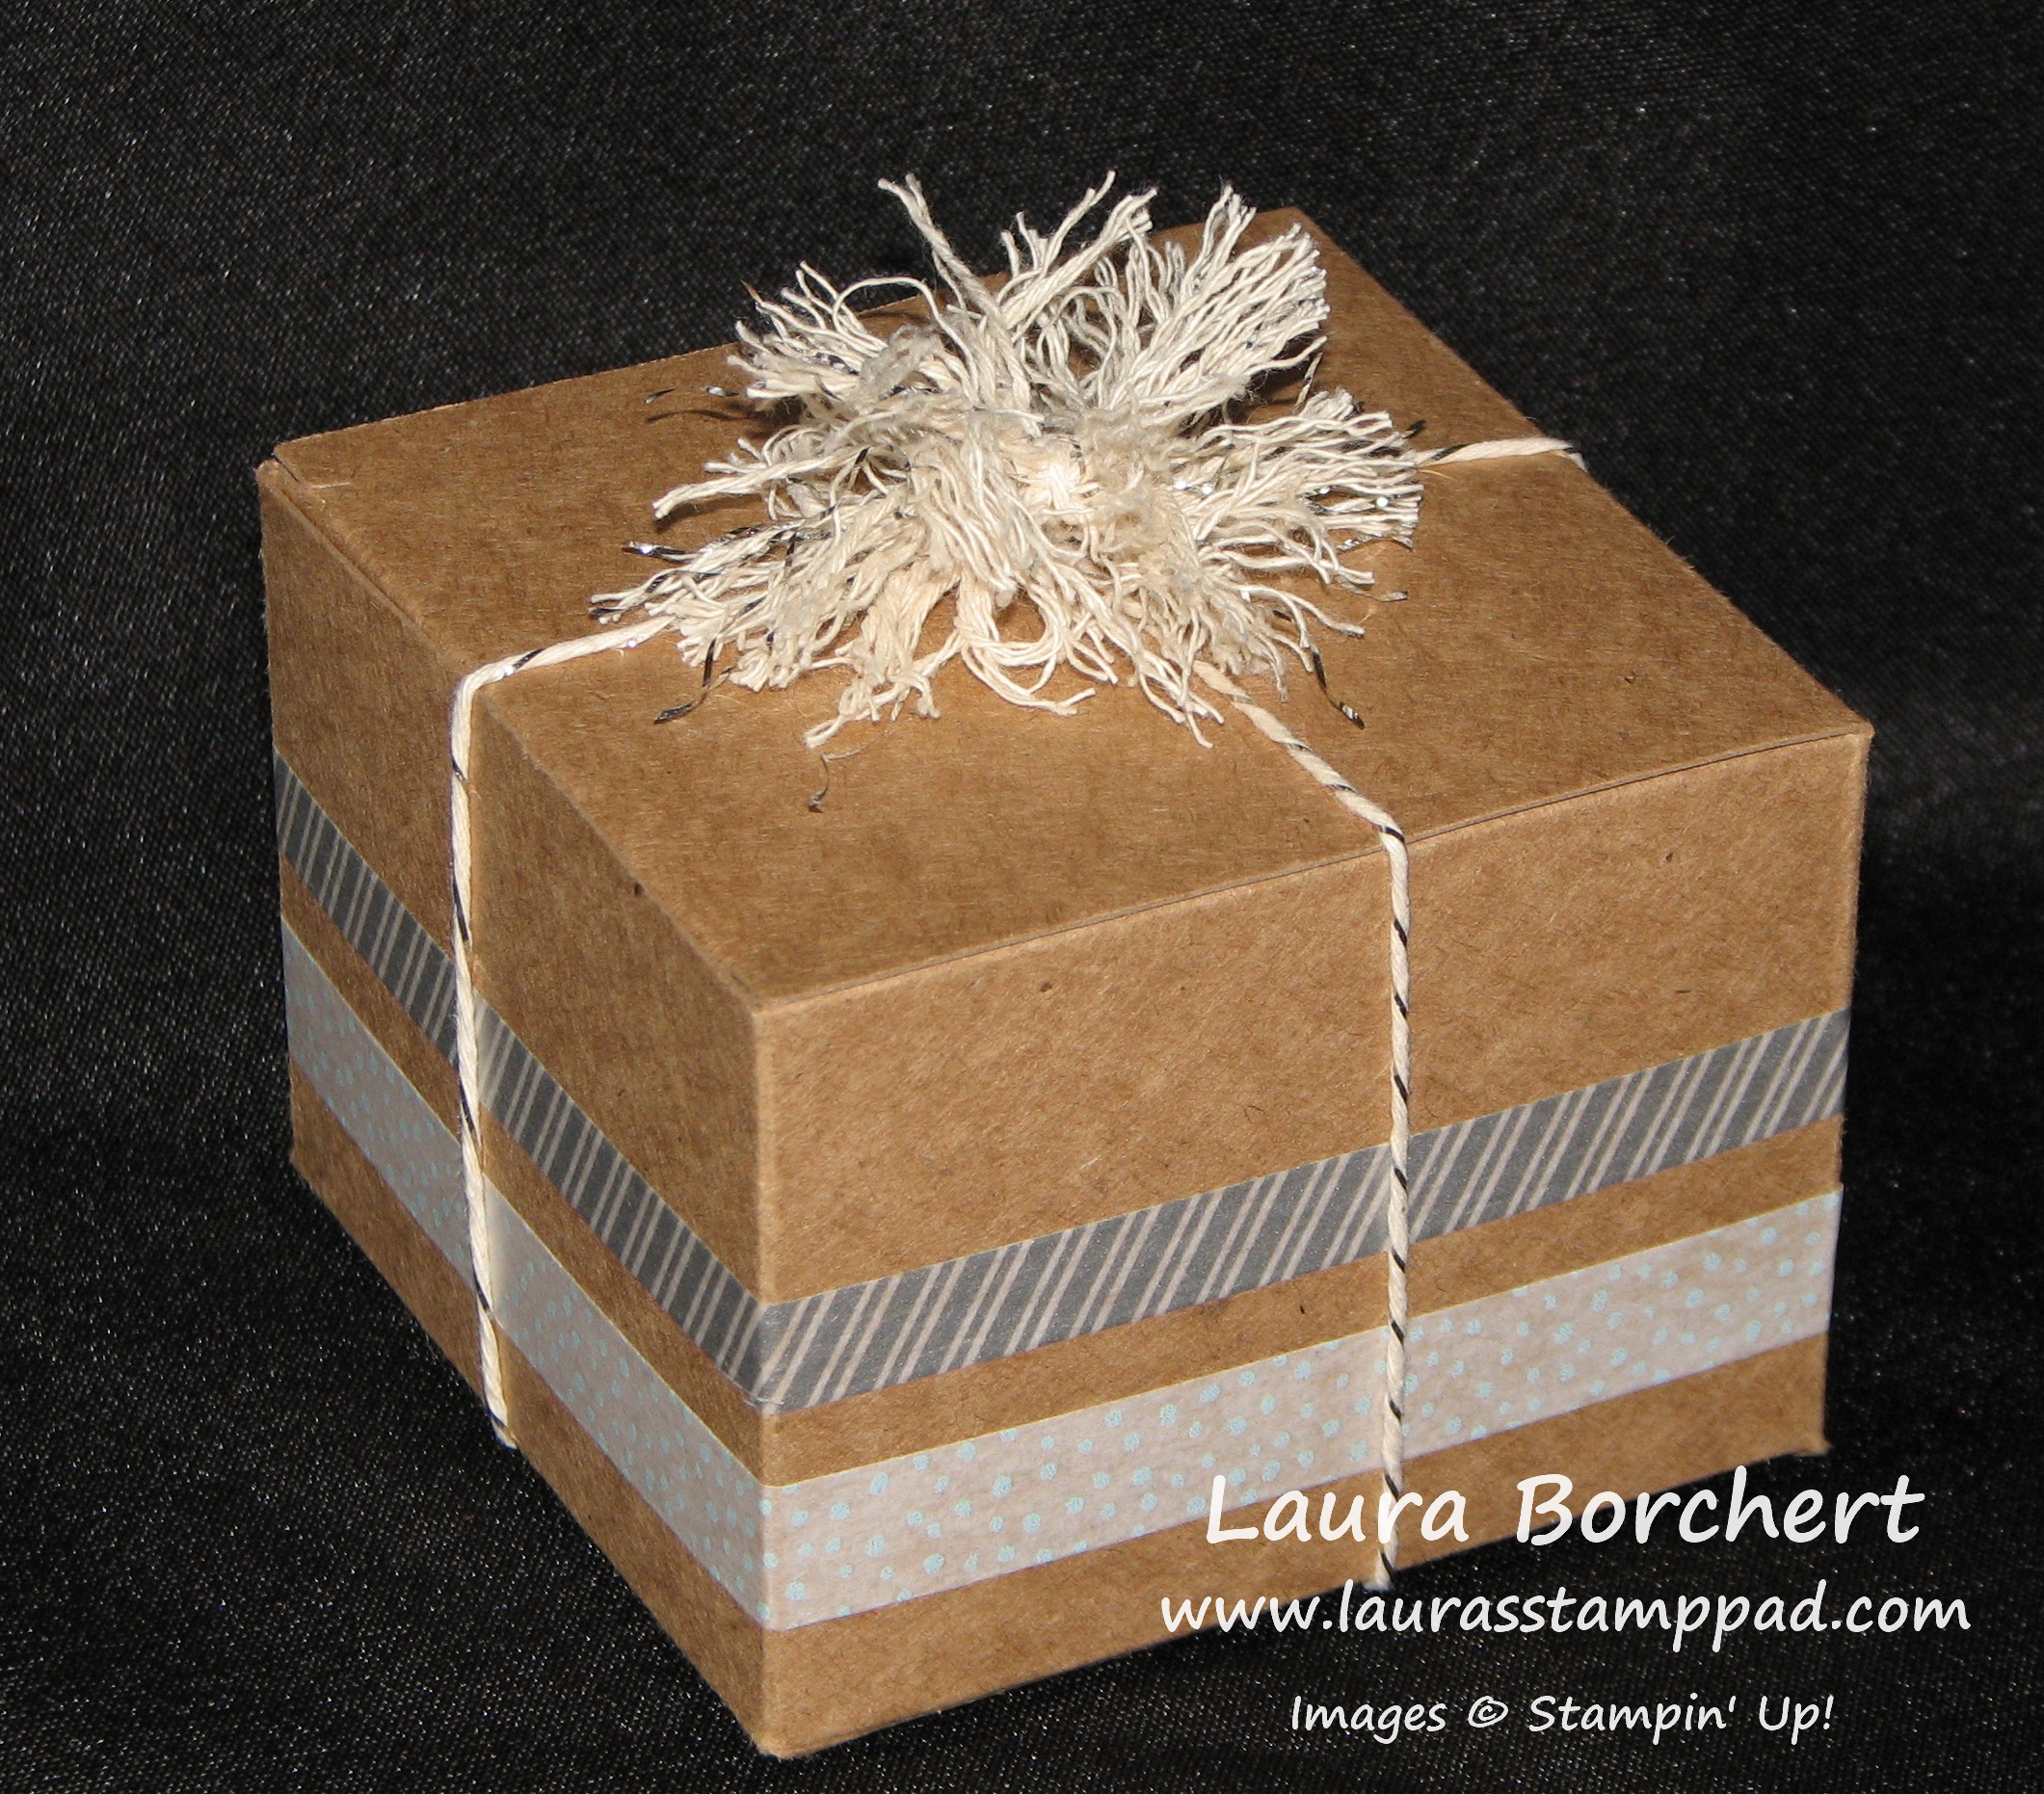
For this adorable gift box, I decorated it with the All Is Calm Designer Washi Tape which is super simple. Then I used the Silver Baker’s Twine for the pom pom. To make this one a little bigger, I wrapped the twine around a piece of scrap paper that was wider than the fork. Again 10 times around, slide it off and tie it in the middle, cut the loops and fray it!
To see this all in action, check out my Video Tutorial!!! Be sure to give the video a thumbs up if you liked it and don’t forget to subscribe so you don’t miss out on any future videos (like the one on Thursday 😉 )
These cards are just little 3″ x 3″ ones! Decorating them is so much fun because you only have a little area to work with! I used my Rich Razzleberry Blendabilities for the background on the right and left! Starting with the lightest color, move back and forth like you are making a splotch of color. You will go about half way across the 2-1/2″ x 2-1/2″ piece of cardstock. Then taking the darkest color and start from the top coming down to the middle. Finally with the medium color blend in the middle on top of the dark and light colors. This will give you a nice ombre look fading from light to dark. Then you will layer that onto a piece of Rich Razzleberry measuring 2-3/4″ x 2-3/4″ and then onto the card base of 3″ x 6″ (folded in half). I stamped the greetings from A Dozen Thoughts with my Memento Pad. I punched a few flowers from the Itty Bitty Punch Pack our of the Sweet Taffy Designer Series Paper.
For the middle card, I started with my Melon Mambo base (3″ x 6″) and layered Rich Razzleberry (2-3/4″ x 2-3/4″) and then Sweet Taffy Designer Series Paper (2-1/2″ x 2-1/2″). For the greeting, I stamped on a piece of 3/4″ x 2-1/4″ Whisper White Cardstock with Memento and the A Dozen Thoughts Stamp Set. For the banner tips, I cut straight down in the middle and then from both corners diagonally to that center cut. This helps you get even tips and not have one longer. For the flower, I stamped the flower from the Flower Shop Stamp Set onto Vellum, punched it out with the Pansy Punch and colored the back side with my Rich Razzleberry Blendabilities! I used the darkest and lightest marker! I didn’t blend as much as I usually do but instead just did certain petals light and others dark. I attached it to my card with a Stampin’ Dimensional and then added a Pearl which I also colored with my Blendabilites! I love how you can color so many different materials with your blendabilities. Be sure to check out this post to see even more way!
You all know I love black and white with a POP of color! Well check out this most recent card!!!!
Eeeeee! It is so fabulous I just wanna scream! Of course the colors are Basic Black, Whisper White and Melon Mambo! If you are a fan of Black and White, the Back to Black Designer Series Paper must be in your collection! I am loving this paper. AND if you want color sometimes, color the paper with your Markers, Blendabilities, or Sponge Dauber!!! Oh yeah, that works amazing! For the greeting, I used the You & Me from the Perfect Pennants Stamp Set, punched it out with my 1-3/4″ Circle Punch and layered it onto a Scallop Circle Punch! Once I had it all assembled, I thought what would make this card even better and BLING came to mind! So I took my Itty Bitty Punch Pack heart punch and some glimmer paper and viola! Amazing card!
Here is a little close up of the details! This card would be perfect as a Thank You card to a friend who you had lunch with or visited recently. It could be for an Anniversary, Wedding, or Just Because card to the one you love! I hope you try out some Black and White with a pop of color! What is your favorite color to pop with? Leave me a comment down below!
This greeting is just fabulous! You could send this card to anyone who is AWESOME, someone who got promoted, someone who achieved a goal or your niece who is starting school TODAY! I’m doing that last one if you hadn’t guessed! Auntie of the Year right here! 🙂 I know you are probably getting tired of seeing Coastal Cabana but I can’t help myself and just I gravitate towards that color. I added a POP of black and white with the Back to Black Designer Series Paper. Then I stamped the greeting from the Big News Stamp Set and used my Big Shot and Deco Label Framelits to cut it out! Don’t ask me where this came from but I brushed the edges using my Sponge Daubers with…..Smoky Slate. Mixing it up folks!!!! Love it!!!!
I love everything about this card – Polka Dots on the Moonlight Designer Series Paper, the Work of Art Stamp Set, Satin Stitched Ribbon, Itty Bitty Punch Pack flower, and a Rhinestone! I used my Circle Framelits which are perfect for layering because of the graduating sizes. I am just blown away at all of the different looks, styles, and images you can achieve with the Work of Art Stamp Set! It is just amazing! If you don’t have your own set by now, click here to get it today!!! You can check out more samples here, here, and here or you can always click on the Work of Art tag on your right to see all the samples! And I’m not done yet! There are lots more that I can’t wait to share with you!!!!