This card style is perfect for any occasion! The basic colors make it easy to swap a color in or out for your liking. It’s just so berry sweet and simple!!!

I am just loving this layout and how interchangeable it is!! I used the Witty-cisms Stamp Set which has lots of greeting/image variety!
For the card base, I used Smoky Slate cardstock. Next, I took 3 strips of scrap paper in Basic Black (1″), Whisper White (1″), and Silver Glimmer Paper (3/4″) and punched them with the Banner Triple Punch. This is a great way to use up scraps. Also, you can snip off the length you need, punch it again and keep going to make lots of this card style.
For the focal point, I used the Stitched So Sweetly Dies for those adorable scallop stitched rectangles. You can use whichever size fits your image. I went with Real Red and Whisper White for this one to match the berry. I stamped the image from Witty-cisms in Memento Black Ink and then colors it with Stampin’ Blends. Then I layered these together and then added them to the card front over the ends of the banner strips with Stampin’ Dimensionals! This gives a smooth look but also some texture to the card!

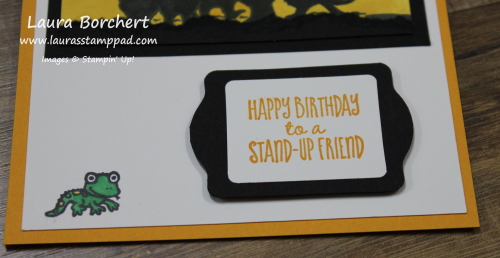
For the inside of the card, I used the Stampin’ Write Markers to color just the strawberry image. Then I stamped it in the corner of a piece of Whisper White (4″ x 5-1/4″) for the inside of the card!
To this this berry sweet and simple card in action as well as a graduation card using the same style, check out the video tutorial below or click here. Be sure to give the video a thumbs up if you liked it and don’t forget to subscribe if you are new. If you would like a notification when I post a new video, be sure to click the bell right next to the subscribe!!!
Happy Stampin’
~Laura
Product List


 Crinkled Seam Binding Ribbon")


")


 Organdy Striped Ribbon")
")


")


")


")


 Metallic-Edge Ribbon")
 Designer Series Paper")