Join Stampin’ Up! for just $25!!!!

Posted on

Join for $25, www.LaurasStampPad.com

Would you like to get fabulous product at a discount? Would you like to meet new people and have a great time out every once in awhile? Would you like to learn more about stamping and being crafty with lots of samples at your fingertips? Would you like to earn a little extra money to pay the bills or use as “fun money” (that’s what my husband and I call it)?

If you answered YES to one or more of these questions, this special is for YOU! You can join Stampin’ Up for just $25.00 from October 7th to the 21st. During this offer, only the special $25 starter kit will be available; the regular $99 starter kit will not be available. The $25 Starter Kit includes $26.95 worth of Stampin’ Up! product (it must be more than $25, but not more than $26.95 before tax) and a Business pack to get you started. Sign up here!

If you have any questions, please feel free to reach out to me. I would be happy to chat with you! Just send me an email!

Happy Stampin’

~Laura

More Ways to Use Washi Tape!

Posted on

Washi Tape, www.LaurasStampPad.comI love using Daffodil Delight , Going Gray (or Smoky Slate) and Crumb Cake! So subtle and yet the yellow POPS! It mixes my love for bright colors with colors I don’t use as often! This card features Washi Tape on the corner as a fabulous background piece! I used the gingham yellow from the Gingham Garden Washi Tape and the tan and gray from the Epic Day Washi Tape! I love mixing up different patterns and colors! The banners were created from the Banner Greetings Hostess Stamp Set! Fabulous stamp set for just $8.00 of your Hostess Dollars. You can place an order of $150.00 or more or have a party with your friends to earn this stamp set and many more FREE Products!

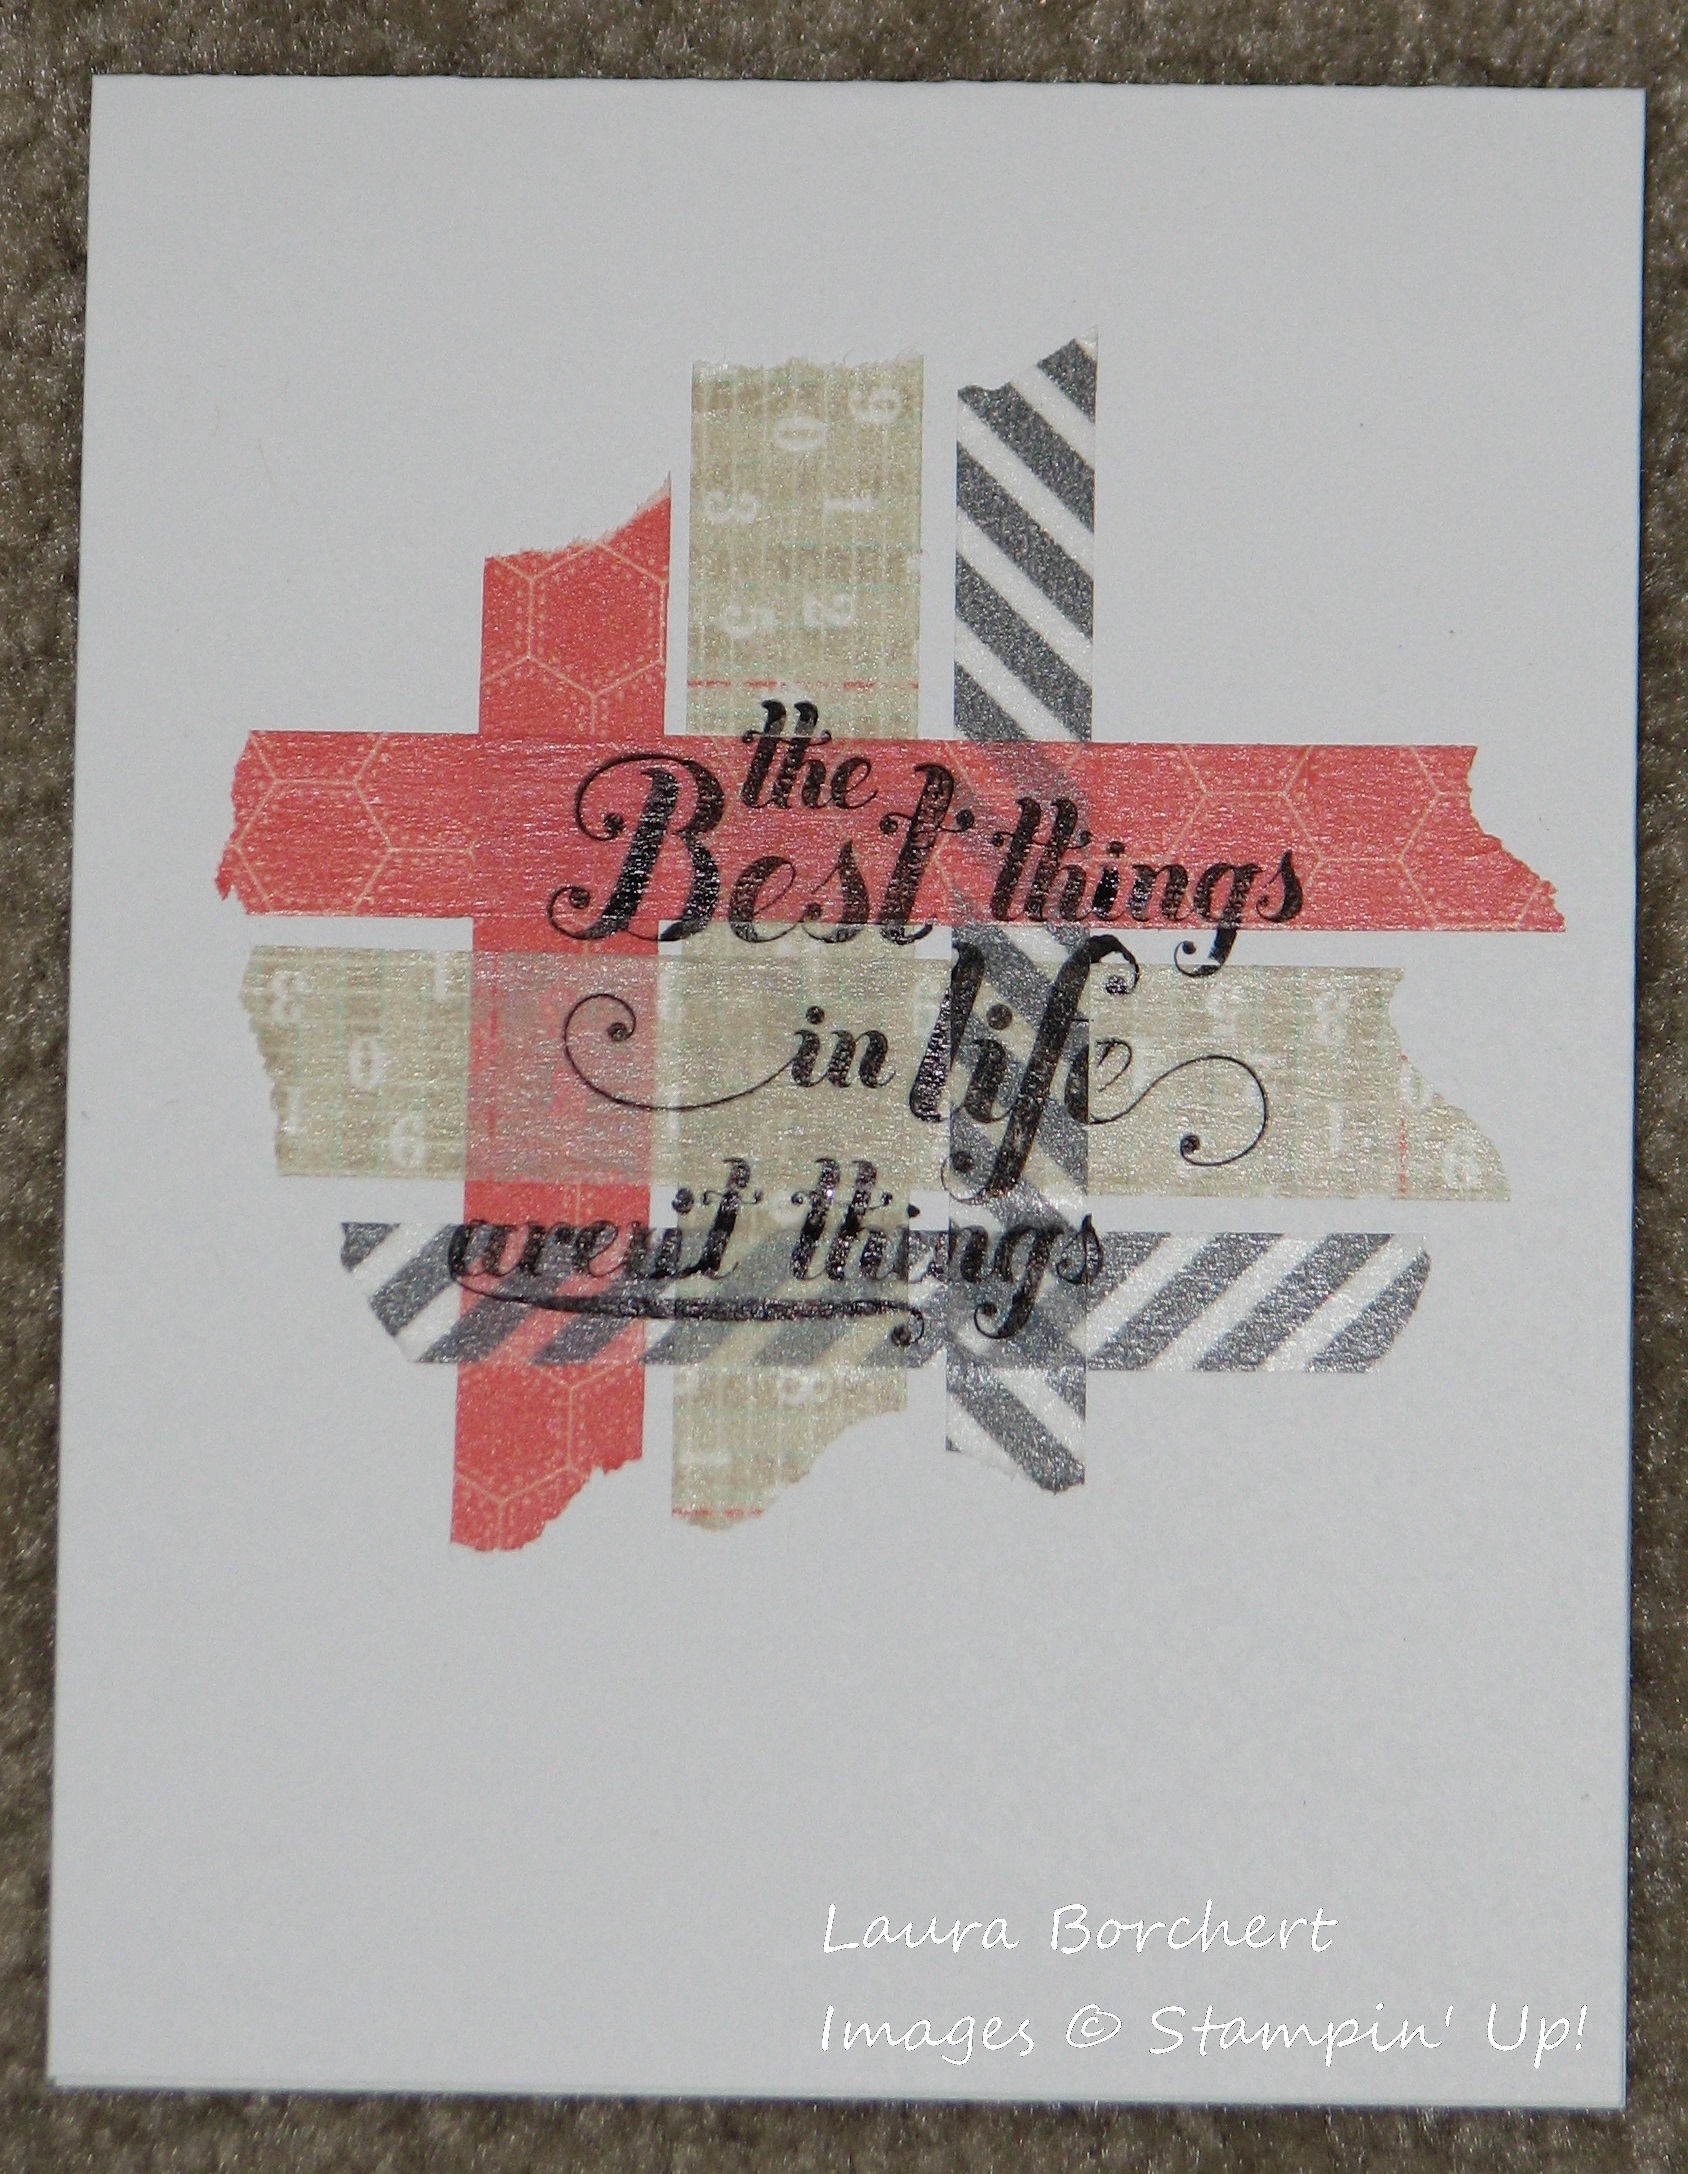
Washi Tape, www.LaurasStampPad.comHere is another fabulous Washi Tape card! This one is super quick and simple! You can get a package of Note Cards & Envelopes for $5.95 and some Washi Tape for $4.95! Add some layers of Washi Tape in a grid pattern like I did above or some stripes of Washi Tape along the side or on the bottom and then stamp your greeting! You can always add a little piece onto your envelope as well to match! Quick and Simple! Leave a comment below if you have another great idea or sample to share using Washi Tape!

Happy Stampin’

~Laura


October – Best of 25 Stamp Set!

Posted on

Best of 25 October, www.LaurasStampPad.com

Where did September go?? I can’t believe the Holidays are right around the corner. I have already started thinking and planning my Christmas Cards. After all you have to start early in order to get it done and out of the way before the rest of the hustle and bustle begins. And you know me – the planner and organizer!! I love these images chosen for the Best of 25 – October especially the  Dasher Stamp. I was sad when he retired but I’m super pumped he has come back again! To check out last month’s Best of 25, click here!

  • All of the Best of 25 Stamp Sets are just $14.95 and they will be available until March 31, 2014.
  • Best of 25 Stamp Sets only come in clear-mount.
  • As a special incentive to collect the Best of stamps, we’re including a collector’s card and 25-year proof of purchase sticker with every Best of set. Collect six stickers, and send it in to redeem a FREE set of your choice valued up to $14.95! Free sets must be redeemed no later than April 30, 2014.

Happy Stampin’!

~Laura


Want an extra $25 in FREE Hostess Products?

Posted on

Extra $25 Hostess Dollars


If you would like to Hostess a Party, pick a date quick because my calendar is filling up fast. I have all Tuesdays, Wednesdays, and Fridays open in the month of October and a few other dates in between! We can have the party at your place or mine.

If you don’t live around me but would still like to participate, you can place an order online using this Hostess Code: YPTKGUGE when you are checking out and your name will be entered into a drawing for the Hostess Benefits. No minimum order requirement. You could have the chance to win LOTS of fabulous freebies!

Let the Party Begin!

~Laura


Technique Tuesday – Tips and Tricks

Posted on

It is Tuesday and so I’m sharing some fabulous tricks and tips with you today!!!

  • You can get 2 regular sized cards from an 8-1/2 x 11″ sheet of cardstock. You either cut at 4-1/4″ on the 8-1/2″ side or you will cut at 5-1/2″ on the 11″ side.

Paper Dimensions, www.LaurasStampPad.com

  • If you want to create a mini card, it is best to use a sheet of 12″ x 12″ cardstock and you will cut 3″ x 6″ rectangles (making a 3″ x 3″ card). Since 12 is divisible by 3 and 6, you will get the most out of your cardstock this way.
  • When using Glimmer Paper or Designer Series Paper (or any cardstock for that matter), you can use 2 little strips to back your image instead of wasting a full piece underneath. Notice the Glimmer Paper in this example (the orange card)- I used two mini strips on the top and bottom! Makes your paper go further this way!
  • When using Mini Glue Dots, leave the dot on the paper strip that is comes on and press your piece of ribbon or cardstock onto the dot rather than trying to pull off the little clear sticky dot and placing onto your project.
  • When assembling your stamps, be sure to pull off the paper on the stamp and on the clear label! Then leaving the clear label on the piece of paper that is arrives on, lay the stamp over it and then pull them both up together!
  • When using ribbon on your project, you can cut a piece of ribbon that lays across your piece of cardstock and wrap the ends to the back side. Then take another smaller piece of ribbon making a “t” and tie a knot around your first strip of ribbon. This will give the look of tying the ribbon around but it uses less ribbon and your knot isn’t as thick. Ribbon Technique, www.LaurasStampPad.com
  • Always use Sticky Strip when making a Box or any other 3D item because it holds super strong. TIP: It is not forgiving though so once you place it down, it’s there!

I hope you found these tips and tricks helpful!! I will be posting more in a few weeks! Leave me a comment if you have a tip to share!

Happy Stampin’

~Laura


Magnificent Maple!!

Posted on

Gold Glimmer Magnificent Maple Stamp, www.LaurasStampPad.comThis one little single stamp is so amazing – Magnificent Maple! Look how amazing this card is with the maple leaf randomly stamped on the background and then highlighted on the Soft Sky circle! I love how the blue plaid piece of Sweater Weather Designer Series Paper, Champagne Glimmer Paper, and Natural Trim Ribbon make this card pop and look so rustic. And I love the use of blue on this fall card rather than the usual browns, oranges, and yellows!!

Champagne Glimmer Magnificent Maple, www.LaurasStampPad.comHere is another similar card using the Champagne Glimmer Paper, Sweater Weather Designer Series Paper and Natural Trim. But this time I colored the Maple Leaf with my daubers. Check out the technique here! I hope you enjoyed these cards and it got you into the Fall mood! Post in the comments of any projects you are have created with this stamp set!

Happy Stampin’

~Laura


Introducing My Digital Studio…on my blog!!!

Posted on

My Digital Studio is digital software for you to create fabulous projects using the same Stampin’ Up colors, stamps, and embellishments you already love. You can create cards, scrapbooks, calendars (perfect for Christmas gifts), and much more! Every Tuesday, Stampin’ Up comes out with new fresh downloads which can vary from a template for your Family Tree Photo Album to your next Birthday Party accessories (invites, banners, tags, cupcake flags, napkin rolls, and more.) You can also create your project by picking cardstock and placing a stamped image on there and hitting print! Here are a few of my latest projects:

My Digital Studio, www.LaurasStampPad.com

This card was created using many products you are use to seeing but I was able to change the sizes and make them work for my card. For example, I used the Decorative Label Punch for my names and I increased the size of the black one so it would border the entire white label. Another great feature is the items never retire even when the real one does in the catalog. Baroque Motifs stamp set is (was) one of my favorite stamp sets but it has retired.

My Digital Studio, www.LaurasStampPad.com

This project was created with one of the templates – For the Bride Ensemble. The sample template for this shows up in yellow and gray but I love PINK so I changed the color! You can create so many different projects it is so much fun! You can even use this for a Birthday Party or even just a regular card, just change the wording!

You can try out My Digital Studio (MDS) for 30 days for FREE by clicking here! You can purchase it after the trial or now by clicking here!

I will be posting more projects soon! Be on the lookout!

Happy Digital Stampin’

~Laura


Spooky Halloween with Photopolymer Stamps!

Posted on

Ok I know I’m crazy but I admit I don’t like Halloween! It’s scary. You could say Boo to me in the daylight and I will probably scream. I am also not a fan of bats, spiders, or witches and vampires. Halloween has just never been a Holiday that I get excited about. I do love making treat bags for our (like 5) Trick or Treaters that we get though. And I do LOVE Pumpkin but I move that to the Thanksgiving Holiday which is one of my favorites! But even though I don’t like Halloween I know many many (many) people out there LOVE IT and Stampin’ Up! has just come out with an amazing stamp set!

Bite Me Photopolymer Stamp Set, www.LaurasStampPad.com


Our Photopolymer Stamps are amazing too! Super sticky and completely clear for great placement on a project. Also, it is only $13.95 which is a steal! So while I am not a fan on spiders, I do think this web is super cool. Thinking about stamping it on black and heat embossing it so it has that raised shiny look! Oh yeah! Loving it! Get yours today so you can get started on your creepy crawly Halloween projects!

Happy Stampin’

~Laura


Try a New Designer Series Paper?

Posted on

Stampin’ Up makes some AMAZING Designer Series Paper! Even the patterns that don’t catch my attention right away, it is caught after seeing a fabulous card or project using it.

Naturals Composition Paper, www.LaurasStampPad.com

This is one of my favorites – Natural Composition Specialty Designer Series Paper. It is only 1 sided (thank goodness, then I don’t have to worry about which side to use)! It is all clear embossed too!!! How fabulous is that? Embossing can really make a project pop but let’s be honest that thought goes away sometimes when I think about having to dig out the powder and the heat tool. There are 6 different designs – woodgrain, musical notes, all over flowers, flowers in the corner of note paper lines, damask, and another flor-de-lies type pattern. You can add some color to this paper with your sponge daubers and it will pick up the color in the non-embossed areas like this sample below!

Naturals Composition Paper, www.LaurasStampPad.com

Super fun to add color to each of the flowers too! You know how I love flowers! I hope you give this paper a shot! It is amazing the more you play with it! TIP: The paper comes in 12″ x 12″ sheets, use pieces on your card that are 3″ x 4″ or 2″ x 4″. When using increments like that you will get more out of your paper with fewer scraps left over!

Happy Stampin’

~Laura


Technique Tuesday – Shaker Cards

Posted on

It is Tuesday and so I’m sharing a fabulous technique with you!!! This week it is Shaker Cards!!!!

Leaf Shaker Card, www.LaurasStampPad.com

I so wish that you all could shake this card while reading this post so you could really see how cool these cards are! But since you can’t, you are just going to have to take my word for it! The Champagne Glass Glitter that you see covering part of the leaf actually shakes around inside a little sealed area! Super cute and fun! And Stampin’ Up has these things called Shaker Frames so it’s super simple too!

You will need: Cardstock, a Punch to create your window, Window Sheets, Shaker Frames, and confetti of some sort (Glitter Glass, small punched out shapes, anything)

Basic Instructions: Stamp your image onto a piece of cardstock (this will be the image in the window). Place a Shaker Frame around the image (could be the entire image or just part of it). Pour in your confetti and place the Window Sheet on top to seal the confetti in. Take another piece of cardstock and punch an image out (this will be your window) and place on top of the window sheet to hide the window sheet edges and shaker frame.

Butterfly Shaker Card, www.LaurasStampPad.com

You can use all kinds of punches and images and confetti! The possibilities are endless and they are super fun the shake around and admire! I hope you try out shaker frames and share your thoughts or questions in the comments below!

Happy Stampin’

~Laura