The Playful Palette Designer Series Paper Stack is full of bright colors! I created this adorable card, which is my favorite of all of them. When making multiples though, there are only 4 sheets of every pattern in the stack. Have no fear though, you can use any of the other designs as well! Check out all of these!

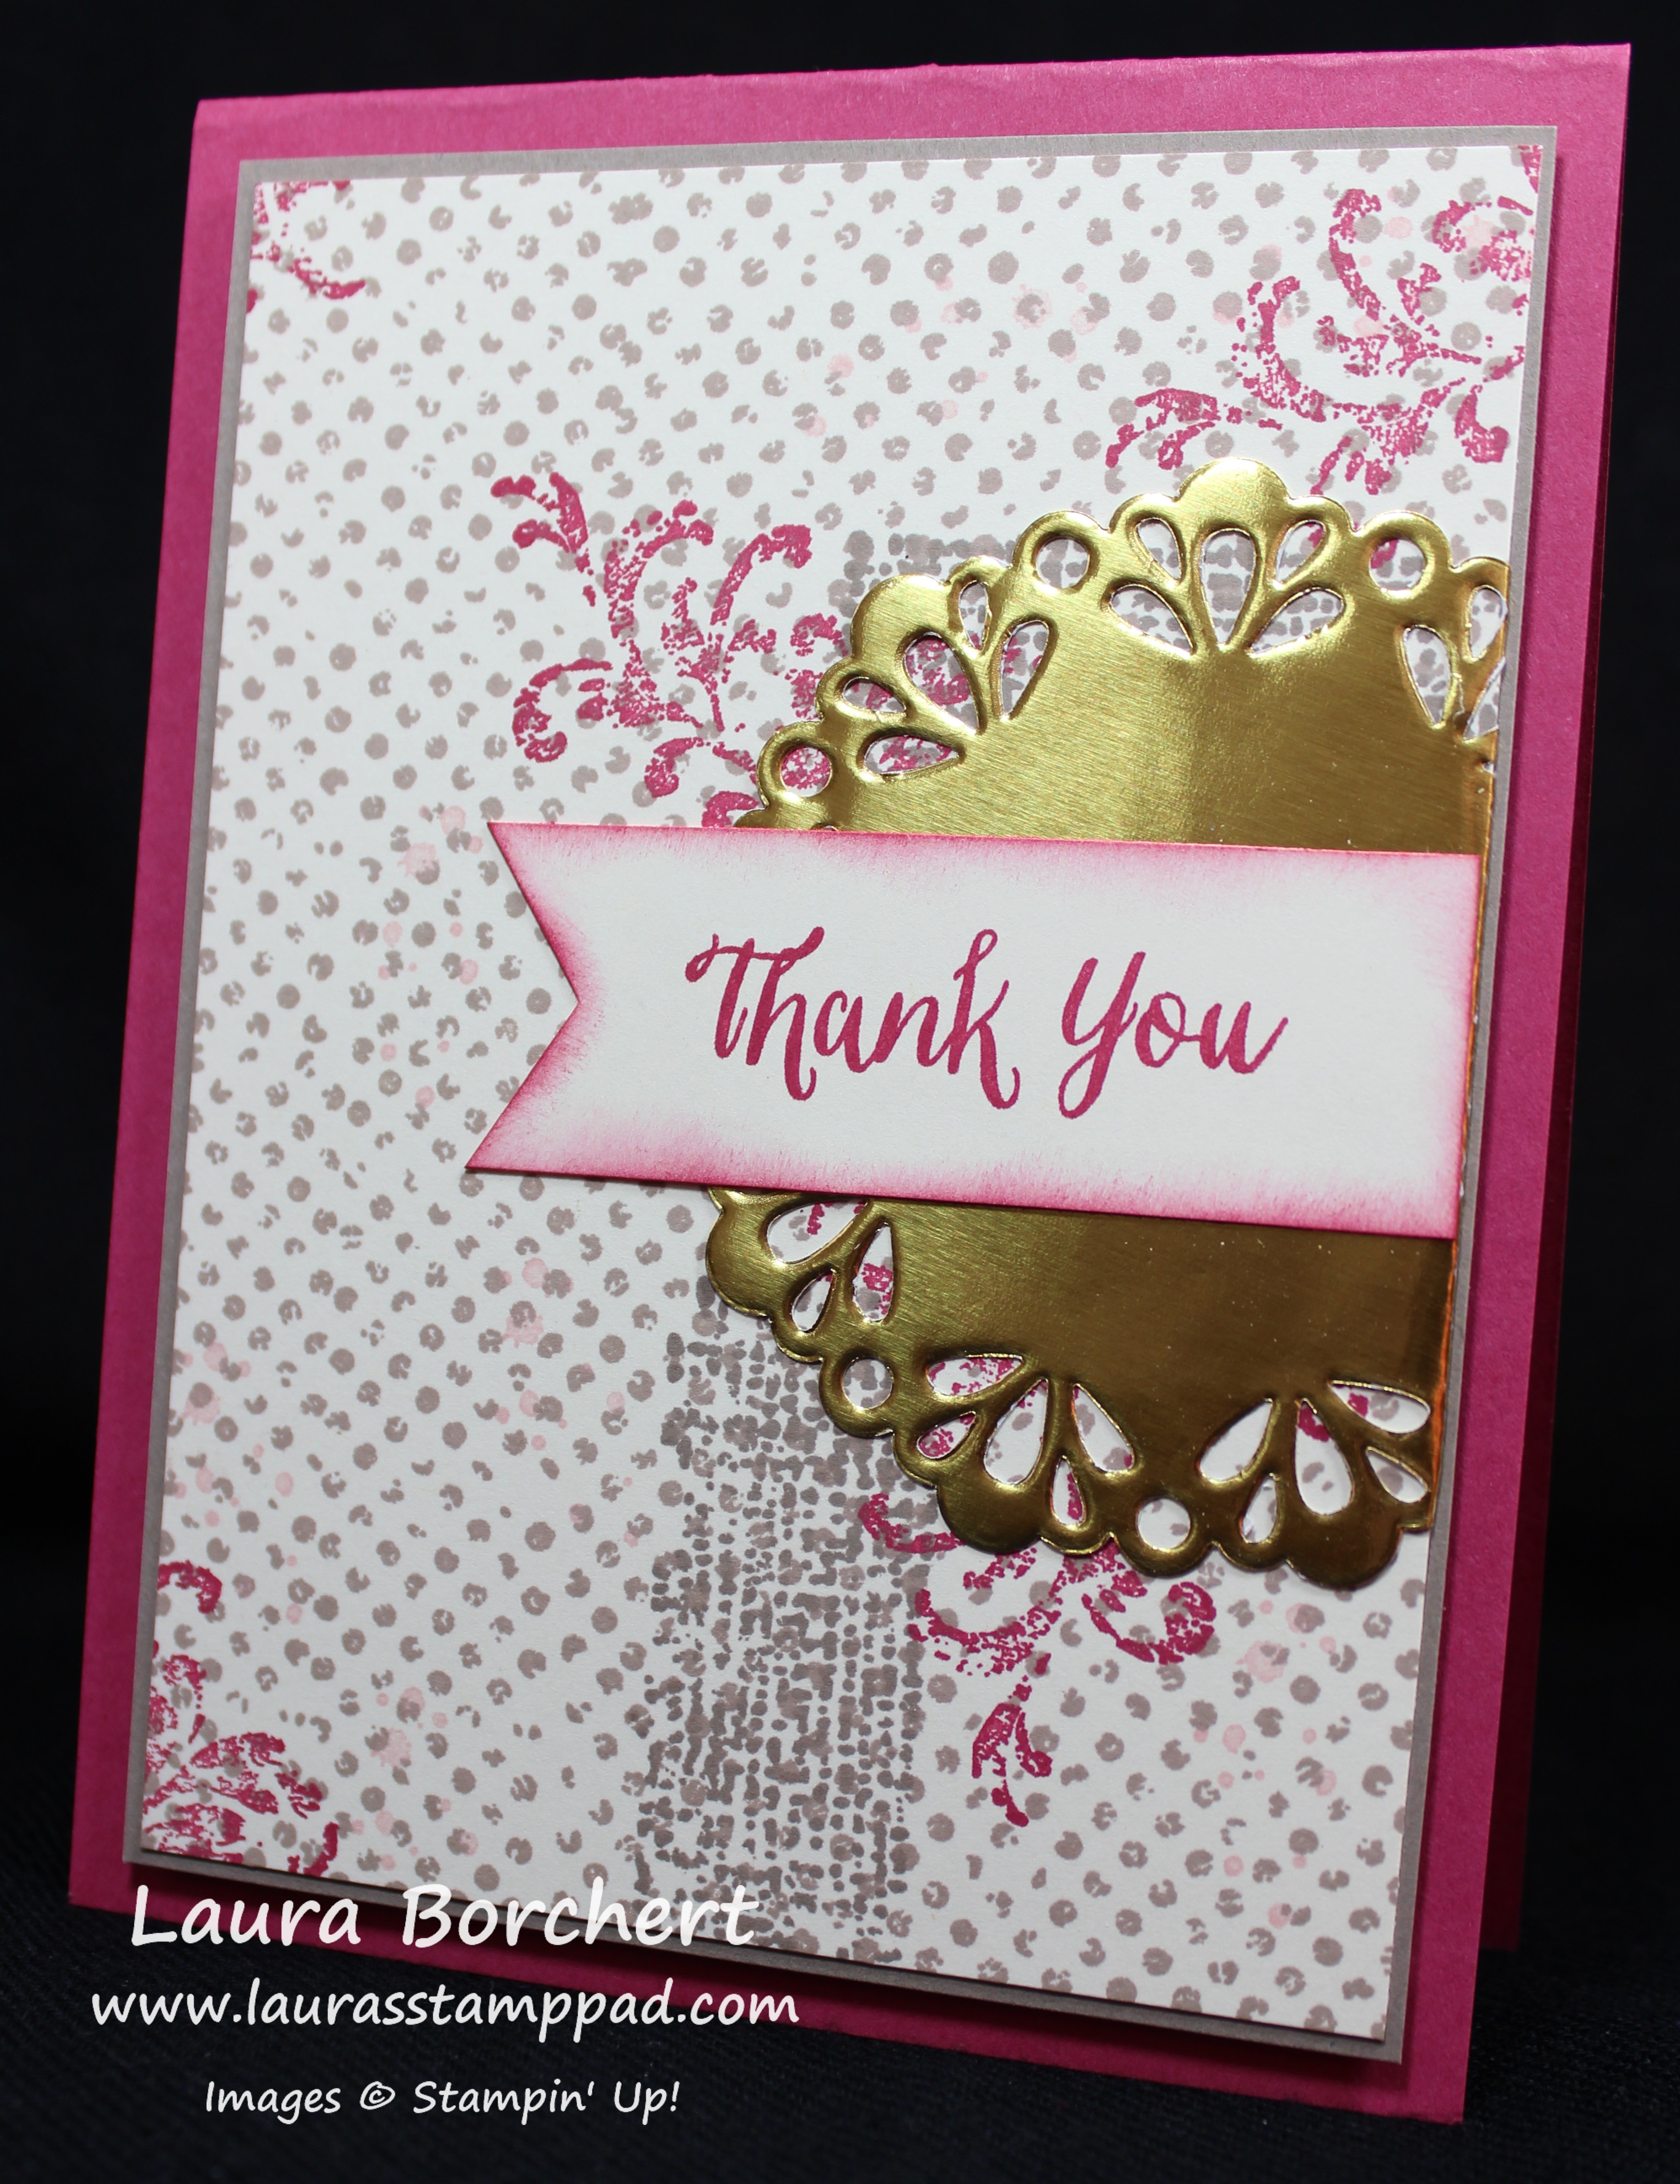
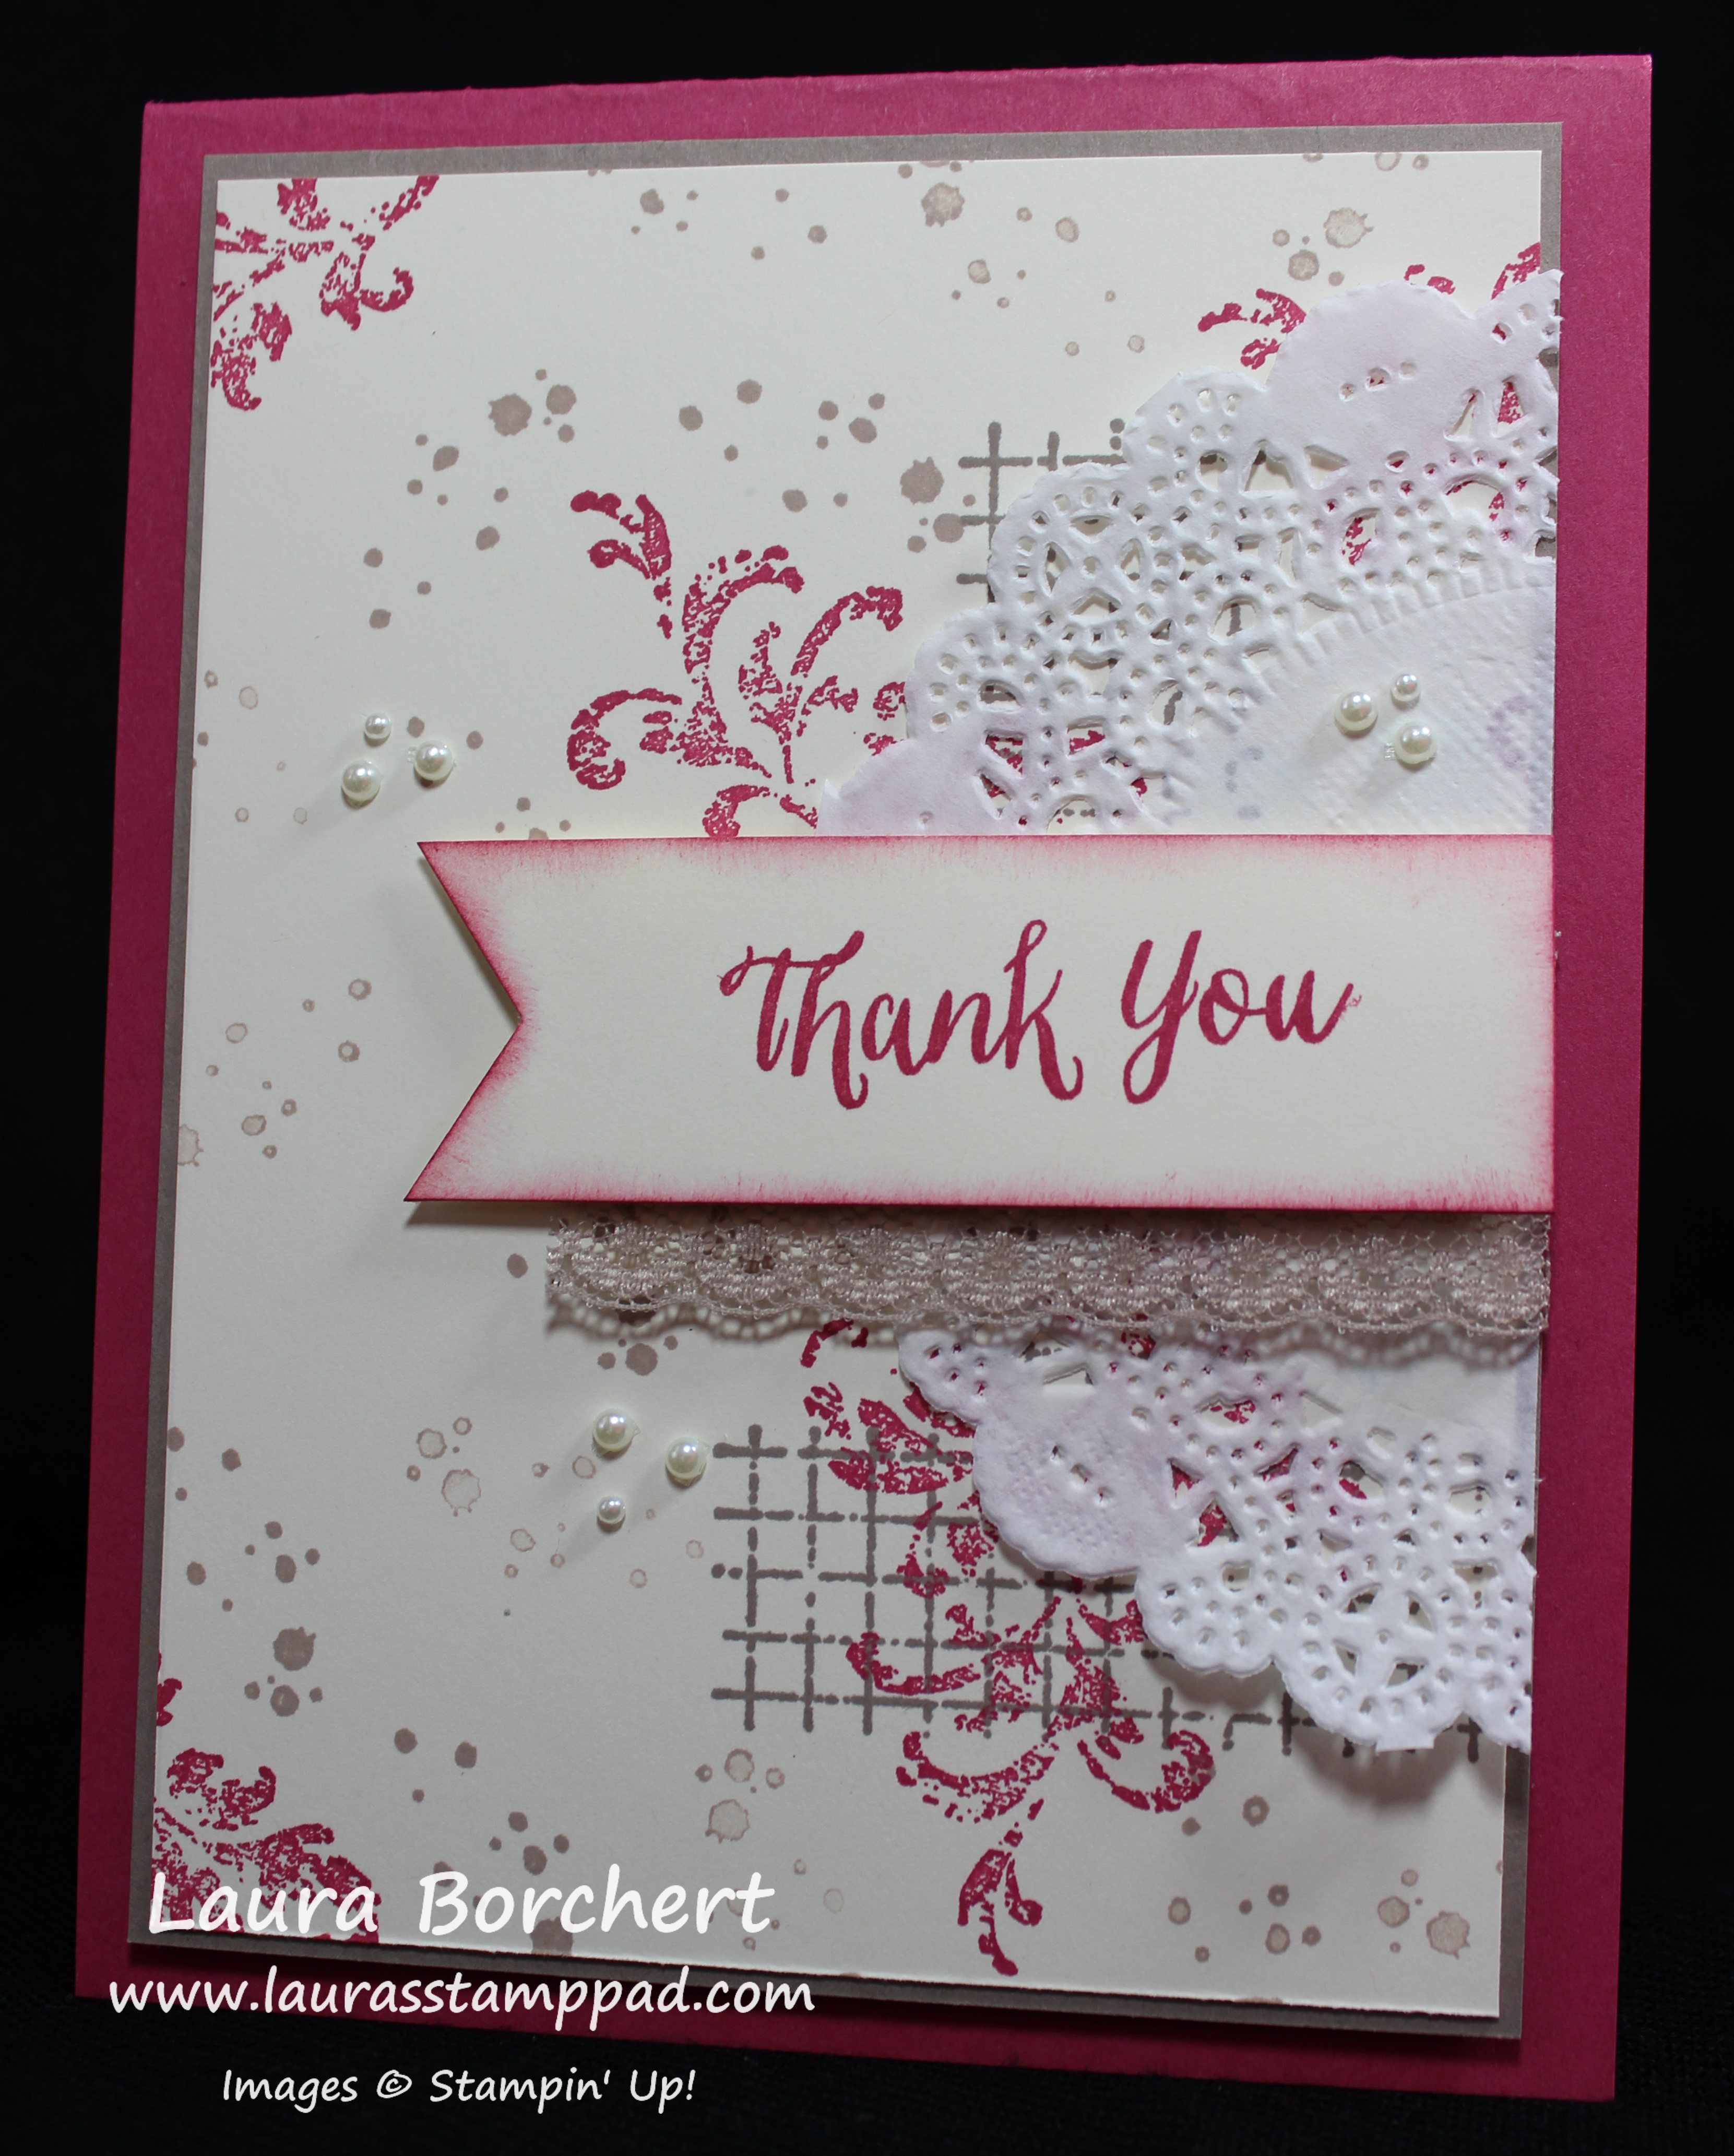
I started with a Sweet Sugarplum card base. Then I took a piece of the Playful Palette Designer Series Paper measuring 4″ x 3″. I rounded the 2 right side corners with the Corner Punch. I wrapped some of the Peekaboo Peach Ruched Ribbon around and tied a knot. I am loving this new ribbon. It is fun, elegant, and super easy to use! Then I placed this piece on the card in the upper portion but you could always center it. For the greeting, I used the Thoughtful Banners Stamp Set and coordinating Duet Banner Punch (Bundle & Save 10%). I stamped the banner edge in Peekaboo Peach and the Celebrate in Sweet Sugarplum. I am loving the new In-Colors! When I placed the greeting on the card, I thought it got lost a little bit with the background paper so I added some punched circles. I used Peekaboo Peach and Sweet Sugar Plum circles and overlapped them. I placed the greeting on top with Stampin’ Dimensionals. Quick and simple cards that could be used for any occasion! I love it! You could use this style with any designer paper and greeting stamp set!
Now that the New Catalog has been out for a bit, what is your favorite Designer Series Paper?? Let me know in the comments below. Pop of Pink is my favorite and there are a lot in 2nd place! 🙂
Happy Stampin’
~Laura