Happy Wednesday! With the Halloween theme this week, I thought I would share these Pumpkin decorations with you! I created these last year (or maybe the year before) and they still look amazing with very little storage space needed!
So you are probably thinking, which package of Designer Series Paper is that? Since I made them a year or so ago, it was the fall pack that year! You could use the Sweater Weather Designer Series Paper for your pumpkins or you could use regular solid cardstock! My solid pumpkins were created with Cajun Craze cardstock! All you need are strips of cardstock and then poke a hole in the ends and insert a brad! I used our Antique Brads! You can then circle some cardstock around a marker (or anything else round a little) to get your little curly cues! When it is time to pack up the decorations at the end of the season, just pull the brad out of the bottom and line all the strips up and then re-insert the brad. Super simple and small to store and use again next year!!!!
You need to pick one of the three styles of banners you would like to use (banner, point, rounded), any of them would work fine! You will then use your template to color in. I used the Chevron Template and used Crushed Curry and Tangerine Tango for a candy corn look! Then then took the black and colored in the word BOO. You will then need to take any type of ribbon to make the handle. I used the fabulous Chevron Ribbon because it’s super fun (and messes with your eyes if you look at it too long). Trace your banner onto cardstock so you can create your backing. This is where the points and banner tip work better than the rounded one for me because I can cut lines but when it gets to rounding, I am not as smooth! 😉 You will then line the sides and bottom of the cardstock with Sticky Strip, peel off the red backing, and stick to your banner! I added stitch lines with my Basic Black Marker and the eyes for the Boo were created with Whisper White, Crushed Curry, and Basic Black circles (the white line was created with my Chalk Marker)! I hope you try these adorable bags out! I loved making them! I’m thinking about doing Christmas ones…..HoHoHo or Santa or Snowflakes…..Mmmmm endless possibilities! For more ideas with your Banner Kit, check out this post and this post!
Happy Monday!! It’s Halloween Week and while I’m not a fan of the holiday, I do enjoy doing craft projects for Halloween and Fall (or any Holiday for that matter). So all week I will be showing you some of the projects I’ve been working on or have created in the past as well!!!
Today is Treat Bags!!!! This year they were super simple with Stampin’ Up’s Tag-A-Bags and Washi Tape!!!! LOVE!
Aren’t these soooo cute??? Let me put out the disclaimer that we only get about 3-5 Trick-Or-Treaters each year so I can decorate my treats! I hear about those people that go through $100’s of dollars of candy and while I think it would be fun to hear the doorbell ring and see cute kids in costumes all night long, I would for sure not be making treat bags for all of them! Also, I send all of my nieces and nephews (7 total) treat bags since they don’t live around me! Working on winning Auntie of the Year each year! 🙂 Here is another picture of a few of the treat bags. I used the Washi Tape, Chalk Talk Framelits, Baker’s Twine,Chevron Ribbon, and Halloween Stamps from Teeny Tiny Wishes and Delightful Dozen!
Today I am sharing my Family Album that I have been working on for what seems like years. I have been wanting to create a Family Tree Album for awhile now! Then Stampin’ Up came out with a Family History template and I got super excited! This template has nice subtle colors of blues, greens, and yellows! It has a perfect layout for adding in your family information which is great because you just fill in the information that it asks for or you can change it up and input your own! I’m excited to have finally started this album, although it is still a work in progress! I have started asking family members to share stories and photos to add into it! I’m so excited and it is really coming together amazingly! And I love the fact that I will have this great album with my Family History and Information in! Okay enough talking, Laura, show them the album!!!
The page on the left is the front of the album! The picture is of our Family Farm! It is the house that my Father grew up in and I made many memories in that house when my Grandparents lived there! My family moved into that house when I was 8 years old and it is still the house that I call HOME! The page on the right is the first page and it is a fabulous picture of my Grandparents!
These two pages aren’t complete yet….I’m telling ya this is a major work in progress, bear with me! 🙂 The page on the left is pictures of major events – Flood of 1993 and Hail Storm of 1989! Both of these events have made an impact in my life and of course I want to be able to share them with the generations to come! The page on the right side is a few pictures of my Grandparents over the years. Of course, you may be thinking what about the other side of my family? I’m working on that too! This album will include both sides of my family! I hope you enjoyed these My Digital Studio creations and I’m hoping that by sharing this, I will be held accountable for keeping up with it and sharing more later too! If you would like to try out My Digital Studio for 30 Days for FREE, click here! If you would like help on your album or have any other questions, feel free to reach out to me!
I thought I would share some of my projects that I have created with some of the stamp sets (and Framelits) that are on sale this week so you can see them in action!!!! One of my super favorites is the Dress Framelits!
The card on the left side was cut out on Glimmer Paper and I added ribbon around the waist for a little pop of color to match my card base! Of course I added the purple ink to the edges of the Whisper White cardstock with my sponge daubers! The card on the right side was created using the Puzzle Resist Technique….which uses sponge daubers too (of course)!!! You can check out more about this Technique HERE!
Betsy’s Blossom Stamp Set has flowers so of course it is one of my favorites!!! Why is it that I always gravitate towards flower sets? Probably because they are so much fun and pretty and colorful!!!!! These were samples that I created a while back for a class that I did featuring this stamp set. That’s right, I loved this set so much I did an entire class with it!!!! The card on the left was stamped in Basic Gray and Daffodil Delight and then I stamped more Daffodil Delight flowers on scrap paper and punched them out with the Blossom Punch and layered them on top!!! The card on the right features all of the 2012-2014 In-Colors! I stamped the flower in each color and added a little Flower from the Itty Bitty Punch Pack and a Rhinestone! What makes a flower even better? BLING!
Don’t forget you can get these items as well as many others for 25% off this week only!
Click here for the 25 Stamp Sets that are 25% off! Click here for the Weekly Specials!!!
Stampin’ Up has been celebrating their 25th Anniversary all year long but THIS WEEK they are really celebrating because October 25th was their actual start date!!!! Here are the Weekly Deals that are 25% off!!!! Click here to check them out individually!
AND THEN THE BEST PART – 25 STAMP SETS FOR 25% OFF!!!!!
Stampin’ Up has picked a variety of Stamp Sets to be 25% off until October 28th!!!! Many of these stamp sets are already in my collection and I love love love them! And there are a few that I will be getting this week because they are perfect greeting sets or amazing wording for the inside of you card when you don’t know what to say but you still want to send a card to show that you care! Check out the complete list here!!!
It is Tuesday and so I’m sharing a fabulous technique with you!!! This week it is Pop-Up Ornaments!!
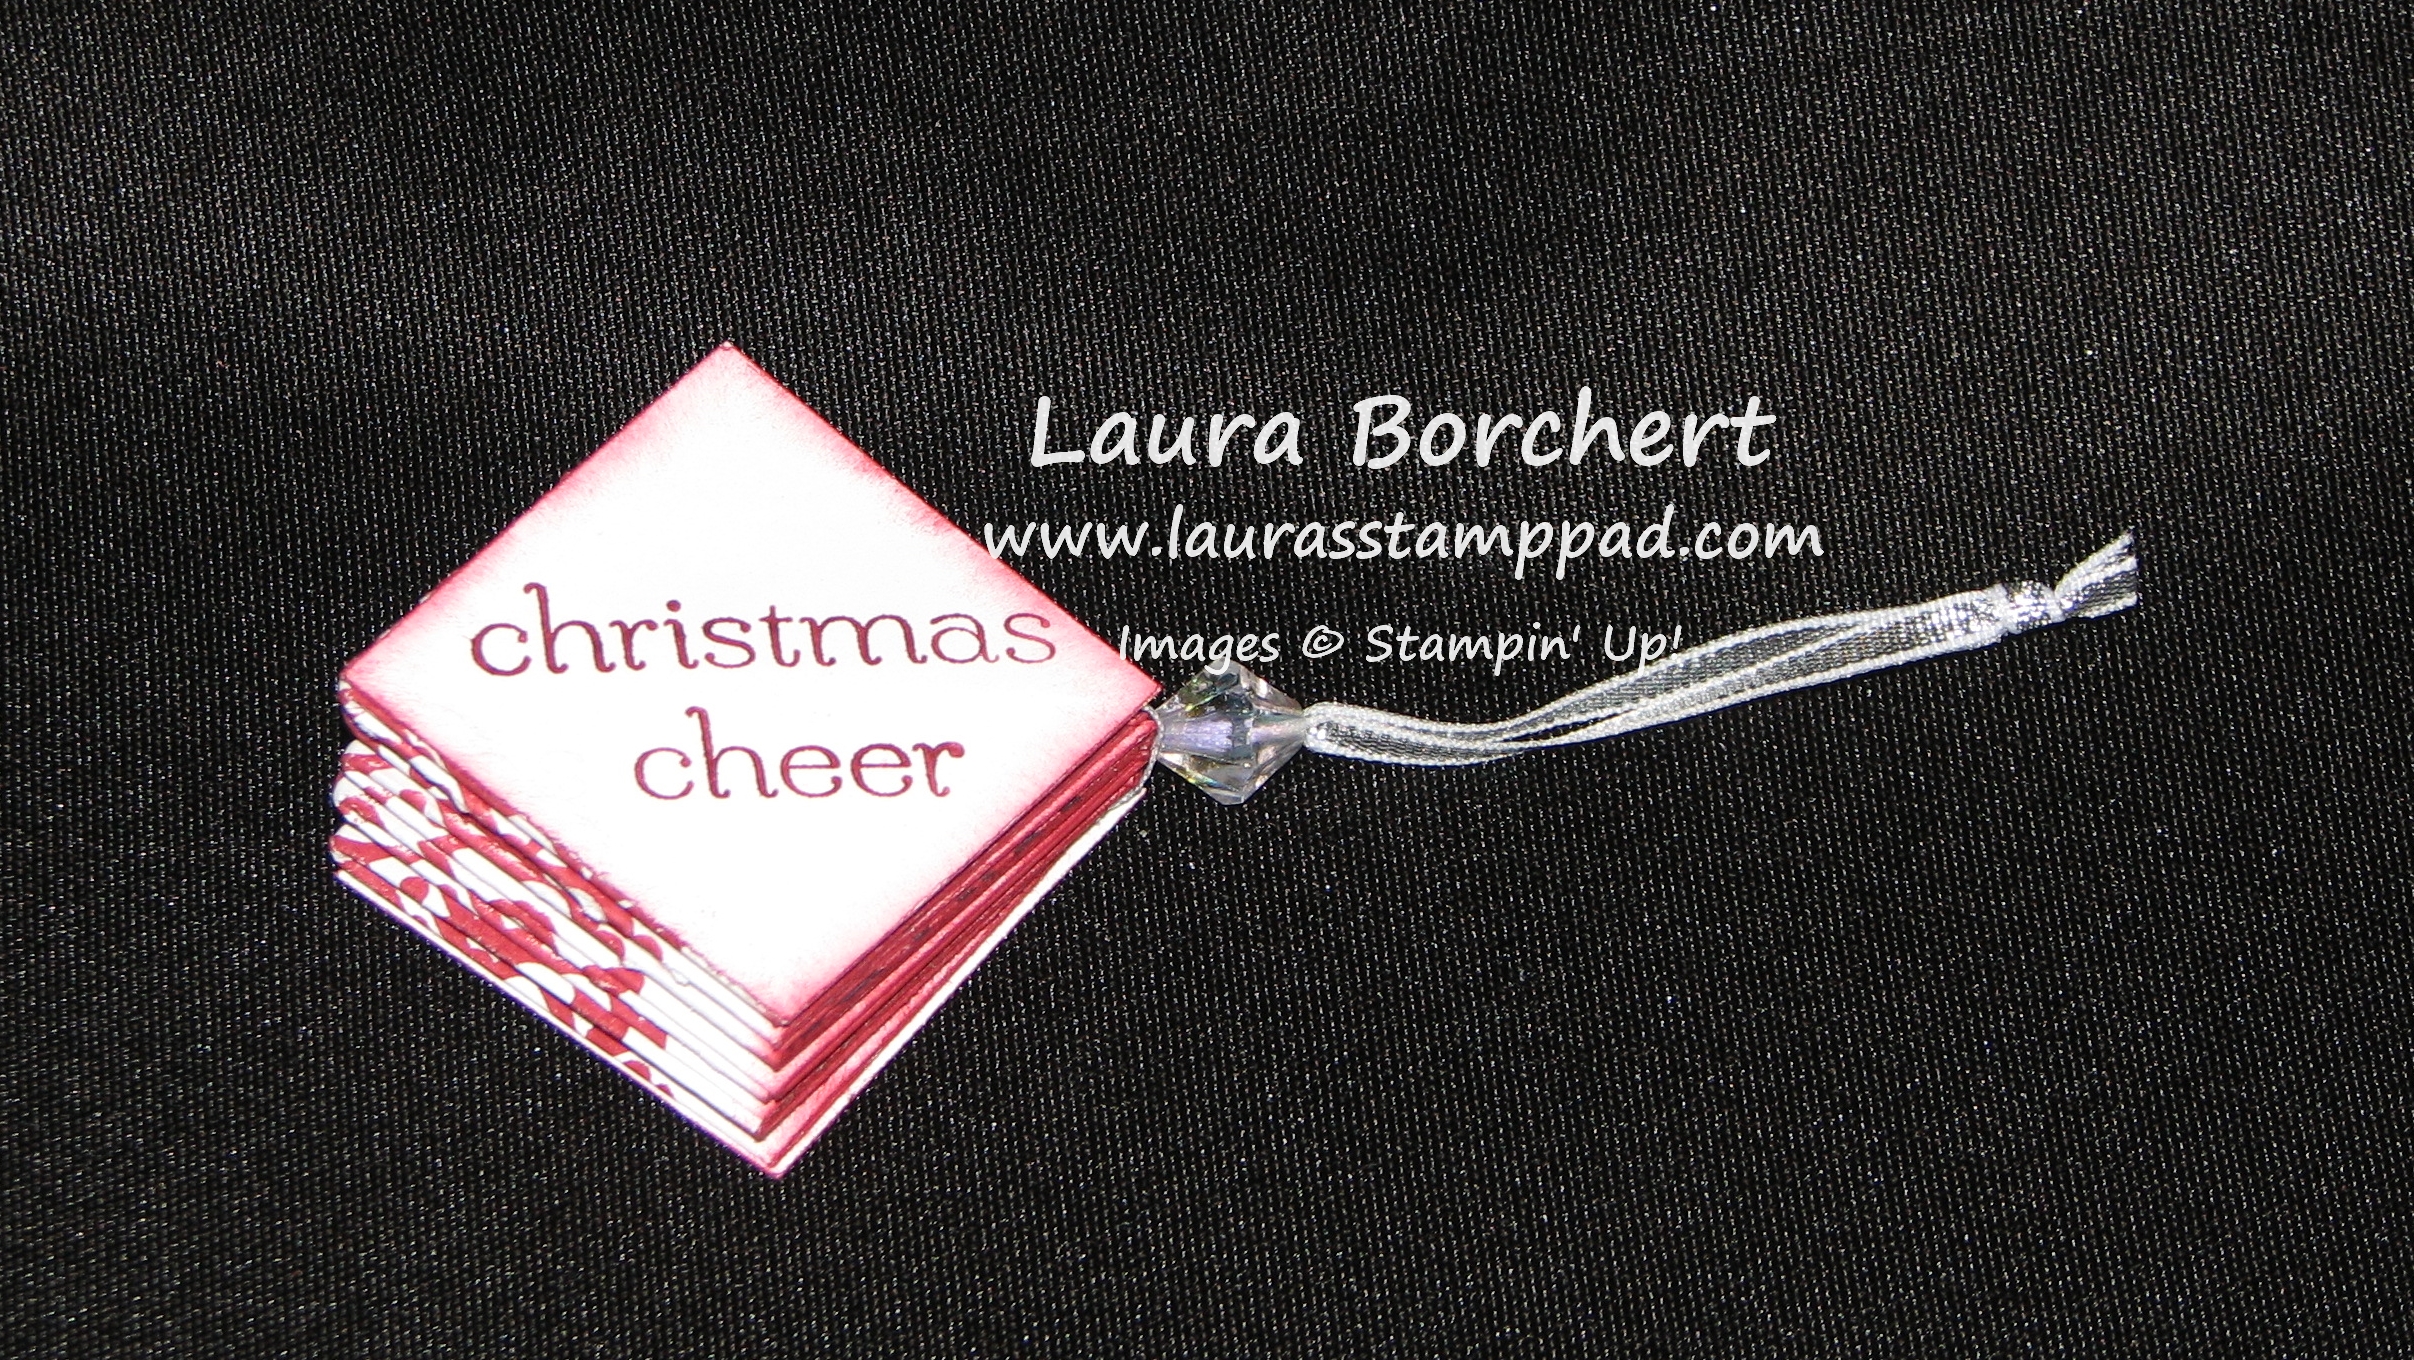
So you are probably thinking…..This doesn’t look like an ornament! This is the ornament all closed up and it would look amazing as a tag for a present. You could put the year and the person’s name on it! (I remember as a kid fighting over which ornament was mine or one of my siblings.) After seeing this adorable tag, you will slide the little bauble up the string and POP!!!!
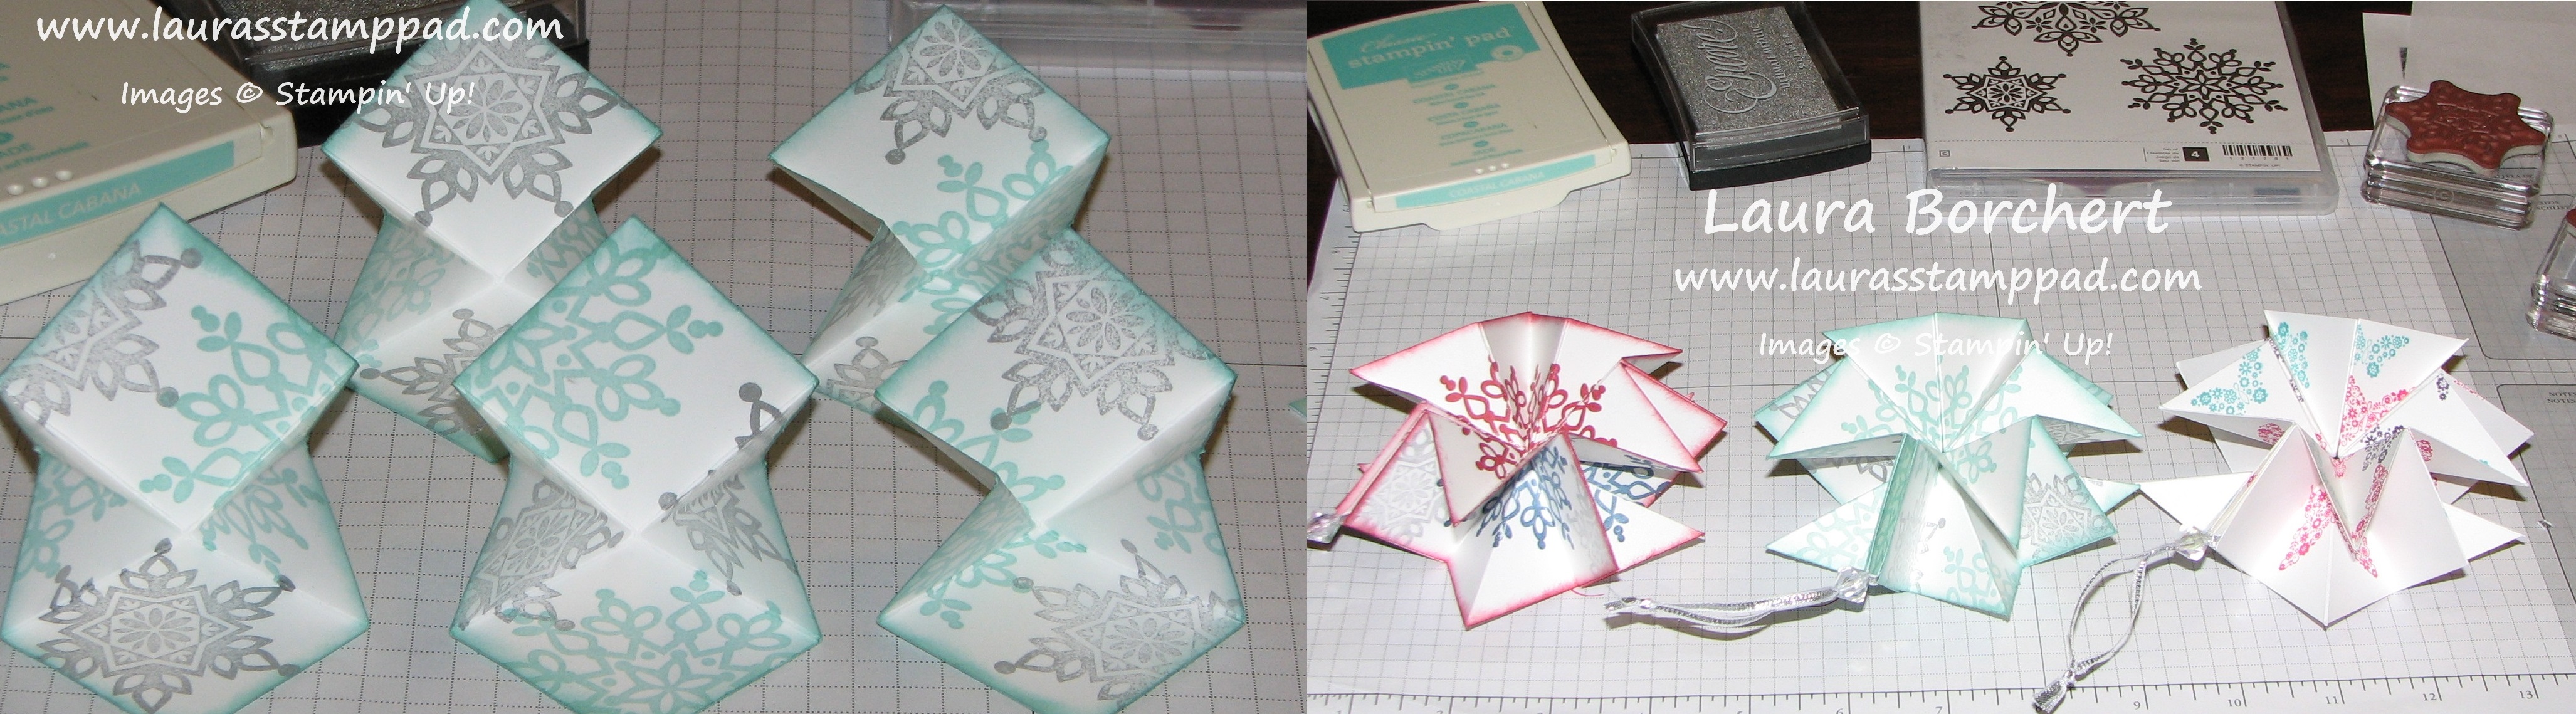
Then you will slide the bauble back in place to hold the ornament tight together and you can hang it on your tree!!! The cool part is it is super simple to create! I got this idea from a fellow stamper – Tami White! I love sharing ideas with others!!!
Here is what you will need: Five 3 x 3″ squares and Two 1.5 x 1.5″ squares of cardstock, a bauble or bead of some sort and some ribbon.
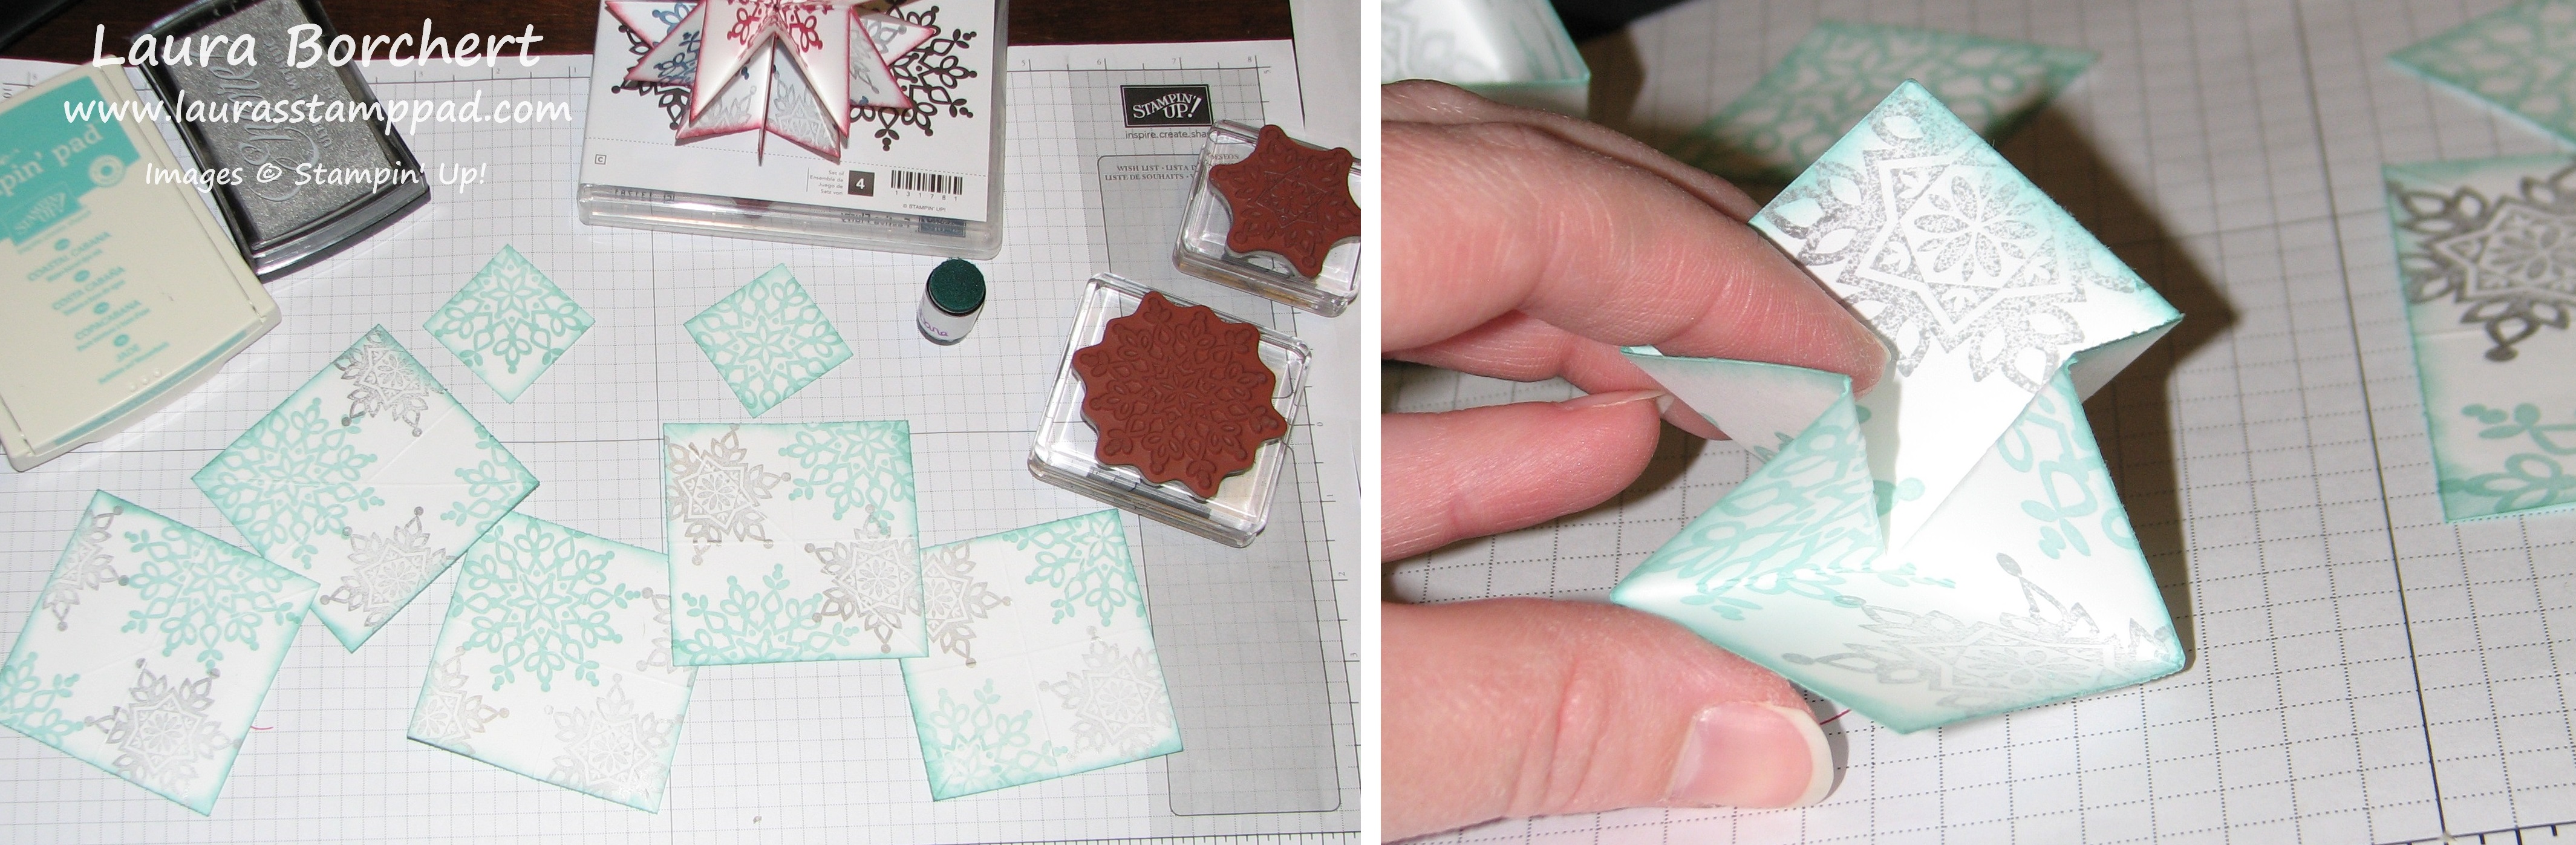
Each of your 3 x 3″ squares will need to be scored at 1.5″ on both sides and only one diagonal. It should then fold in half both ways (up and down & side to side) and then for diagonal. You will then stamp on both sides of your pieces of cardstock. For the one above, I stamped Night of Navy and Silver with the Festive Flurry Stamp Set randomly on one side. On the other side, I stamped one snowflake in Cherry Cobbler in the center of each square using the Stamp-A-Ma-Jig. By stamping each one in the center, when you assemble, you will get that complete Cherry Cobbler snowflake on the sides as shown above. You could always stamp randomly on both sides, or even use Designer Series Paper (or Glimmer Paper!!! I thought about that and want to try it out soon). After you are finished stamping, I added that brushed look to all of the edges (front and back) with my sponge daubers! Now it is time to fold and assemble. You will fold on all score lines to get a crease and then fold in half with the diagonal points going in. I know that probably doesn’t make much sense so I hope these pictures helps!
I hope you enjoy these amazingly adorable ornaments and share them with all of your friends and family during the Holidays! If you have any questions when you try this out for yourself, I would love for you to reach out me. Post in the comments below and I will respond!!!
We have all been there! You find out about a party 24 hours before it takes place, you are on Facebook and see it’s your friend’s birthday, or you want to send a quick card to someone just to let them know you are thinking of them! Panic sets in and you wonder if you have a card and if you have time to get a gift. LAURA TO THE RESCUE! Print this blog post for that moment!
The card above does use a punch from the Itty Bitty Punch Pack but the card looks fabulous with or without those little flowers! Check out this one!
You can make up a bunch of these cards for those moments when you don’t have time or you can whip one up in no time at all. You could even make up a few and bundle them together as a gift! Also, there is Washi Tape for every occasion so you can have a large variety of different types of cards! Check out all the different types here! You can also check out more ways to use your Washi Tape here and here!!
Are you Tying The Knot? I know right now there seems to be a ton of wedding happening every weekend and of course with the Holidays around the corner, many more happy couples will be getting engaged! It makes me sooooo happy! I love love love weddings!
Here is an amazing Save the Date that I just completed for a Bride! I used her wedding colors and created a little tag for the front with the Bride and Groom’s names on it! As you open the card, the Baker’s Twine pulls tight and “Ties the Knot.” How precious is that? Right now I am working on the Wedding Invitations and they are going to be AMAZING! Here is a sneak peak?
TeeHeee I said Sneak Peak! I won’t be posting the invitation until later since the wedding is still a few months away! But here is my work space and what looks like a mess! Each invitation has 2 Die-Cut Lattice pieces on it so here are all of the lattice pieces and the punched out pieces. They make great stars and leaves and I think I have enough to last a lifetime! 🙂
If you are tying the knot soon or having any kind of party for that matter, I would love to help customize your invitations, programs, party favors, place cards and any other items you might need! Just send me an email with your colors/theme and we can come up with the perfect one!!!!
I love when Stampin’ Up has specials and even more when they name then cute names like Thank You Thursdays! 🙂 This week’s Thank You Thursday is all about punches—namely the Artisan Label, Bitty Butterfly, Hexagon, Mosaic, and Pansy Punches. They are all priced regularly at $15.96 but TODAY ONLY you can get each punch for just $11.96!
There are also Weekly Specials and those are listed below! These items will no longer be on sale at midnight on Monday, October 21st! You can order online by clicking here and when you check out use the following Hostess Code: YPTKGUGE for a chance to win one of my favorite stamp sets – Embellished Events!!!