I think this card is perfect for a child……or the child in all of us!!! The Rainbow Hot Air Balloon in the Clouds is so bright and colorful it will lift anyone’s spirits and make them smile!
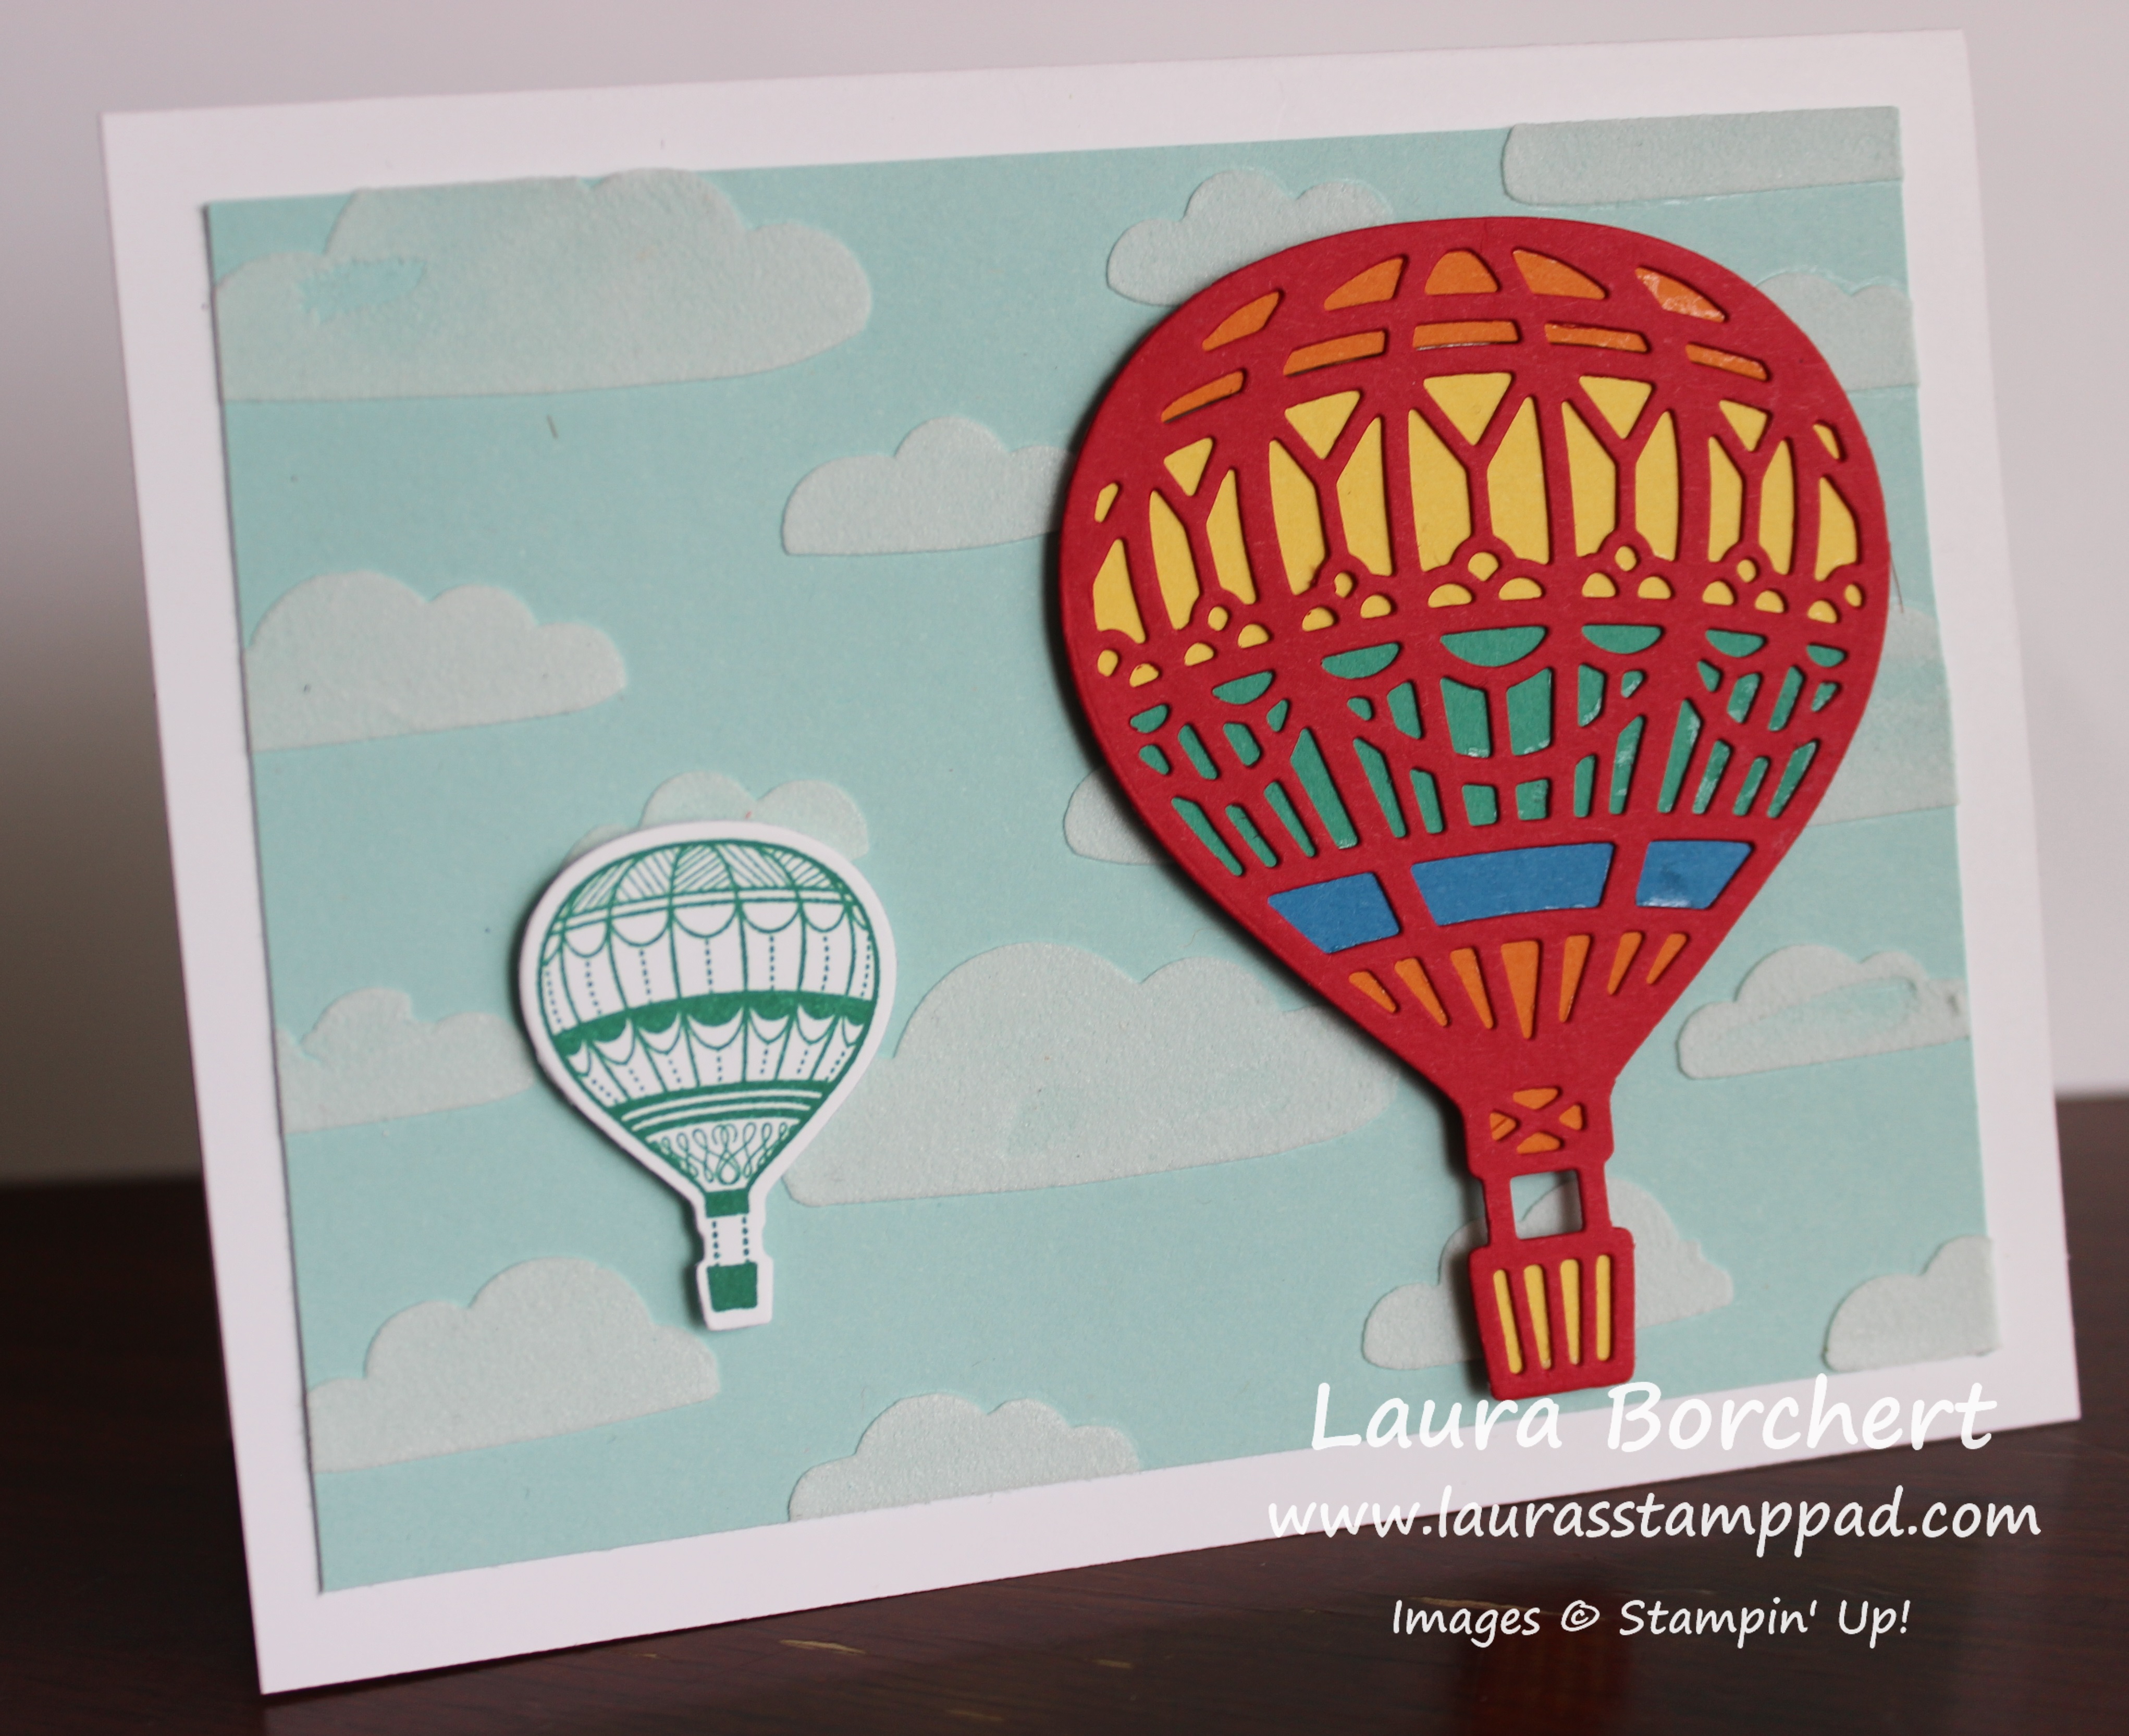
I started with a Whisper White card base. Next I took a piece of Pool Party cardstock (4″ x 5-1/4″) and added the clouds with Embossing Paste. This stuff is super fun and easy to use. Simply place the cloud mask from the Pattern Party Decorative Masks down and using the Palette Knives smear the paste over the top. I set this aside to dry while I created the hot air balloons. Don’t worry, it dries really quickly so be sure to clean off the mask before moving on!
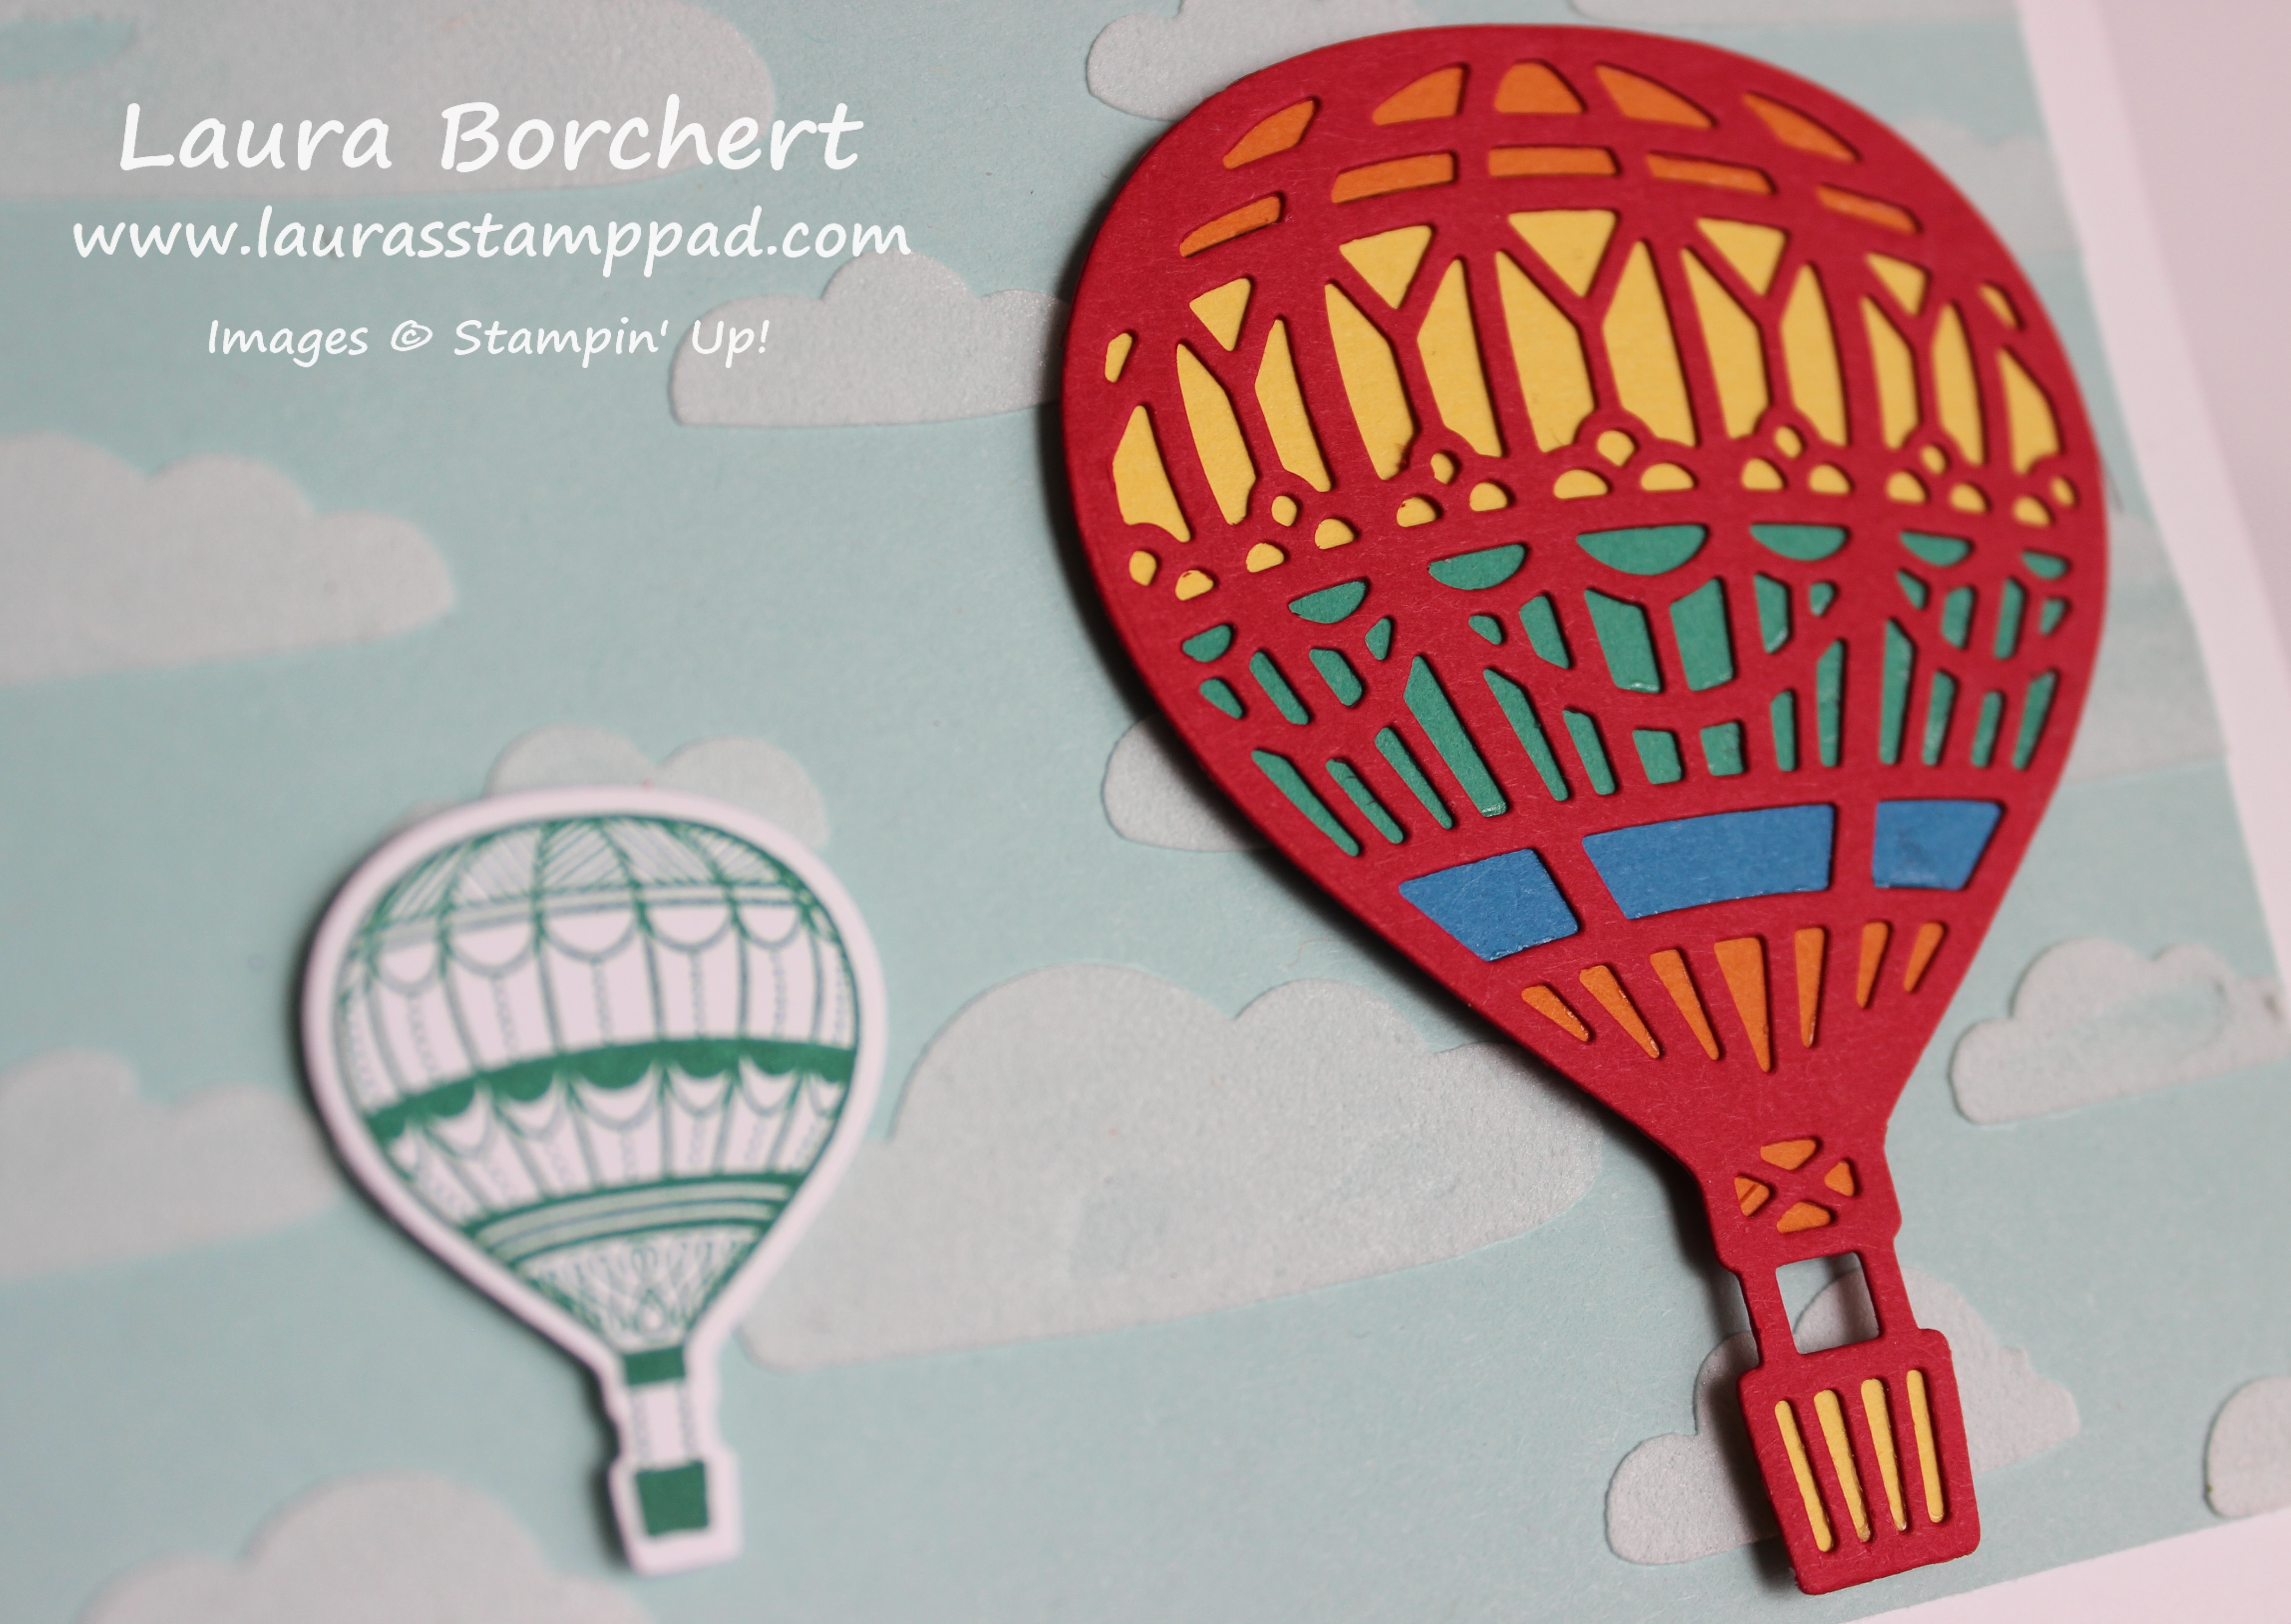
For the big balloon, I die cut out the pieces using the Up & Away Framelits. The colors used were Pumpkin Pie, Daffodil Delight, Emerald Envy, Pacific Point, and Real Red. Next, I assembled the pieces together by pouncing some Multi-Purpose Glue on the back with a sponge and placing the pieces down. The small balloon was stamped in Emerald Envy using the Lift Me Up Stamp Set!
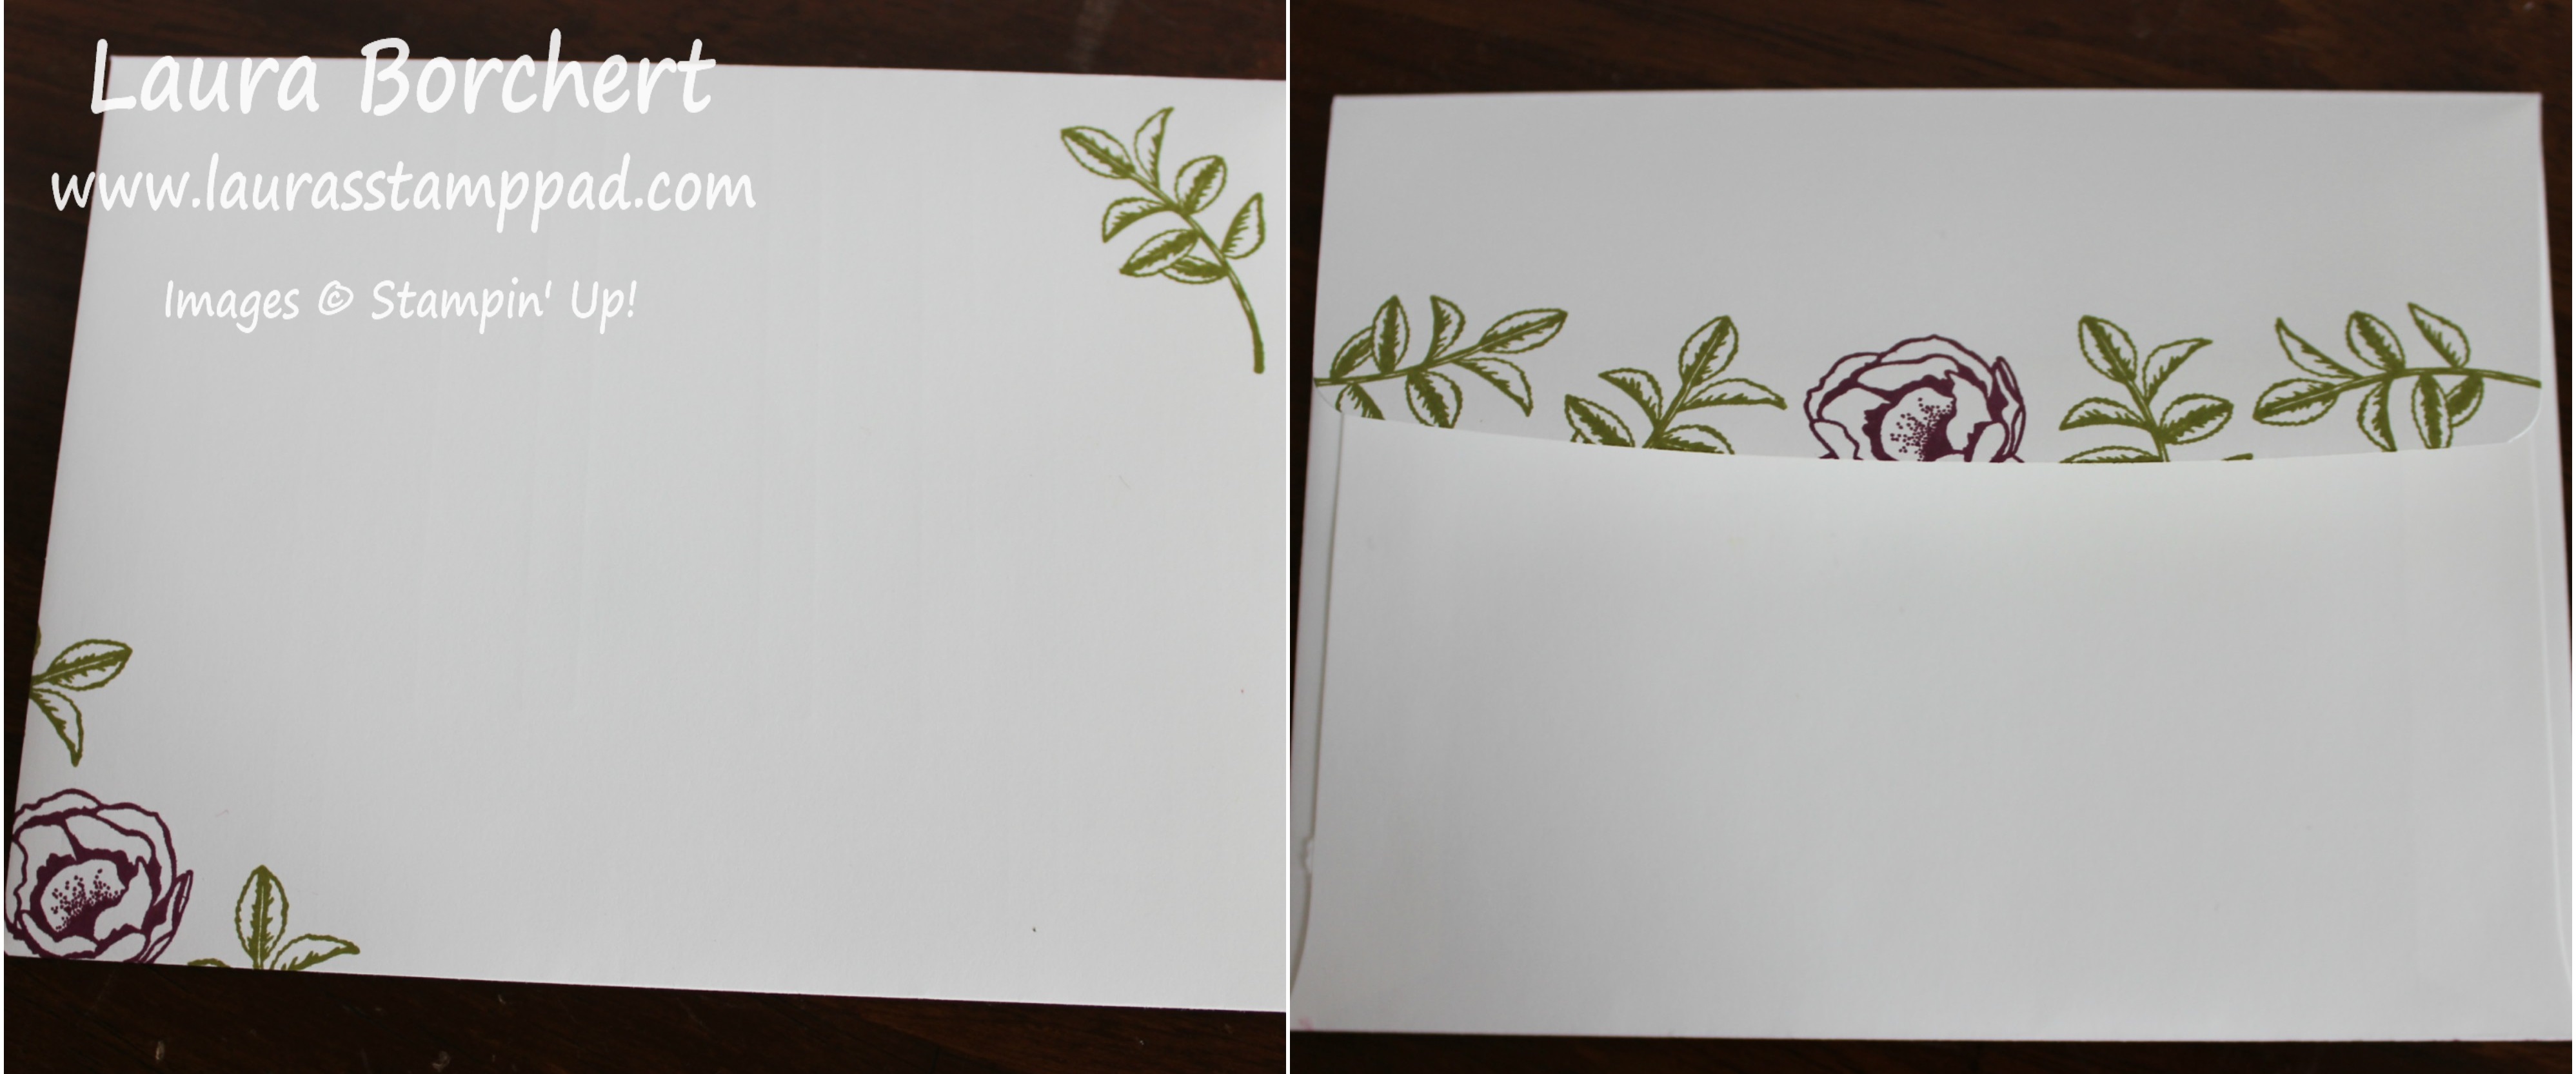
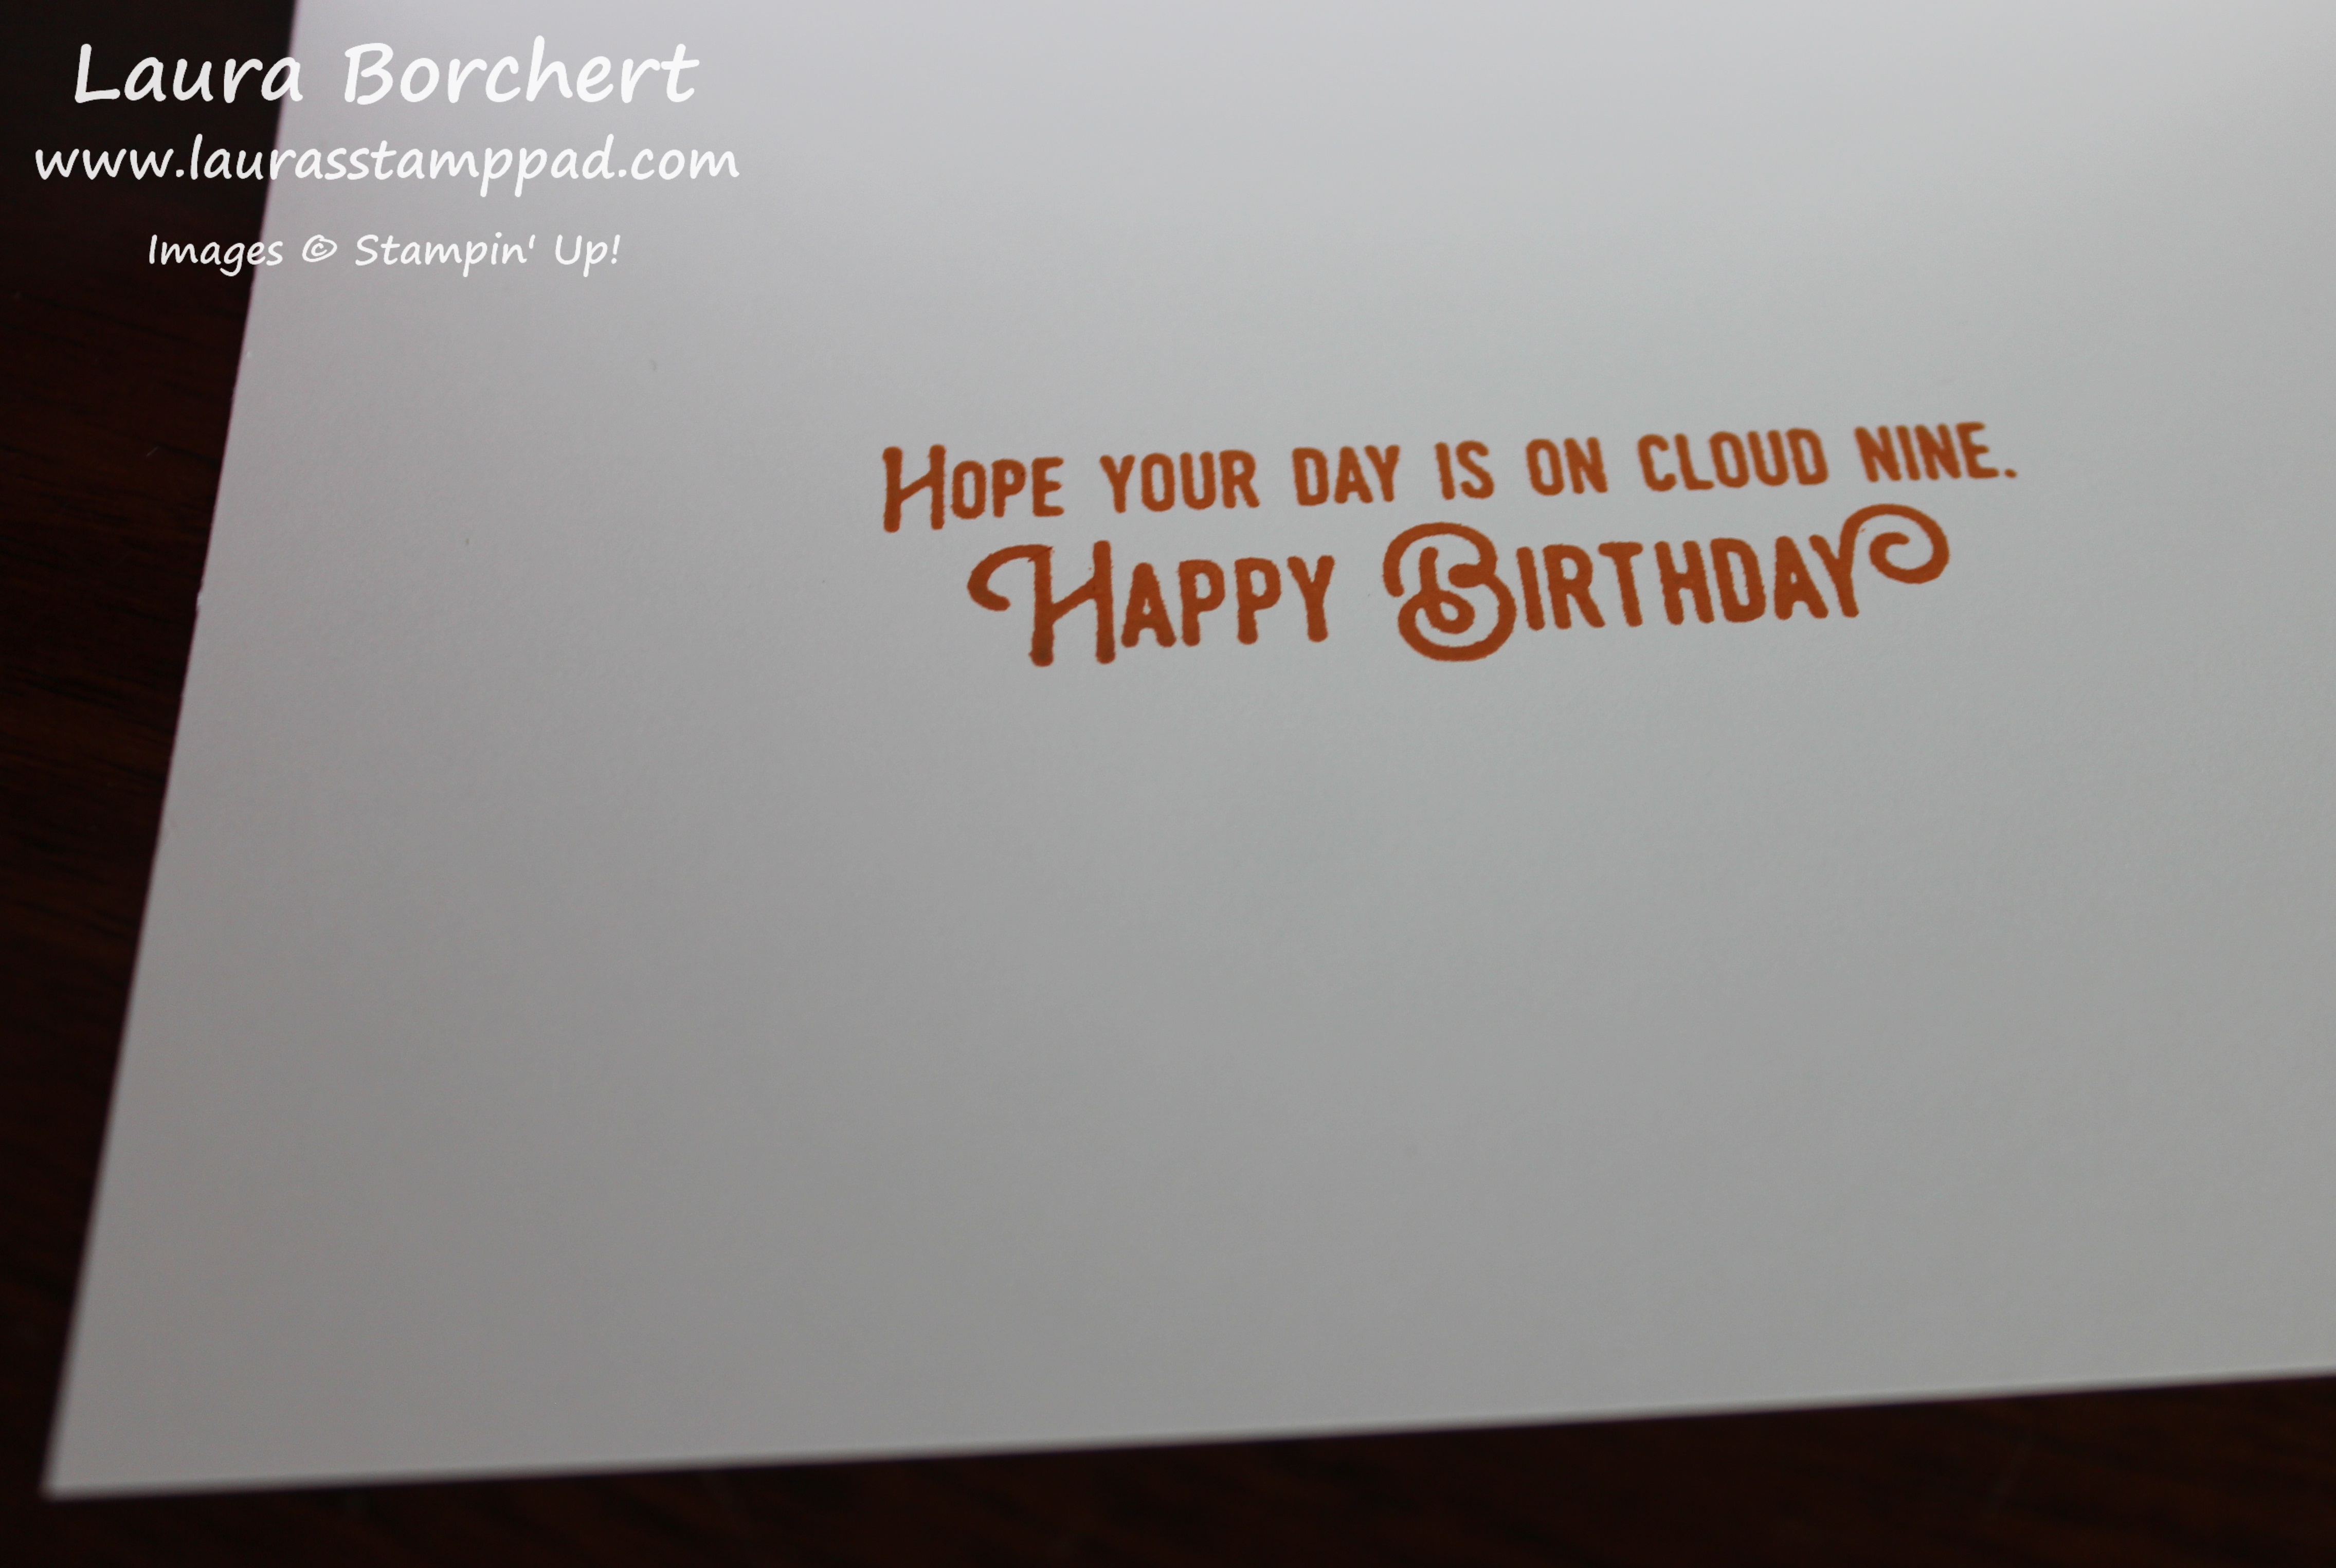
Now the clouds should be all dry and ready to assemble. I added the clouds to the card base and then added the balloons with Stampin’ Dimensionals for a little more texture and 3D look! For the inside of the card, I added a little greeting from the Lift Me Up Stamp Set!
If you would like to see this all in action, check out the Video Tutorial below or click here! Be sure to give the video a thumbs up if you liked it and don’t forget to subscribe if you are new. If you would like a notification when I post a new video, be sure to click the bell right next to the subscribe!!!
Happy Stampin’
~Laura