This card is just stunning with the copper roses! I love the bling from the embossing but all the simplicity of the single image and designer paper!

You all know I love flowers oh so very much so this card is already fabulous in my book! I hope you all love it too!
I started with an Old Olive card base. Next, I layered on a piece of Petal Garden Designer Series Paper measuring 4″ x 5-1/4″. Now for that amazing rose. I took a piece of Whisper White cardstock (3″ x 4-1/2″) and tapped the Embossing Buddy all over it. This reduces the static on the paper so the embossing powder doesn’t stick in places it shouldn’t. Using the rose from the Graceful Garden Stamp Set, I stamped it in VersaMark Ink. This is the tacky ink for holding the embossing powder. Next, I poured Copper Embossing Powder over the top and tapped off the excess. To set the powder, I used the Heat Tool on setting 2.
Once it cooled, I stamped the greeting from the Beautiful Bouquet Stamp Set. When I did this card in class sometimes we had a hard time fitting the greeting in. You could stamp the greeting first but allow it to dry for a bit and be sure to use the embossing buddy over the greeting. If you don’t the little bit of moisture from stamping the greeting will hold onto the embossing powder. To finish it off, I tied some Calypso Coral Ombre Ribbon around the rose. Next, I added this piece to the card front with Stampin’ Dimensionals. I placed it on diagonally which is always a bit of a struggle for me. The look is super cool but then I think it just looked crooked. I say just place it down and go with it!!! Made with love and not perfection! 🙂
Product List


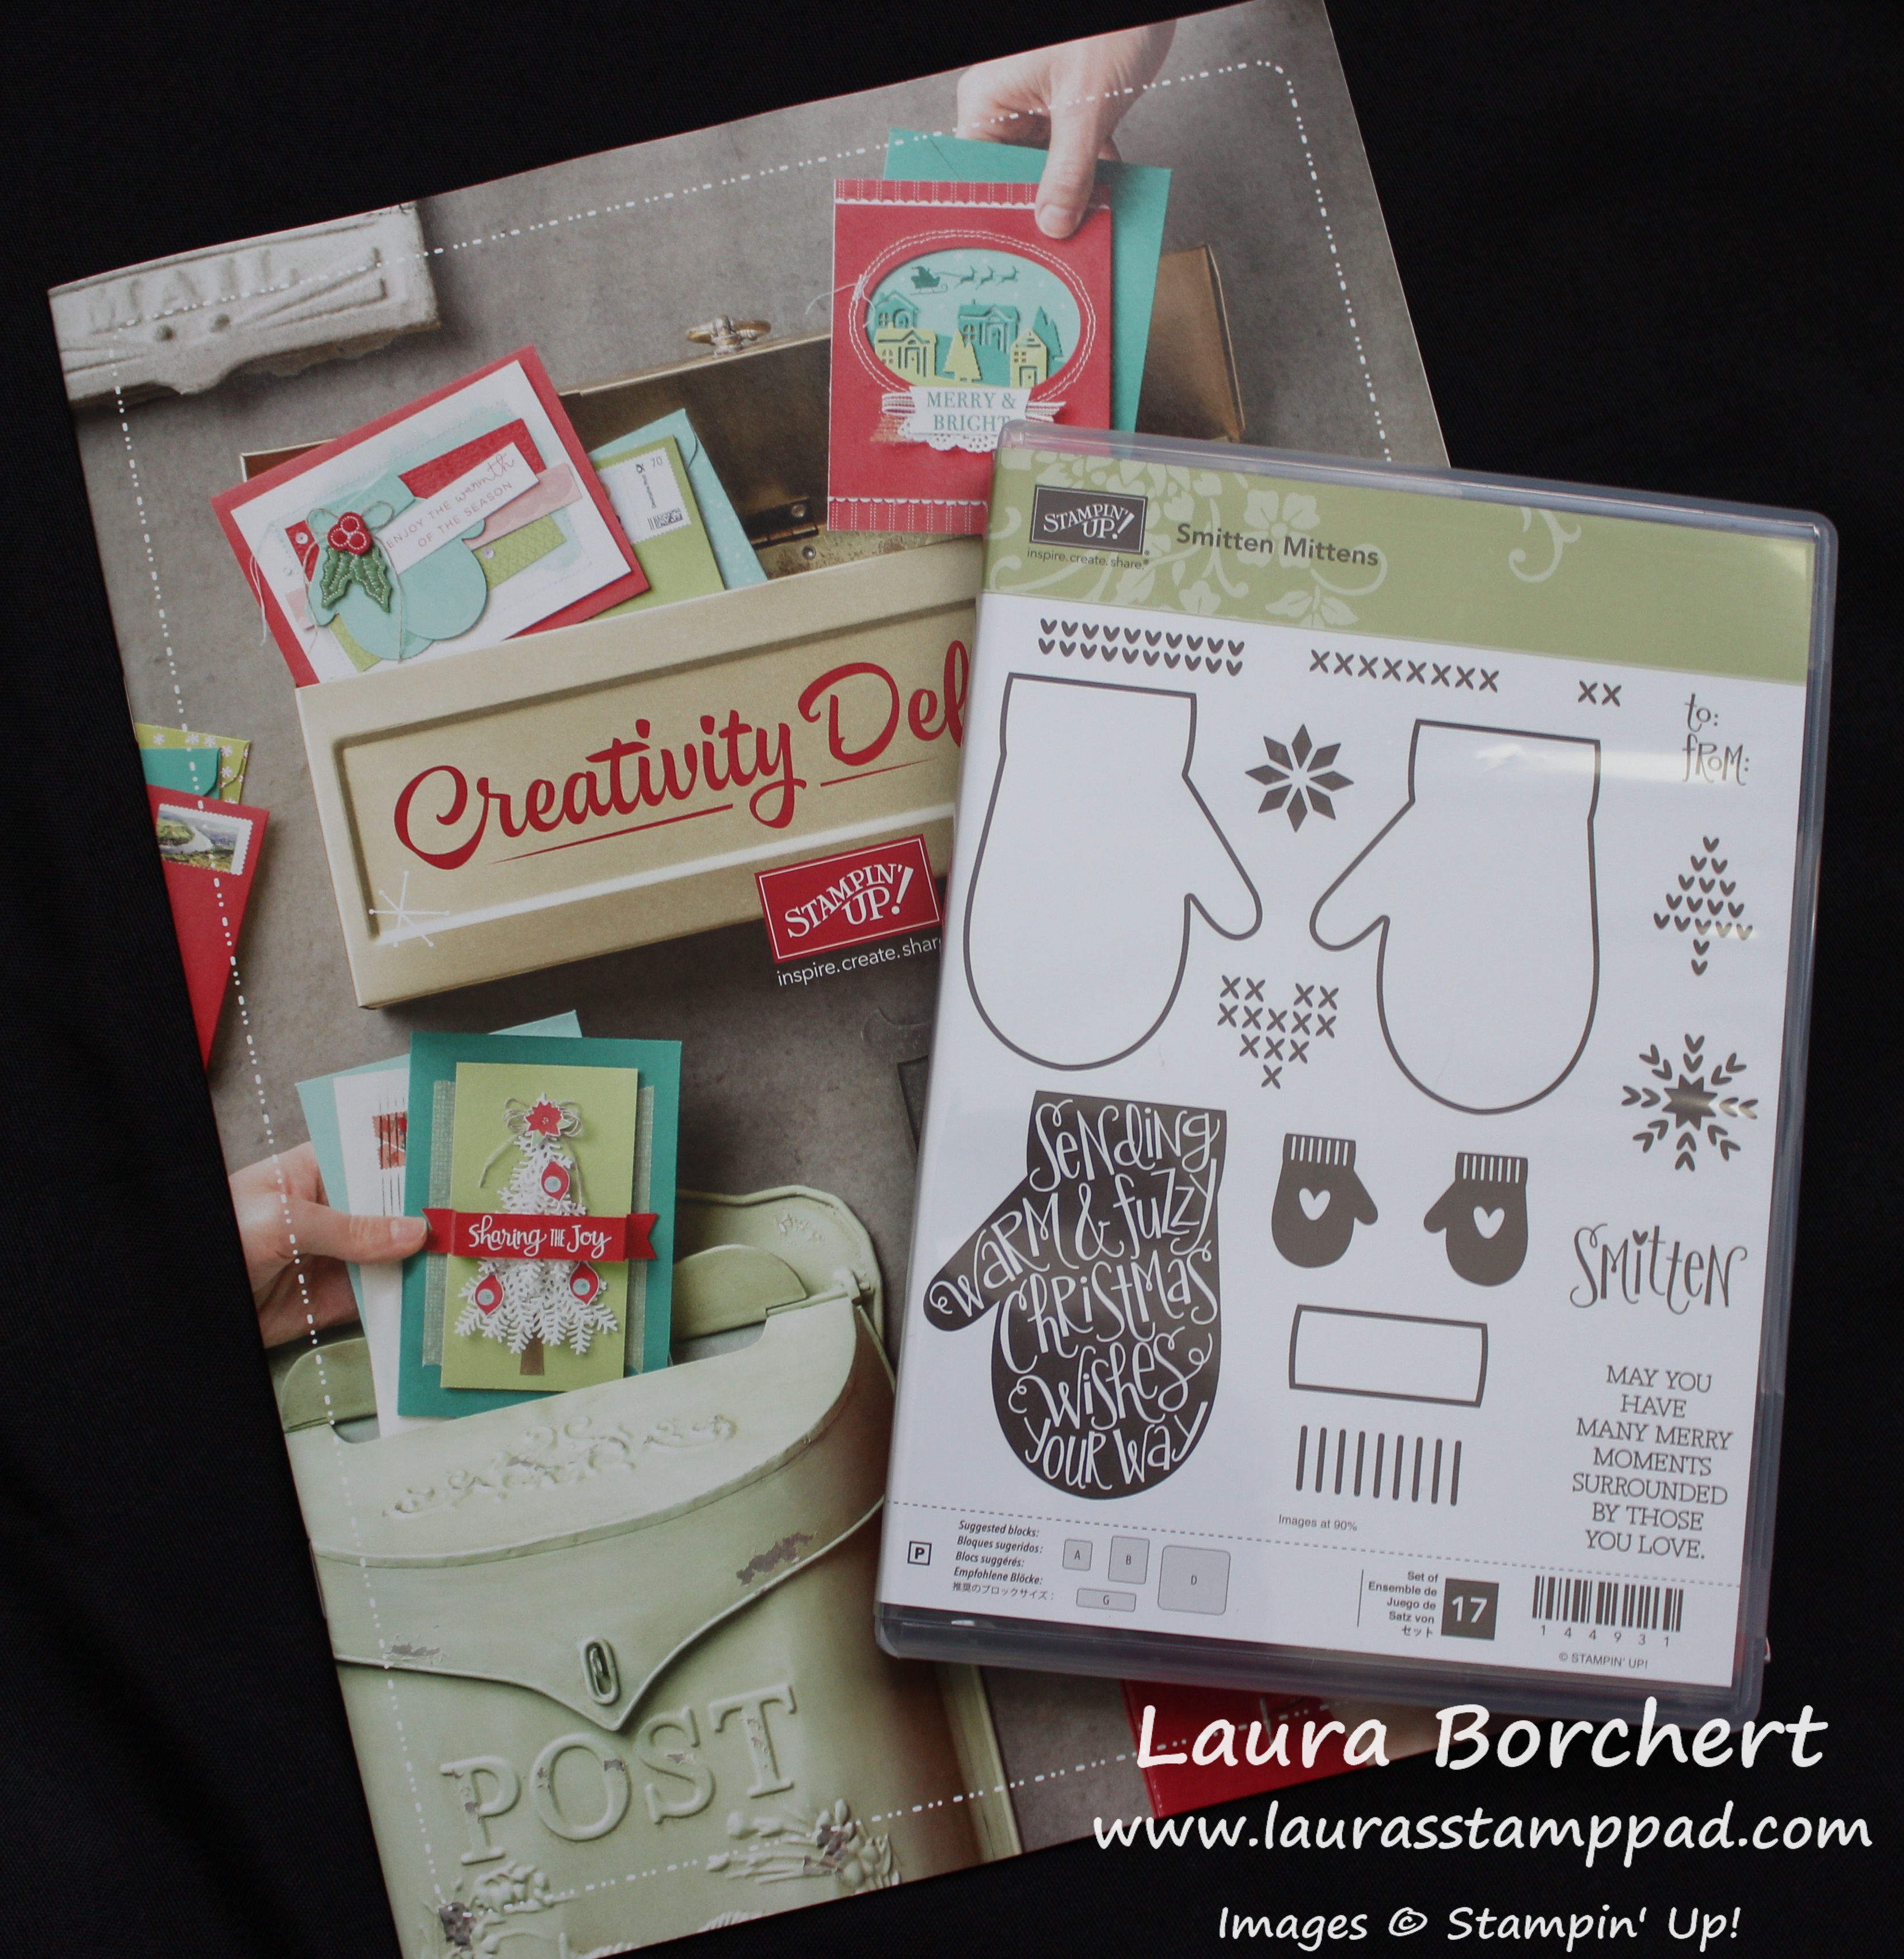
Don’t forget there are still a few more days to earn the Smitten Mittens Stamp Set for FREE!! Click here for all of the details!
Happy Stampin’
~Laura


 Metallic-Edge Ribbon")