I’m not usually a big fan of chunky embellishments but the Stitched Felt Embellishments are soft and super cute!!

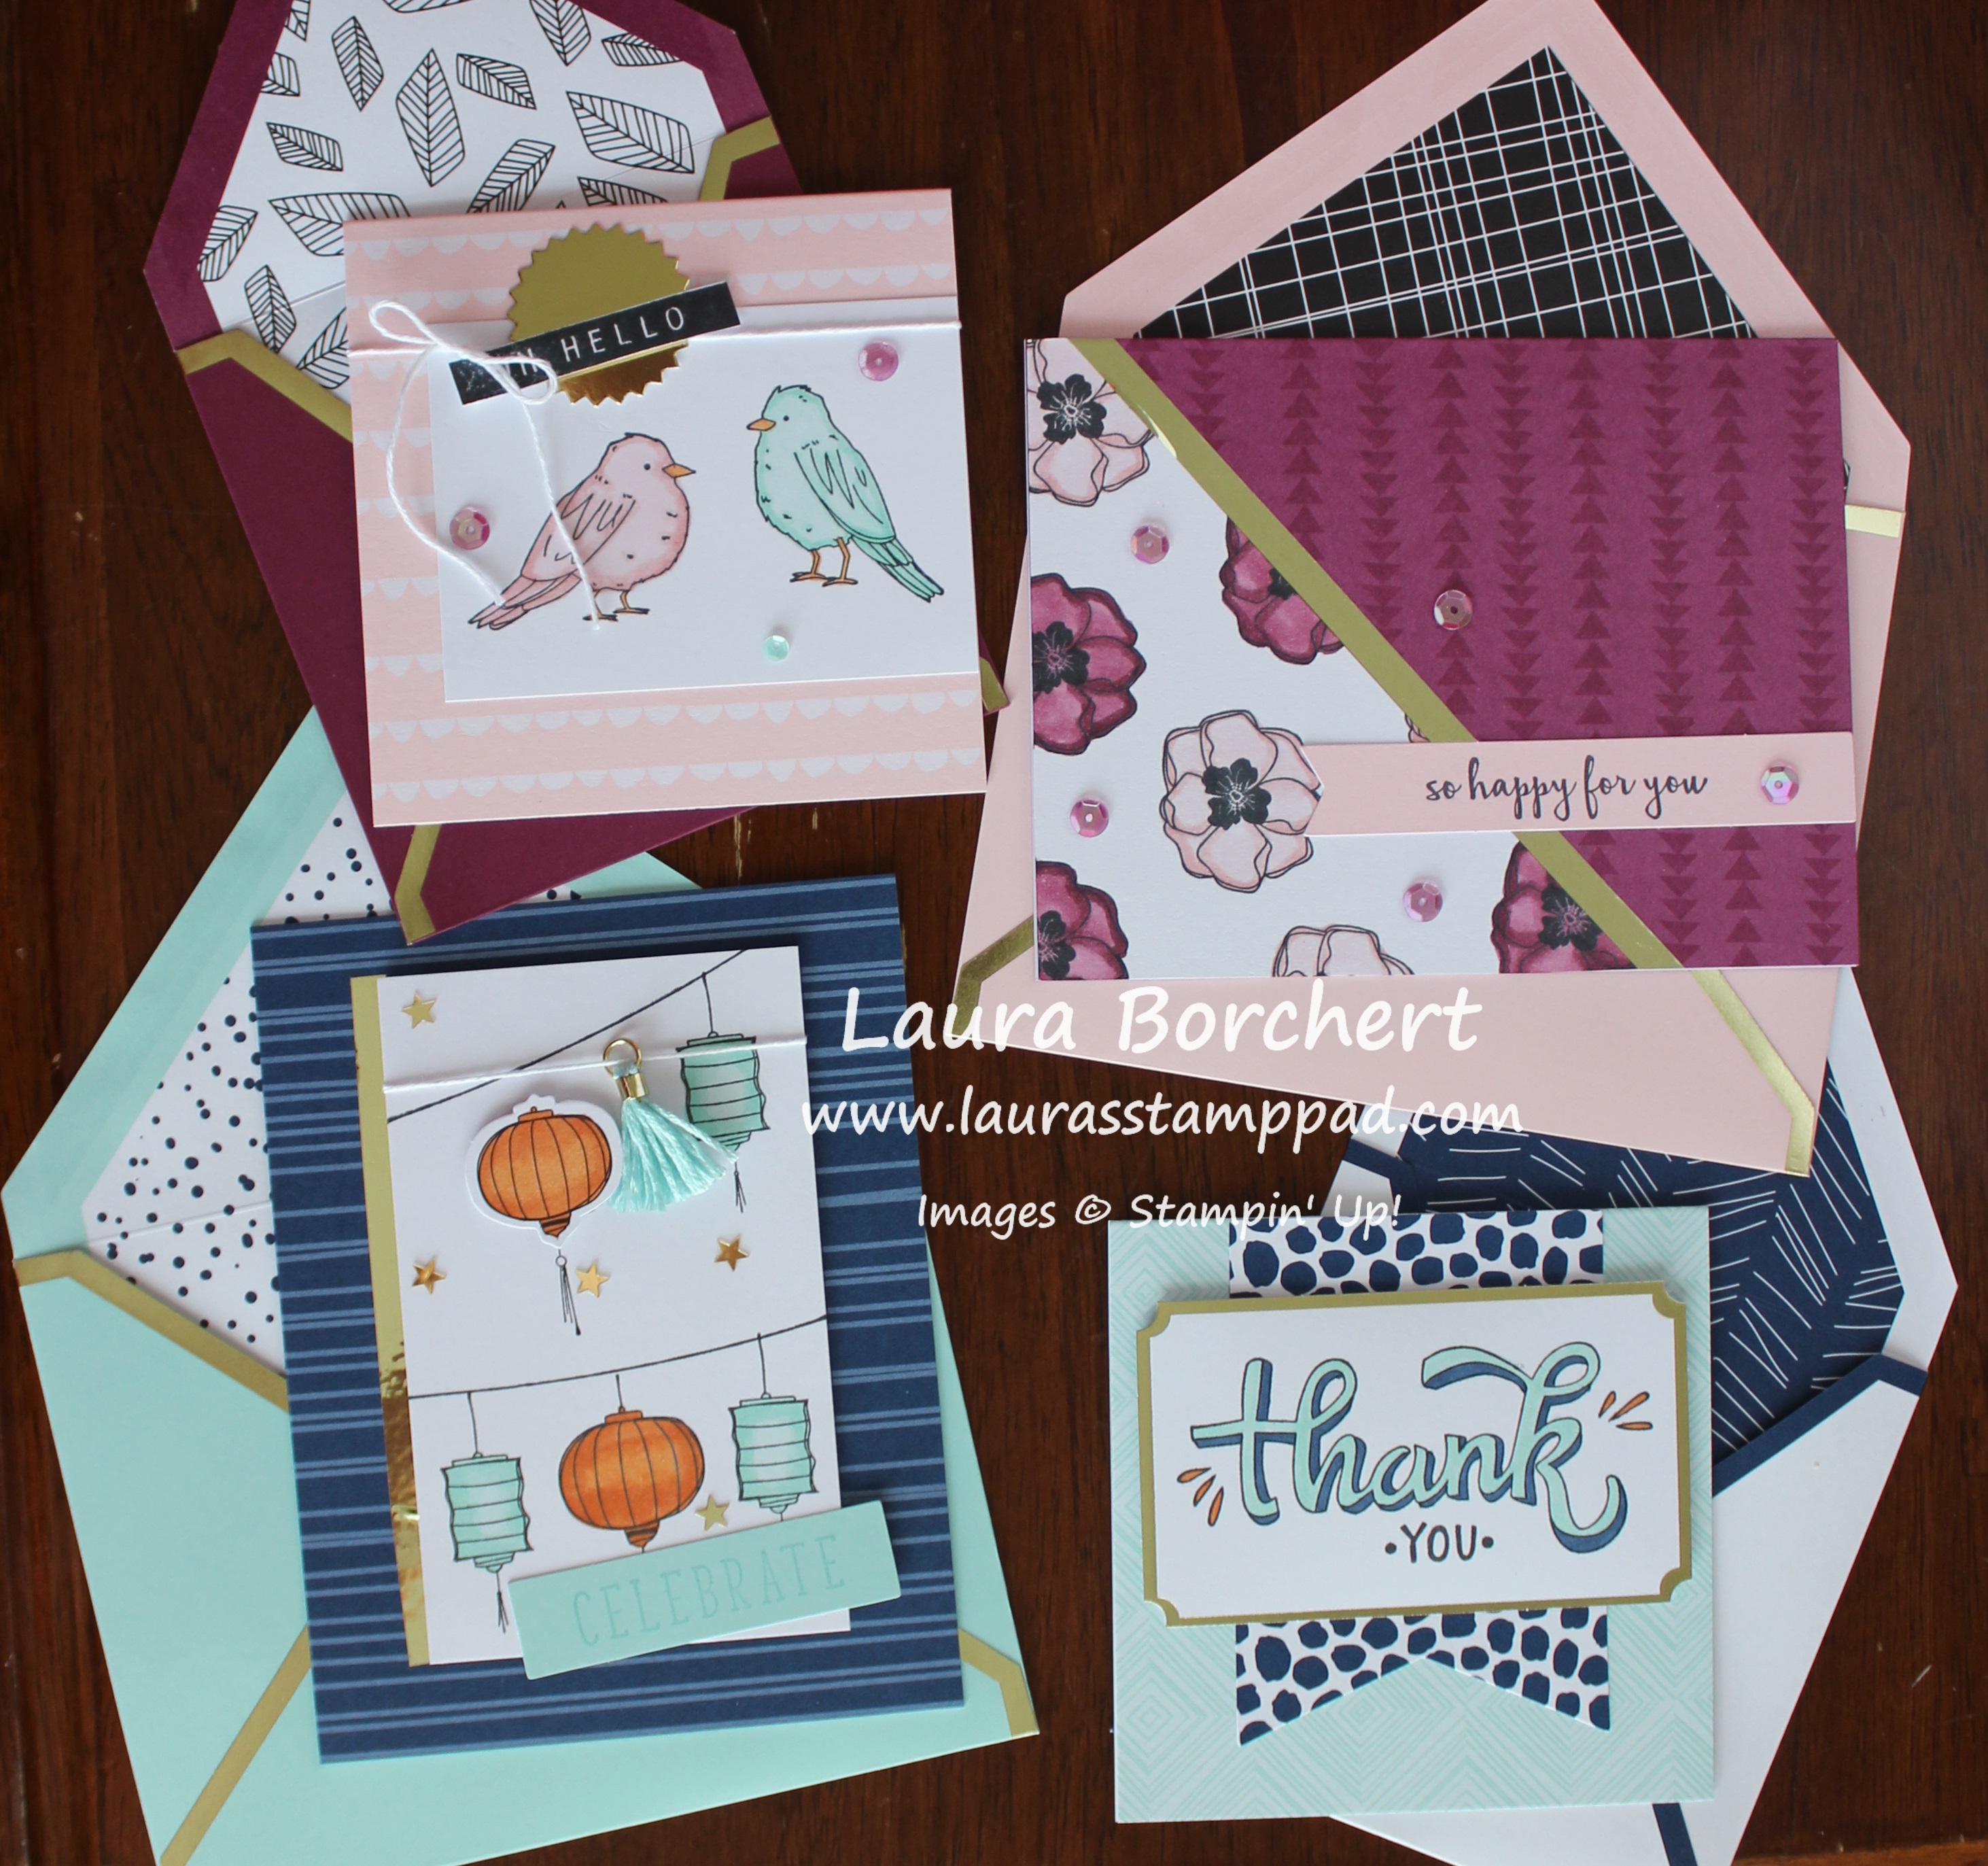
Aren’t these the cutest?!?! I kind of like having the options of mixing and matching with the colors too! I used Real Red and Garden Green!!!
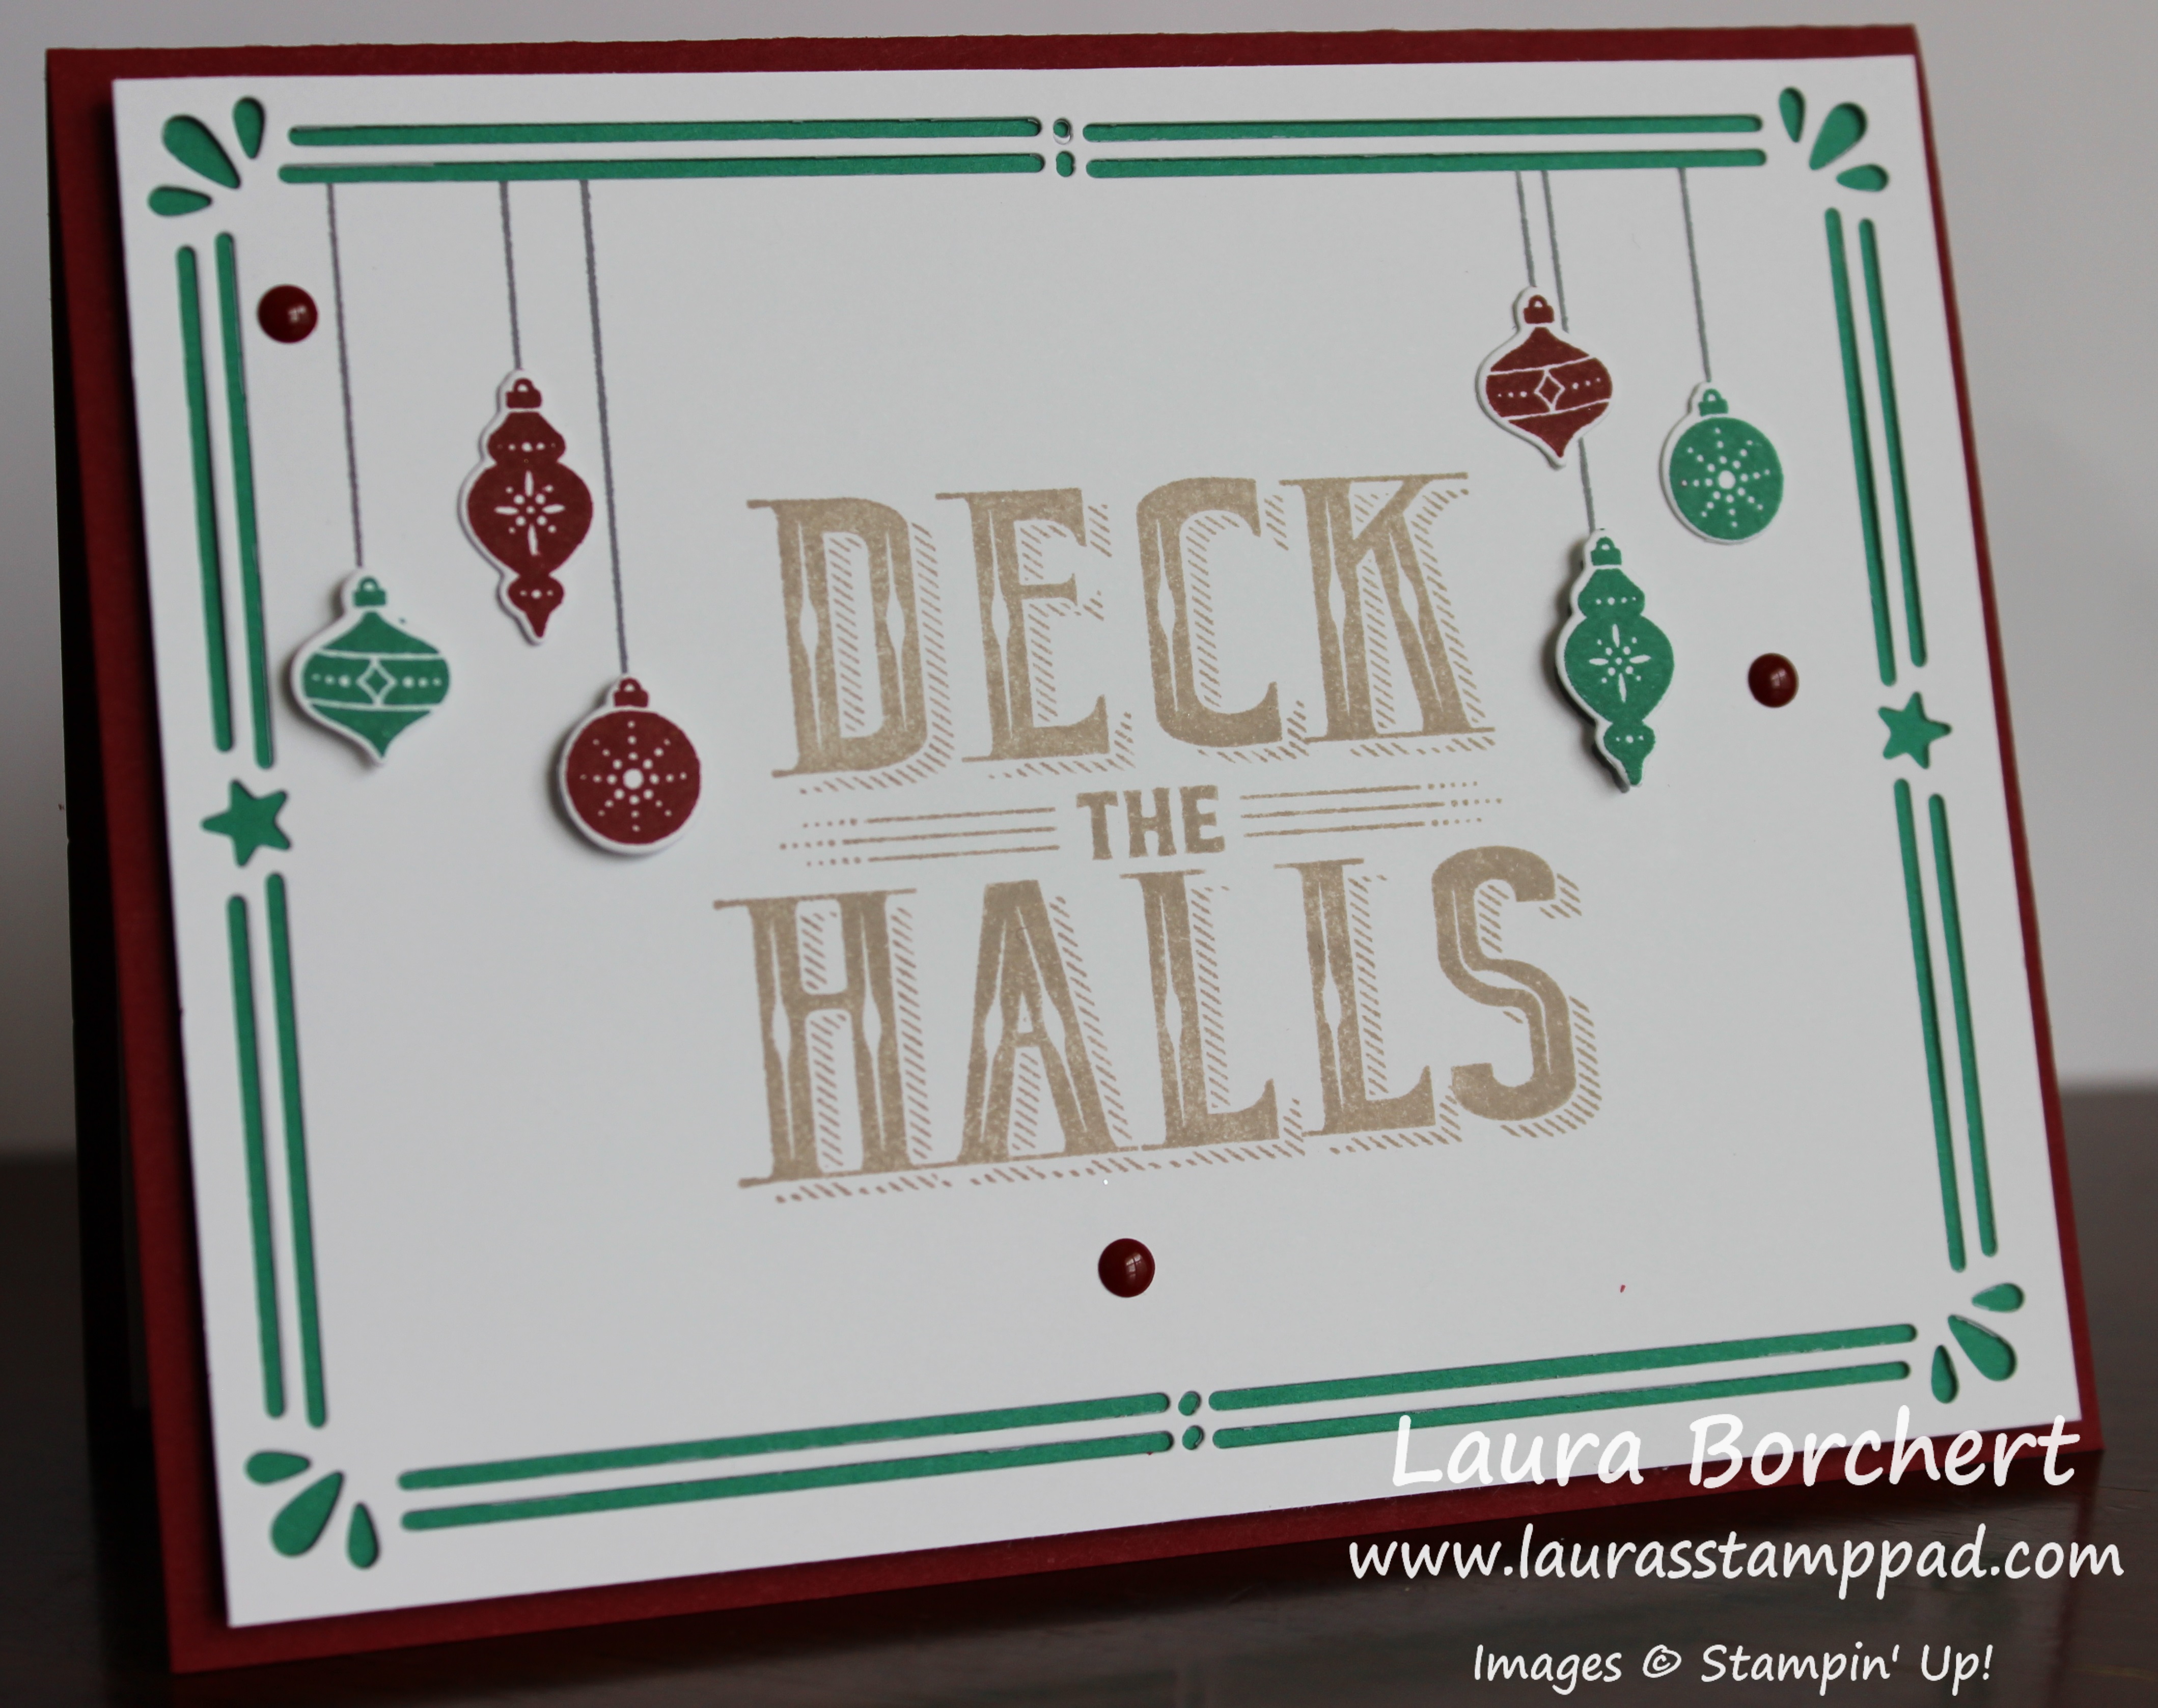
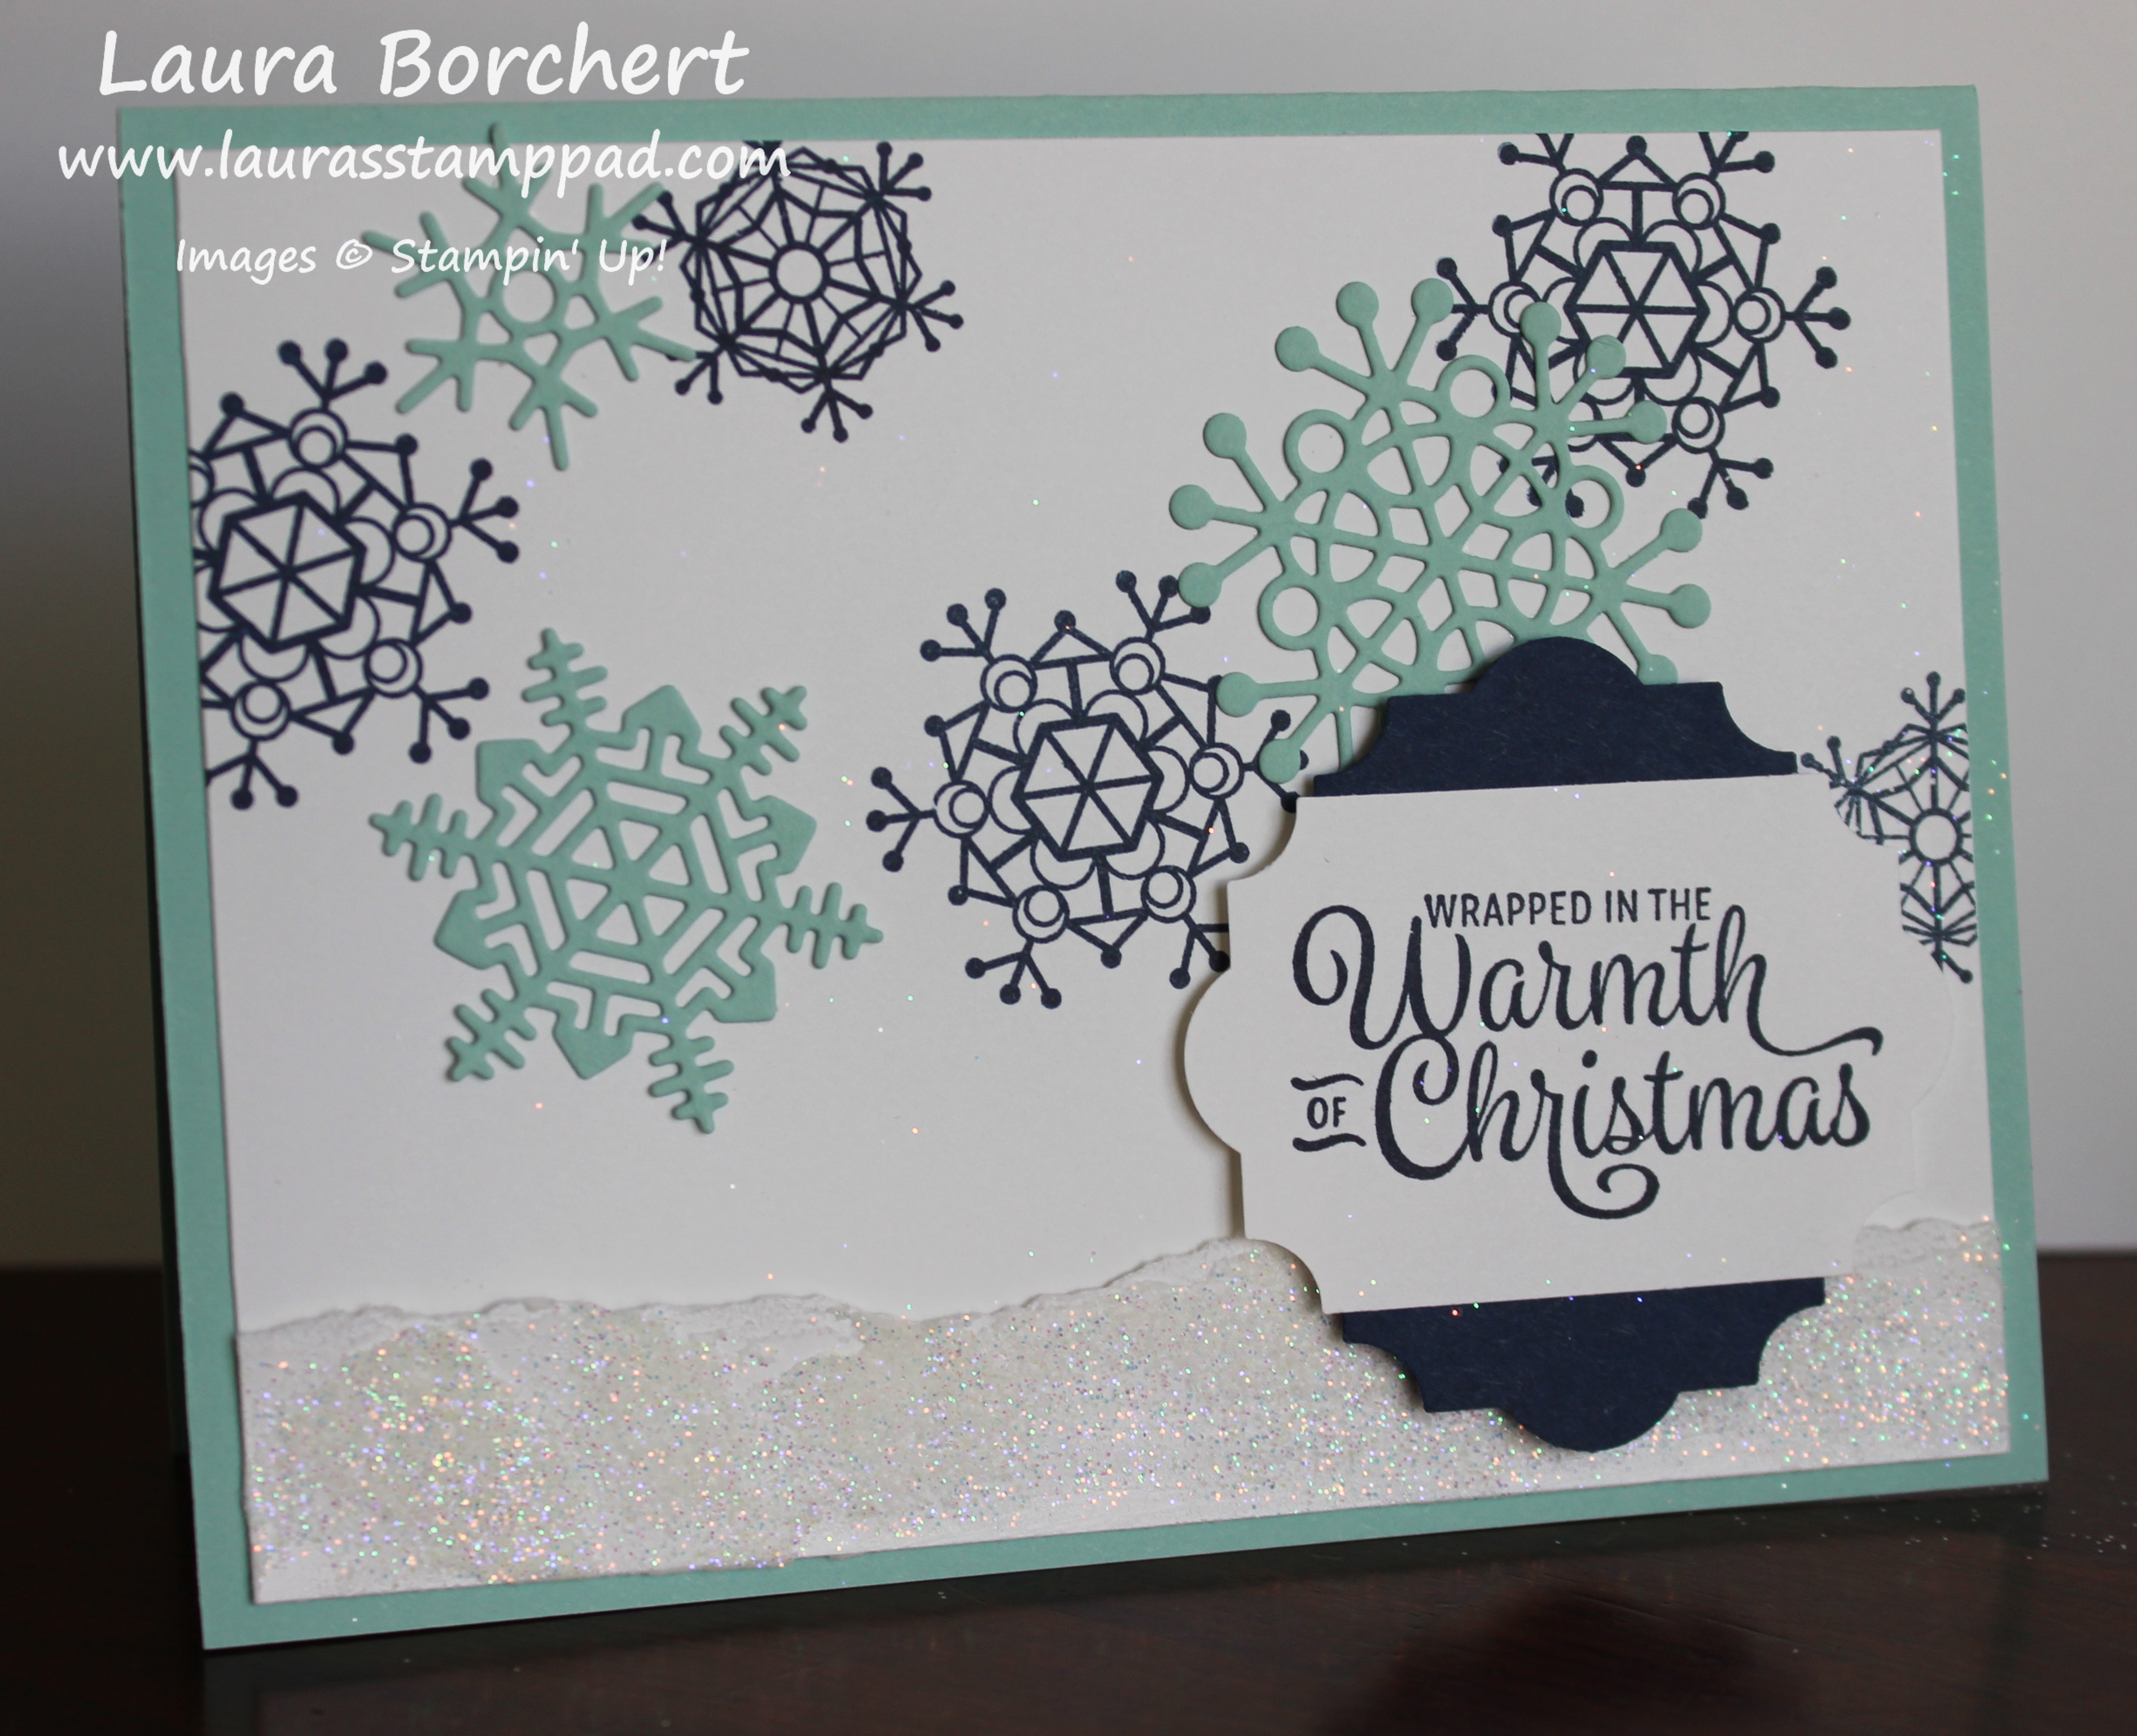
The card bases are Real Red and Garden Green. Then using the Quilted Christmas Designer Series Paper, I cut it into 3″ x 4″ pieces. This way I was able to get 2 pieces out of each square with a nice rectangle left over to use for another project. I added this piece to the upper 1/3 of the card.

Next, I took a piece of Whisper White (1-1/2″ x 4″) and stamped the greeting from the Quilted Christmas Stamp Set. I used Real Red Ink for the green card and Garden Green Ink for the red card. Be sure to stamp on the right hand side so there is room for the felt on the left. Before adding this to the card front, I added a little strip (1/2″ x 4″) of the same color as the card base (green in the one above). I did this for a few reasons….to add a little more color and to use up scraps! 🙂

For the final detail, I added a Stitched Felt Embellishment to the left hand side. I found that the Multi-purpose Adhesive worked best. Hold for about 30 seconds and then set it aside. Since the glue is liquid it does take a bit longer to dry.
Product List
 Designer Series Paper")


If you would like to see this all in action, check out the Video Tutorial below or click here! Be sure to give the video a thumbs up if you liked it and don’t forget to subscribe if you are new. If you would like a notification when I post a new video, be sure to click the bell right next to the subscribe!!!
Happy Stampin’
~Laura