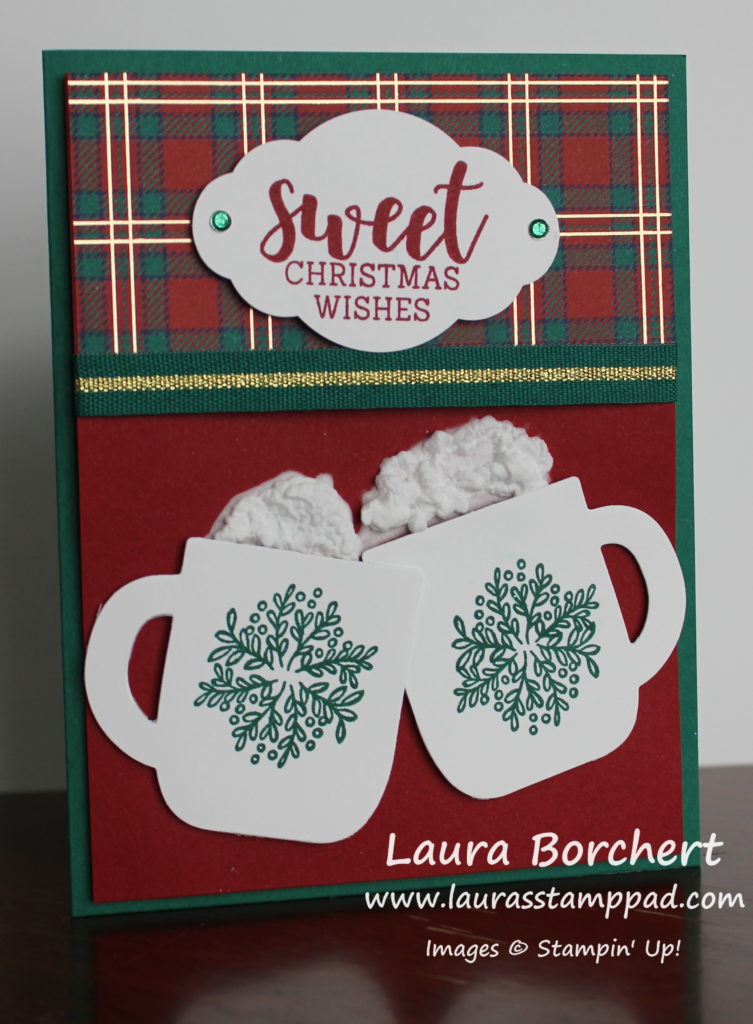
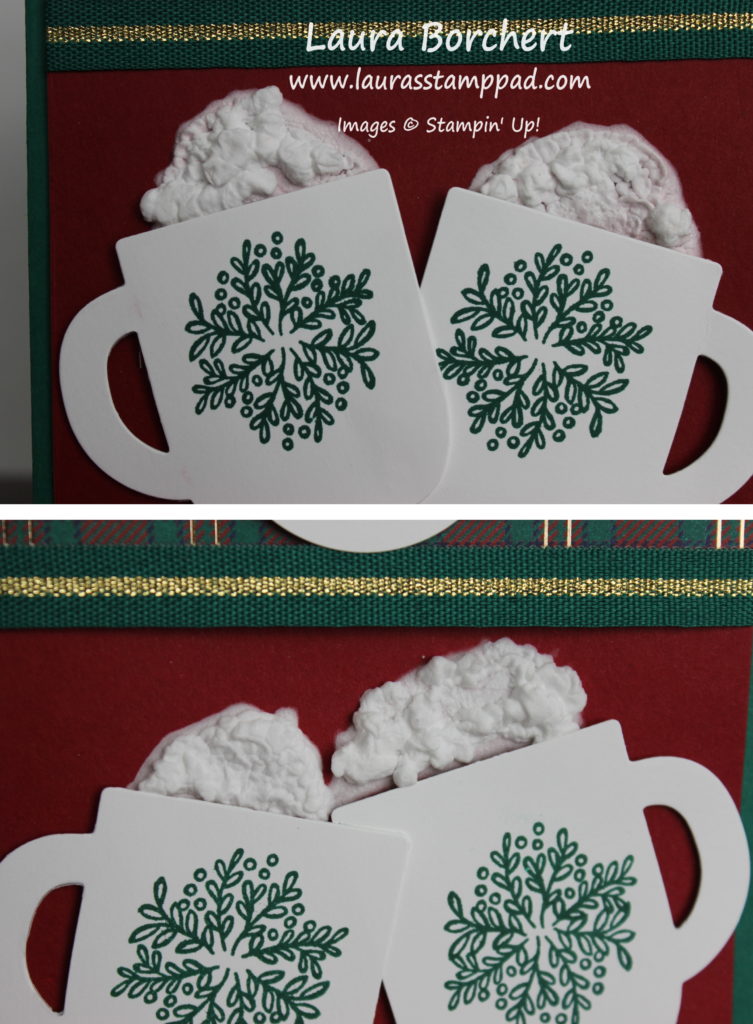
Happy Tuesday!!! You all know what that means!!! I have a fabulous technique to share with you today! I’m going to show you how Layering Label Dies really takes a greeting or focal point up a notch! Check this out!

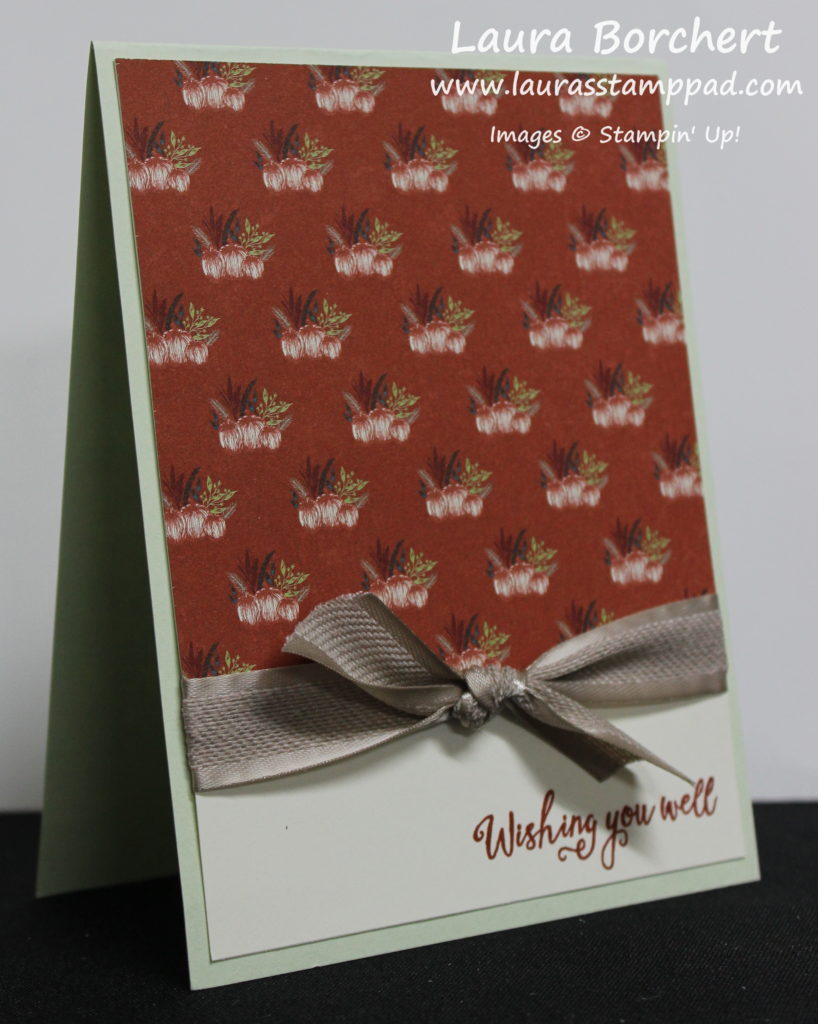
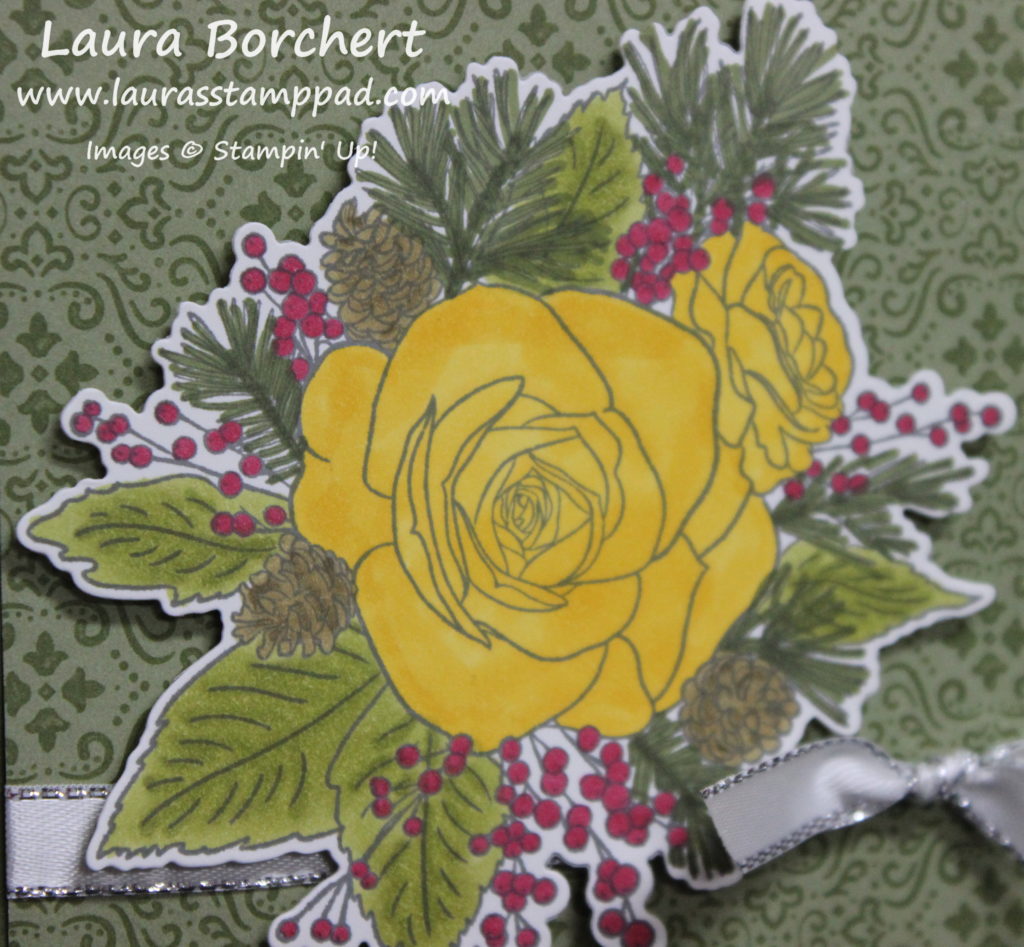
This card is fairly quick and simple and yet still has that wonderful WOW factor! I used the Christmastime is Here Suite!!! So fun and less time consuming than coloring the giant roses like this card!
Check out these entire tutorial of this card and the layering label dies technique in the video below or click here! Be sure to give the video a thumbs up if you liked it and don’t forget to subscribe if you are new. If you would like a notification when I post a new video, be sure to click the bell right next to the subscribe!!!
To recreate this card, click on the supplies listed below! Also, don’t forget that when you spend $75 or more in the month of November you will earn the To Every Season Stamp Set for FREE!!! This offer is exclusive through me! No code necessary, just enjoy shopping!
Happy Stampin’
~Laura
Product List")
")


")


")


 Textile Ribbon")


")
")


 Specialty Designer Series Paper")
 Striped Ribbon")
