Adding Cool Whip is always necessary when having hot chocolate right?? As a kid, we always ate the cool whip and then said we were done. I don’t think any of us really liked hot chocolate but we enjoyed the cool whip!
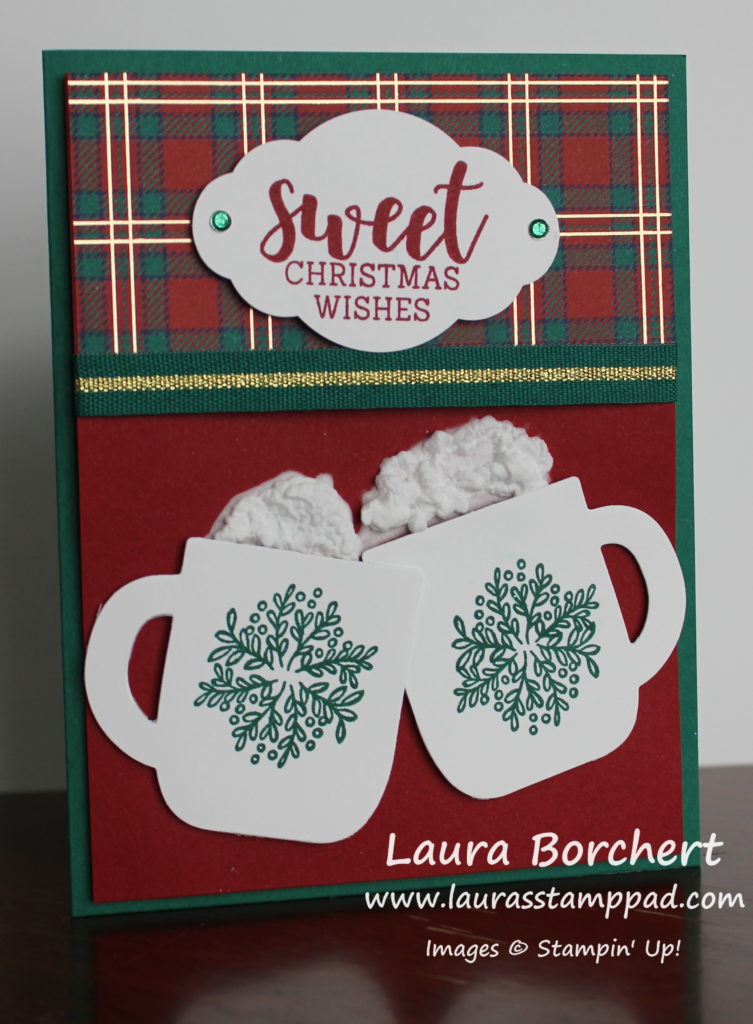
How sweet is this card?? I just love the cute factor and that fun texture!!! So let’s get started on how I created this card!
I started with a Shaded Spruce card base. Then I took a piece of Cherry Cobbler measuring 4″ x 5-1/4″. Next, I die cut the white mugs with the Cup of Cheers Dies and placed them on the card. Scoot the mugs down a bit and using a pencil, draw a line across the top of the mugs from side to side. This will be your guide for adding the Puff Paint and making sure it isn’t too wide or too high on the card. Now let’s add puff paint and set it with the Heat Tool!
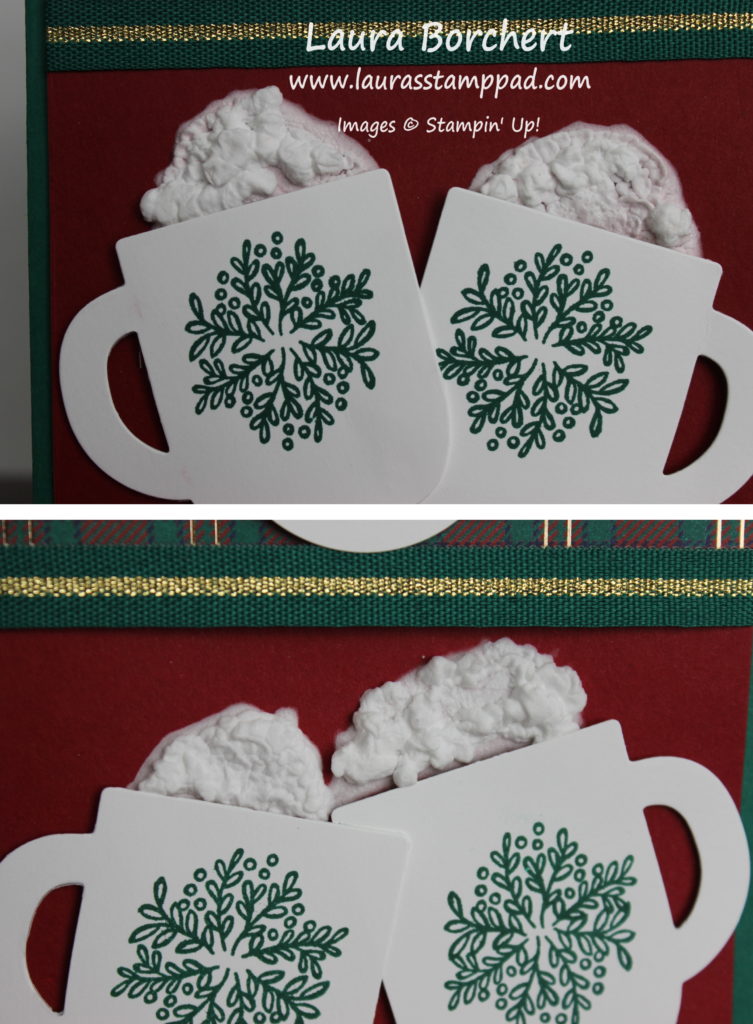
TIPS FOR USING PUFF PAINT: It is very liquidy so be careful not to use too much or have it spill all over. After applying a thin layer, start heating it from the bottom of the cardstock to set it. Once you see a little shine around the edges, move to the top side to heat it. Be sure to hold it there for a decent amount of time because first it will look dry and then it will start to puff. Add more puff paint to fill in holes or increase your area. You can always add more but can’t always take it back. Also, remember that no 2 puff paints are going to look the same. It’s kind of like watercoloring!
After the Puff Paint is done, you can assemble the card. Don’t assemble first because the heat tool can melt your ribbon. I stamped the mugs with the Cup of Christmas greenery piece in Shaded Spruce Ink and then added them below the Puff Paint with Stampin’ Dimensionals! Then I added a piece (2″ x 4″) of the Perfectly Plaid Designer Paper at the top. Taking the Shaded Spruce & Gold Ribbon, I added a strip across the card where the designer paper and cardstock meet. Securing the ends on the back side with Stampin Dimensionals and then added this piece to the card front.
For the greeting, I stamped it from the Cup of Christmas Stamp Set and punched it out with the Pretty Label Punch. Then I added it to the card front with Stampin’ Dimensionals and finished it off with Holiday Rhinestones on either side!
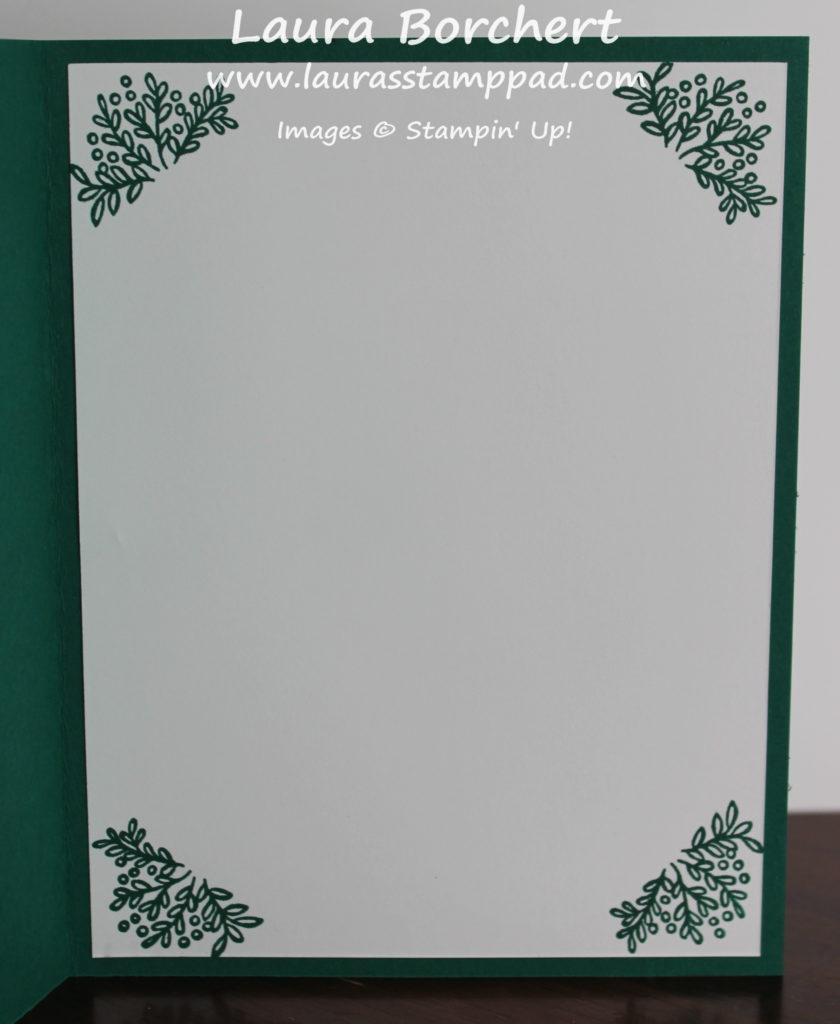
For the inside of the card, I added a piece of Whisper White measuring 4″ x 5-1/4″. Using that same greenery stamp, I stamped each corner in Shaded Spruce Ink.
If you would like to watch me adding cool whip to this fabulous card, check out the video below or click here! Be sure to give the video a thumbs up if you liked it and don’t forget to subscribe if you are new. If you would like a notification when I post a new video, be sure to click the bell right next to the subscribe!!!
Happy Stampin’
~Laura
Product List")
")


 Specialty Designer Series Paper")
 Striped Ribbon")

