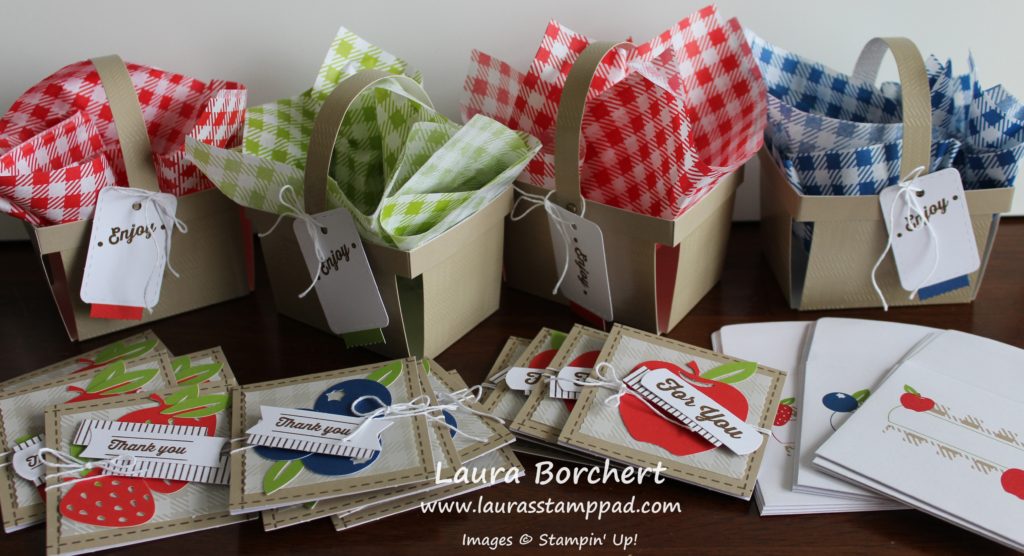
Happy Monday! I hope you had a wonderful weekend!!! We enjoyed family time, my high school reunion, and relaxing. That’s the perfect weekend for sure!!! Today, I’m sharing with you the July 2018 Paper Pumpkin – Picnic Paradise!!! This one is supper summer-y and adorable!!!
Look at all of that goodie. I am still blown away with how much product/projects come in the Paper Pumpkin Box each month. All of this with leftover supplies, stamps, and ink for just $19.95 plus tax, free shipping. That is a steal!!! I can’t figure out whether I want to put the cards in the baskets and give them as a gift or use the cards and add some food treats to the baskets as a gift. What would you rather get…food or cards? Let me know in the comments below!
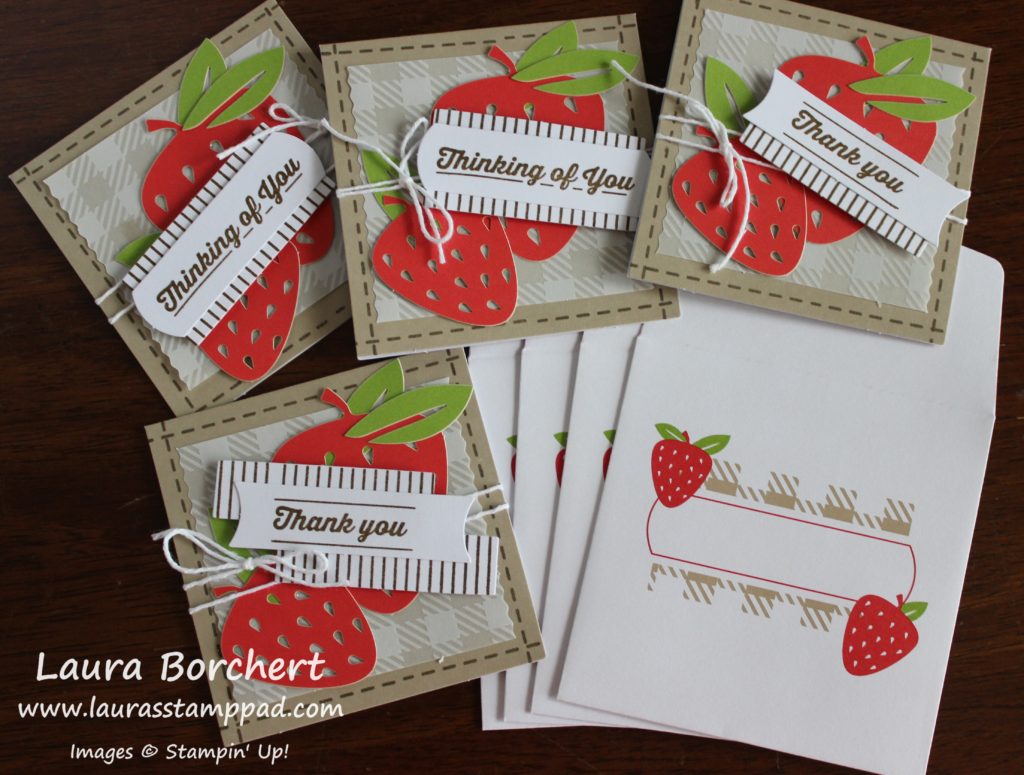
The strawberries are my favorite I think. First thing, was to stamp the stitched border on all of the card bases. The stamp doesn’t actually go all the way across but don’t panic. Lining the stamped image up isn’t that hard since it is photopolymer and if it’s not straight, you can’t tell. I messed up a few or felt it looked super crooked and once the cards were complete, I can’t find the messed up ones. Next, add the vellum which I only put adhesive in the center so it didn’t show through on the edges.
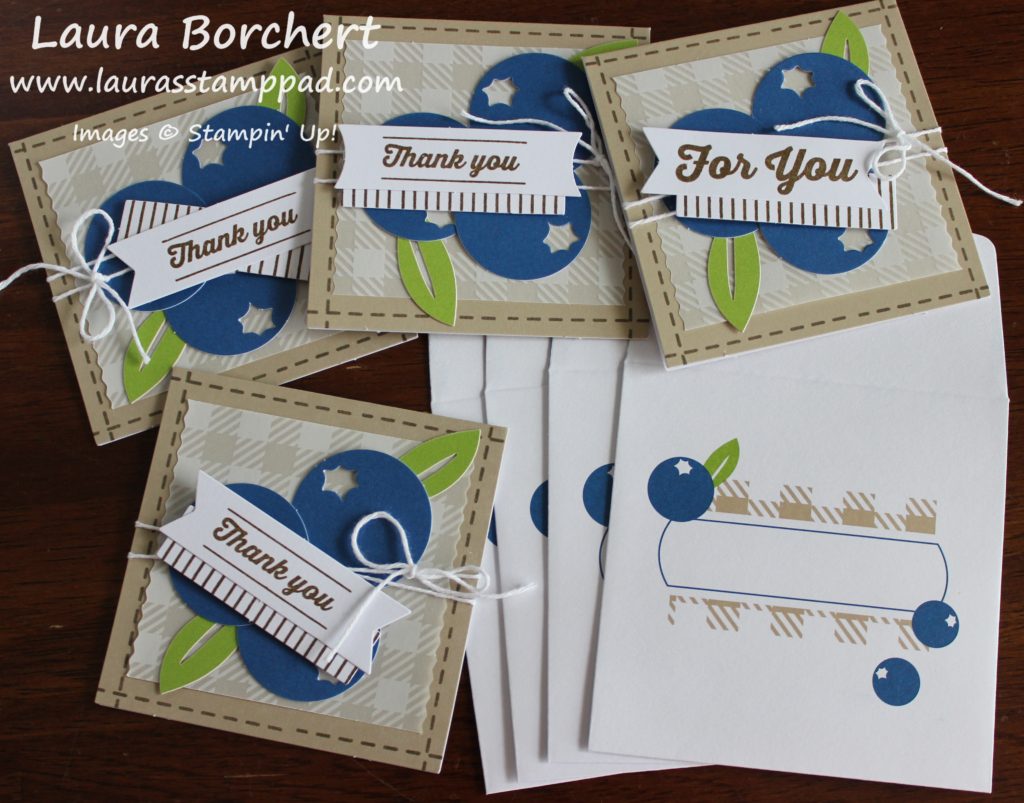
For the fruit, I put it down first and then tied the twine around. I didn’t want the Baker’s Twine to be lumpy under my fruit. The greetings I popped up on Stampin’ Dimensionals so I didn’t have to worry about those being lumpy over the twine. I did adhere the striped label to the greeting first.
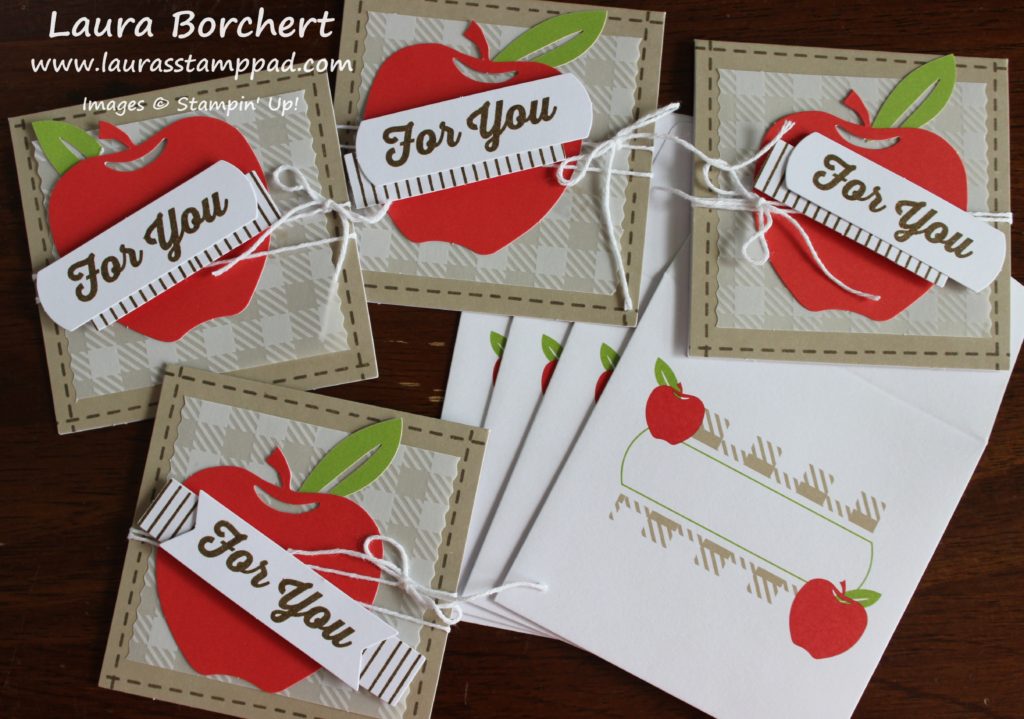
Do these not scream teacher and back to school??? Claire isn’t going to school this August (lol) but I do think they would make great back to school notes/gifts for a teacher!
Here I wanted to show that I stamped the stripes all the way across the paper and then popped out the labels. That was much easier than popping them out and trying to hit that small individual label with the inked up image. Then for the basket assembly. These were super simple since the basket pieces were labeled. The instructions mentioned cutting off a little piece if you would like and I wasn’t sure what they were talking about. After making one, I realized it was the handle. That little piece of the handle that goes lower than the basket trim can be cut off flush with the trim if you would like. I cut all of mine. Also, I didn’t think I would use the short basket trim pieces but then I put one on and loved it. So I ended up using the short pieces for that nice clean trim look around the basket. I only stuffed 2 pieces of the check paper into the baskets and there is tons leftover. I love it!!!
If you would like to see all of the goodies in the kit, check out my reveal video here!
If you would like to try out Paper Pumpkin even for just 1 month to see what it’s all about, click here to sign up. Use the Promo Code: BLOOM0818 (zero eight, one eight) and you will get 50% off the August Kit. You can cancel at any time so give it a try! For $9.98 plus tax, you can’t beat it. Stamps, ink, all the supplies, AND a clear block for that price is amazing! Click here to sign up!
Happy Stampin’
~Laura


Those baskets are so cute, I’d rather have food in them. Would a small jar of jam fit in them?
Yeah, I agree! I think a little jar of jam would be perfect. Cute idea!!! ~Laura