Happy Tuesday everyone!!! You know what that means….I have some fabulous techniques to share with you today! Today we are playing with Punch Art! It is so much fun to create lots of different creatures and images from the punches you already have (or need to get after today)! When you can use a punch for more ways that the obvious circle or square, it makes it worth so much more as well! Let’s get started!!!
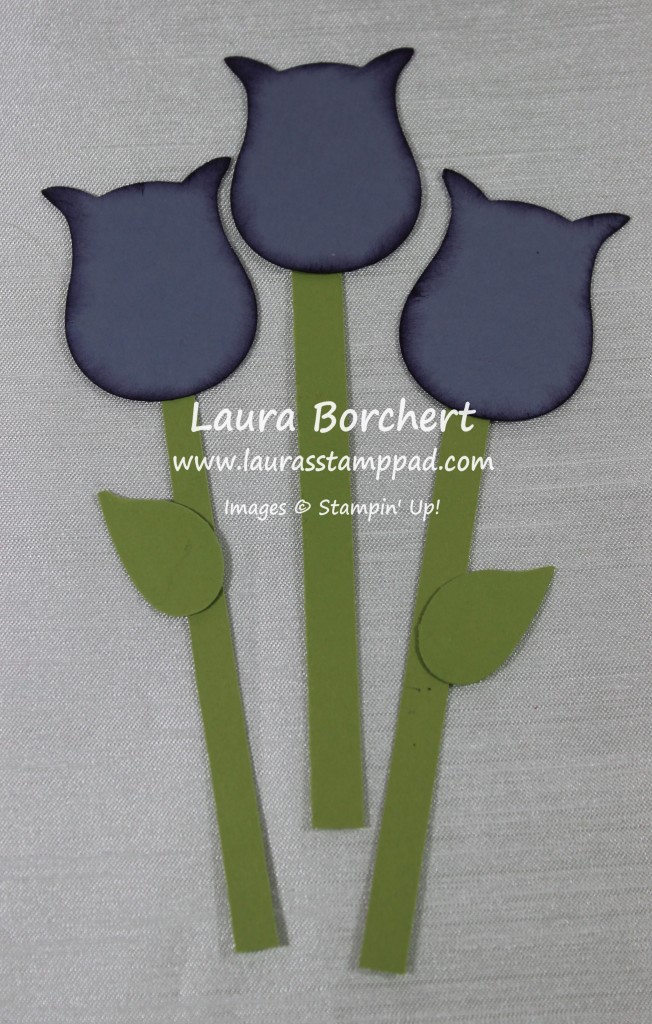
We will start with the Tulips! I love tulips and they make me think of Spring…..can we just skip Winter this year? These tulips can be created in any color! I used Wisteria Wonder to punch out 3 owl bodies from the Owl Builder Punch. I snipped off the feet of the owl and brushed the edges with Elegant Eggplant and a Sponge Dauber. I like how this gives texture and dimension to the tulip. For the stems and leaves, I used Pear Pizzazz cardstock. I cut long strips for the stems. They don’t have to be rectangle or perfect because flower stems never are so make it a long triangle or a short rectangle or a not perfectly straight stem! It all works! The leaves were punched out with the Bird Builder Punch for the final touch! You can create bouquets or just a few along the bottom of your project or just one elegant tulip! I love these!
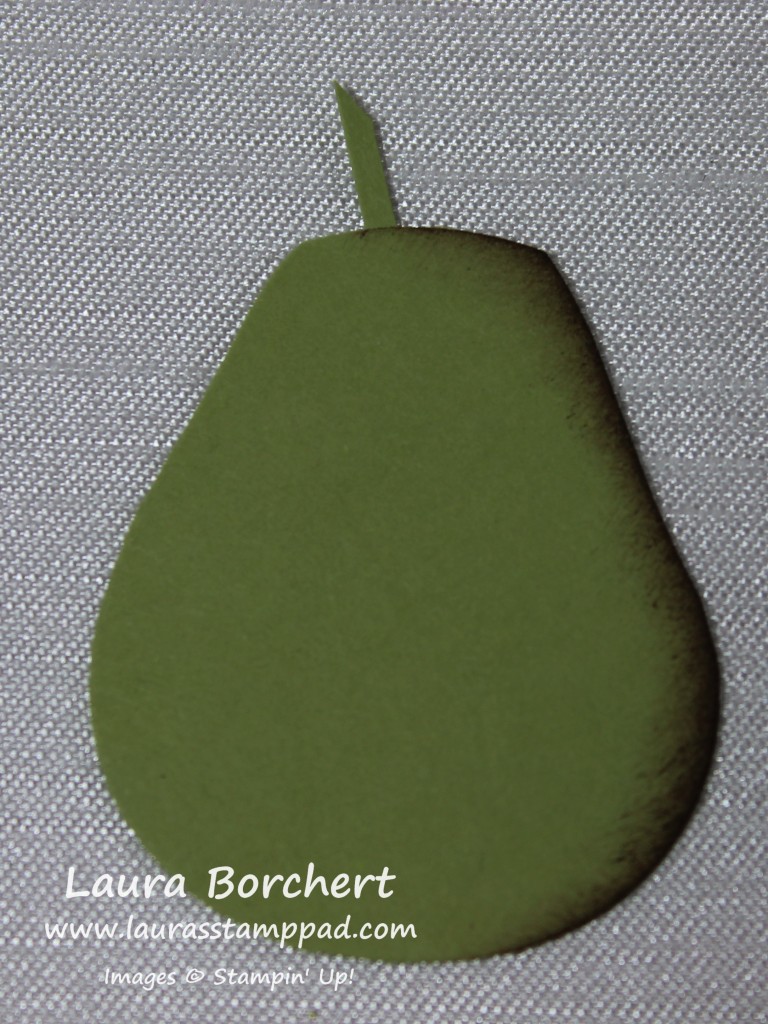
This little pear is super easy to create with the Owl Builder Punch! Just punch out an owl body with some Pear Pizzazz cardstock and cut off the feet and ears, slopping to the center to give that rounded off look. Then with a little piece of scrap Pear Pizzazz or brown of your choice, cut a little piece for the stem. I brushed the edges of the pear with a Chocolate Chip Sponge Dauber to give texture and make it look rounded! Simple and fabulous!
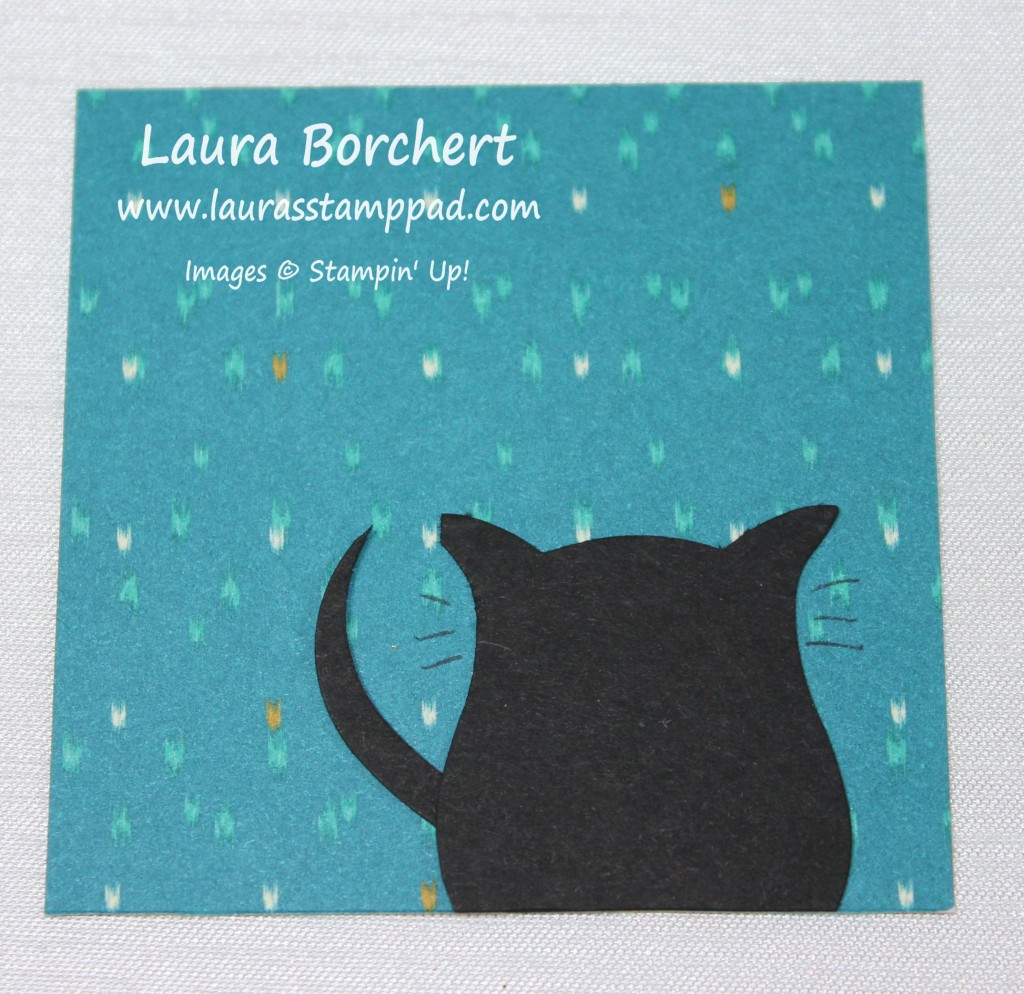
This little kitty is just adorable and would look super fabulous looking out the window using the Hearth and Home Thinlet Dies! For the kitty, I punched out an owl body in Basic Black with the Owl Builder Punch. Then I punched just a sliver of the body from the side to create that little curved tail. I adhered the owl body to a piece of Bohemian Designer Series Paper with the tail off to the left and then trimmed the bottom off. I like using the Designer Series Paper as a guide to cut straight! There is your kitty silhouette! I did take a Basic Black Marker to create a few whiskers. You could create a face and have the kitty looking at you if you wished! Mine is looking out the window!
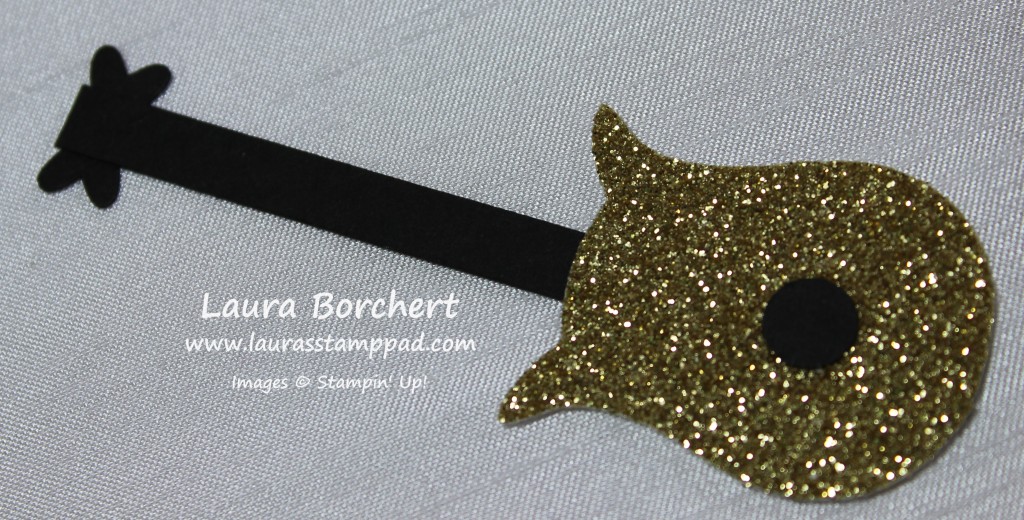
The guitar is perfect for any rockstar!!!! You could use Silver, Gold, Red, or Dazzling Diamonds for your guitar. You can even spritz the Dazzling Diamonds with some re-inker and get any color! ROCK ON!!!! I punched an owl out in the Gold Glimmer Paper and cut off the feet. You will also need the Owl Builder Punch for 1 eye (smaller circle above the body) and 2 hearts. Placing the 2 hearts point to point, place a Mini Glue Dot on the end of some Basic Black measuring 3/4″ wide and however long you wish and stick it on the hearts. This creates your guitar end. The little eye will be added to the center of the glimmer paper with a Mini Glue Dot. This is the whole in the guitar. Now adhere the other end of the long black piece to the guitar body. You are all set! You could always take a Signo White Gel Pen and create strings! Love it!!!
If you would like to see all of these in action, check out the Video Tutorial below or click here! Don’t forget to give the video a Thumbs Up if you liked it! Let me know in the comments below which Punch Art items you would like to see next month! You can see last month’s Punch Art here!
Happy Punchin’
~Laura


Those are just too cute for words!!! Thanks for sharing all of your wonderful ideas! We are paying attention……..Judy
Aww Thank you! I’m glad you enjoyed them! I love punch art! ~Laura