October My Paper Pumpkin!!!

Posted on

October Paper Pumpkin SU

You know how I am loving My Paper Pumpkin and this month I have even more love to share with you!!! My kit arrived and now only was I excited but…..

October My Paper Pumpkin Excitement, www.LaurasStampPad.com

….so was my husband! 🙂 I ripped open the box, tossed aside the tissue paper and saw all kinds of goodies!

October My Paper Pumpkin Excitement, www.LaurasStampPad.com

My first thought was wow look at all of this stuff and my second thought was who has leftover pie at Thanksgiving….definitely not at my family Thanksgiving! 🙂 While the pie boxes are super cute, I just don’t need a lot of gift boxes for Thanksgiving so I let my mind wander a little bit and look what happened!

Paper Pumpkin Samples, www.LaurasStampPad.com
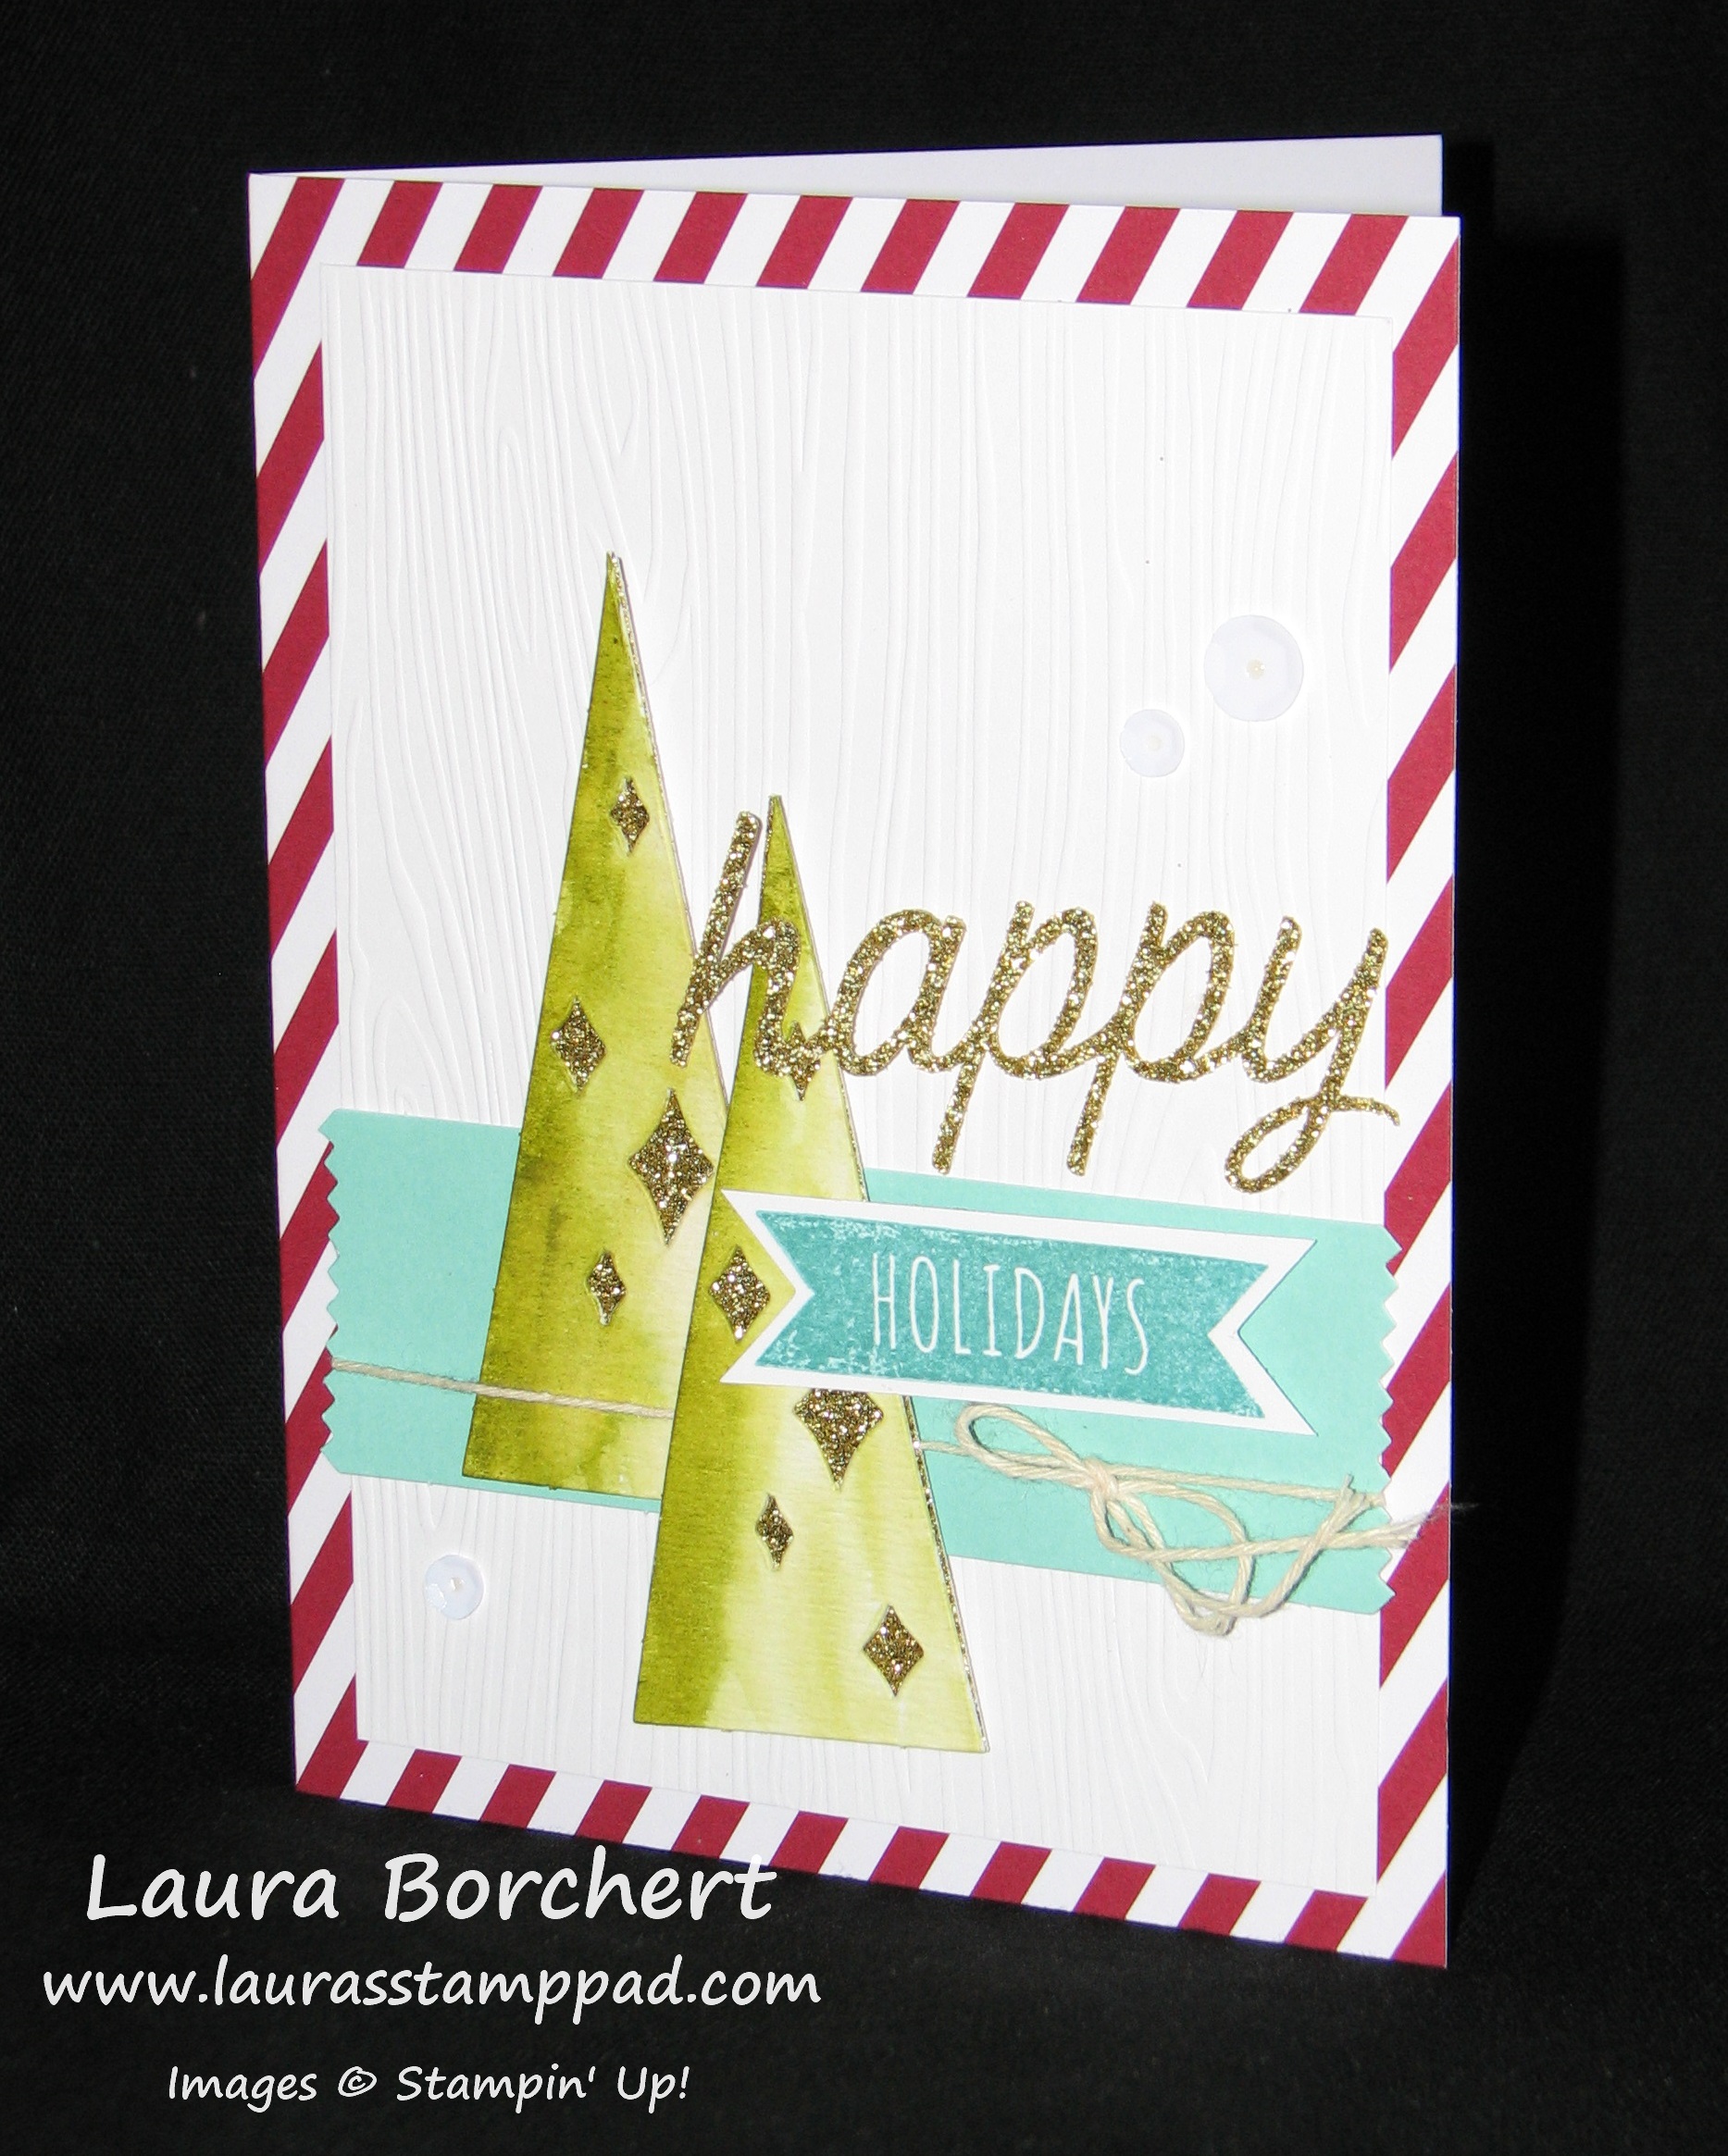
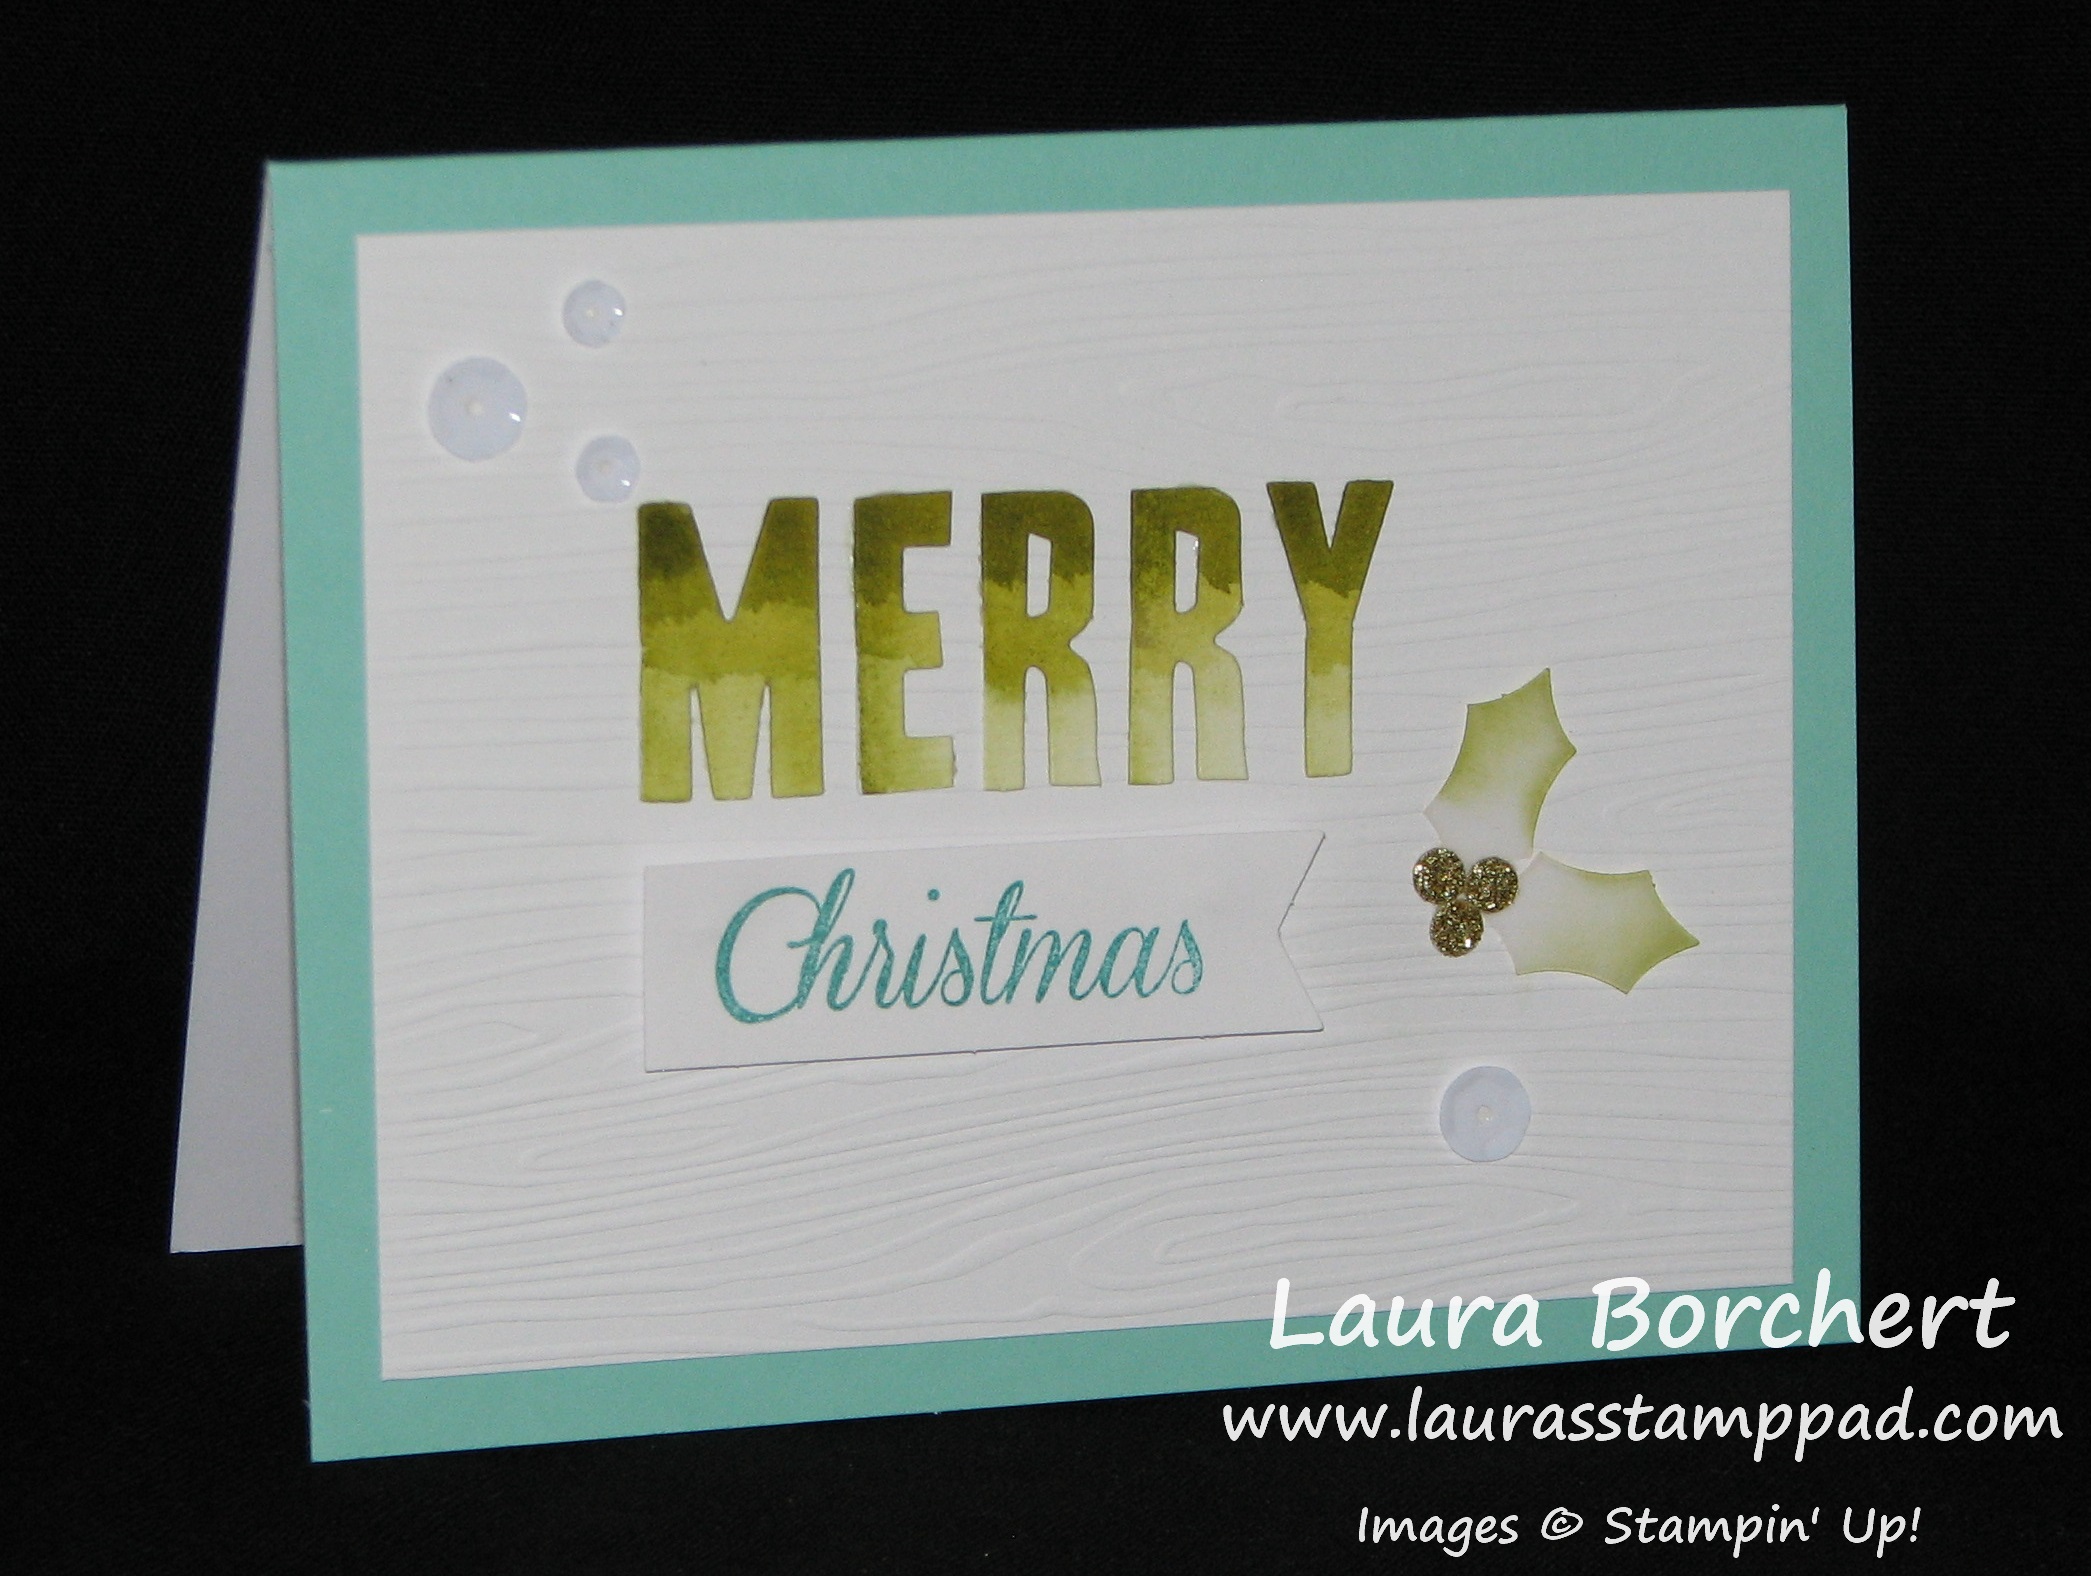
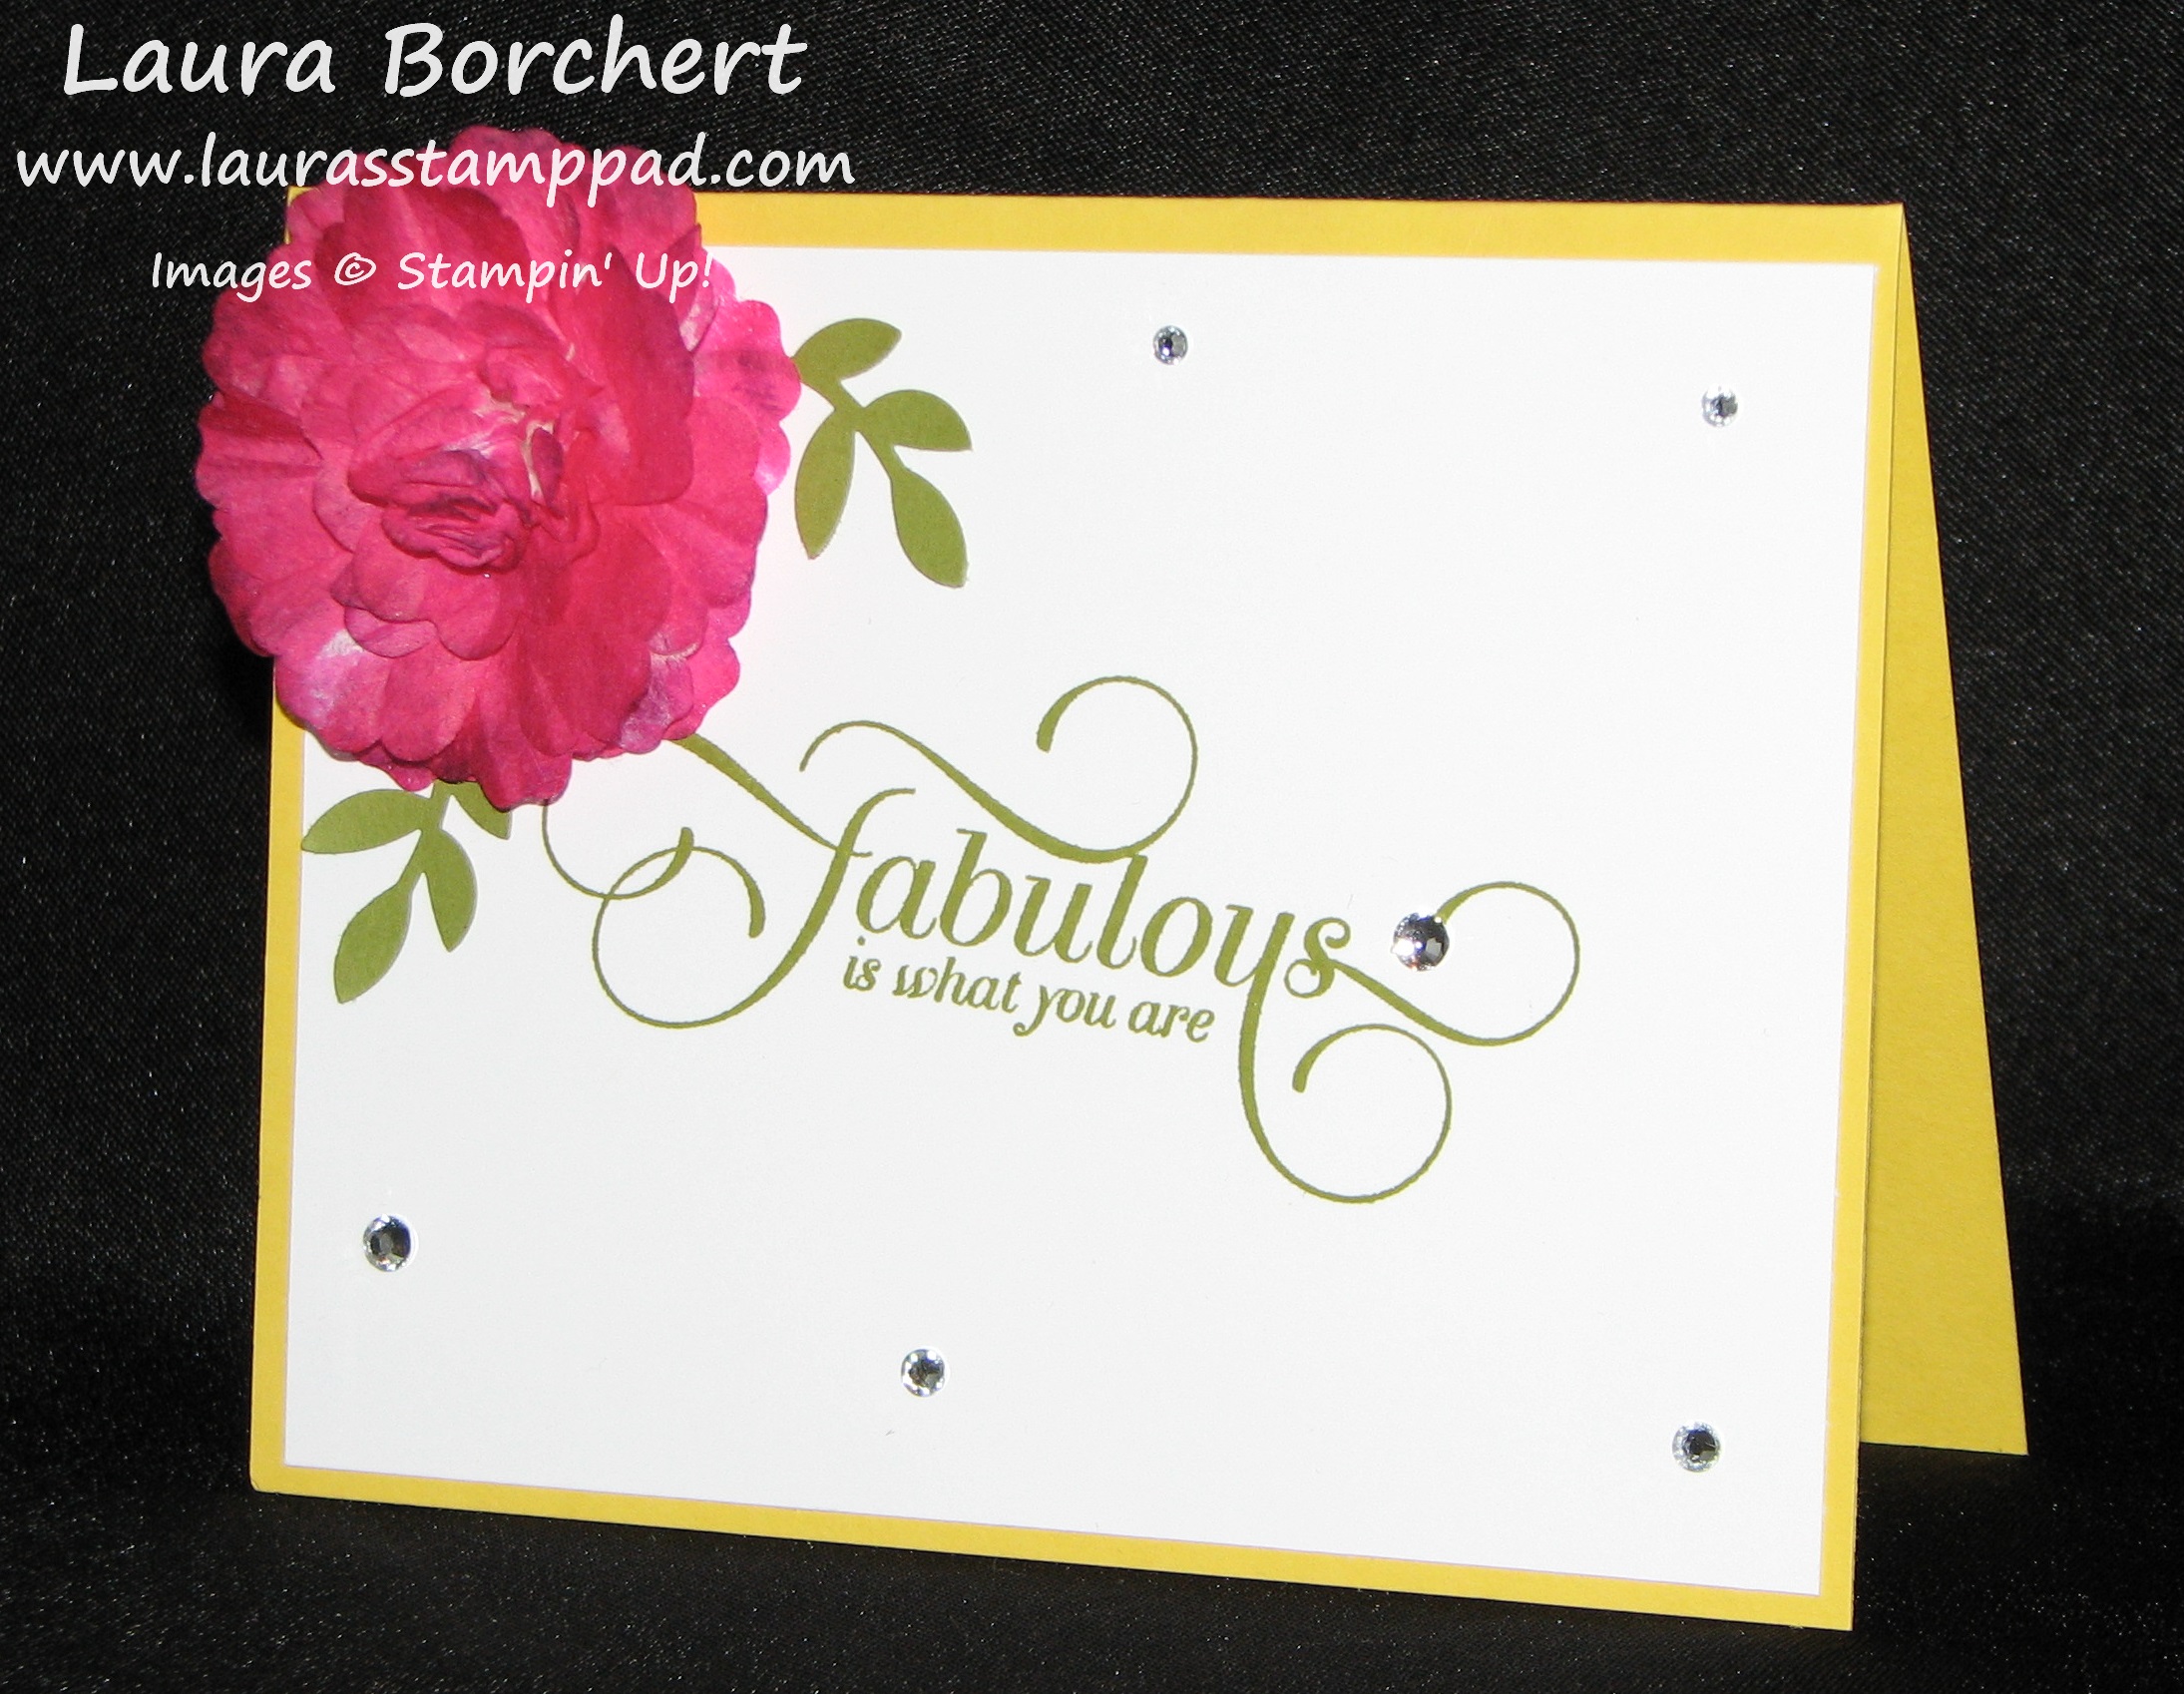
I am always in need to cards especially Thank You and Happy Birthday so I took a few pieces of Old Olive, Tangerine Tango, and Melon Mambo cardstock and started cutting my boxes into pieces! The only items that I used that did not come in the box are the card bases, Night of Navy Ink, Melon Mambo Ink, and the Happy Birthday Greeting which came from the July My Paper Pumpkin! Of course on top of making these TEN cards, I also created 4 of the boxes! AND I still have lots of leftover items (2 boxes, lots of yarn, lots of feathers, adhesive and greeting stickers). Of course the stamp set and ink pad are left as well! 🙂 I am always blown away with how much stuff is in the My Paper Pumpkin boxes!Paper Pumpkin Samples, www.LaurasStampPad.com

And because I have so much to show you, I thought I would do a little Video Tutorial showing off each sample! Check that out here and if you like it, be sure to give it a thumbs up! Don’t forget to subscribe to My Channel so you don’t miss out on my Gift Packaging Series and other fabulous videos!

If you are thinking that My Paper Pumpkin would be fabulous to have each month or that Aunt Sally would love something like this, you can sign up yourself by clicking here and you can purchase a pre-paid subscription for Aunt Sally and give it to her as a gift! Check out the Pre-paid Subscriptions here! You don’t want to miss out on the November Kit, so be sure to sign up before the 10th!

Happy Stampin’

~Laura


Perfect for Under The Tree!!!

Posted on

I have a fabulous Gift Packaging idea to share with you today and it will look amazing Under the Tree!!!

Large Gift Box Punch Board, www.LaurasStampPad.com

The Under the Tree Specialty Designer Series Paper in the Holiday Mini Catalog is perfect for boxes. It is heavier than typical Designer Series Paper so it holds up much better (and you stylus will punch through the paper)! It is beautiful as well. One side is kraft and white patterned and the other side has a color (Cherry Cobbler, Garden Green & Early Espresso)!

Under the Tree Paper, www.LaurasStampPad.com

See isn’t it beautiful! I used my Gift Box Punch Board to create these boxes! The one pictured above is the largest box which uses a 12″ x 12″ piece of paper and the box is 4″ x 4″ x 4″. I used some Cherry Cobbler Chevron Ribbon to wrap around the box. For the tag, I used a piece of Cherry Cobbler cardstock and punched the end with the Scallop Tag Topper Punch. On the Whisper White cardstock, I stamped a few snowflakes in Cherry Cobbler Ink as well as the greeting from Endless Wishes Stamp Set. I took my Sponge Dauber and added a little bit of Garden Green to the edges! I attached the tag to the Chevron Ribbon with some Whisper White Baker’s Twine!

Gift Box Punch Board, www.LaurasStampPad.com

For this box, I added some Lost Lagoon Satin Stitched Ribbon and a little tag! For the tag, I used the Scallop Tag Topper Punch and my Work of Art Stamp Set! Love that set! Also, you can’t really tell in the photo but I added some bling with my Dazzling Details along the chevron pattern!

I made a Video Tutorial for you so you can see these boxes made in action! Be sure to give it a thumbs up if you like and don’t forget to subscribe to My Channel so you don’t miss any other videos in this series!

Happy Giftin’

~Laura


Technique Tuesday – Watercolor Winter Cards!!!

Posted on

Happy Tuesday!!!! I have a fabulous technique to share with you today!!!! When I first looked at the Holiday Mini Catalog, I was intrigued by the Watercolor Winter Simply Created Card Kit! The cards were so cute and different! And while watercoloring isn’t my favorite technique I do like to do it every once in awhile! I’m glad I did!!!

Watercolor Winter Kit, www.LaurasStampPad.com

These cards are just so detailed and amazing with the watercoloring! I will also note that you DO NOT have to be good at watercoloring to do this! Trust me! 🙂 The kit comes with all of the supplies as well as a paint brush. I did use my Aqua Painter a little because I liked that it already had water in it! For the card above, you will watercolor the trees with Old Olive and then add the Gold Glimmer Paper to the back of it! I used my Multi-Purpose Adhesive to adhere some of these items to the card  – trees and Happy gold greeting. The stamped Holidays greeting is from the Watercolor Winter Too Stamp Set. Also, you can hardly tell in the photo but the Whisper White rectangle is actually wood-grain embossed for you already! 🙂 Love it!

Watercolor Winter Kit, www.LaurasStampPad.com

You can see the wood-grain embossing on this one more! 🙂 The letters MERRY were watercolored with Old Olive. I found it best to do a light layer of green all over the letters and then slowly add a little more color to the top half. It will bleed a little up and down. Then get a little more ink and touch just the top. I think mine turned out really well on this sample…..no so much on a few others. 🙂 The holly leaves were already die-cut in vellum and I didn’t like how they didn’t show up well white on white so I added some Old Olive with my Sponge Dauber! Again I used the Watercolor Winter Too Stamp Set and added the Gold Glimmer dots and sequins!

Stay tuned and be sure to come back again tomorrow to see more cards from this kit!!!! Also, Stampin’ Up did a fabulous video showing this kit so you can check that out here!!!!

Happy Watercolorin’

~Laura


Technique Tuesday – Cafe Bag Creation!

Posted on

Happy Tuesday!!!! That means I have a fabulous technique to share with you today!!!! Since the Holiday are upon us that means that there will be lots of gift giving – teacher gifts, neighbor gifts, friends gift, family gifts and everyone in between! Why not make the gift packaging just as special as the person you are giving it to!

Stars Cafe Bag, www.LaurasStampPad.com

I am loving these Cafe Bags which are in the Holiday Mini Catalog because they are the perfect size and they come plastic lined which is great for putting homemade treats in them! Love it!!! Now lets tell you how to re-create it!

Supplies Needed: Cafe Bags, Decorative Mask, Sponge Daubers, Ink, Ribbon, and Tag

I left the Cafe Bag all folded up like it comes and laid my Stars Decorative Mask over top! Using my Whisper White Ink and Sponge Dauber, I colored in all of the stars! NOTE: When using Whisper White Ink (Craft), it takes a little bit longer to dry so set that aside while you create your tag! For my Tag, I used some scrap Mossy Meadow and Whisper White cardstock. For the banner tips, I cut up in the center of the end and then from the corner to that center cut line! This gives you even banner tips! I used the Endless Wishes Stamp Set for the snowflakes and greetings! They are stamped in Lost Lagoon Ink! I love how you can mix and match the greetings in that stamp set – just perfect! Once your bag is dry, you can fill it and then roll down the top and secure the tabs! Wrap some Lost Lagoon Satin Ribbon around it and tie a bow or knot! I attached the tag with a Mini Metallic Clothespin! Adorable! Quick and Simple for any of your gift giving this season! The bag below uses Blackberry Bliss Satin Stitched Ribbon and a tag from the Tag A Bag Accessory Kit! The greeting is from the Work of Art Stamp Set! Love it!

Petite Cafe Bag, www.LaurasStampPad.com

If you would like to see this gift bag creation in action, check out the Video Tutorial that I created for you! Be sure to give it a thumbs up if you like it and want to see more in this Gift Packaging Series!

Happy Giftin’

~Laura


Spooky Nights!!!!

Posted on

Bat, Owl Punch, Halloween, www.LaurasStampPad.com

Halloween is around the corner and spooky nights are here! I am not a huge Halloween fan……in fact I really don’t like it. (GASP) I heard that. 🙂 I am easily scared and dressing up has never really been my thing. I do like to make cute little treat bags for Trick or Treaters though!

So since I am not a fan of Halloween I don’t usually purchase Halloween Stamps but instead use some of my current stamps and punches to create a few fabulous cards to send to friends and family! Like this amazing card! I started with a card base of Crushed Curry and layered a piece of Elegant Eggplant on top. I used my Lovely As a Tree Stamp Set to stamp a few trees in Chocolate Chip along the bottom! For the moon, I used my 2-1/2″ Circle Punch to punch out some Crushed Curry cardstock! Then I punched out a branch from the Bird Builder Punch in Early Espresso cardstock. Using my Paper Snips, I cut the leaves of the branch to make it look more ragged and like a dead tree (not so cute and pretty). For the bat, I used my Owl Builder Punch for the base and the Small Oval Punch for the wings. I punched out to Small Ovals and then using the Word Window Punch, punched about a 1/4″ into the oval to create that notch. Of course he is adhered onto my card with Stampin’ Dimensionals. The greeting is from the Teeny Tiny Wishes Stamp Set and I punched it out with the Word Window Punch as well. I added a knot of Basic Black Taffeta Ribbon as well! Here is a quick Video Tutorial on the Bat pictured above as well as a bat in flight and more! Be sure to give the video a thumbs up if you liked it!!!!

Happy Stampin’

~Laura


Beautiful Boxes!!!

Posted on

Holiday Gift Boxes, www.LaurasStampPad.com

The season of gift giving is upon us – Teacher Appreciation, Halloween, Thanksgiving, Christmas, Hanukkah and the Winter Season (people love to bake when it’s cold outside)!!! I always find that fabulous gift packaging really makes a present that much more amazing and these boxes are just that! I used some of the Kraft Gift Boxes which measure 3-1/2″ x 3-1/2″ x 2-1/2″! This is the perfect size for a gift card, cookies, trail mix, candied pecans, a little mini loaf, jewelry, nail polish/manicure set, and sooooo many more fabulous gift items! I tied the Cherry Cobbler 1″ Sheer Ribbon around the box, creating the beautiful bow! For the tag, I stamped the Merry & Bright in Cherry Cobbler. The greeting is from the Christmas Bliss Stamp Set! I am loving that set so much! The greeting is on a 1-3/4″ Square of Whisper White Cardstock. Then I brushed the edges with my Mossy Meadow Ink and Sponge Daubers. This added a little pop of the green and makes the greeting stand out! You know how I love my Sponge Daubers too! 🙂 I layered that piece on to a piece of 2″ x 2-3/4″ Crumb Cake that was punched on one end with the Scallop Tag Topper Punch! I tied the tag onto the bow with some Baker’s Twine – either Cherry Cobbler or just Whisper White! Love it!!!

If you would like to see this gift box packaging in action, check out my Video Tutorial below! Be sure to give it a thumbs up if you like it! I will be posting more gift packaging videos over the next couple of weeks so be sure to subscribe to both my blog and my YouTube Channel!

Happy Giftin’

~Laura


Technique Tuesday – Coloring with Your Clear Blocks!

Posted on

Happy Tuesday!!! You know what that means…..I have a fabulous technique to share with you today! You know that the Clear Blocks are used with our Clear Stamp Sets. Just stick the stamp (cling side) onto the clear block and tap tap tap into the ink and then onto your paper! BUT did you know that you can tap tap tap your clear block into the ink and then stamp it on the paper???

Thoughts & Prayers, Clear Block Stamping, www.LaurasStampPad.com

This card is just amazing with beautiful branch image and the monochromatic color scheme! Are you wondering how I created that Pistachio Pudding square? With my Clear Block!!!!

Supplies Needed: Clear Block of you choice, Ink Pad

The supply list is short for this technique and it is really simple to do! Just tap your clear block into your ink pad color of choice. Tap Tap Tap! Then stamp the clear block onto your cardstock. Be sure to press firmly and all over the clear block to ensure better coverage. Disclaimer: This comes out different each time (kind of like watercoloring! Sometimes it comes out very bold, sometimes just an outline with a little ink in the middle, sometimes it is more solid and others it looks like there is a pattern to it. This one above came out very good! I then stamped the branch and greeting from the Thoughts & Prayers Stamp Set in Basic Black. I wrapped some Baker’s Twine around twice and tied a bow! To finish it off, I added a Pistachio Pudding butterfly that was punched with the Elegant Butterfly Punch and added a few Pearls!

Thoughts & Prayers, Clear Block Stamping, www.LaurasStampPad.com

You can see this one was created in Lost Lagoon and the block was a little more spotty and there is a line diagonal across the square. I am not sure how it got there but you just never know how this technique will turn out! I used some of the NEW Lost Lagoon Taffeta Ribbon on this card! I love that ribbon! To clean your clear block, you can just rub it on your Stampin’ Scrub or run it under water and use a paper towel to dry it off! Simple as that! Here is a quick Video Tutorial to show you this technique in action!

Let me know what you think of this technique in the comment below or give the video a thumbs up if you liked it!

Happy Stampin’

~Laura


Technique Tuesday – Filter Paper Flowers!

Posted on

Happy Tuesday!!!! You know what that means…..I have a fabulous technique for you! Have you heard of Filter Paper or seen it in the catalog and wondered how do you use that?? Well today I’m going to show you a few ways to use it!!!

Creped Filter Paper Flowers, www.LaurasStampPad.com

How fabulous is this card? Eee And it says Fabulous!!!!! 🙂 I love it! That amazing 3D flower was created with the Filter Paper. Let’s get started on how to create it.

Supplies Needed: Filter Paper, Punch or Framelit, Handheld Hole Punch, Brad or Staple

For the flower above, I punched out 4 Blossom Punch Filter Flowers and 4 Pansy Punch Flowers. TIP: When punching the Filter Paper, it helps to place a piece of scrap paper in there as well to make it more stiff and punch better! You can punch at least 4 layers and 1 layer of scrap at a time! Now you will lay all of your flowers on top of each other and you can either staple them in the center or add a Brad after punching a hole with your Handheld Punch! Now one by one pull the flowers up and scrunch to the center. You will repeat this until all flowers have been scrunched to the center. Now you can fluff it until you get the desired look. At this point, you can spritz your flower using re-inker and alcohol or water or you can leave it white and brush the edges with your Sponge Daubers. In the photo above, I spritzed the flower with Melon Mambo, let it dry and then gently touched the edges with my Elegant Eggplant Sponge Dauber to get those dark tips and color variation. I attached the flower to a card with some leaves from the Bird Builder Punch peaking out from behind and the amazing greeting if from Million & One!!!!

You can also color your Filter Paper before you get started with Sponge Daubers, Spritzers, or some ink and a Brayer!

Creped Filter Paper Flowers, www.LaurasStampPad.com

Another style of flower is the Rich Razzleberry flower above. For that flower, I used a Brayer to add the Rich Razzleberry Ink to my Rectangle piece of Filter Paper. I used a piece measuring 3″ x 12″. Once it was dry, I applied Sticky Strip to the long end of the Filter Paper, folded the filter paper over to meat the Sticky Strip. This creates a tube (kind of). Then with your Fringe Scissors, cut all along that loop of folded over Filter Paper. Be sure to only cut half-three quarters of the way down do you are cutting a piece off. Now you will apply another piece of sticky strip all along the bottom (below the loops). Starting at one end, you will roll the Filter Paper onto itself around and around to create this flower. Are you completely lost? I think I would be….so here is a Video Tutorial for you to watch! 🙂 I hope you are liking this videos. Be sure to give me a thumbs up if you are!!!!

Happy Stampin’

~Laura


Technique Tuesday – Halloween Wreath!!!!

Posted on

Happy Tuesday!!! You know what that means!!! I have a fabulous technique to share with you and today that is this amazing Halloween Wreath!!!

Frightful Wreath, www.LaurasStampPad.com

I love how I can have a fabulous wreath on my door for every season because Stampin’ Up has amazing kits!!! Check out my last one here! This kit comes with everything you need except a hot glue gun and a black ink pad for coloring your doilies.

Frightful Wreath Supplies, www.LaurasStampPad.com

You can see it comes with the foam wreath, the web, the black foo foo to wrap around the wreath, beads for the spider, ribbon, doilies, a sponge to color the doilies, and all the other pieces you need! I love that because it makes it super simple to just follow the directions and come up with an amazing home decor piece! BUT that doesn’t mean you have to follow the directions. I know there are a few rebels out there that like to create their own thing and that is perfectly fine as well. Now that I have assembled my wreath and looked at it each day because it on my Stamp Room door still, I have decided I’m going to change mine up. I feel like the spider is super adorable (and fake so I’m okay with him) but he blends into the black too easily. I am going to take off the greeting banner and stick the spider in the middle so he pops! Here is an upclose look at him!

Beaded Spider, www.LaurasStampPad.com

Also, I thought I would share this video in action. I’m sorry it isn’t my beautiful voice (hehehe, right) but one of the fabulous ladies at Stampin’ Up! While this kit doesn’t take that long to make, I’m sure if I made a video on it, it would be way longer than this one! 🙂

So my technique for you today is try out a kit! These kits are great to make as shown or you can add your own flare and mix it up a bit!

Happy Stampin’

~Laura


Work of Art Holiday Cards!!!

Posted on

We all know the Work of Art Stamp Set is fabulous and can be used in soooooo many ways but did you know you can use it for your Holiday Cards as well? Of course you can! Check out these amazing cads!

Work of Art Wreath, www.LaurasStampPad.com

Eeeeee I can’t help but squeal at how amazing this card is and how fabulous the Work of Art Stamp Set is. If you don’t have it already, click here for wood and here for clear and overnight the shipping (just kidding…..on the shipping part)!!! This card was created with Whisper White, Cherry Cobbler, and Mossy Meadow. I used the smaller swish image for the wreath and got the multiple shades by stamping a few times before going back to the ink pad! For the holly berries, I used my Cherry Cobbler Candy Dots from the Regals Pack. You can also color your Pearls or Rhinestones with your Cherry Cobbler Blendabilities and use them for the holly berries. Or you could use your Cherry Cobbler Dazzling Details!!!! Lots of options!

Work of Art Tree, www.LaurasStampPad.com

You didn’t seriously think there was only one way to use your Work of Art Stamp Set for the Holidays! This one uses the long swish image. I found it easiest to start at the bottom and stamp with the image half way off the paper. Ink up and move the stamp a bit farther to the left and stamp again, repeat until you are at the top of your paper! For this one I used Cherry Cobbler colored Rhinestones but you could use any of the items mentioned above as well! The greeting comes from the Bright & Beautiful Stamp Set! Love it!!!!

And to show you these cards in action, check out my Video Tutorial!!!! Be sure to give it a thumbs up if you like it and don’t forget to subscribe to My Channel so you don’t miss out on future videos!!!!


Happy Stampin’

~Laura