Lovely As a Tree Stamp Set has been around since the dawn of time….okay maybe not that long ago. I just recently added this set to my collection to see what the fuss was all about. Results….I’m loving it! Look how simple this card is! It makes the perfect man card for a Birthday or Father’s Day! It would also be a great Thinking of You or Sympathy card as well! You could always mix up the colors to match a season too! I used Pear Pizzazz for this card but on the tree I went a little darker – Garden Green! I used the Birthday greeting from Teeny Tiny Wishes. The Baker’s Twine adds a little texture and pattern in the background as well! Simple yet fabulous!
Do you have this stamp set in your collection? What types of cards have you created with it? Leave me a comment down below!
Happy Tuesday!!! You know what that means……I have a fabulous technique to share with you today! This one is super fun and really rather easy! The best part….you can mix and mingle a million different colors and come out with something different each time! I love that!
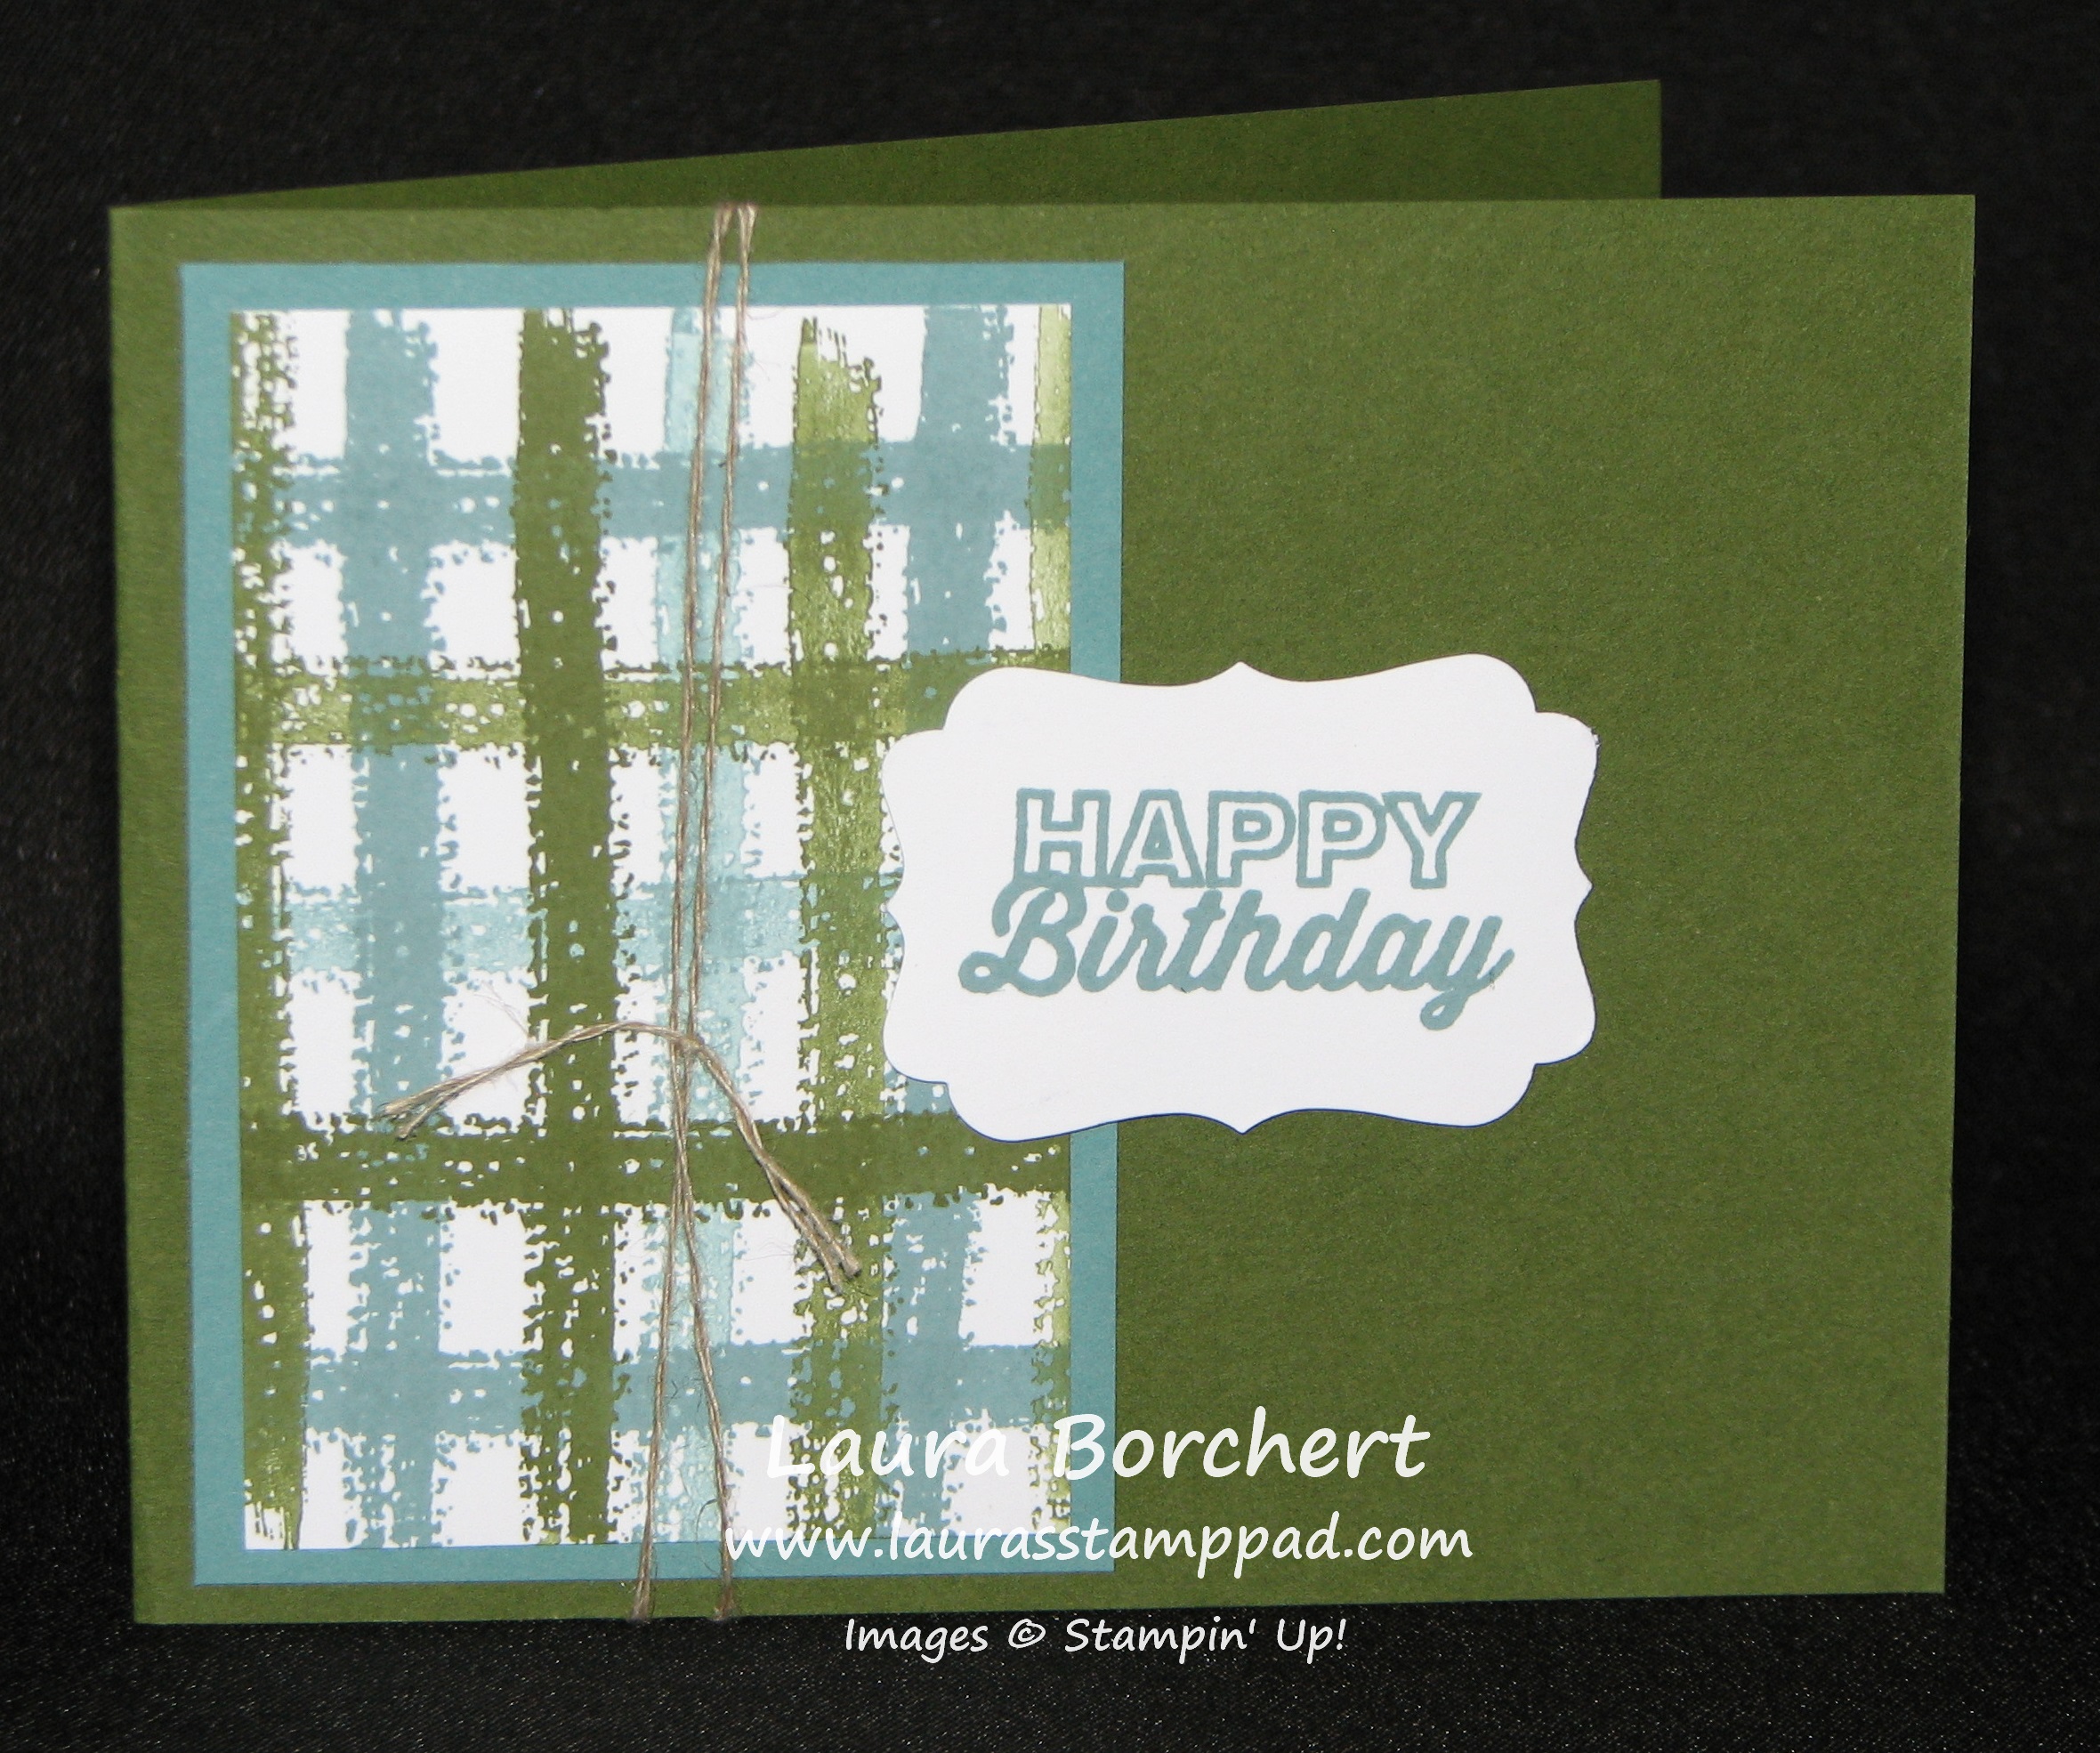
How cute is that? I mean masculine! 😉 I used the Work of Art Stamp Set! This is by far my favorite stamp set right now. You can see more samples using this set here and here!
I used the long straight image from the Work of Art Set to create this look. You can use 2-3 different colors. I found when I used a 3rd color, I always felt it was off because I either didn’t have enough of that 3rd color or it was just a mess of too many colors but I’m crazy like that. My piece of cardstock measures 3-3/4″ x 2-1/2″. I decided to use this size because it fits the stamp. You could go big and have it layer the entire card (4″ x 5-1/4″) but you would need to stamp twice to create the line all the way across. I used the NEW In-Colors – Lost Lagoon and Mossy Meadow for the card pictured above. You will ink up one of the colors and stamp down, moved about 1/4″ and stamp again without re-inking. Ink up with that color and keep doing that all the way across. Then turn your piece 90 degrees and with the 2nd color do the same thing, stamp, move up a little and stamp again without re-inking. You could also do all dark (inking and stamping) along one side and all light stamping (stamping off once) along the other side. You can mix it up to however you wish….endless possibilities! Here is a Video Tutorial for you to watch this technique in action! Be sure to like and subscribe to the video so you never miss out!
Click here to check out more videos of mine! I hope you enjoyed this technique and try it out yourself. Let me know in the comments below what you think and if you try it out, send me a photo of your project! I love seeing what you all come up with!
The Stamp Set – Gorgeous Grunge may not seem like a top pick for stamp sets….after all there aren’t any flowers in the set. BUT it is a fabulous stamp set for masculine cards (don’t we all need help there) and for amazing backgrounds. How many times do you wish you had a little splatter or random dots but when you get our your spritzers it spits all over or the splatters are too much? You get out a marker but that doesn’t look random enough. Well I have the solution for you and it comes out PERFECT every time!
See, look how fabulous those little dots/splatters are in the bottom corner. I just took the stamp and used Smoky Slate ink (same color as the cardstock) and stamped it down. Perfect! You can add it to the entire background or just in the spots you wish to have it! I love that and some of the dots are bigger and some smaller so you still get that splatter look…..it is just more controlled. 🙂 I used some of the NEW Moonlight Designer Series Paper Stack which features the new In-Colors Lost Lagoon and Hello Honey! The greeting I used came from the Remembering Your Birthday Stamp Set!
Now this card is my favorite! Something about the blue and grays together….or just the messiness of it….or something! I used Night of Navy and Smoky Slate but I think it would look great in any color….even pink and orange or yellow and red….oh the possibilities! Of course, pink and orange will take it out of the masculine category! 🙂 I used every single stamp in the Gorgeous Grunge Set for this card…the splatters, the lines, the dots, everything!
Some of the images I did in full strength ink and sometimes I stamped off once to get a lighter look! What do you think? Would you change anything or add anything? Leave me a comment down below! I would love to hear from you!
Happy Tuesday!!! You know what that means……I have a fabulous technique to show you today!!!! It is super cute and can be used as a Man Card!!!! I KNOW! I’m excited because you all know how difficult it is for me to come up with man cards since pinks and purples, bling, and flowers are my favorite things!!!! (Also, voting is still taking place on my New Catalog Giveaway, click here to vote!)
I love how you can create just about anything with a few punches! Eeeeee So fun and exciting! I created the yellow dots (Daffodil Delight) with the eyes in the Owl Punch. The enemies were created from the owl and I just snipped off the feet. I found that Real Red is good for Blinky, Blushing Bride for Pinky, Coastal Cabana for Inky, and Pumpkin Pie for Clyde. For Pac-Man, I used Daffodil Delight and punched a 1-3/4″ Circle and then slide the circle half way into the Square Punch in order to punch out his mouth. To get that little bitty eye, I used my 1/8″ Handheld Punch to punch out the eye and allow the black background to show through!!!! How simple is that? To see this in action, check out my Video Tutorial here. If you love it, be sure to give it a thumbs up! And don’t forget to Subscribe to my Channel so that you don’t miss out on any of my videos! 🙂
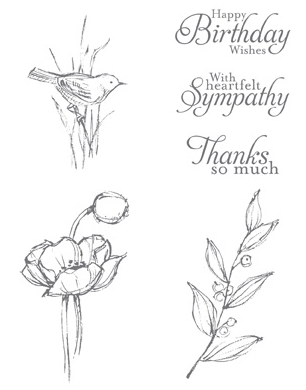
I got the Simply Sketched Hostess Stamp Set as one of my first Hostess Sets. At first glance it is not a stamp set that I am usually drawn to but for some reason it caught my eye! One thing that I LOVE about it is the fact that the set includes images and greetings! I love when I can pull out one stamp set and great endless cards by mixing and matching the images. The other thing I love about this set is the fact that you can stamp the image in one color, you can color the image with markers and get multiple colors, you can stamp the image and color it in, and so much more. Here are a few samples that I have created with this stamp set!
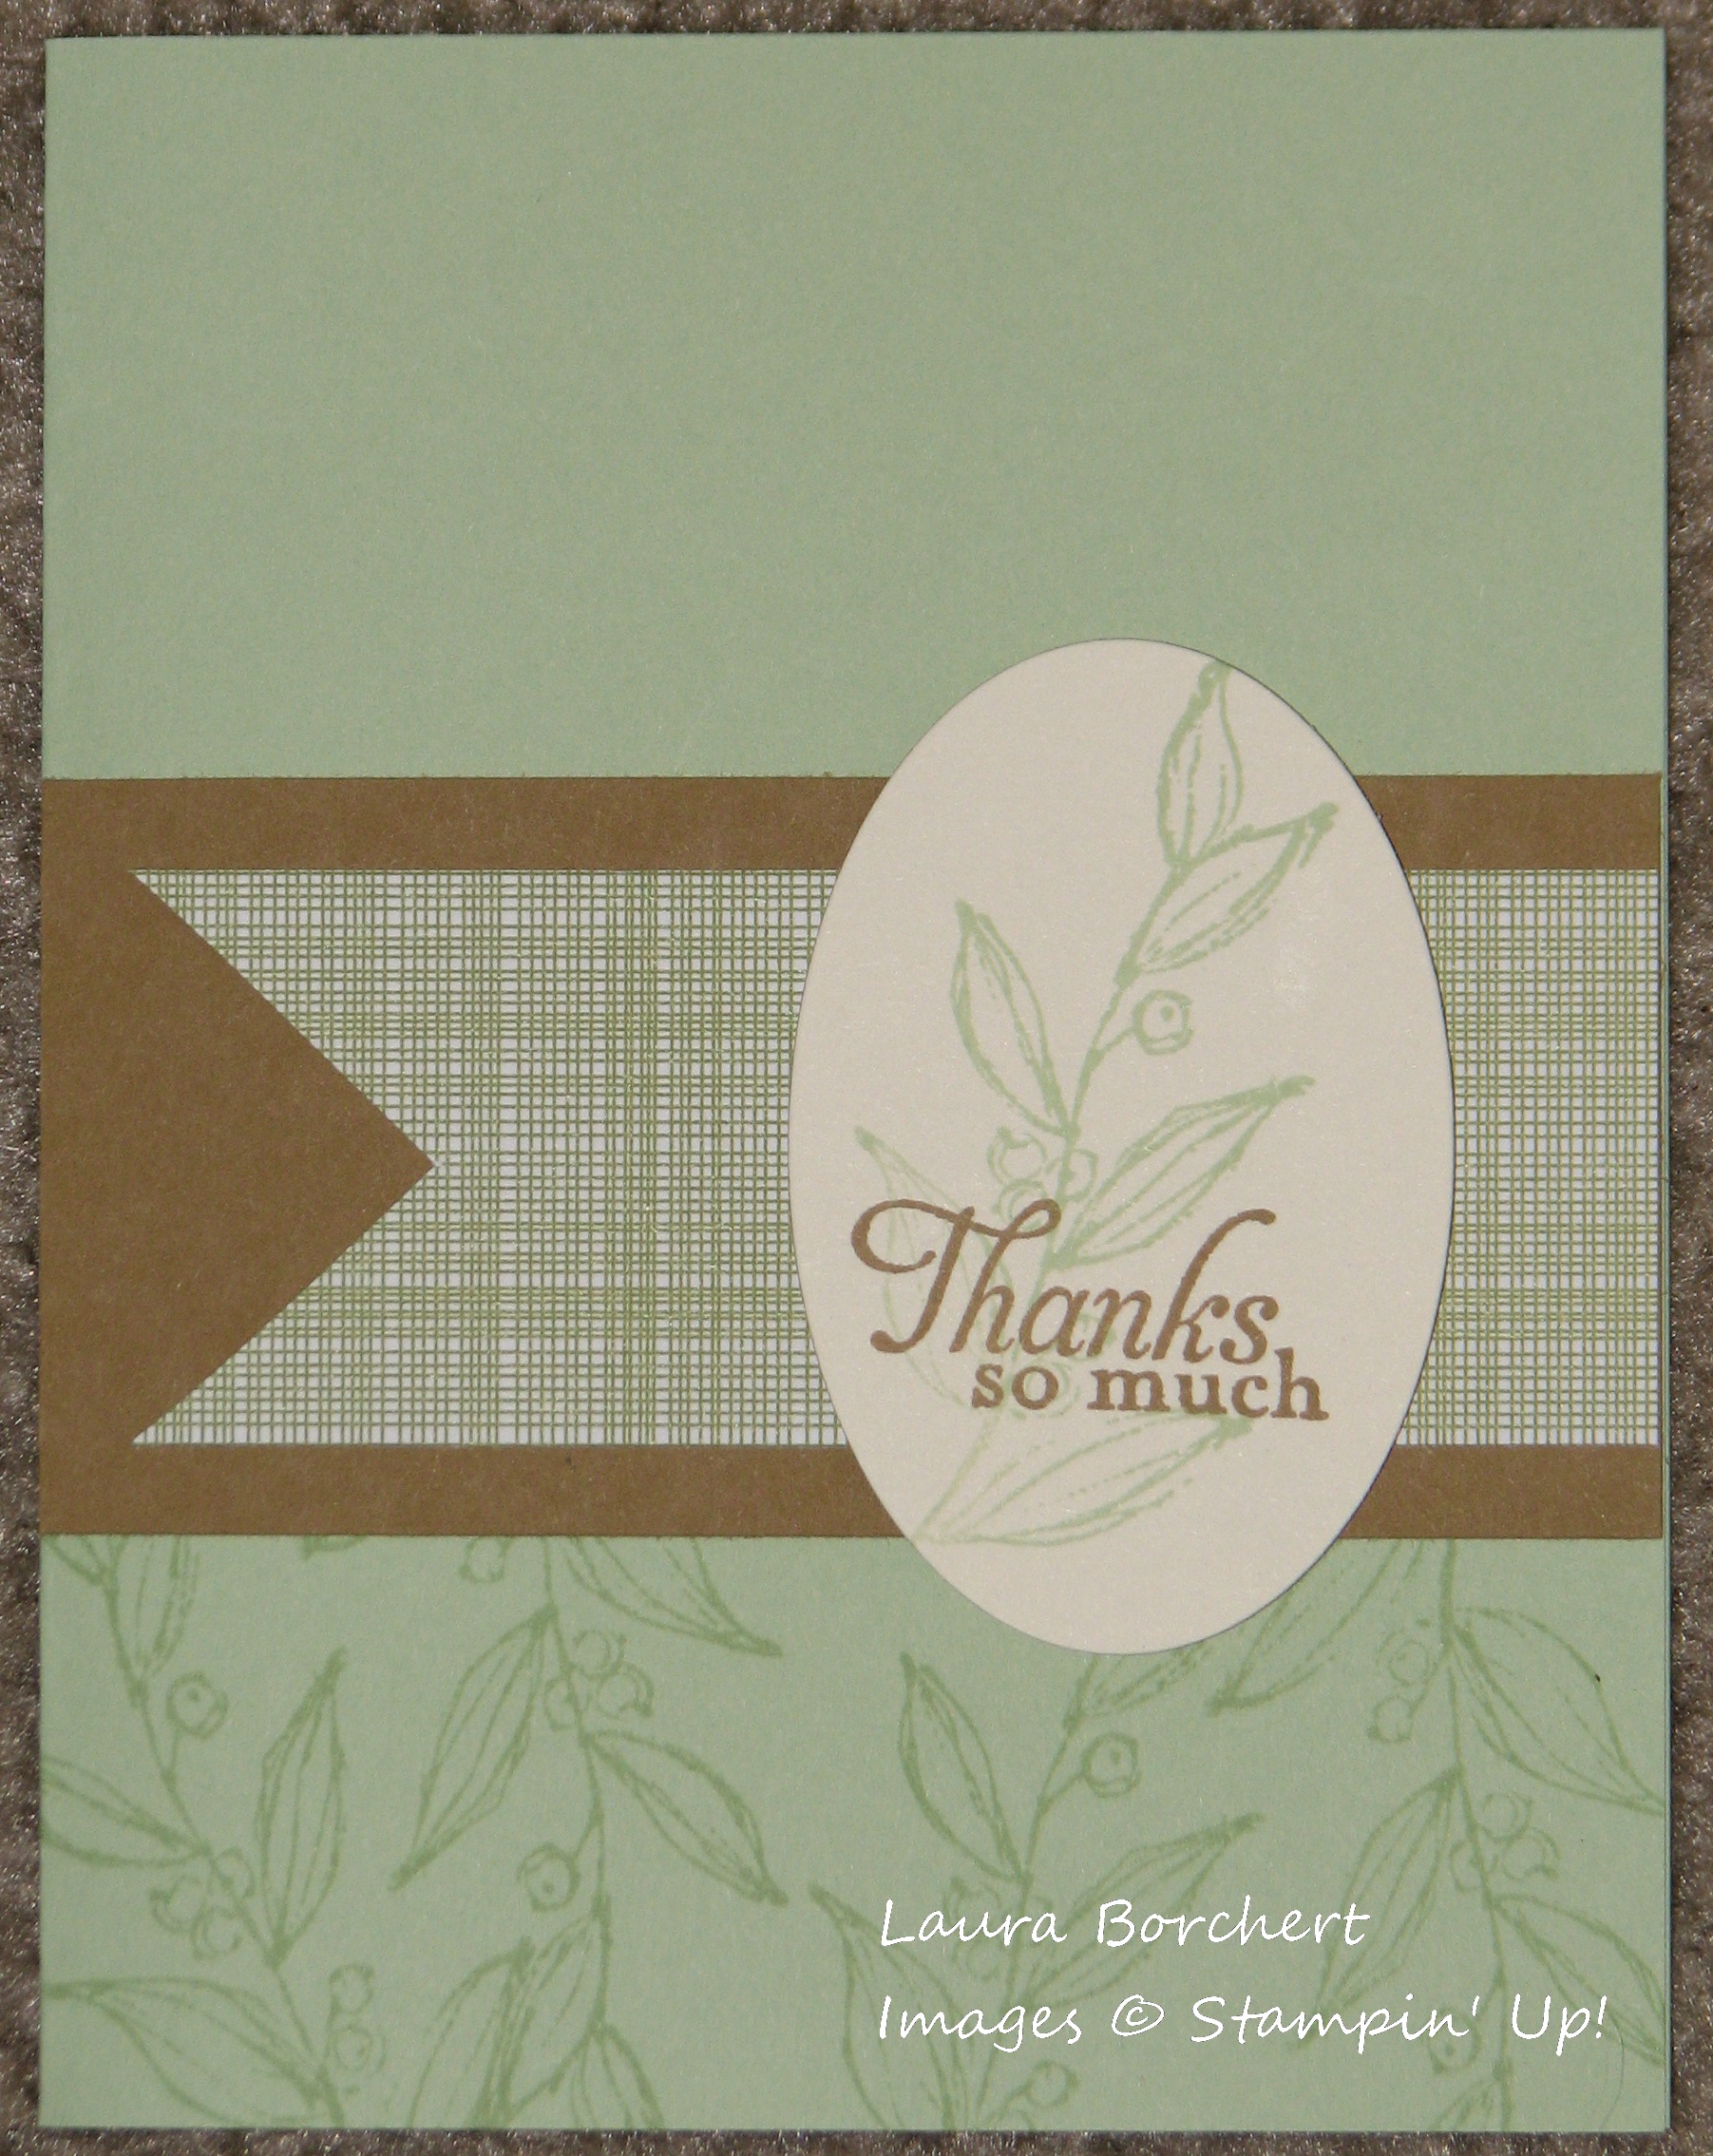
I love the simple, yet elegant look of this Thank You Card! I used the NEW In-Colors – Baked Brown Sugar and Pistachio Pudding! You could also change the greeting to be Happy Birthday and it would work well for a Man Card (see more Man Card samples here).
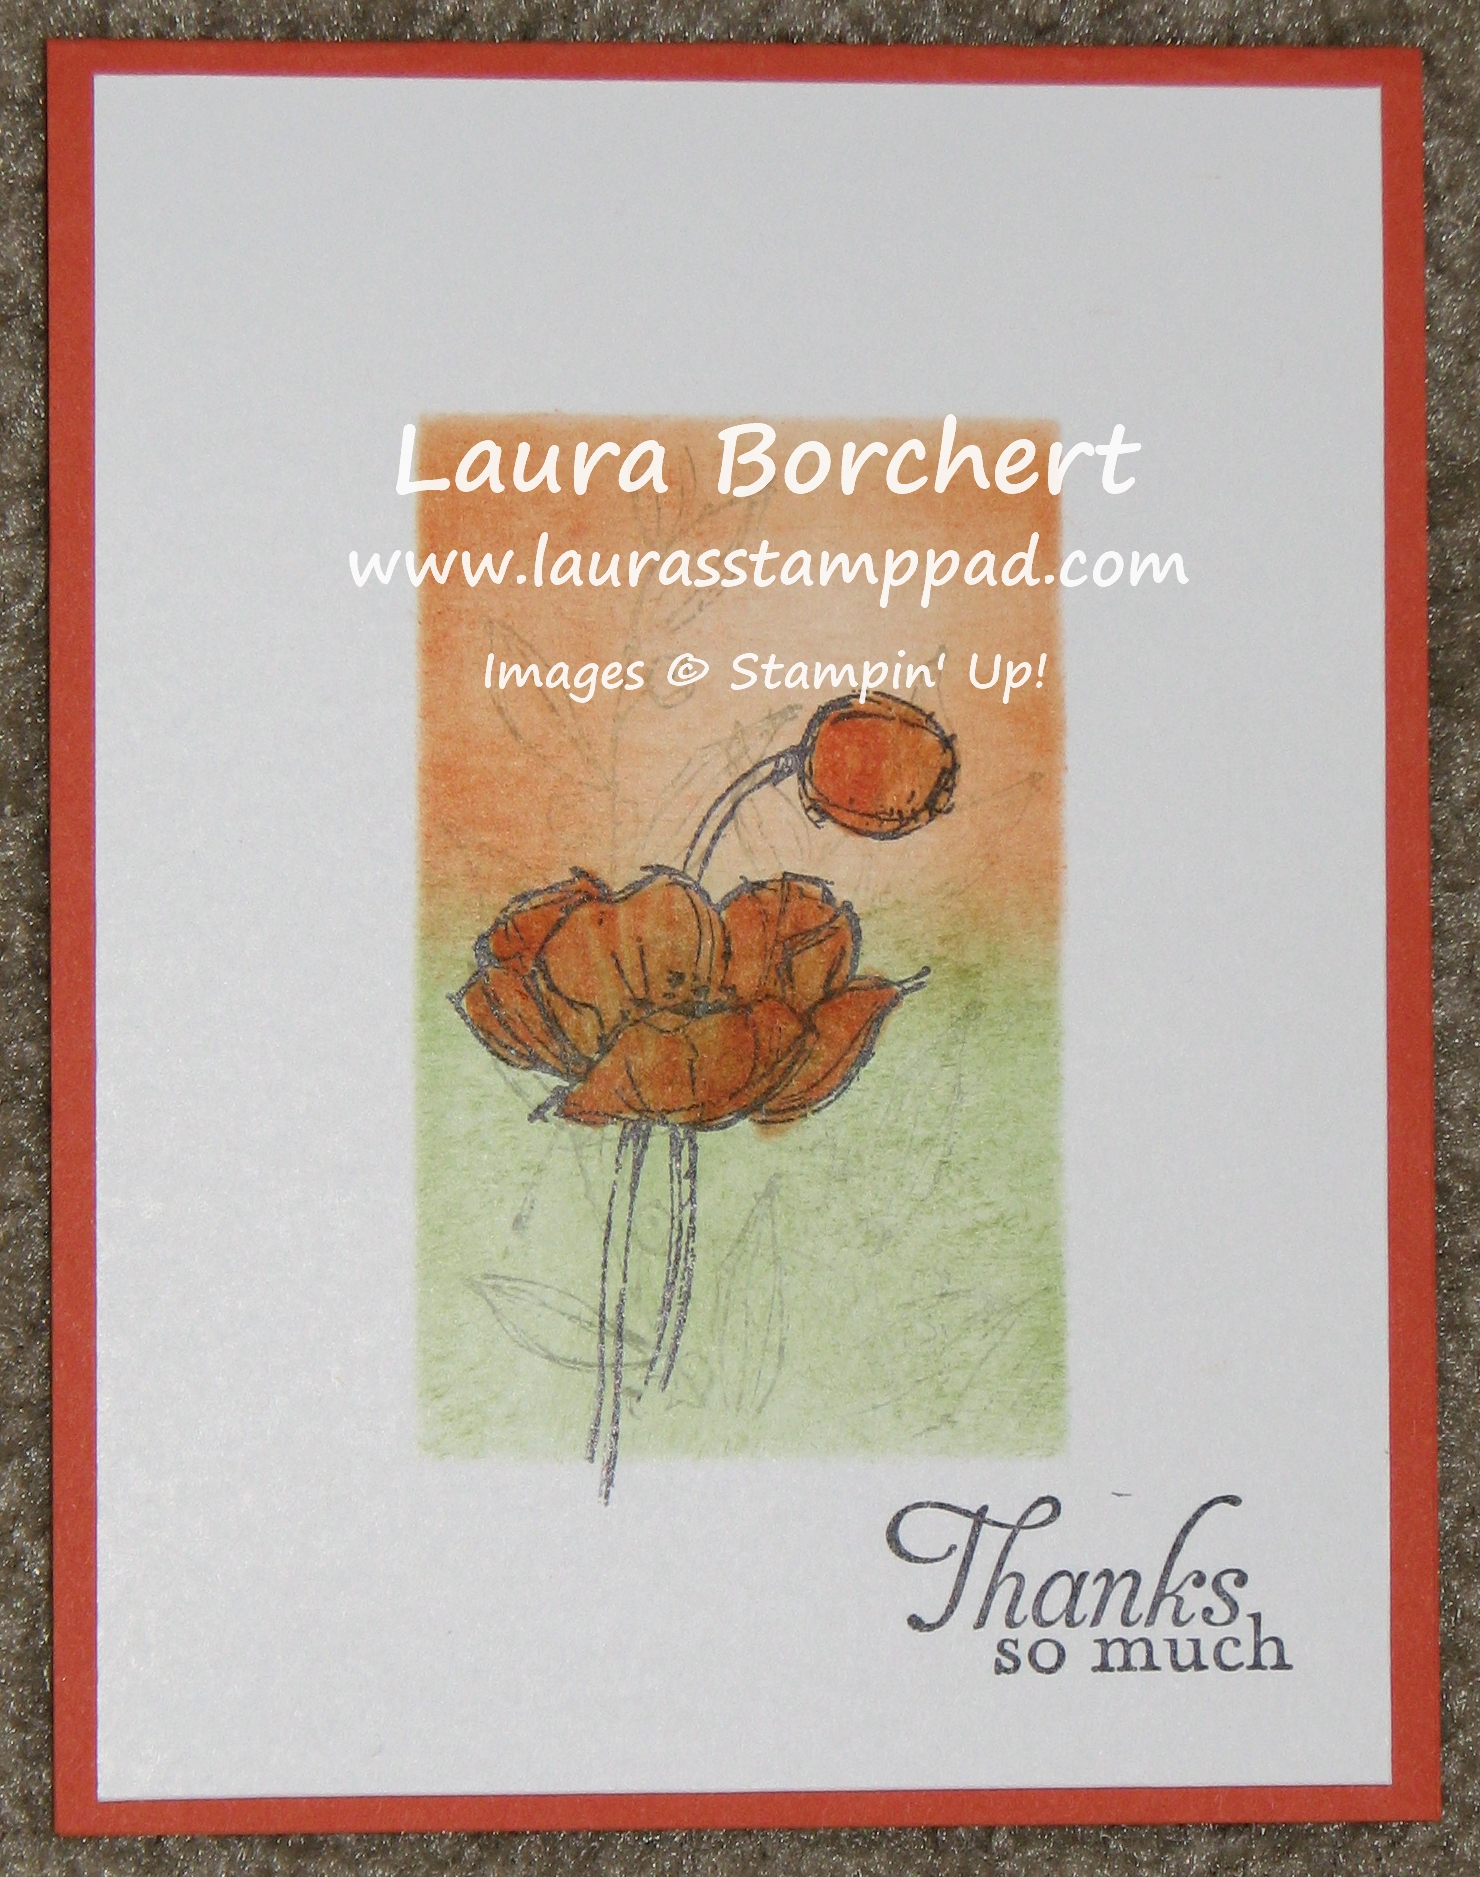
This amazing card was created with a technique called Reverse Masking! Cut out a shape from a piece of cardboard (I use the cardboard that comes in the Designer Series Paper Packs) and then use that as your mask! I cut out this rectangle and then using sponge daubers, I added Pumpkin Pie and Wild Wasabi ink. After I was done I removed the mask and stamped the poppy image with Stazon Ink and colored it in with markers! Isn’t that amazing! You have endless possibilities with color combinations and stamped images!
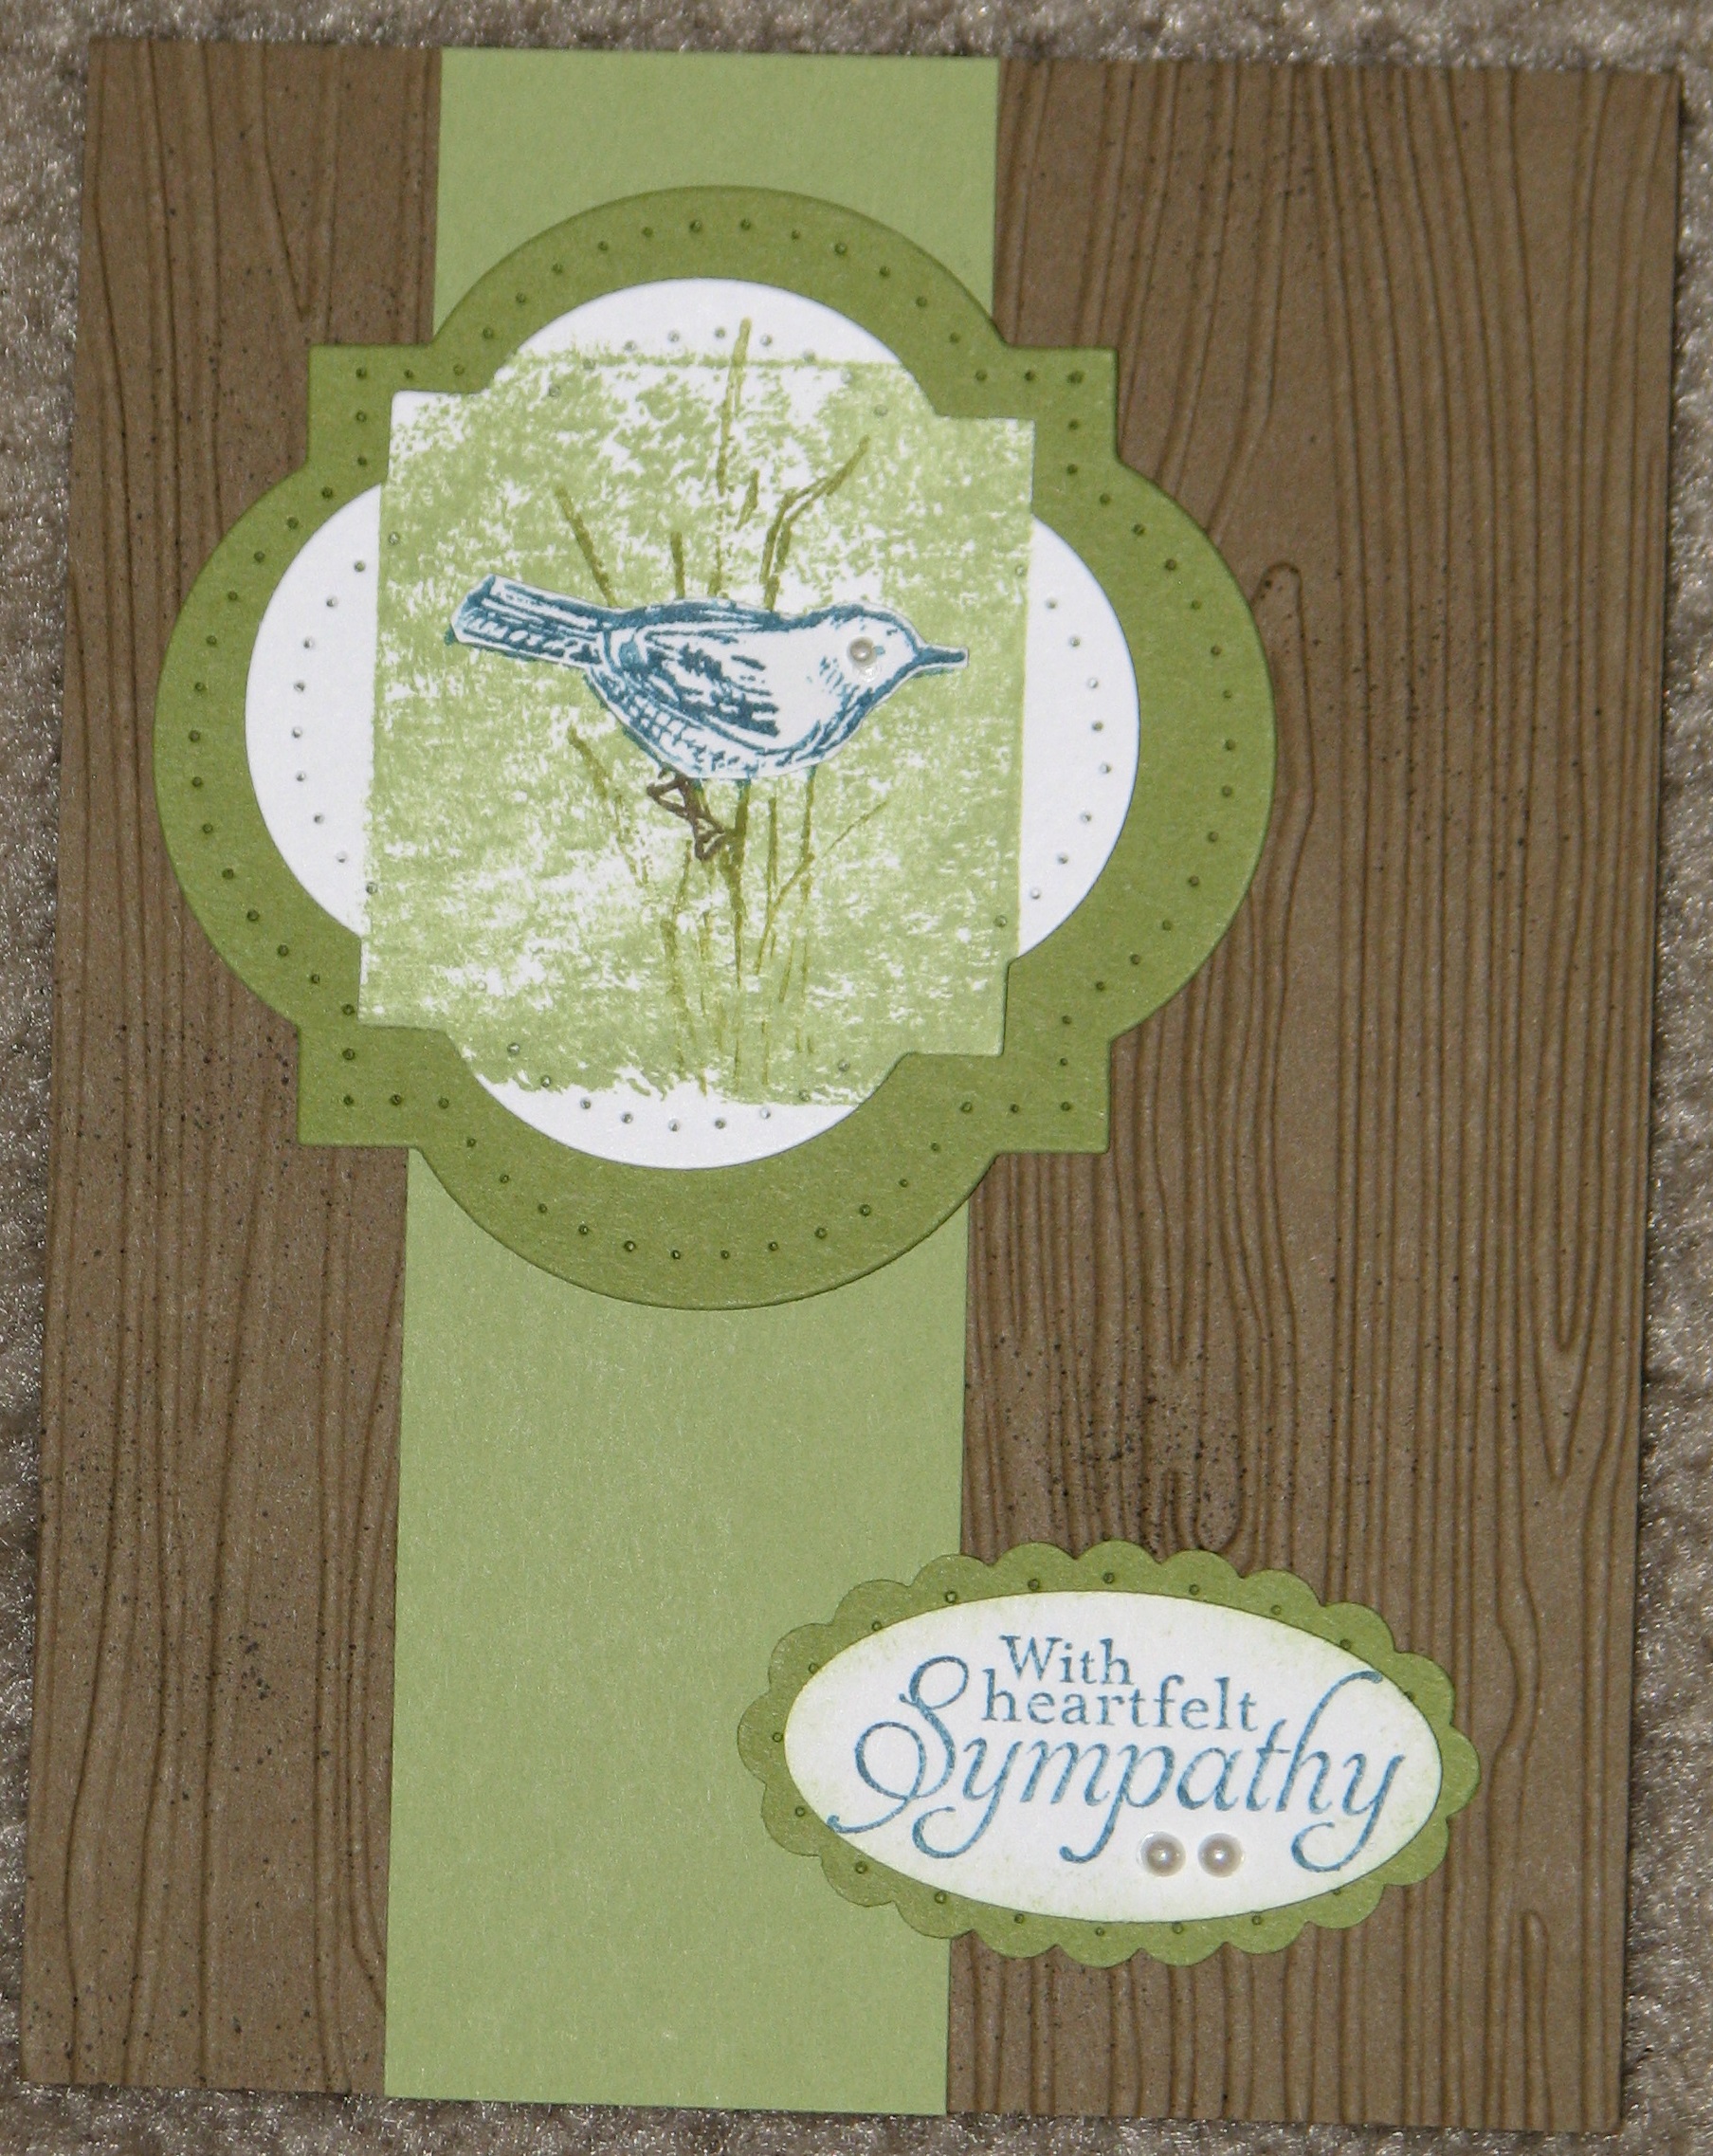
This little bird is so adorable and you can make him blue, orange, yellow, or brown! I love the blue!!! Again this is a super simple card that is perfect for a Man Card or like this one Sympathy. Not too flashy but elegant and amazing! This card is sure to brighten anyone’s day!
You can earn the Simply Sketched Stamp Set when you have a party of $150.00 or more (or you can earn it when you place an order yourself of $150.00 or more). Simply gather a few friends and pick a date! We will have a great time stamping and you can earn FREE products like this one!!! Email me today to pick a date!!!