Happy feels like Monday!!!! Today is the last day of the Holiday Mini Catalog!!! Lots of the items are on sale too! If you are one of those who gets their Christmas Cards done in January with the sale items from the season, click here to get these goodies!
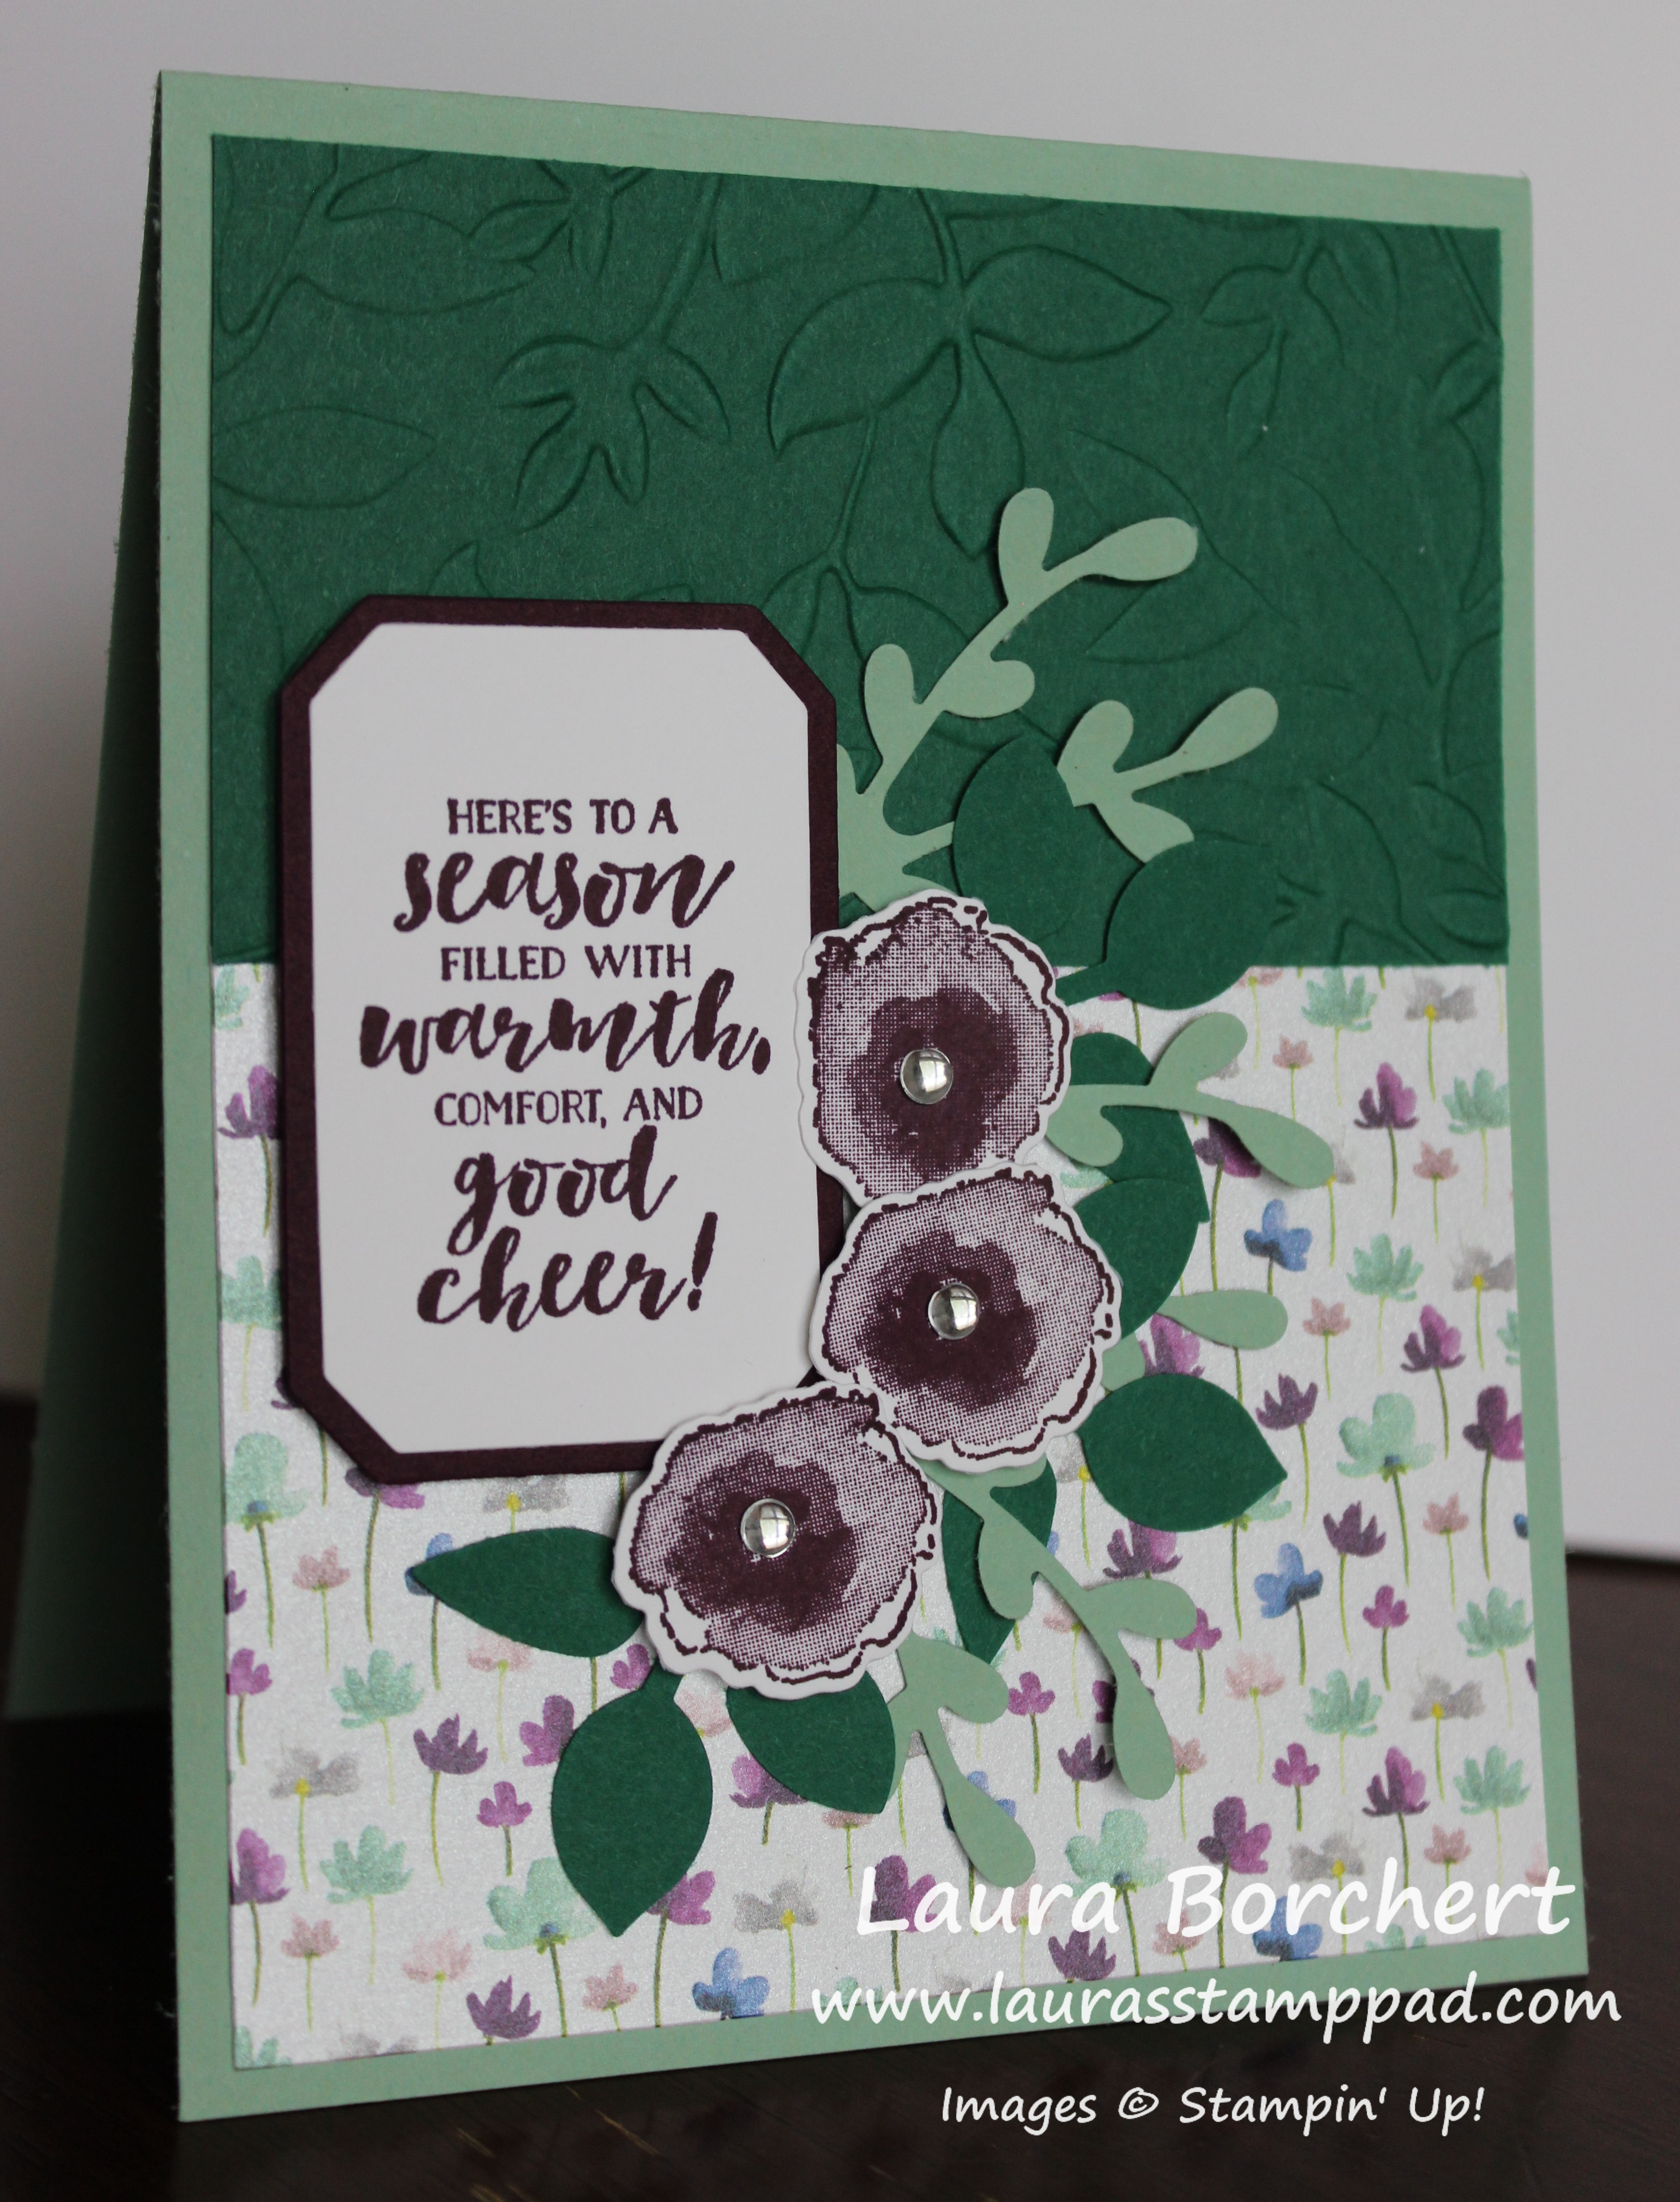
I just couldn’t not show this beautiful card. It’s got flowers, shimmer, and warmth! I used the First Frost Bundle and Frosted Floral Designer Series Paper!!! I love it so much and it’s great for lots of occasions!
I started with a Mint Macaron card base. Then I layered on a piece of the Frosted Floral Designer Paper (3″ x 4″) on the bottom. One the top, I embossed a piece of Tranquil Tide with the Layered Leave Embossing Folder and added it to the card front! For the decoration, I stamped the flowers in Blackberry Bliss from the First Frost Stamp Set. The awesome thing about die cutting these flowers out is that there are multiple flower dies in the set. This cuts your die cutting time down a lot!!! The leaves were punched using the Sprig Punch and Leaf Punch.
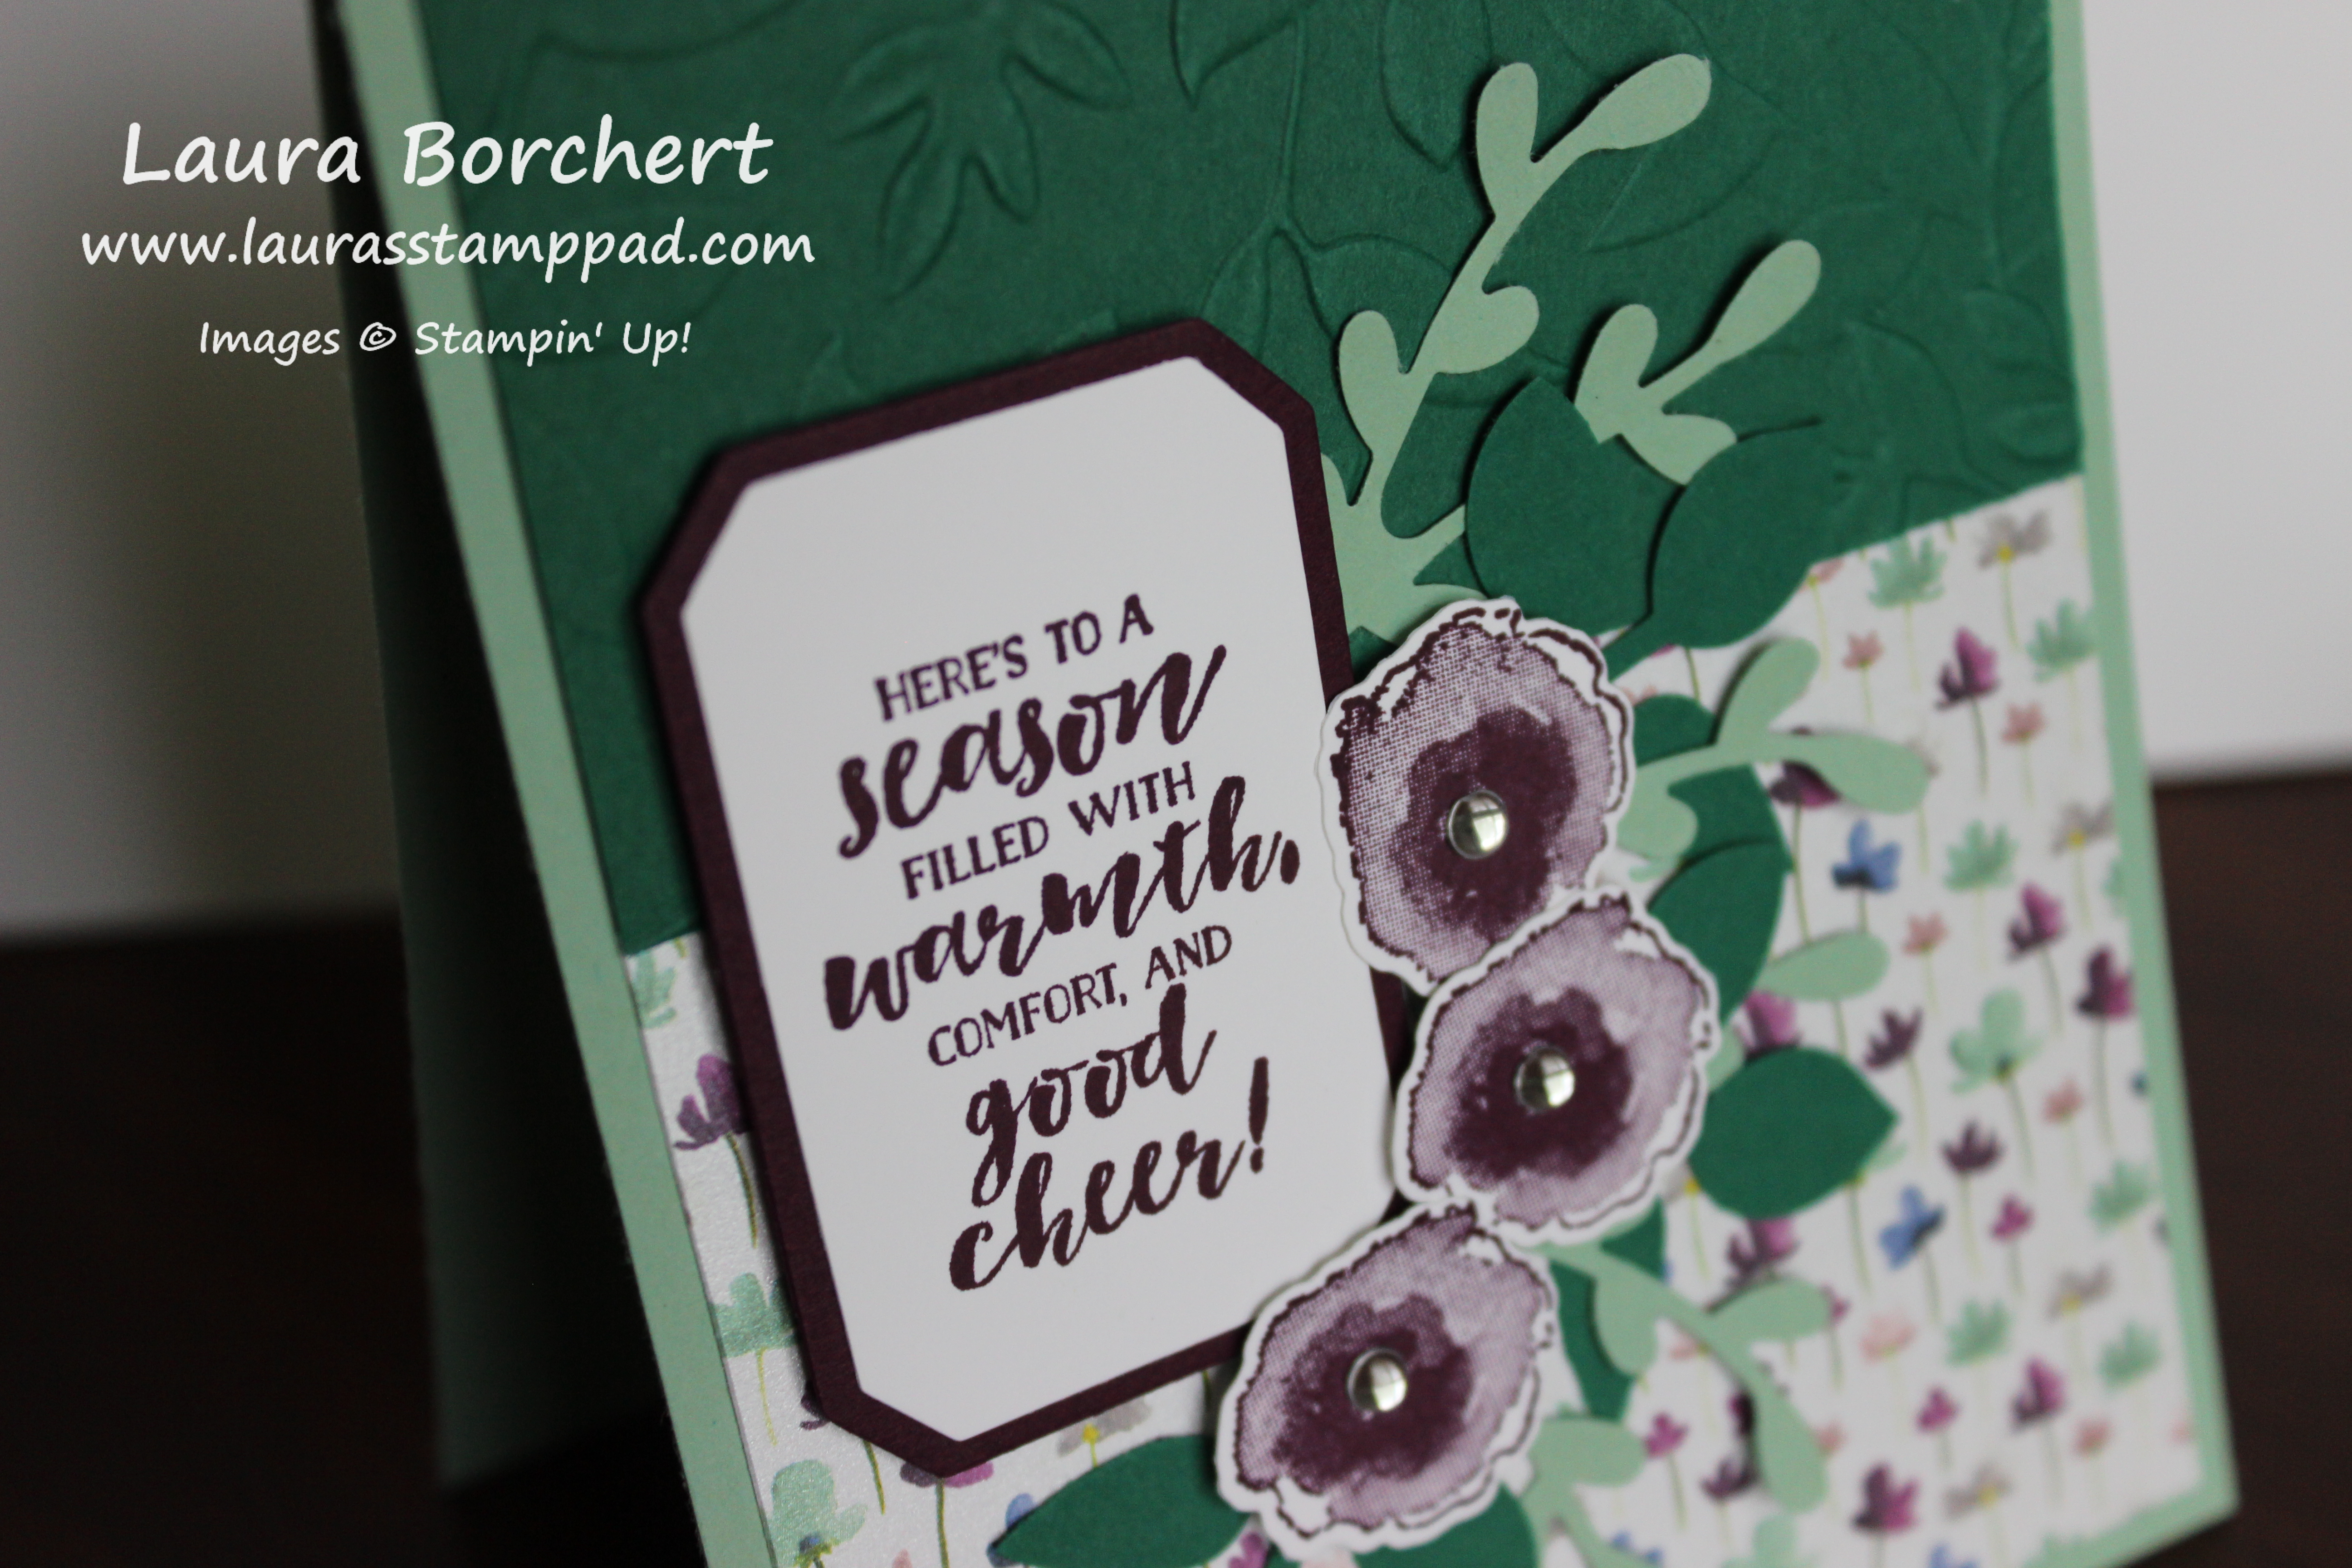
For the greeting, I used the layered greeting dies from the Frosted Bouquet Framelits. The greeting was stamped in Blackberry Bliss from the First Frost Stamp Set. I added the greeting with Stampin’ Dimensionals. Then I added all of the leaves around the greeting with Snail Adhesive. Don’t worry if there isn’t a ton of adhesive on the leaves because the flowers will also hold them on. I used Stampin’ Dimensionals on the flowers. To finish it off, I placed an Epoxy Dot in the center of the flowers for a little more shimmer!
I love this color combination so much!!! Also, I have to mention that the First Frost Bundle is not retiring with the Holiday Mini Catalog. You can still purchase this bundle through the Occasions Mini Catalog!!! Woot Woot!!! Check out the supply list for this card below! Don’t forget that the Occasions Mini Catalog and Sale-A-Bration begin tomorrow!
Happy Stampin’
~Laura
Product List


 Specialty Designer Series Paper")


 Designer Series Paper")


 Mixed Satin Ribbon")


 Circle Punch")


 Mini Ruffled Ribbon")


 Designer Series Paper")
 Striped Burlap Trim")


