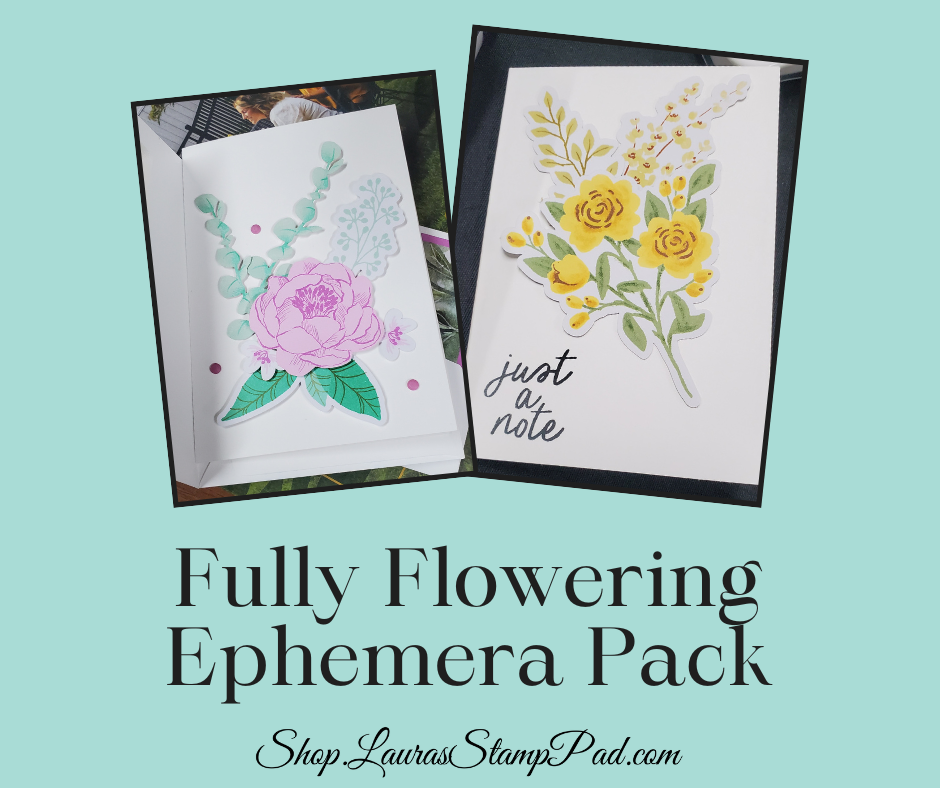
The June 2025 Paper Pumpkin Kit was called Full of Charm and it coordinates with the Floral Charm Suite! Wondering what Paper Pumpkin is?!?! It is a monthly subscription kit with a craft project and everything needed to create it all in a small box. These kits are typically cards but sometimes include treat boxes, home decor, etc. Click here to sign up for the July Kit and check it out!

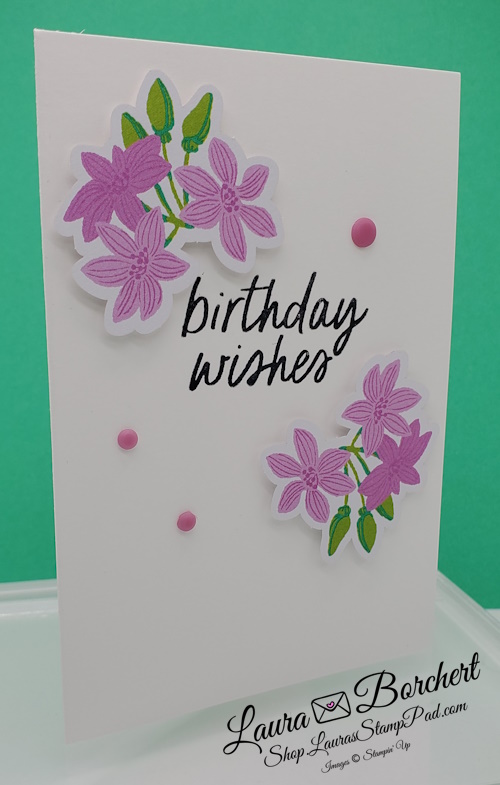
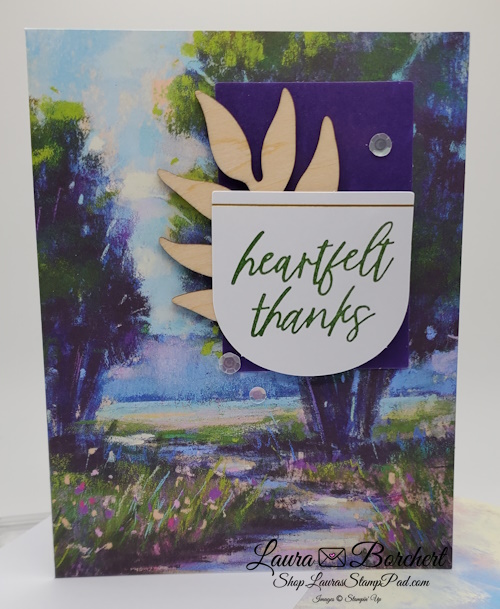
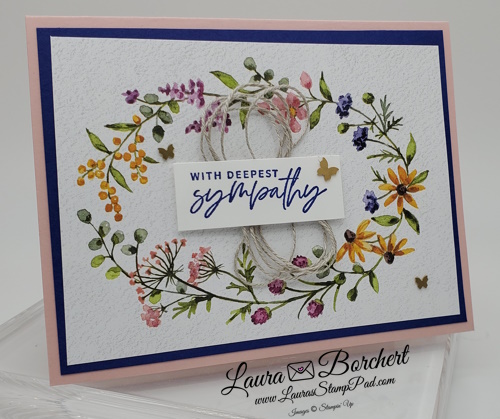
The foil print on the card base is really stunning as is. Then with the added flowers, both stamped and die cut, this card is just amazing! I love it! I created this kit with my 7 year old daughter, Claire. She created 1 and I created 2. It wasn’t until the second one that I created that I realized the greeting piece matched the foil pattern. I sort of went, well look at that….haha I’m sure that was intentional by Stampin’ Up! but it made me giggle!

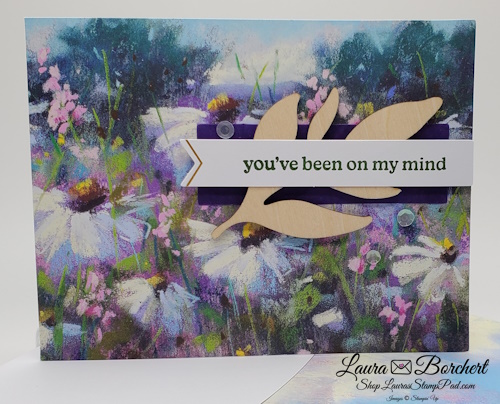
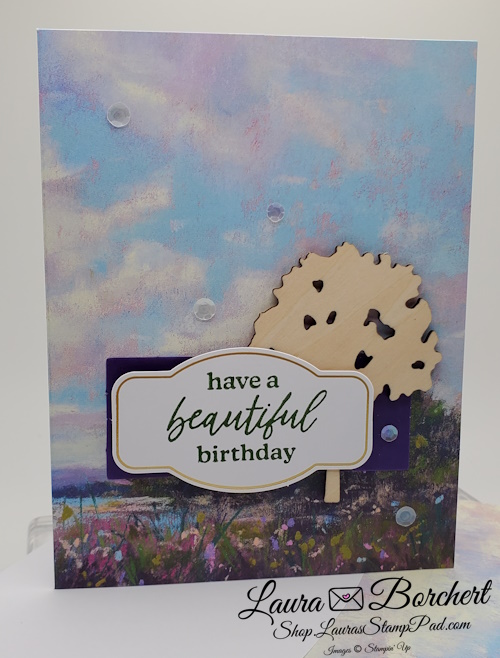
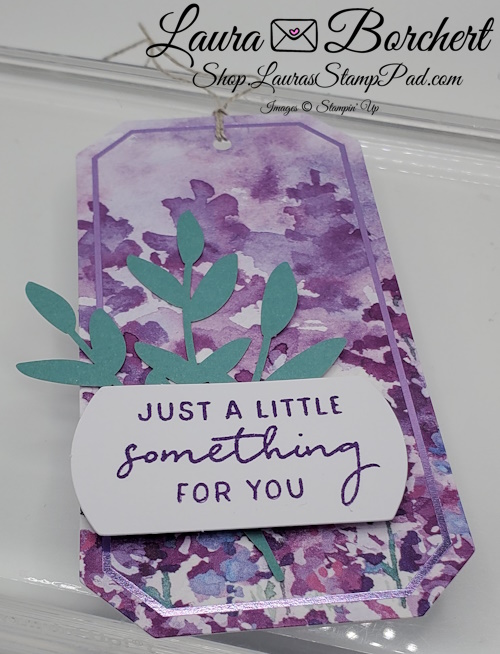
Normally, I’m not a huge fan of cards with greetings saying miss you! I always think who will I send this to but for some reason this time I thought of lots of people! Some friends of mine I haven’t seen in a long time. My sister and her family who haven’t visited for a few months. Now I almost feel like I need more than just these so I can send one to all of those I thought of! Who would you send this card to?!?!

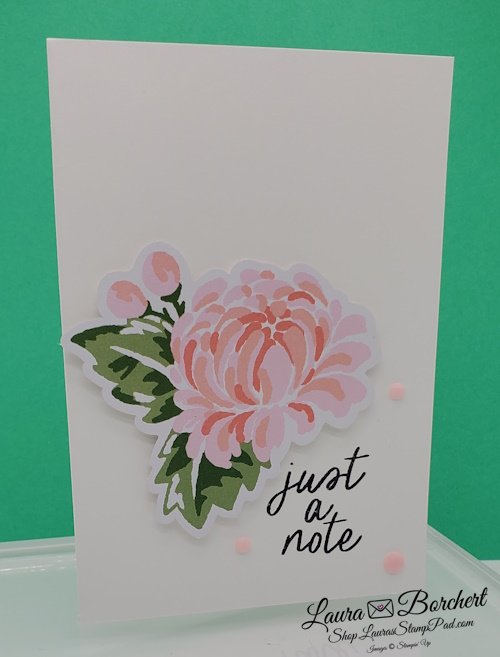
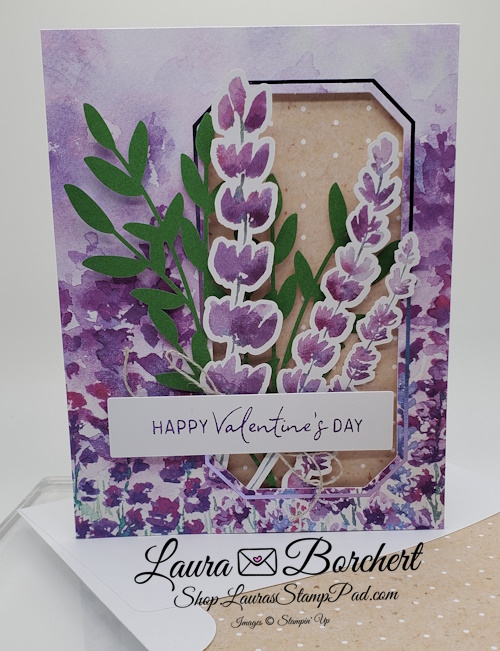
This card blows my mind. At first I saw the card base with these beautiful bright flowers and splatters of foil. It seemed so bright and cheery. Then I started to assemble it and when I put the darker outline over the flowers, it really changed the entire look! I almost wanted to create one with the outline and one without. What did you think of this card when you created it?!
Did you love the Full of Charm Paper Pumpkin Kit?! I sure did and even more I enjoyed putting it together with Claire! Stamping with friends and family always makes it so much more fun! Paper Pumpkin is perfect for taking with you on a trip or the next family visit! Be sure to sign up for the July Kit before the 10th! You have just a few days! Don’t forget you also earn Stampin’ Rewards on Paper Pumpkin too! Woot Woot!
Happy Stampin’
~Laura


![Florals In Bloom Suite Collection (English) [ 165193 ]](https://assets1.tamsnetwork.com/images/EC042017NF/165193s.jpg "Florals In Bloom Suite Collection (English) [ 165193 ]")
![Sweet Blooms Photopolymer Stamp Set (English) [ 165181 ]](https://assets1.tamsnetwork.com/images/EC042017NF/165181s.jpg "Sweet Blooms Photopolymer Stamp Set (English) [ 165181 ]")
![Floral Impressions 12" X 12" (30.5 X 30.5 Cm) Designer Series Paper [ 165603 ]](https://assets1.tamsnetwork.com/images/EC042017NF/165603s.jpg "Floral Impressions 12\" X 12\" (30.5 X 30.5 Cm) Designer Series Paper [ 165603 ]")
![Garden Green 8-1/2" X 11" Cardstock [ 102584 ]](https://assets1.tamsnetwork.com/images/EC042017NF/102584s.jpg "Garden Green 8-1/2\" X 11\" Cardstock [ 102584 ]")
![Secret Sea 8 1/2" X 11" Cardstock [ 165624 ]](https://assets1.tamsnetwork.com/images/EC042017NF/165624s.jpg "Secret Sea 8 1/2\" X 11\" Cardstock [ 165624 ]")
![Garden Green Classic Stampin' Pad [ 147089 ]](https://assets1.tamsnetwork.com/images/EC042017NF/147089s.jpg "Garden Green Classic Stampin' Pad [ 147089 ]")
![Secret Sea Classic Stampin' Pad [ 165285 ]](https://assets1.tamsnetwork.com/images/EC042017NF/165285s.jpg "Secret Sea Classic Stampin' Pad [ 165285 ]")
![To The Point Label Punch [ 164568 ]](https://assets1.tamsnetwork.com/images/EC042017NF/164568s.jpg "To The Point Label Punch [ 164568 ]")
![2025–2027 In Color™ Flat Pearls [ 165192 ]](https://assets1.tamsnetwork.com/images/EC042017NF/165192s.jpg "2025–2027 In Color™ Flat Pearls [ 165192 ]")


")

")


")


")
 Designer Series Paper")


