I think that Pink & Gold go hand in hand. Every girl needs a little bling in her life whether it is gold or silver!!!

These colors are just so fabulous together! Don’t forget that the other half of the Bundle of Love Designer Paper is a beautiful blue!!!
For this card, I started with a Blushing Bride card base. Then I cut a piece of Gold Foil Paper measuring 4″ x 5-1/4″. Rather than wasting all of it by covering it up, I die cut the scallop circle out of the middle before layering on the Designer Paper. I used the Layering Circles Framelits for the scallop and smooth circle! Once I had cut out the middle, I layered on the Bundle of Love Designer Series Paper. The designer paper is 3-3/4″ x 5″ and I cut it at 2″ to have a 2″ piece and a 3″ piece! It doesn’t matter which one is the gold side and which is the pink, that’s all personal preference.
After adhering those on, I added a strip of Gold Metallic Edge Ribbon around the spot where the paper comes together. This gives a nice clean look and I did adhered the ends on the back side and added it to the card base.

Now for the greeting, I stamped it from the Ribbon of Courage Stamp Set in Blushing Bride Ink. To give it a little more color and pop, I brushed the edges with a Sponge Dauber. Next, I layered it onto the scallop Gold Foil circle and added it to the card front with Stampin’ Dimensionals!
If you would like to purchase any of the products used for this card, you can see them all here:
Product List


 Metallic-Edge Ribbon")


If you would like to see this all in action, check out the Video Tutorial below or click here! Be sure to give the video a thumbs up if you liked it and don’t forget to subscribe if you are new. If you would like a notification when I post a new video, be sure to click the bell right next to the subscribe!!!
Happy Stampin’
~Laura
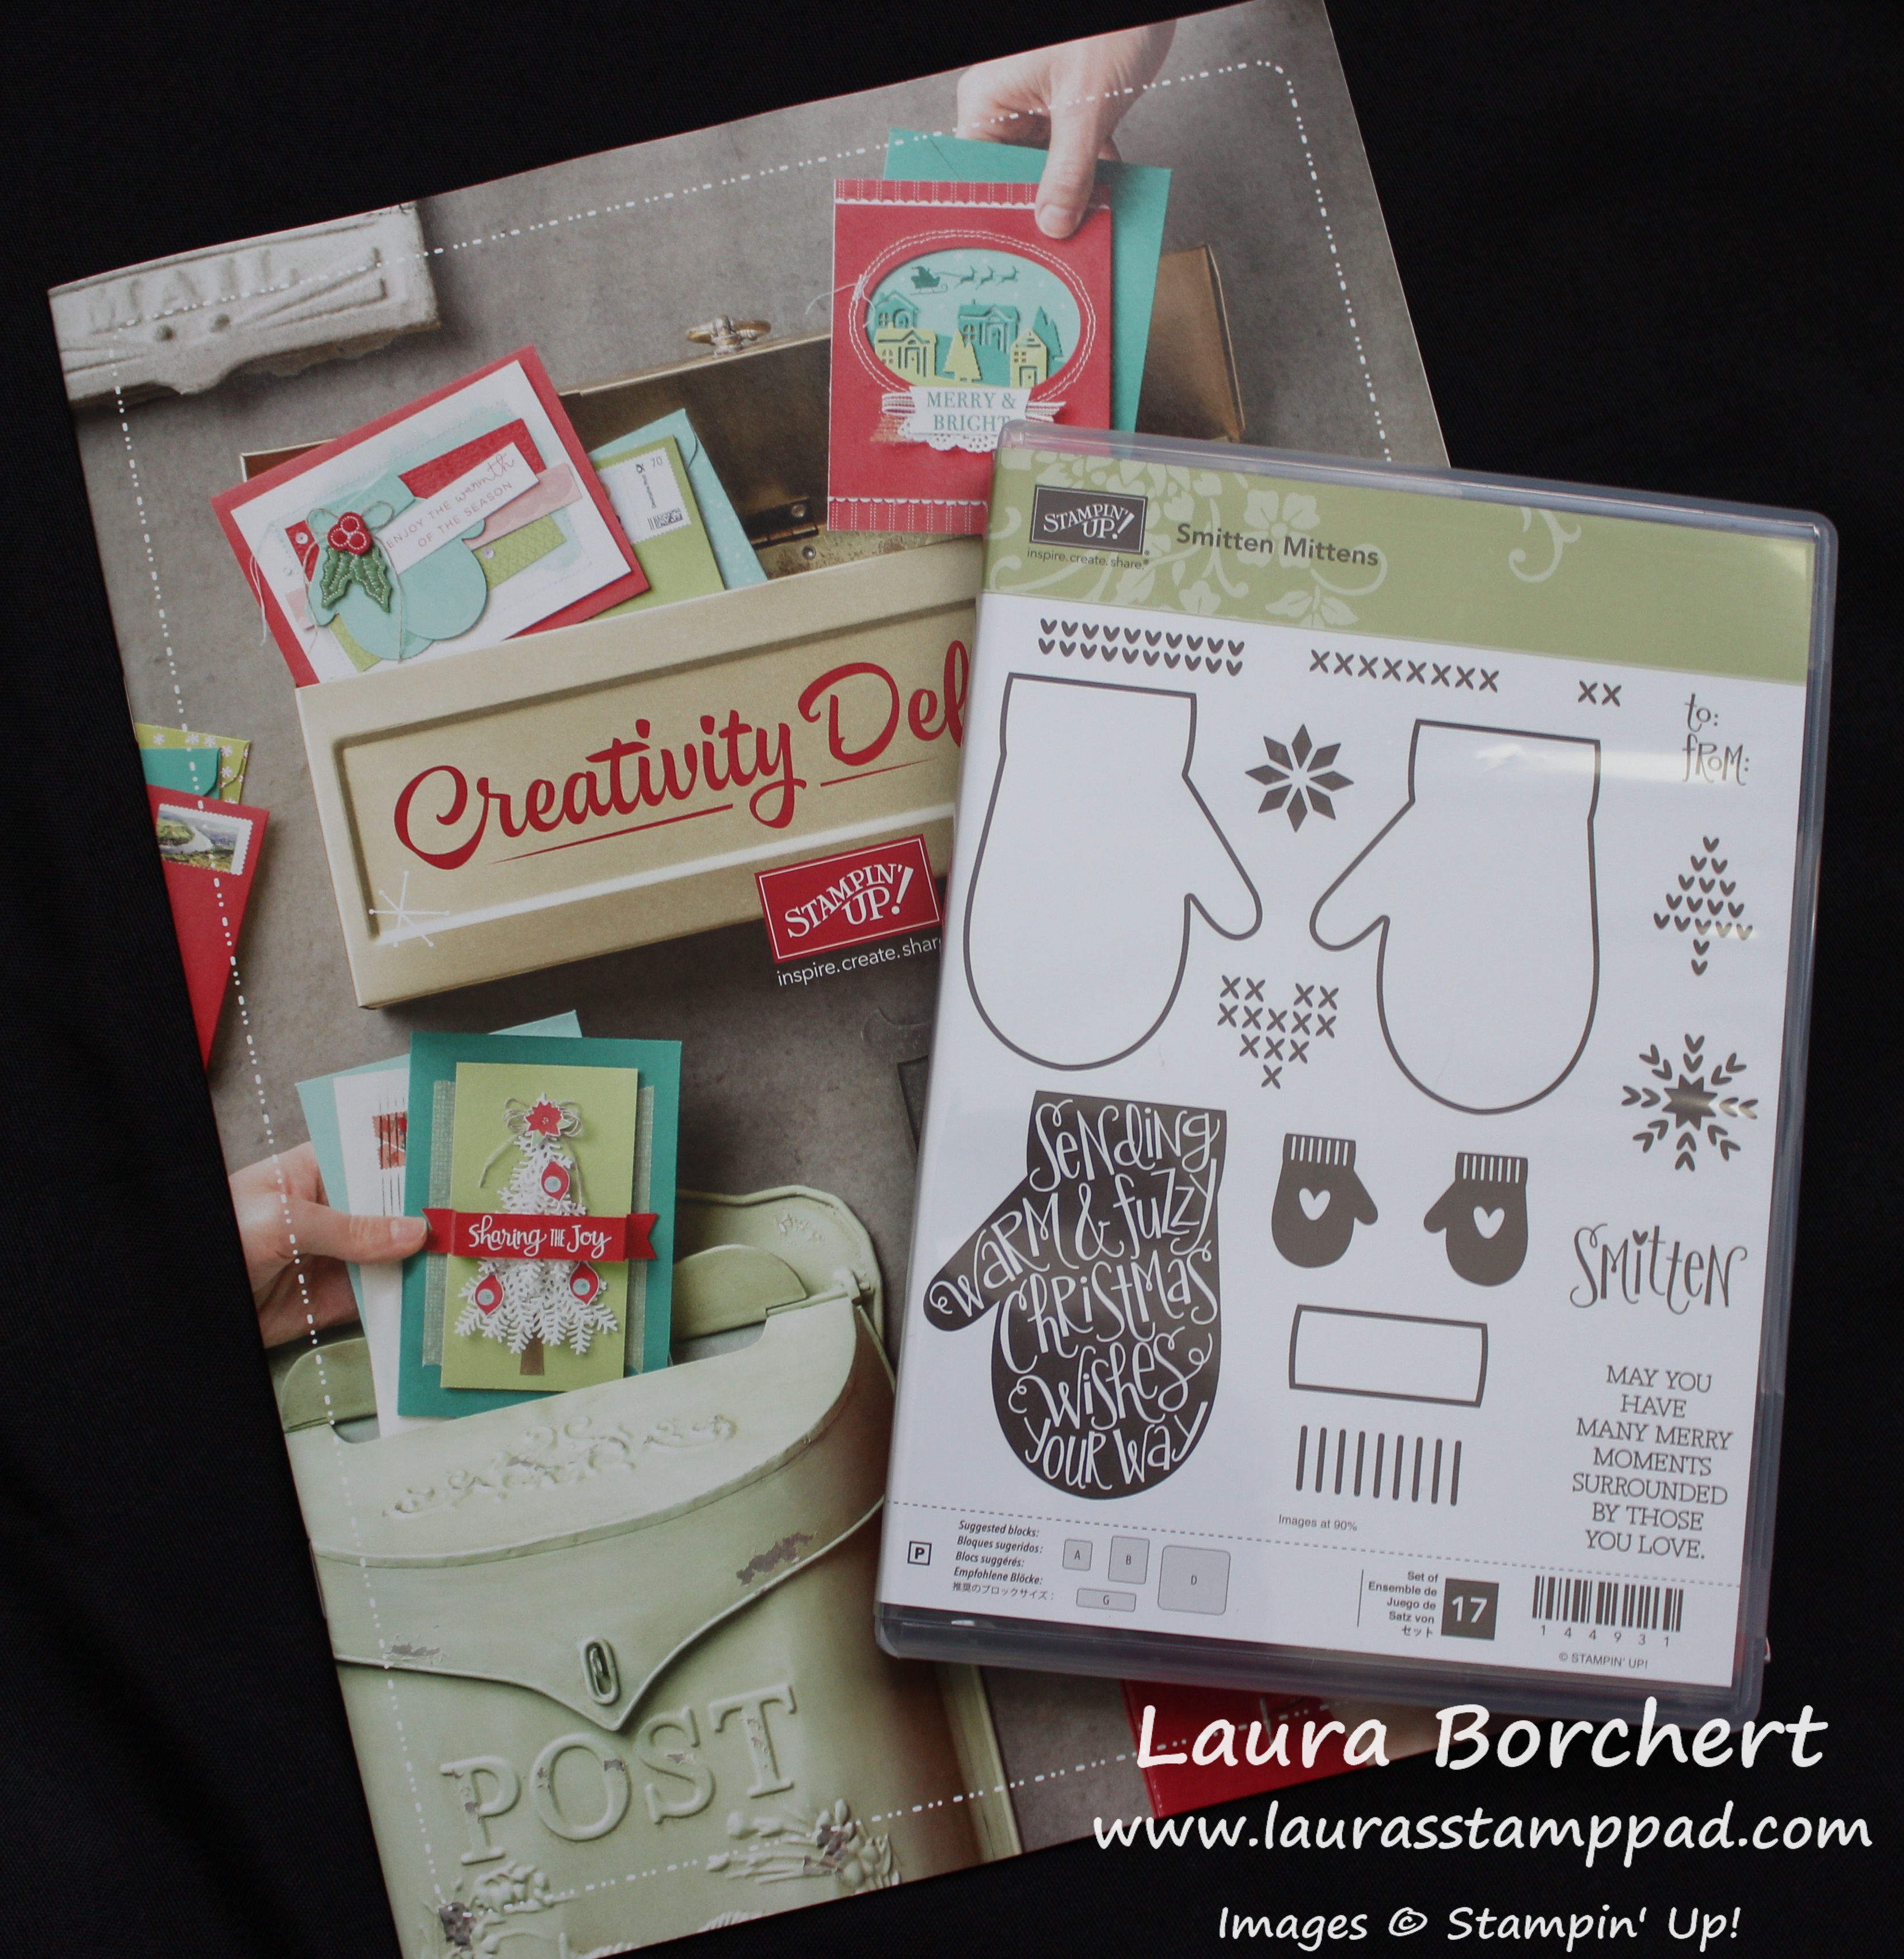
Don’t forget you can get the Smitten Mittens Stamp Set for FREE with a $75 order placed before August 31st!!! Click here for more details!