Whether you celebrate Christmas or Hanukkah or neither, I am wishing you the best day ever today (and this season)! I love spending the day with family opening presents, having wonderful food, and playing games all afternoon!!! The picture above is our Christmas Tree this year! We always get a real tree and decorate it with all of the ornaments that my husband and I have received over the years – lots of noise making ones, lots of elegant ones, ones that have a special meaning and so much more!!! I hope you have a wonderful day today celebrating! Also, thank you all who have sent cards! As you have seen in my Spreading Holiday Joy Series, I LOVE LOVE LOVE getting mail and have really enjoyed receiving all of these cards! Merry Christmas!
Happy Tuesday!!! You know what that means – Technique Time! This is the card that I created for my husband for his Birthday! Of course he is super special to me so I wanted to make sure I made a super special card for him! He is a huge gamer and LOVES Mario! With a few punches and some cardstock, this is what I have created! This was the card was created with Early Espresso as the base and mustache! Pink Pirouette was used for his face and nose! Whisper White, Basic Black and Tempting Turquoise were used for the eyes with different Oval Punches. Real Red was used for the hat! Using my sponge daubers, I added the same color as the cardstock to the nose and hat to add dimension!
The mustache was the hardest part….getting the size correct and the bump bumps (wish there was a mustache punch 😉 )!! Also, I ran it through the Big Shot with the Woodgrain Embossing Folder for a little texture!
The inside of the card had a One Up and Power Up on the left side! Those were created with my Corner Rounder Punch and Circle Punches! The Happy Birthday Greeting came from the Bring On the Cake Stamp Set! I love stamping that image and coloring in all the letters!
My husband LOVED IT! He lite up like a little kid in a candy store and then said so is this a challenge? Remember his adorable card, he “stamped” for me? I think so!!! Can’t wait to see what else we create! You can create just about anything with Stampin’ Up stamps, punches, cardstock, and embellishments!
I have changed out my Banner from the Thankful one (here) to this one!!! It was created with the Build-A-Banner kit in the Holiday Mini Catalog! I used Pool Party and Bermuda Bay for the stripes, dots, and chevron patterns. Smokey Slate was the color used for the letters! The decorations between the letter are rosettes from the Christmas Banner Simply Created Accessories Kit. I love these banners so much and plan on keeping a banner hanging in this spot all year long!!! Next one might be LOVE for Valentine’s Day or something for Spring or both!
Right now you can get the Banner Refill Kit and Christmas Banner Accessories Kit on SALE! Check out the weekly deals here! These items end tonight at midnight so get them while they are on sale!!!
Here is another fabulous card in our Spreading Holiday Joy Series!!! You can check out others here, here, and here!!! I love love love getting cards in the mail and I hope everyone I send cards to enjoys receiving them too!
This card is one of my favorites because it uses a stamp from the Tag It Stamp which supports Ronald McDonald House Charities (check out this blog post)! Of course it is just precious too!!!
First you will want to run your Whisper White cardstock through the Big Shot with only 3/4 of the paper in the Perfect Polka Dot Embossing Folder. Then you can adhere that to your Basic Black cardstock and adhere your piece of ribbon with the ends wrapping around to the back. Put that onto your Cherry Cobbler card front! Stamp your Santa image in Cherry Cobbler onto a scrap piece of white cardstock and cut it out with the matching framelit! I then colored in his boots and belt with my black marker! Attach that to your card front with Stampin’ Dimensionals! All Done! This card takes about 2 minutes to assemble once you have your pieces all cut!!!
I just love going to the mailbox this time of year! Getting a card can really brighten your day….especially when it is hand-made!!!! That is what this Series is all about – showing you great cards to make this season so you can spread Holiday Joy!!! You can check out other cards in this series here, here, and here!
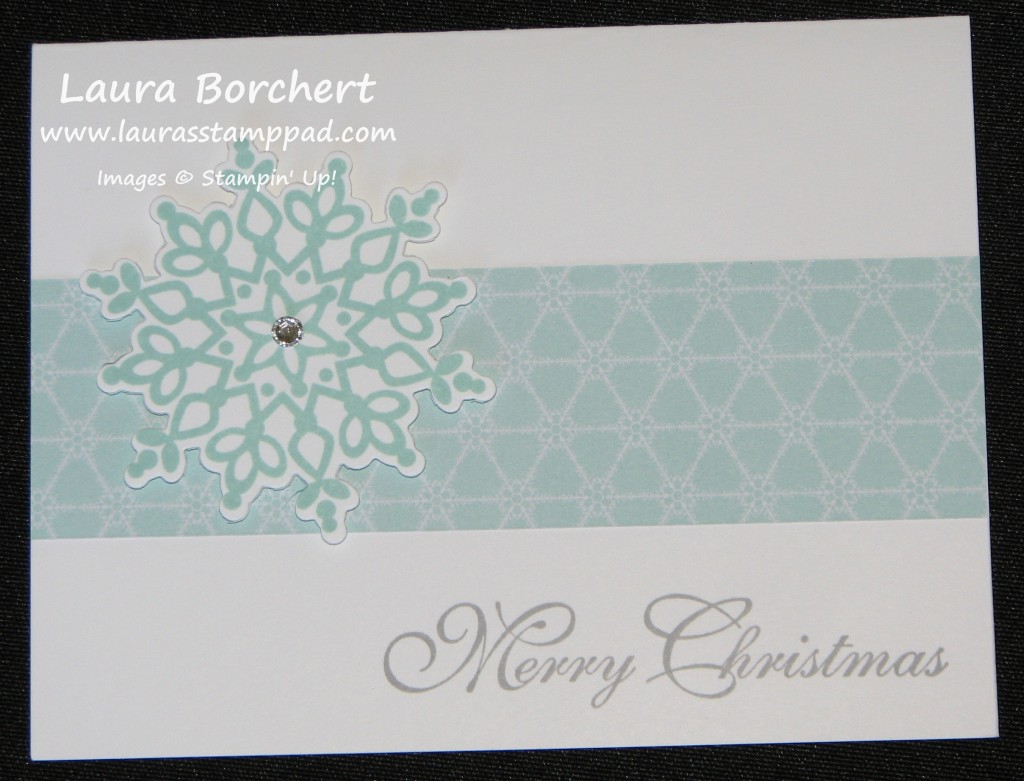
For some reason, I really really love this card and it is super simple to make! I think its the snowflake, or maybe the Pool Party color, or maybe that greeting….that is my all time favorite greeting because of the scrolly (I think that’s a word 😉 ) look to it. Here is how to make this amazing card!
I stamped the greeting on the bottom right in Smokey Slate! Stamp your snowflake image on a piece of scrap white cardstock in Pool Party and die-cut it out with the matching Framelit. Adhere your piece of Designer Series Paper to the center of the card and then using Stampin’ Dimensionals, adhere your snowflake! Finish it off with a Rhinestone in the middle of the snowflake! DONE! Super quick and simple! When doing multiples, you could probably do 10 of these in 30 minutes or so!
This Series shows lots of fabulous cards for the Holiday Season! I enjoy getting cards in the mail so I thought I would create this Series to show you fabulous cards that you can create to spread Holiday Joy throughout the season! This is the seventh card in my Spreading Holiday Joy Series! You can see the others here, here and here!
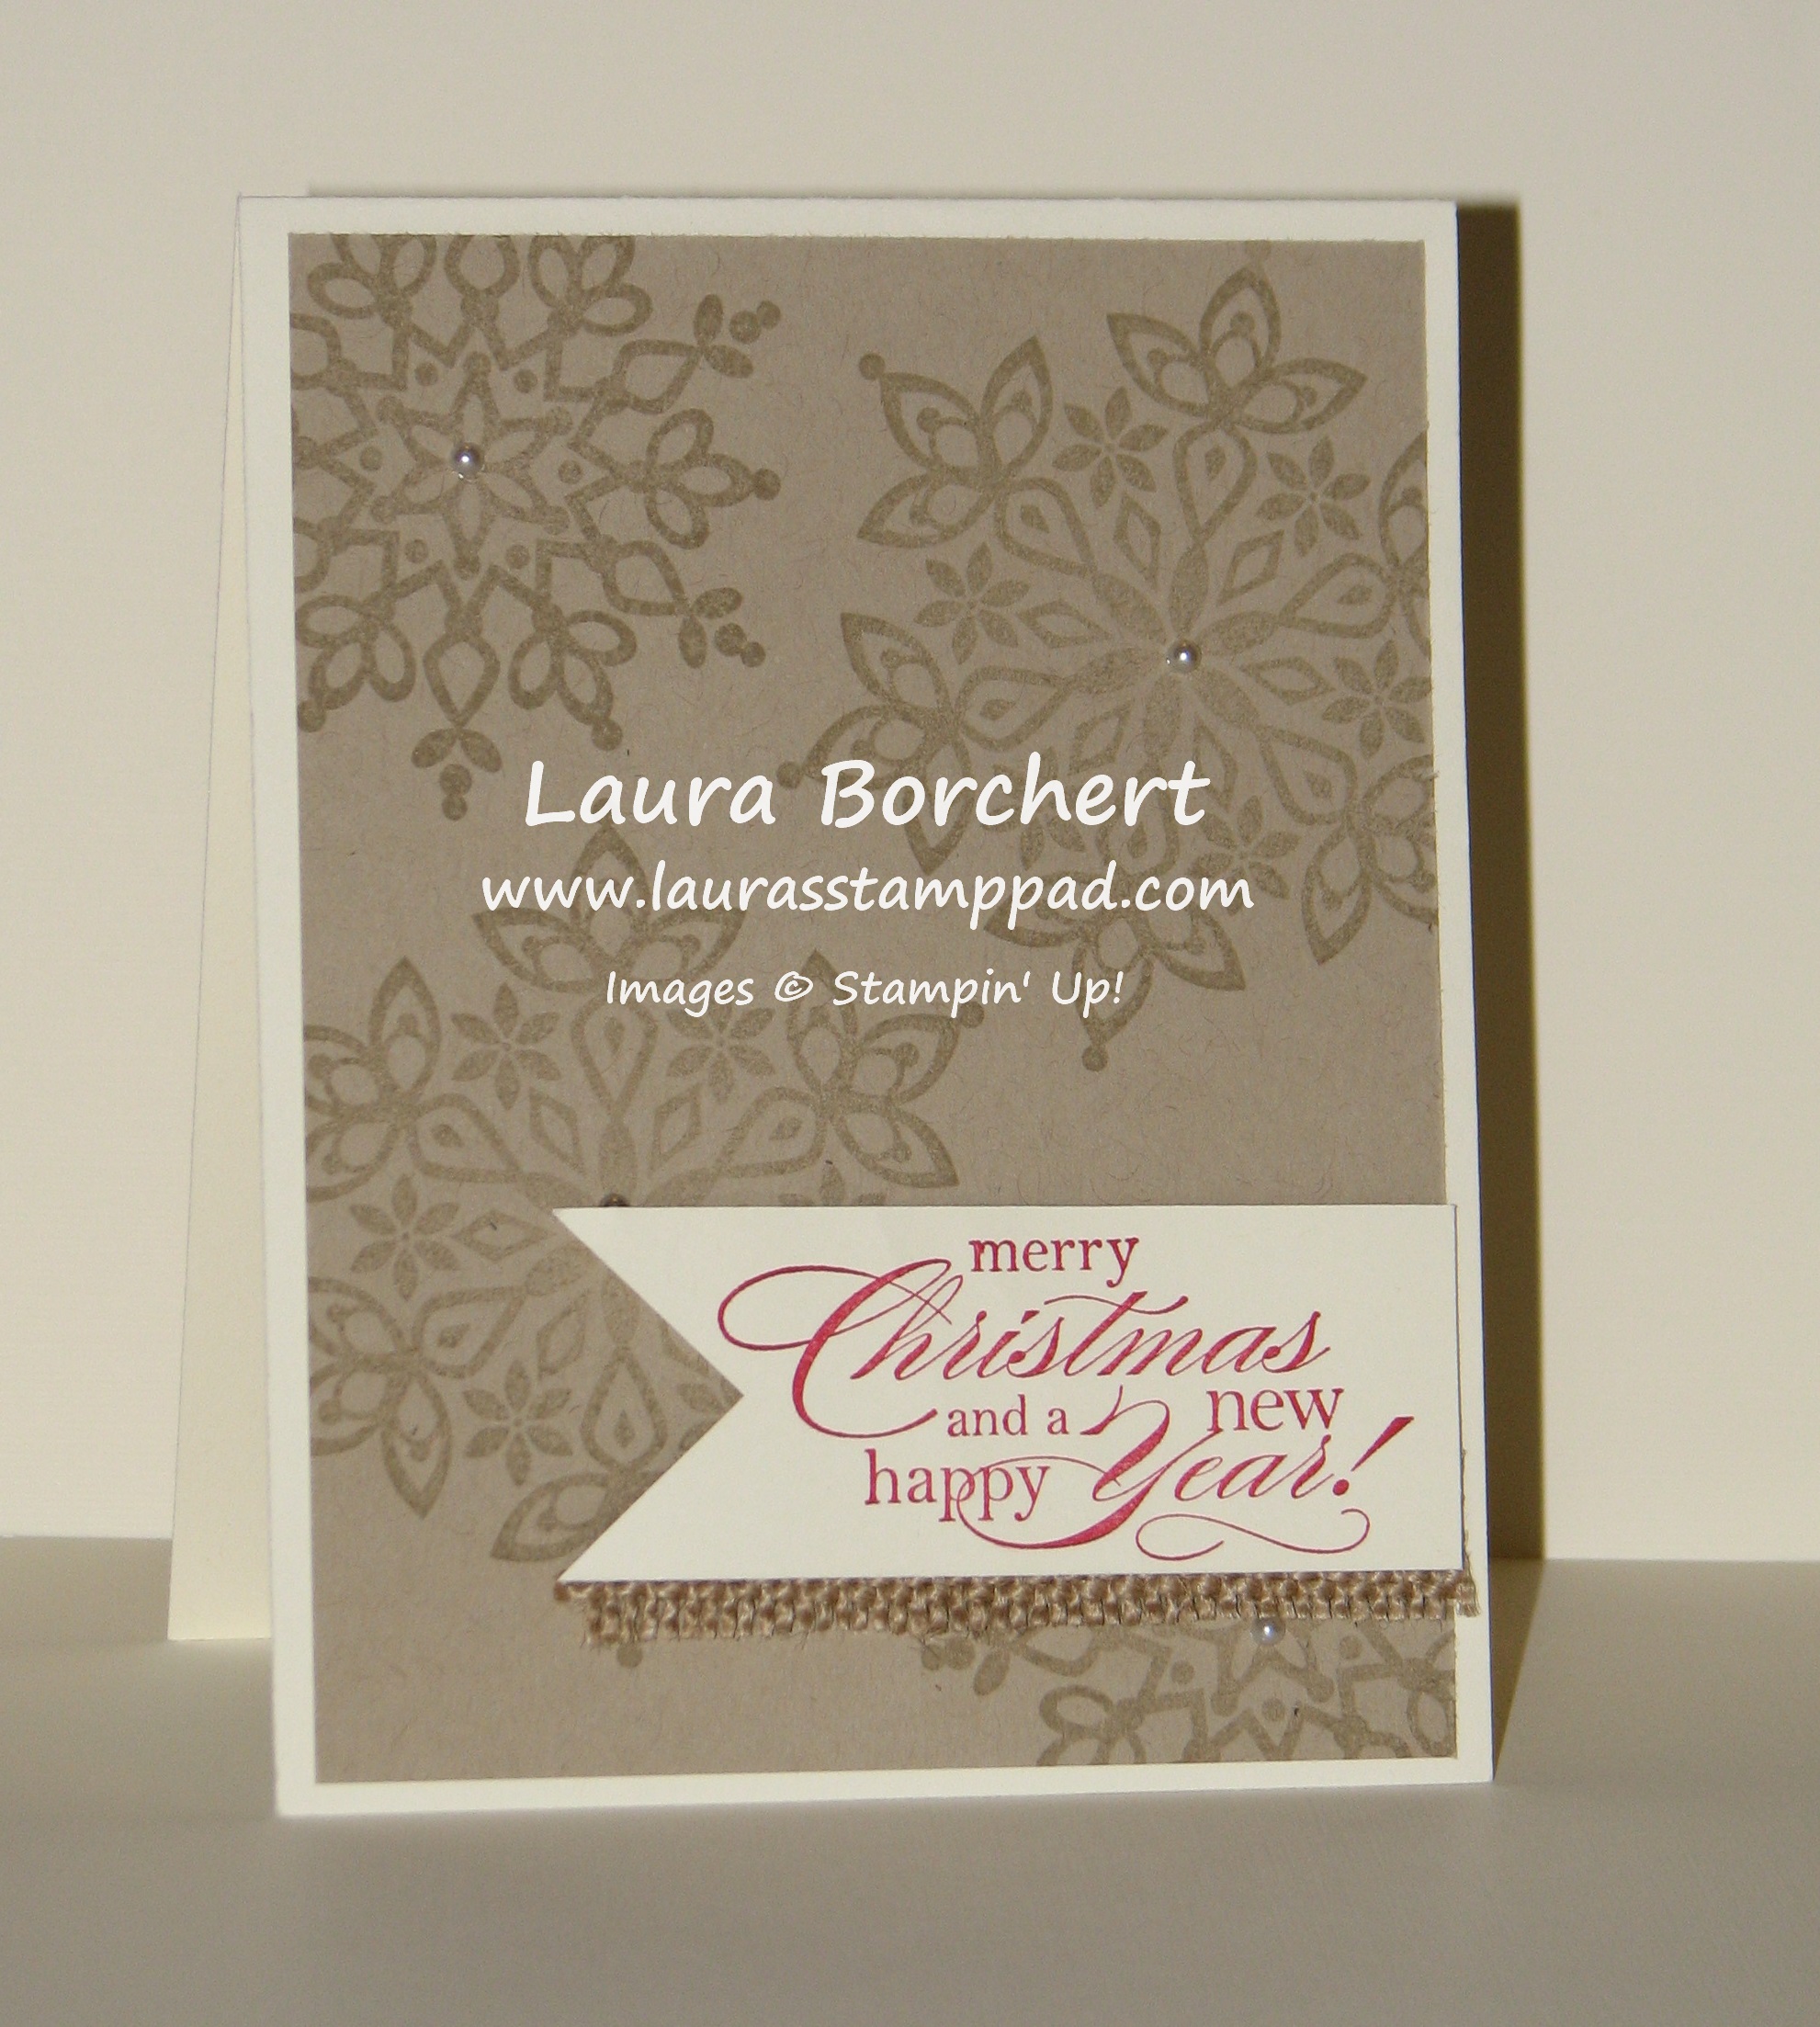
My favorite non-pink color is for sure Crumb Cake! I am not a brown person. I actually really don’t like the color brown but crumb cake is so amazing and perfect for every type of card!!!!
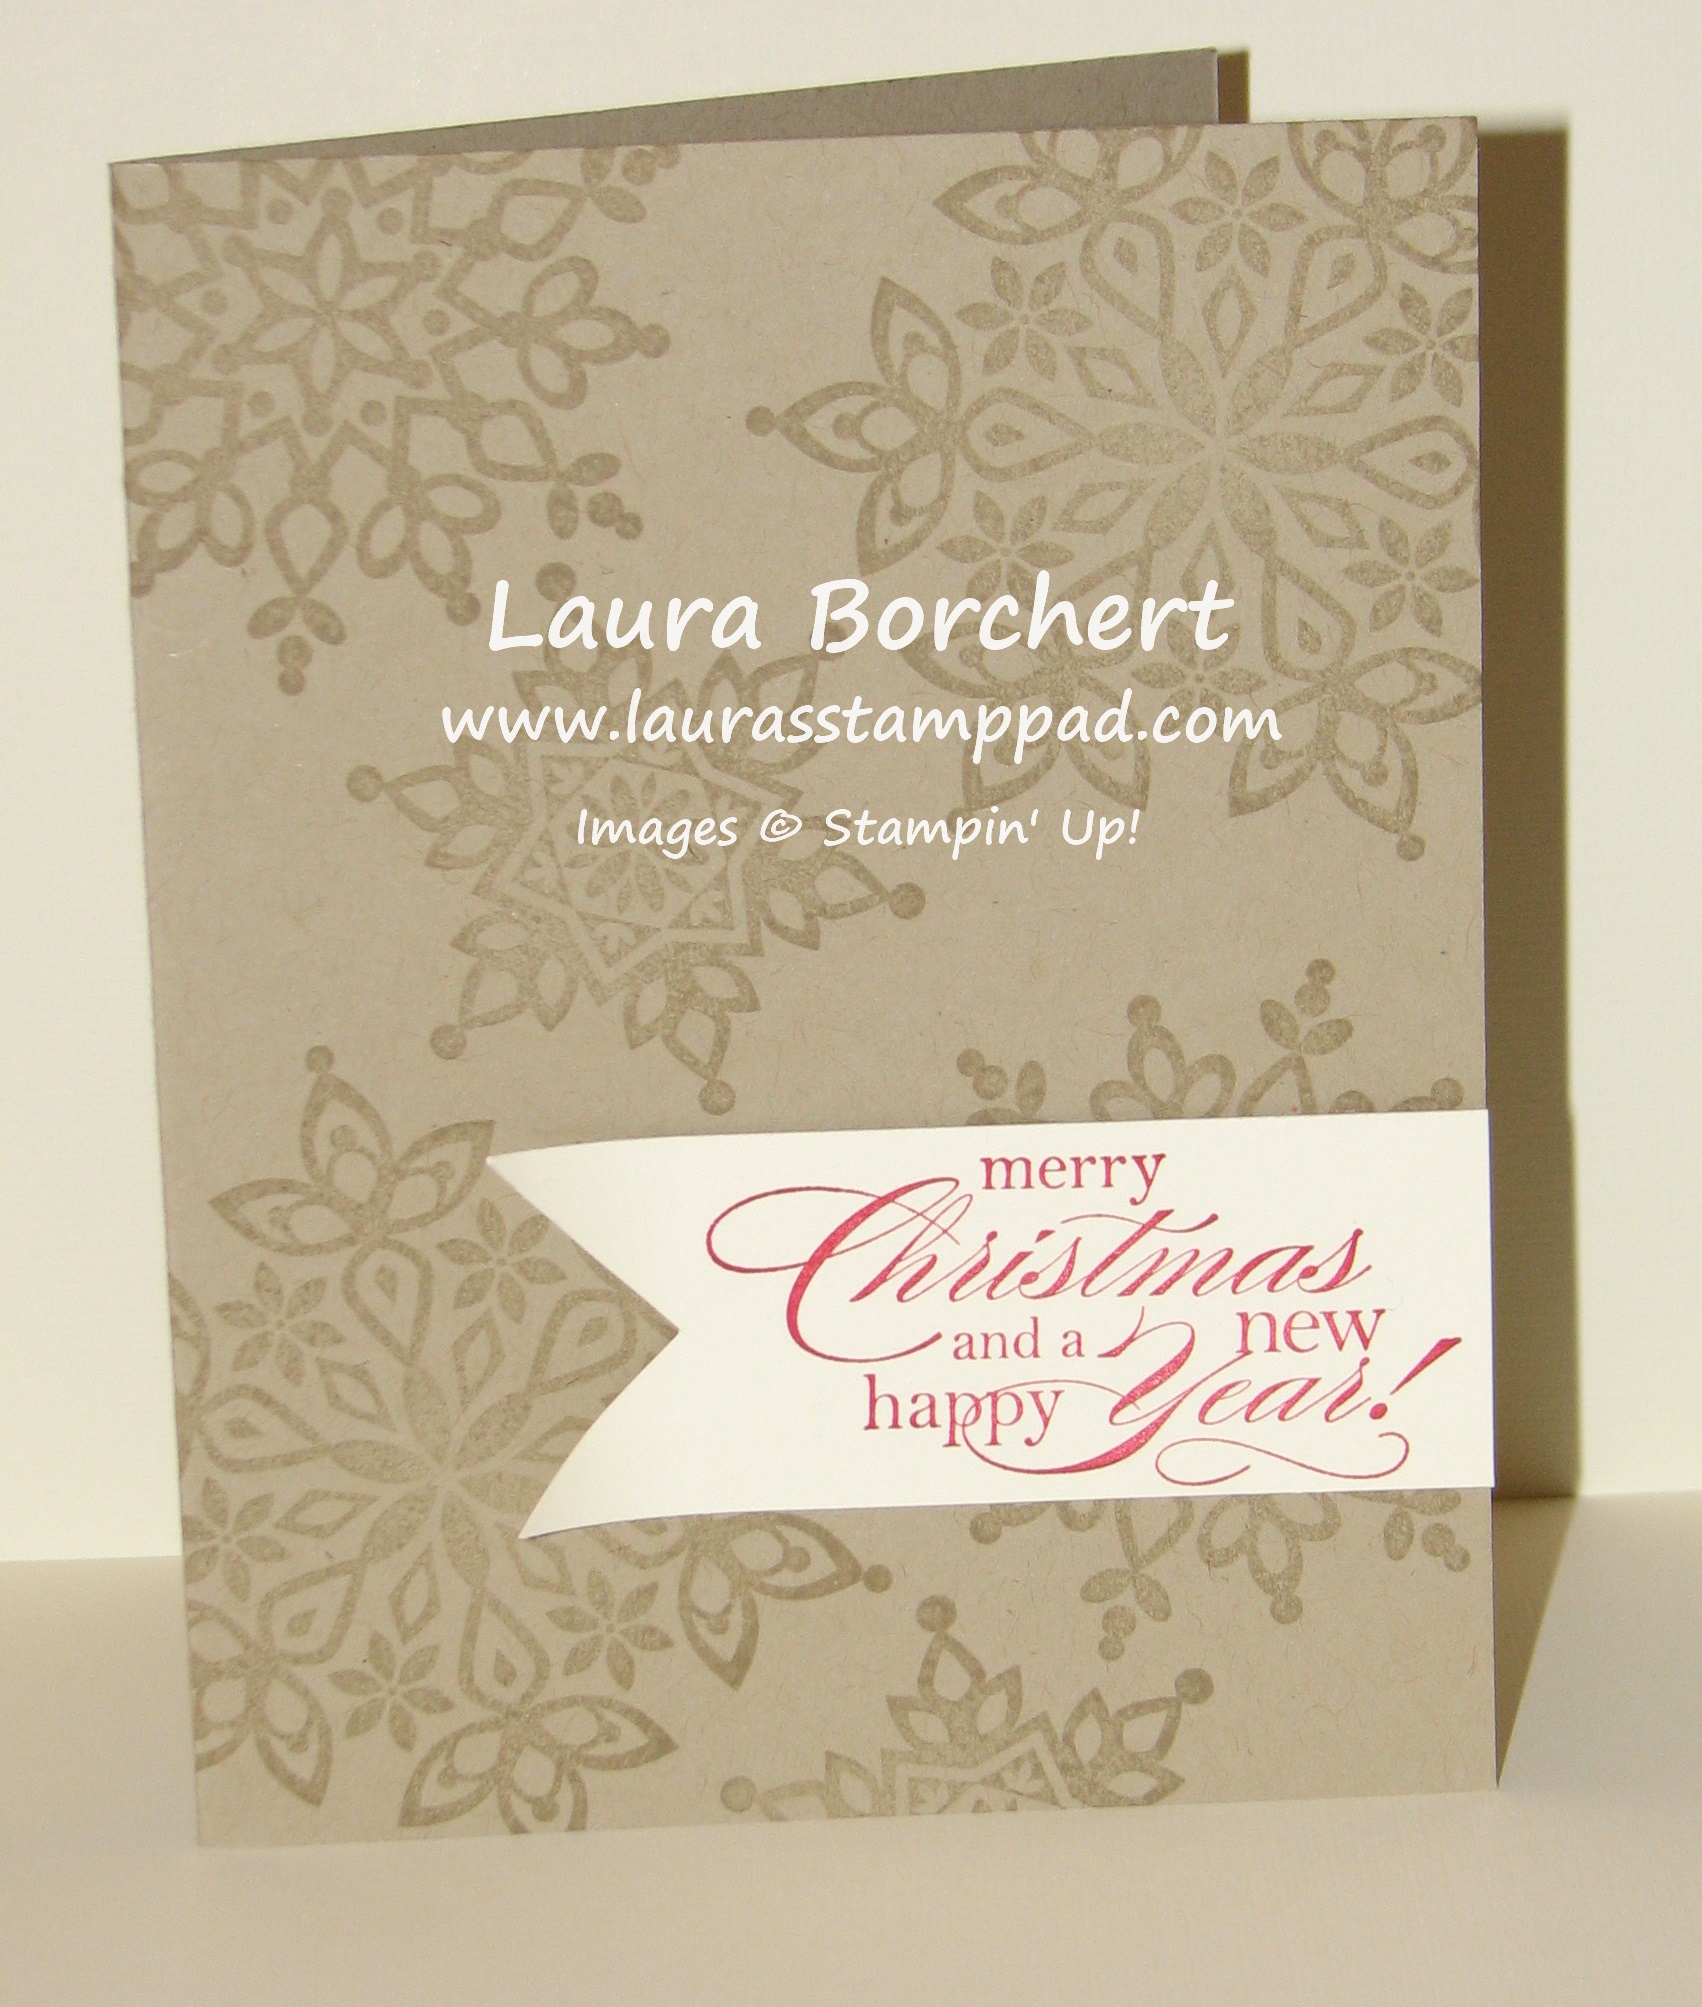
I stamped various snowflakes in Crumb Cake ink onto the Crumb Cake cardstock! Then using Real Red ink, I stamped the greeting onto a scrap piece of Very Vanilla. The trick to get a perfect banner is to cut a straight line up the cardstock from the end and then cut diagonal from the corners to that center cut! Then take a piece of the burlap ribbon the length of your scrap piece. Cut the burlap in half (long ways) since you only need a little bit hanging out the bottom. Adhere the burlap to your greeting with Sticky Strip and then Dimensionals to adhere to your card! Finish it off with pearls in the center of each snowflake!
The card on the left is a similar card but a more simple version. You can see there are less layers and no embellishments (burlap and pearls). Both cards look amazing! Try it out and see which one you like the best! Leave me a comment as to which one you like more!
Happy Tuesday!!! You know what that means – TECHNIQUE TIME! This week in the spirit of the Holidays and reality of crazy schedules, my technique is this fabulous kit!!!! The Festive Flurry Ornament Kit has everything you need to make these amazing snowflake ornaments which can be used on a present, strung as garland, or made into an amazing wreath like this!
This kit contains everything you need to make 10 of these amazing snowflakes. The pieces are already pre-stamped, punched, and even scored for you. All you have to do is fold on the score lines and assemble with hot glue! I love how it is snowflakes so it can stay up all season long!!!! The picture on the left shows a more upclose look at the wreath. The largest snowflake is a white image on Crumb Cake paper, then you have a white image on blue paper, a glimmer snowflake and then silver one on top! Love Love Love the glimmer and bling on these snowflakes. The kit also comes with blue seam binding for you to use with each snowflake. Since I hot glued them to my wreath, I used it to hang my wreath on the hook (and made plenty leftover for another project!)!!! Get your kit today before the are gone by clicking here!!! So many fabulous ways to use and a quick and simple project for the Winter Season!
Stampin’ Up! has been connected with Ronald McDonald House Charities globally for many years now – giving monetary donations, Stampin’ Up supplies, and so much more! For about 2 years now, my husband and I have been saving all of our soda pop tabs in a little Ronald McDonald House in our kitchen! My husband even has everyone as his work donating as well! They drop their tabs into his lunch bag every day! Each time our little house gets filled (a sandwich bag full) I mail them to our local Ronald McDonald House in St. Louis, Missouri! I always fill the rest of the box with stamped cards and goodies that I have laying around and haven’t used for another project! The picture above is the package that I sent out a few weeks ago! I even extended the donation to all of my stampers at the classes in November! If they had any cards or items to donate, they could bring them to me and would get a $10 Gift Certificate! Thank you to all of you who participated! I send out a box about every quarter so gather any extra cards you might have and bring them to the next event! I will put them in the next box to send and you will get a $10 Gift Certificate! I love knowing that the drinks I enjoy are helping others too! And I know the cards will put many smiles on others faces!
You can mix up the Washi Tape colors to your preference and I ripped the right edge for a rough look! Stamp your greeting on the top of the Washi Tape strips and add a little Rhinestone! You can also add a Rhinestone to the end of each Washi Tape strip! Cute and simple! Try it out and let me know how it goes in the comments below!
Believe it of not, Valentine’s Day is right around the corner! I love this Holiday because I love sharing my love with others!!! Stampin’ Up has introduced an entire line of Valentine’s to get your in the mood and prep those treats for your children’s classrooms, parties, neighbors, teachers, grandparents, and spouses! Check out the new stamp sets and treat packages here!!! These monsters are the most adorable things ever! Can’t wait to get my order and start playing!!!! Eeeeee (that is me squealing in anticipation!) Be on the lookout for more Valentine ideas!!!
 Whether you celebrate Christmas or Hanukkah or neither, I am wishing you the best day ever today (and this season)! I love spending the day with family opening presents, having wonderful food, and playing games all afternoon!!! The picture above is our Christmas Tree this year! We always get a real tree and decorate it with all of the ornaments that my husband and I have received over the years – lots of noise making ones, lots of elegant ones, ones that have a special meaning and so much more!!! I hope you have a wonderful day today celebrating! Also, thank you all who have sent cards! As you have seen in my Spreading Holiday Joy Series, I LOVE LOVE LOVE getting mail and have really enjoyed receiving all of these cards! Merry Christmas!