Pineapples = Friendship!!!

Posted on

Pineapple, www.LaurasStampPad.com

The Pineapple….many see it as a fruit, some see it as tropical, and others see it as a sign of hospitality and friendship. Did you know that the pineapple is a symbol of warmth, welcome, friendship and hospitality?? It makes it even more fabulous for a hand-stamped card or any home decor piece!

For this card, I started with a Whisper White card base and added a of Pop of Pink Designer Paper to the top (4-1/4″ x 1-1/2″) and bottom (4-1/4″ x 2″). By splitting it up, you don’t have to waste Designer Paper on your card when it will be covered! Then I took a piece of Whisper White measuring 4-1/4″ x 2-1/4″ and stamped the pineapple from the Pop of Paradise Stamp Set in Melon Mambo (center) and then in Pink Pirouette on either side. I added Snail Adhesive along the top and bottom of this piece and placed a small piece of Gold Foil Paper on the top and bottom. This is a great way to use your scraps or just a smaller piece. My Gold Foil pieces are only 3/4″ wide rather than 2-3/4″ if I did the entire back of the Whisper White piece. I placed this piece onto my card front between the two pieces of Designer Paper (filling that gap)! I stamped the Thank You greeting from the Pop of Paradise Stamp Set onto scrap white paper in Basic Black….then I fussy cut it out! It wasn’t the most fun thing to cut out but it was small and quick! 🙂 I added it to the card with Stampin’ Dimensionals! To finish off the card, I ripped a little bit of the Pop of Pink Designer Washi Tape and added it above the pineapples. I love the little gold bling and added texture!

I love the Pop of Pink Suite and those little pineapples are so fitting for a thank you card! I love it! Are you loving the Pop of Pink Suite or do you prefer one of the other suites? Let me know your favorite in the comments below!

Happy Stampin’

~Laura

Click here to start shopping and earning Bonus Bucks!!!

Bonus Days


Technique Tuesday – Using a Sponge Brayer!!!

Posted on

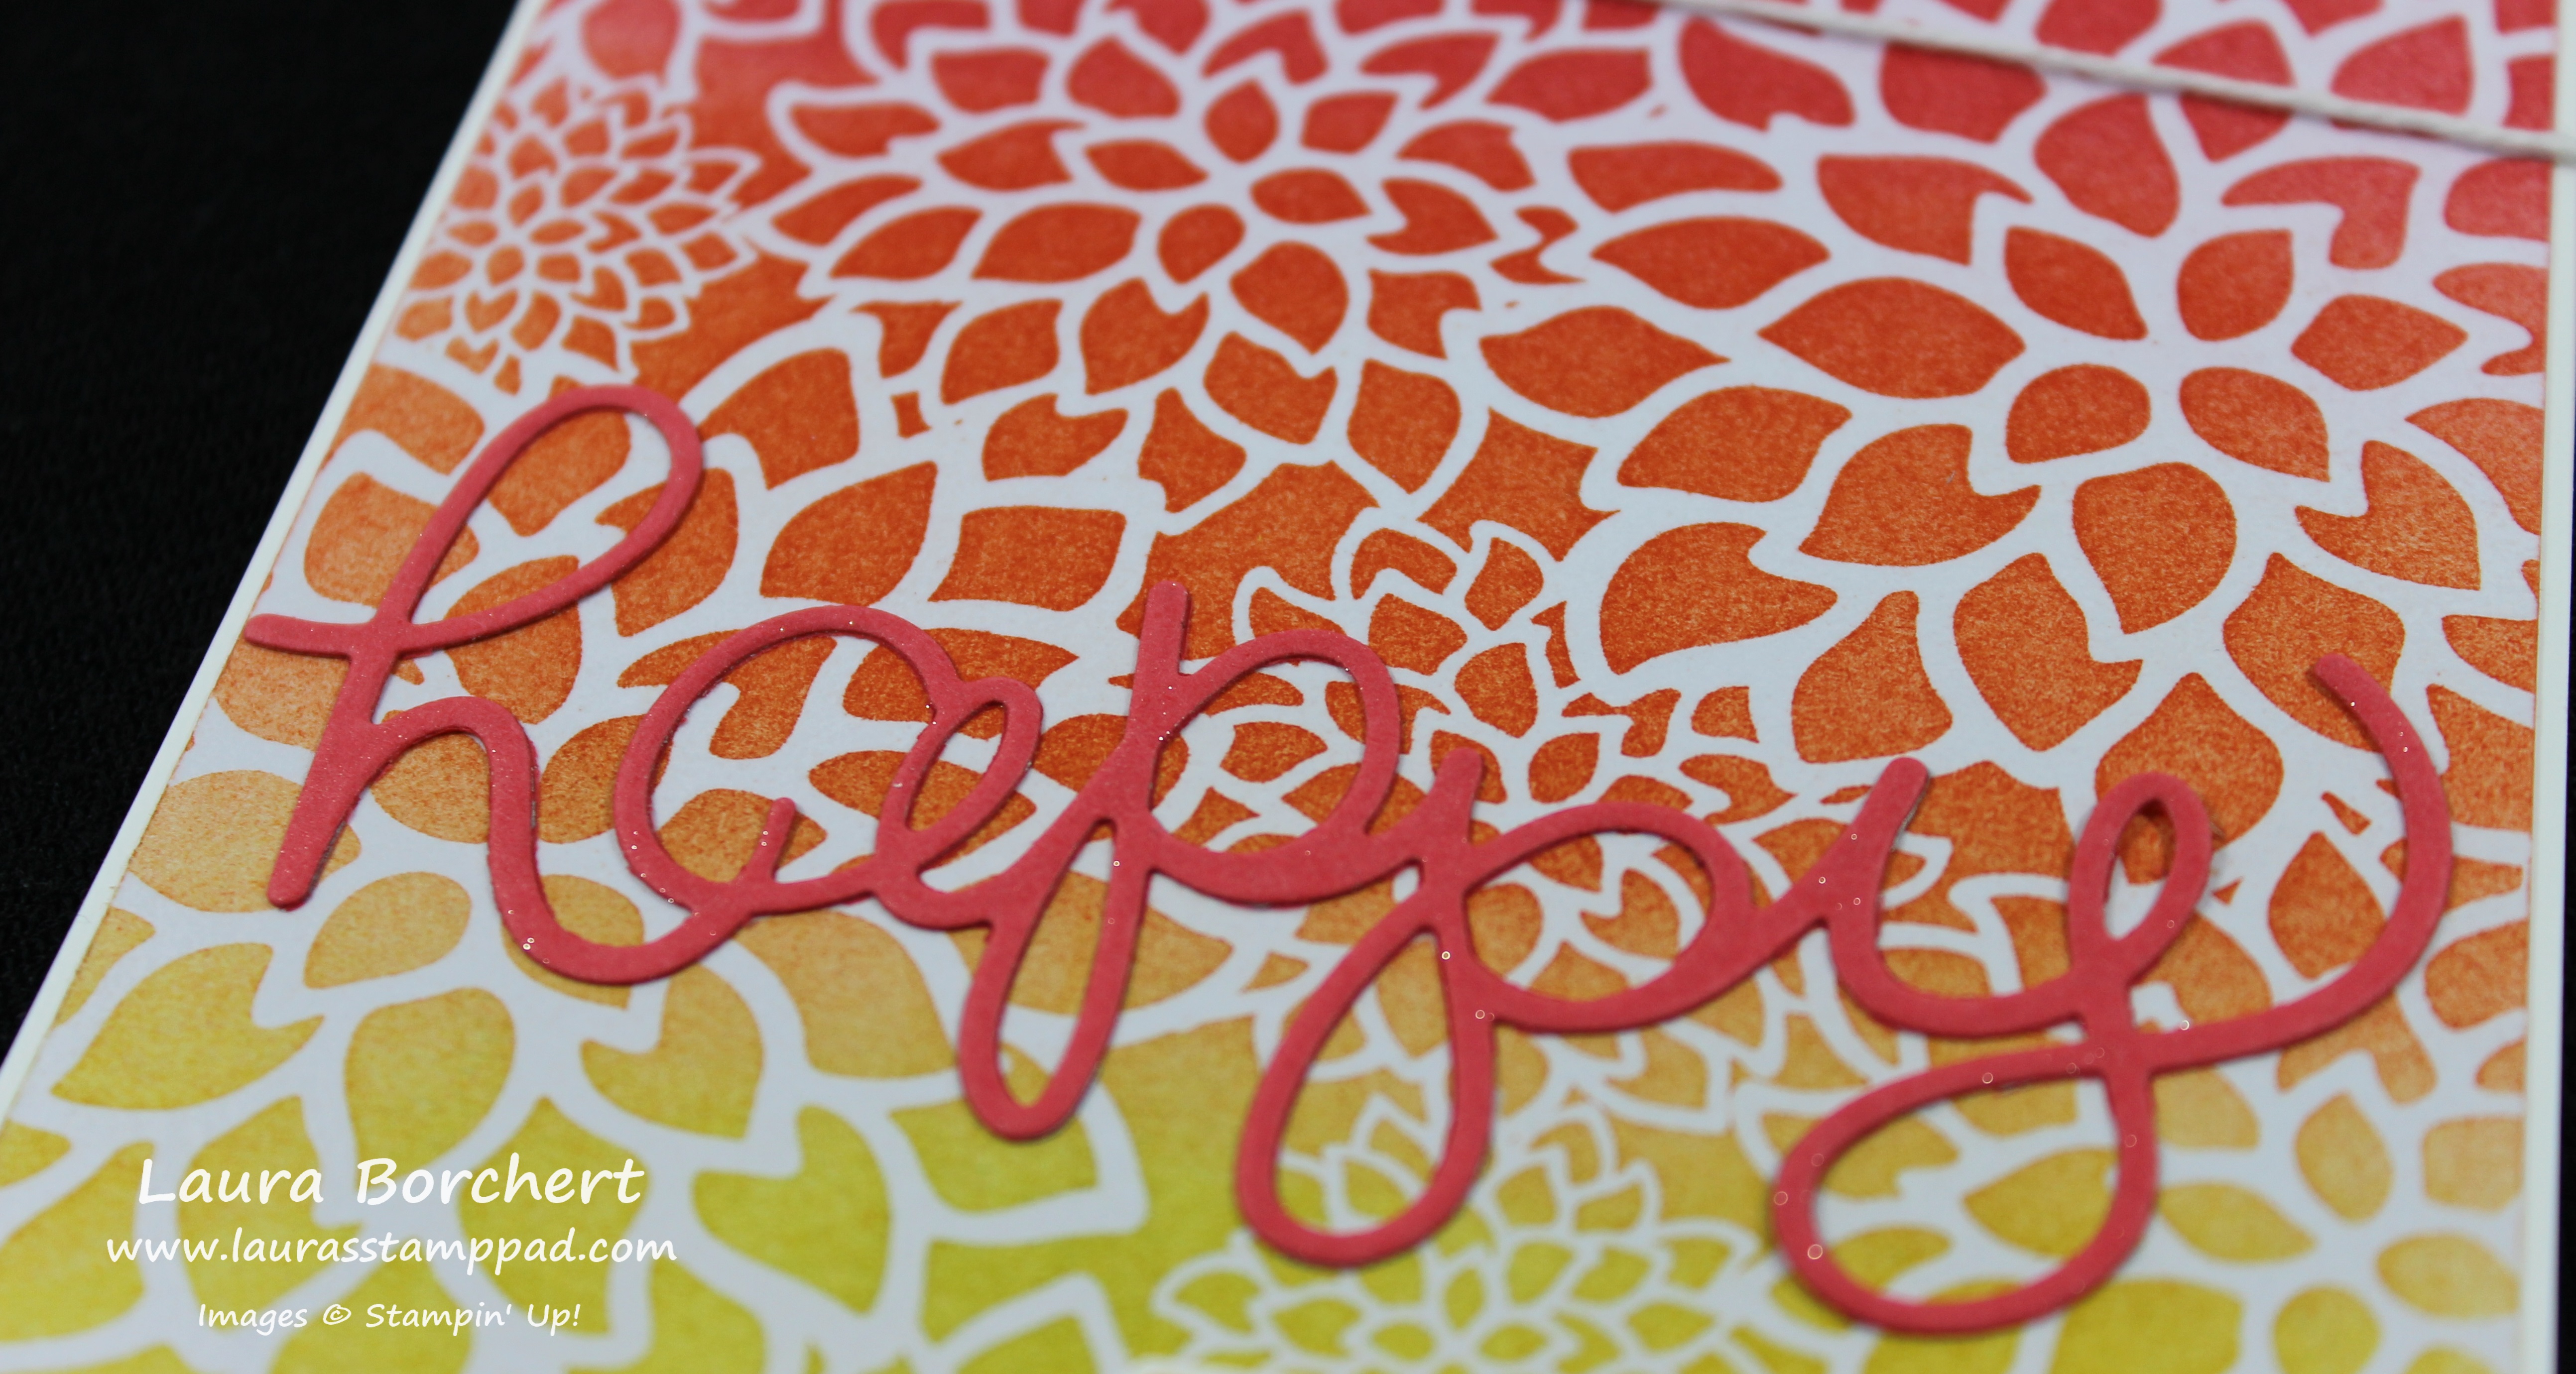
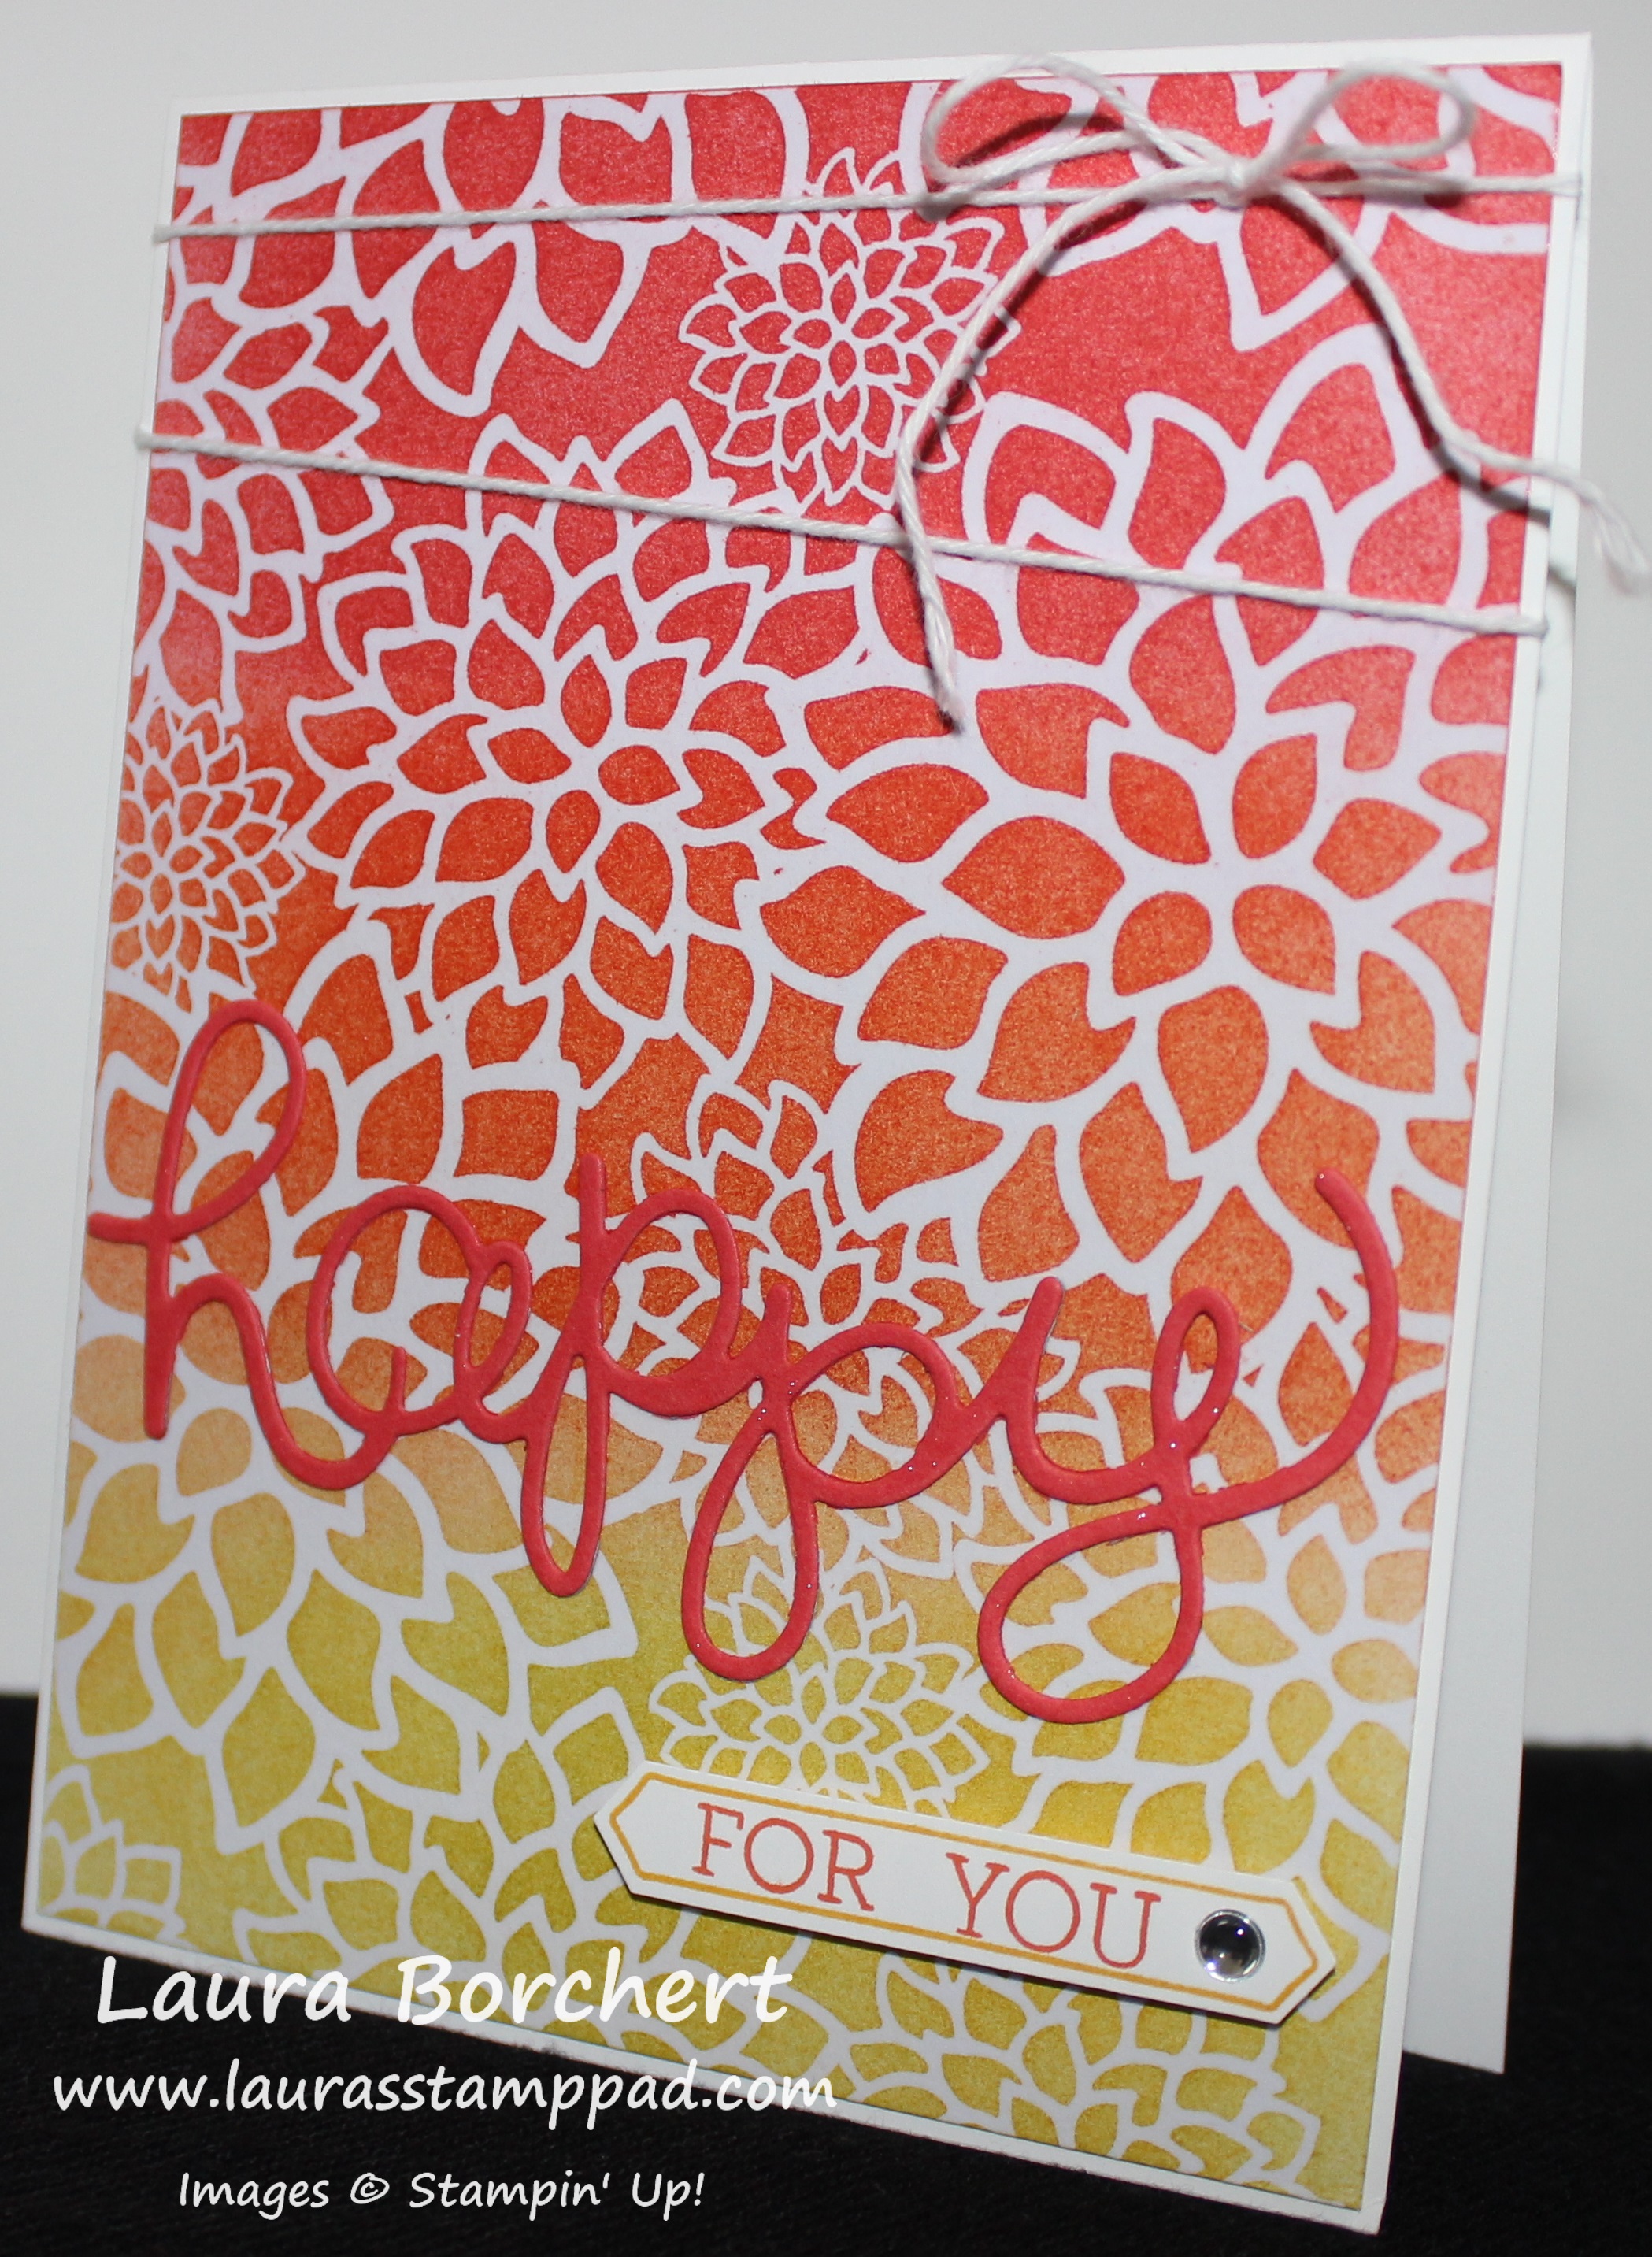
Happy Tuesday!!! I hope you are all having an amazing week! I have a fabulous technique to share with you today!!! I am showing you how to use the New Sponge Brayer on the Irresistibly Floral Designer Series Paper so you can get this fabulous look!!!Happy For You, www.LaurasStampPad.com

I am having so much fun with the Irresistibly Floral Designer Paper because it has FLOWERS and there are so many different fun ways to add color. I love it!!!

SUPPLIES NEEDED: Irresistibly Floral Designer Series Paper, Sponge Brayer, Ink Colors of Choice

I started with a piece of the floral image from the Irresistibly Floral Designer Series Paper measuring 4-1/8″ x 5-3/8″. I didn’t want much of a border on my card front, just the beautiful flowers! I started with the lightest color – Daffodil Delight and rolled the Sponge Brayer over the ink pad. The sponge won’t pick up the ink like your are mopping up color, it will just be ever so slightly colored. Then I rolled it over the end of the Designer Paper – back and forth. The color will start to appear and you can continue until you have the desired shade. You will want to go about 1/3 of the way across the paper. Using a paper towel, you will want to wipe off any excess ink as it tends to sit on top of the embossed image. Then I changed out the sponge to a new one and did the same with Tangerine Tango. You will want to go over the top of the yellow a bit on that overlap portion so that it doesn’t look like stripes but instead like it fades into the next color. Wipe off the excess ink with the paper towel and then change out the sponge and finish off the Designer Paper with Watermelon Wonder. Be sure to go over that Tangerine Tango just a bit so your colors fade into each other! Wipe off the excess ink and you are all done!!! You can wash out your sponges with water and just keep squeezing them until they run clean and allow them to dry.

HAPPY, www.LaurasStampPad.com

To finish off the card, I added this piece to a Whisper White card base and tied some Whisper White Baker’s Twine around the top of the card. For the greeting, I die cut the Happy from the Hello You Thinlits. I brushed some Wink of Stella over the top for a little shimmer and added it to the card front with the Fine Tip Glue Pen! If I would have planned this card out a little better, I would have put the yellow on the top of the card and placed the greeting up there so it popped some more. I already had it adhered to the card so I just went with it! I stamped the Crushed Curry border from the Thoughtful Banner Stamp Set and added the greeting from the Crazy About You Stamp Set (it coordinates with the Hello You Thinlits). I punched out the greeting with the Classic Label Punch and added it to my card with Stampin’ Dimensionals. I added a little Metallic Enamel Shape for a little more bling! This card is so bright and cheery and could be used for any occasion!

If you would like to see this in action, check out the Video Tutorial below or click here. Don’t forget to give it a thumbs up if you liked it and be sure to subscribe if you are new. I post every Tuesday and Thursday!

Happy Stampin’

~Laura


Hello Friend!!!

Posted on

Hello Friend, www.LaurasStampPad.com

You all know I love flowers and bright colors! This card is super amazing! Plus I am loving the Ruched Ribbon like sooooo much!!

For this card, I started with a Daffodil Delight card base. Then I cut a Flirty Flamingo piece (4″ x 5-1/4″) and a piece of the Affectionately Yours Designer Series Paper (3-3/4″ x 5″)! I adhered the designer paper to the pink and tied some Dapper Denim Ruched Ribbon around it and tied it into a knot. Then I added this to the card base. For the greeting, I stamped the banner image in Dapper Denim and the greeting in Flirty Flamingo from the Thoughtful Banners Stamp Set. Then I punched it out with the Duet Banner Punch (Bundle & save 10%)! I added the greeting to the card with Stampin’ Dimensionals! I punched out flowers in Dapper Denim and Flirty Flamingo with the Petite Petals Punch! I added the flowers with Stampin’ Dimensionals as well! I placed a Daffodil Delight Enamel Shape in the middle of the flowers for a little POP!

This card is perfect for any occasion so you can always change up the greeting for whatever event you need! What occasion would you use this card for? Let me know in the comments below!

Don’t forget that all online order of $25 or more earn Laura’s Loyal Stampers Points!!! Click here to start shopping!

Happy Stampin’

~Laura

Click here to start shopping and earning Bonus Bucks!!!
Bonus Days


June 2016 Paper Pumpkin Kit – Banner Surprise!!!

Posted on

June 2016 Paper Pumpkin, www.LaurasStampPad.com

I am loving the bling and those shades of pink in the sequins!!! The Banner Surprise June 2016 Paper Pumpkin Kit arrived and I was a little perplexed by it at first glance. Once I started playing with it, I had lots of fun! You can see the reveal of the kit here.

I created 8 total cards with only 2 of them using my own cardstock (Mint Macaron) and then I created a banner that says SUMMER!

Golden Washi Tape, www.LaurasStampPad.com

I looked at Pinterest for some ideas with this kit since I thought I might branch out a bit. I saw a similar card to the one on the left side and just had to recreate it. I added the Washi Tape on each of the white lines and stamped the greeting on the crumb cake lines. My stamped images weren’t very straight but after I added the gold hearts and the To You I realized you couldn’t see they were crooked…..at least not as much. 🙂

Baby Cards, www.LaurasStampPad.com

I really tried to use lots of the gold alphabet letters so I got creative in the words I used!!!

Anniversary Cards, www.LaurasStampPad.com

Another tip on these cards. I actually placed a Mini Glue Dot on the back of the circle in the cellophane banner bag. I wanted the heart to stay upright and I didn’t want them moving all around. The little dot helps to keep them in place.

June Paper Pumpkin Alternative, www.LaurasStampPad.com

I had lots of leftover pieces so I created these 2 cards with a Mint Macaron card base. Love it!!!

Summer Banner, www.LaurasStampPad.com

Then I made this amazing SUMMER banner! I have a banner hanging in the doorway from my living room to the kitchen. I have a Spring/Summer one that has been up since about March and I thought this would be super fun and different! I love it!

Summer, www.LaurasStampPad.com

I added the gold letter to the center of each circle and stamped the dots around the edge in Tip Top Taupe. I added a Mini Glue Dot to the backs of each circle to hold them in place in the banner cellophane bag! I used a spoon to add in the sequins to each of the banners and then sealed it with the Washi Tape.

Hanging Summer Banner, www.LaurasStampPad.com

I love it and the light catches all of the glittery pieces and shines so beautifully!!! Getting 8 cards and a banner out of one kit is super fabulous and I still have some supplies left over. These kits are so amazing and well worth the $19.95 (plus tax)! This kit also came with 2 ink pads – Mint Macaron & Tip Top Taupe.

I can’t wait to see what the July Kit is going to be!!! You can get your July Kit by clicking here! Of course, all of my Paper Pumpkin subscribers get a little gift from me each month as well! 🙂 Just a little bonus! Also, if you are a Paper Pumpkin Subscriber, you can always purchase refill kits from past kits. Click here to check those out!

Happy Stampin’

~Laura


How to Create a Bird’s Nest!!!

Posted on

Bird's Nest, www.LaurasStampPad.com

I love this card for the colors, the amazing greeting, and that sweet bird’s nest!!! It’s the perfect card for any occasion or just a note to send to a friend to brighten their day and let them know you care! Love!

For this card, I started with a Marina Mist card base and layered on a piece of the Neutrals Designer Series Paper measuring 4″ x 5-1/4″. I used the Crumb Cake color. Then I took a piece of Whisper White (3-1/4″ x 4-1/2″) and stamped the greeting in Marina Mist Ink from the Layering Love Stamp Set. Then I got started on the bird’s nest. I die cut the swirly wreath with leaves from the Swirly Scribbles Thinlits Set in Chocolate Chip cardstock. I cut it in half and then used a few of the pieces I cut off to round out the top of the nest from both sides adhering with the Fine Tip Glue Pen.

Birdie in a Nest, www.LaurasStampPad.com

I took a scrap piece of Crumb Cake and placed it behind the next and trimmed off the excess. Now that you have your little nest, it’s time for the birdie and eggs. I actually stamped them on scrap paper and fussy cut them out but you could always stamp them directly to your card and then place the nest on top. Both of these images are in the Swirly Bird Stamp Set and I did the bird in Marina Mist and the eggs in Crumb Cake. Don’t forget that you can Bundle & Save 10% when you purchase the Swirly Bird Stamp Set and Swirly Scribbles Thinlits together! I just love how you can let your creativity flow to make something fabulous like this!

Today on my YouTube Channel, I’m talking about the Precision Base Plate and my thoughts on the product! I did use it for die cutting the next above! Check out the video below or click here! Don’t forget to give it a thumbs up if you liked it and don’t forget to subscribe if you are new. Let me know in the comments below if there is another Stampin’ Up! product you would like to see me review!

Bonus Days

Bonus Days start TODAY!!! For every $50 you spend, you will earn $5 to use from August 2nd – 31st!!! Click here to start shopping!!!

Happy Stampin’

~Laura


Celebrating with Balloons!!!

Posted on

Fabulous Balloons, www.LaurasStampPad.com

Balloons are perfect for any celebration! These are super fun with the words on each balloon from the Thoughtful Banners Stamp Set! I love it!!! I also love the Black and White with a pop of Sweet Sugarplum!

I started with a Sweet Sugarplum card base. Then I cut a Basic Black piece (4″ x 5-1/4″) and Whisper White piece (3-3/4″ x 5″). I stamped the balloon strings from the Balloon Celebrations Stamp Set in Basic Black. For the balloons, I used Sweet Sugarplum Ink and stamped full strength and then again for a lighter shade. Then I went back to the ink pad for more ink; that is how I got the 2-toned balloons! I stamped various greetings from the Thoughtful Banners Stamp Set in full strength Sweet Sugarplum. For the word Friend, I actually placed a piece of scrap paper over the balloon to stamp the “fr” on so it would look like it was hiding behind the other balloon. Then I adhered this piece to the Basic Black layer and placed a strip of the Sweet Sugarplum Ruched Ribbon across the card. I tacked it on the back side with Stampin’ Dimensionals and added more to the corners. Then I placed this piece onto the card front. For the greeting, I stamped the banner image in Basic Black and the greeting in Sweet Sugarplum from the Thoughtful Banners Stamp Set. Then I punched it out with the Duet Banner Punch (Bundle & save 10%)! I added the greeting to the card with Stampin’ Dimensionals! I love it!

You could create this card in wedding colors, school colors for graduation, pink or blue for a baby card, and so much more! You could always go for multiple colors rather than black and white with a single color. What colors would you use? Let me know in the comments below!

Don’t forget that all online order of $25 or more earn Laura’s Loyal Stampers Points!!! Click here to start shopping!

Happy Stampin’

~Laura


Technique Tuesday – Irresistibly Floral Fun!!!

Posted on

Happy Tuesday!!! You know what that means! I have a fabulous technique to share with you today! The many different ways to emboss resist (the easy way)! The Irresistibly Floral Designer Series Paper is 12″ x 12″ white paper that is embossed in clear with a design – flowers, stripes, dots, and more! It is stunning paper and you can add color to use and really make the images POP!!!

Blue.Green Stripes, www.LaurasStampPad.com

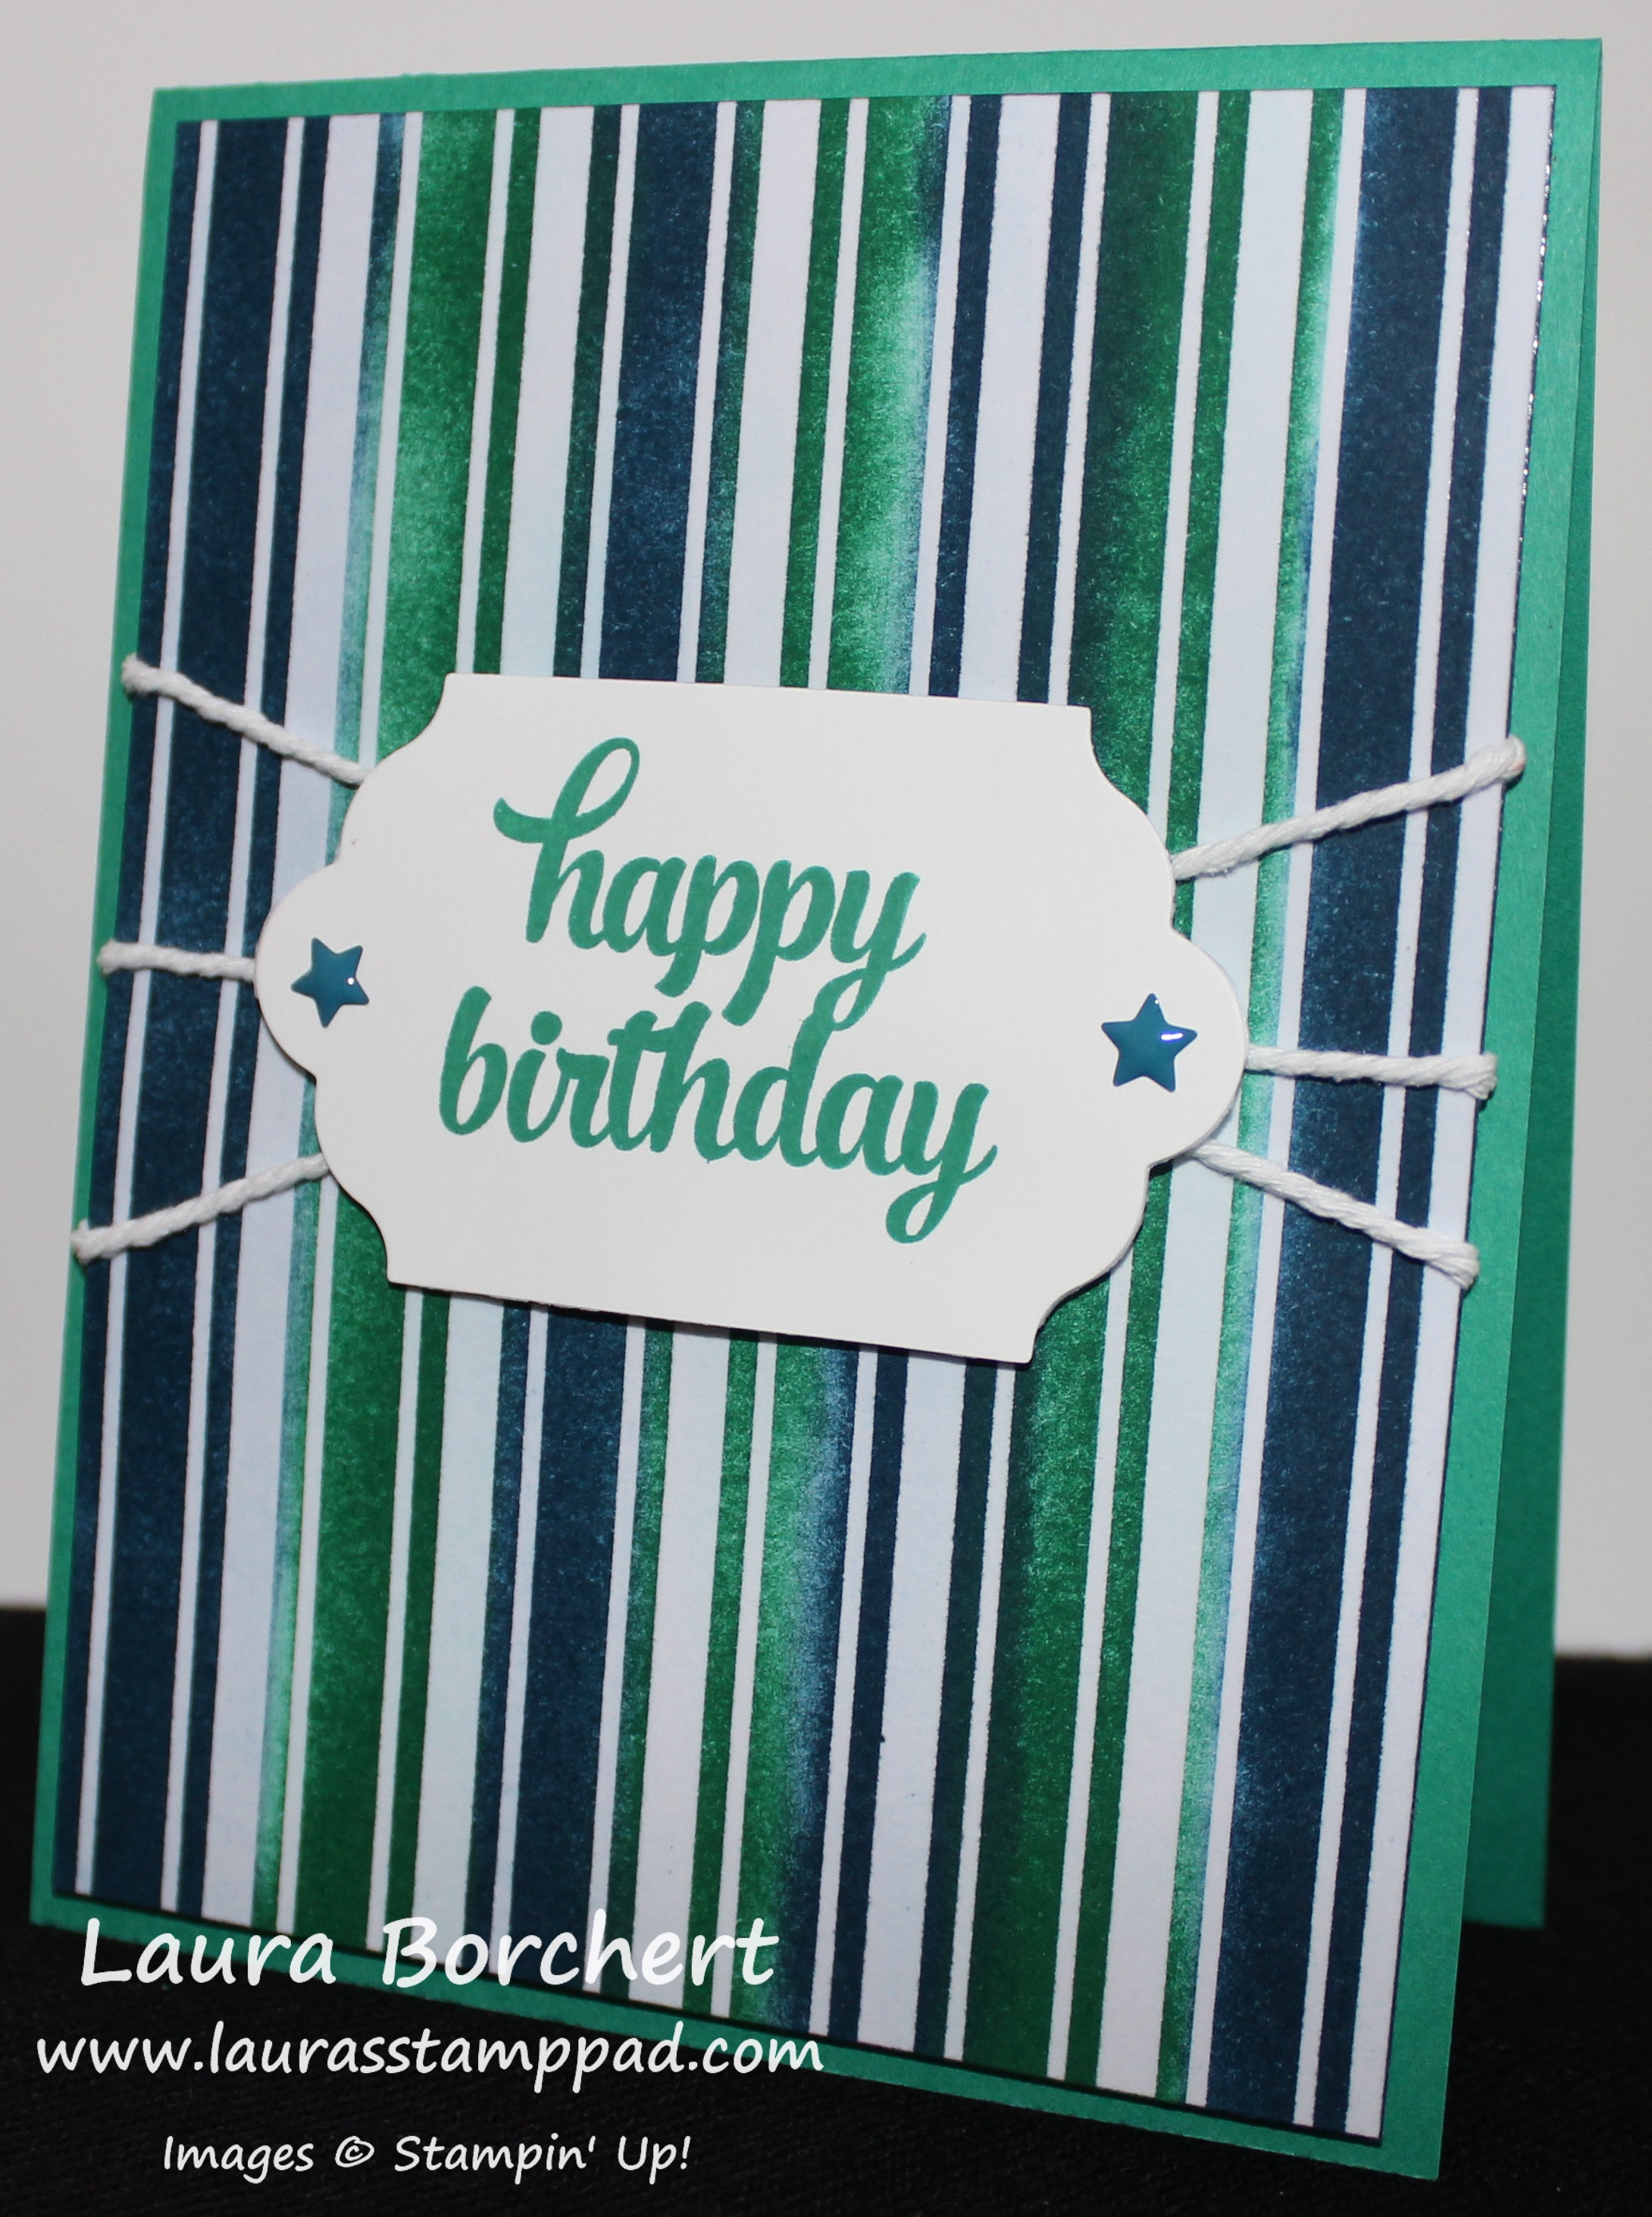
How fabulous is this card??? It would have been perfect for Father’s Day! It’s just screams Man Card!!! Love it!!!

SUPPLIES NEEDED: Irresistibly Floral Designer Paper, Sponge Daubers, Ink of Choice

I cut a piece of the stripes Irresistibly Floral Designer Series Paper into a 4″ x 5-1/4″ piece. For this one, I used Sponge Daubers to color the stripes. I felt like I had more control and the sponge dauber is about the width I wanted in color! I started in the middle and worked my way to the sides. I just went up and down with the dauber adding as much color as I wanted. Once I was done with each color, I wiped off the excess ink with a paper towel! You can do a rainbow of colors or pick any amount of colors you wish! I used Emerald Envy and Dapper Denim. Then I added this piece to a Emerald Envy card base and wrapped some of the Whisper White Thick Baker’s Twine around the card. It really gives this card a nautical look, doesn’t it? For the greeting, I die cut a label from the Lots of Labels Framelits with the Big Shot. I stamped the greeting from the Tin of Cards Stamp Set and added a few of the Stars from the In-Color Enamel Shapes Pack. I added the greeting piece to the card with Stampin’ Dimensionals. It is a big bumpy over the ribbon so you will for sure want to use Dimensionals or you can always place the greeting below the ribbon!

You can always change up the colors or even add color in other ways like with Markers, Stamping, Spritzers, and Sponge Brayers. There are endless possibilities.

If you would like to see all of the paper in the Irresistibly Floral pack and the different ways to color it, check out the video tutorial below or click here. Don’t forget to give it a thumbs up if you liked it and be sure to subscribe if you are new. I post every Tuesday and Thursday!

Happy Stampin’

~Laura


Ice Cold Lemonade!!!

Posted on

Ice Cold Lemonade, www.LaurasStampPad.com

Happy Monday & 4th of July!!!! That calls for some kicking back and ice cold lemonade! Now I have to add the disclaimer that some of these items are retired but I still wanted to share this for those that have these items or would like to recreate the idea!

I started with a Whisper White card base and layered a piece of Crushed Curry on top (3-3/4″ x 5-1/2″). I layered a piece of the A Nice Cuppa Designer Series Paper on top of that (3-1/2″ x 5-1/2″). The greeting was stamped in Crushed Curry from the Greatest Greetings Stamp Set onto scrap Whisper White. I cut the banner tips into the ends. The trick to perfect banner tips is to cut up in the middle of the end. Then you will cut diagonal from the corner to the end of that center cut on both sides! 🙂 I added the greeting to the card front with Stampin’ Dimensionals! For the glass of lemonade, I took a piece of Whisper White measuring 1-1/2″ x 2-1/2″ and rounded the bottom 2 corners with the Corner Rounder Punch. For the top, I used the 1-1/2″ Circle Punch! I stamped the heart from the A Nice Cuppa Stamp Set. The lemon is also from that set and then I fussy cut it out! I added the cup to a Crushed Curry Lots of Label with the top trimmed off. I attached it with Stampin’ Dimensionals and slipped the lemon slice over the top. For a little bling and shine on the cup, I brushed it with Wink of Stella Pen! Then I added this piece to the card front! I love the bright colors and summer look!!!

Lemonade, www.LaurasStampPad.com

I hope you all have an amazing day! Stay safe, keep cool, and have fun!

Happy Stampin’

~Laura


Fabulous Friday – Parties & Stamp Room Renovation!!!

Posted on

Girls Night Out, www.LaurasStampPad.com

Happy Friday!!!! I thought I would bring back a little Fabulous Friday fun!!! This month has been full of fun, excitement, and craziness!!! June started out with the launch of the New Catalog. You can check it out online here or message me here for a copy of your own! I had my new catalog launch parties; aka Girls Night Out!!! I love these events because they are so full of excitement. I have lots of prizes for everyone. There are displays of samples using the new product as well as the new product itself. It isn’t very easy to see but in the 2 photos above, all of the ladies are Ohhh & Ahhh-ing over the Baby Bear Stamp Set. It is just precious! Everyone gets to create 2 projects and enjoy some yummy sweet too! I’m just glad I didn’t melt the cupcakes like last time.

Girls Night Out Cards, www.LaurasStampPad.com

These are the 2 cards that everyone got to make. You can see more information about them here – Flamingo and Polka Dots.

Another exciting….and stressful moment this month is my Stamp Room Renovation. We recently got an IKEA nearby. I have been looking for a better way to store my cardstock and I found these!

Paper Trays, www.LaurasStampPad.com

I have waited a bit to test them out before sharing but I LOVE THEM!!! They are metal and sturdy. The lips are perfect for a label and they slide very well. I do have to say that you can’t stack each shelf full or it will start to bow out a little. I have 2-3 shelves for each color family. This is just part 1.

Part 2: Last Friday, my husband and I were thinking of ways to make more room and change up my Stamp Room. We thought outside the box. We decided a kitchen table with shelves around it was better than my old desk in the middle of the room. Within 2 hours, we found a table on a local Swap & Sell site and brought it home. Saturday was craziness with moving stuff around. I’m not the best decorating but I do like things organized. One of the biggest things that I want to do is label everything with a cute decorative label. Stay tuned as I will post more as I get it finished. If you have any ideas for storage of ribbon, I would love to hear it. Another thing I am struggling with is a spot for my paper cutter. I use to have a cubby in my desk that I slide my Stampin’ Trimmer and Stampin’ Scrub but now that are just on the table. Should I hand a shelf under the table? Ideas? Let me know in the comments below!

I hope you all have a wonderful weekend! I’ll see you back here on Monday! 🙂

Happy Stampin’

~Laura


Swirly Bird!!!

Posted on

Hello Swirl, www.LaurasStampPad.com

The Swirly Bird Stamp Set and coordinating Swirly Scribbles Thinlits (Bundle & Save 10%) look a little odd at first glance. When you start playing with the images, you realize how many crazy different looks you can get – flowers, bears, flags, sailboats, kites, and even the 60’s era with the swirls and fun! 🙂 Be sure to subscribe to my blog on the right hand side bar so you don’t miss all these amazing ideas!

Swirly Bird Stamp Class, www.LaurasStampPad.com

Now let’s get started on today’s creation. I started with a Emerald Envy card base. Then I took a piece of Whisper White measuring 4″ x 5-1/4″ and I stamped the solid swirl image from the Swirly Bird Stamp Set a little to the right side in the middle in Emerald Envy. Then I stamped the splatter dots in the same color diagonal from the bottom left to the upper right. I inked the image up, stamped, rotated 90 degrees and then stamped again (skipping over the swirl). This gave a variation of color and a wider pattern. I thought it needed a little bling so I took my Wink of Stella Brush and squeezed it a little to allow more glitter on the tip. Then I tapped the pen on my finger over the project to allow splatter of glitter. You can see a large drop of it in the bottom right corner….it is a technique you can’t predict or control. 🙂 Now you are done with the background and can add this piece to your card base. Using the swirl from the Swirly Scribbles Thinlits Set, I die cut one in Emerald Envy with the Big Shot. On the left hand side, I tied some Emerald Envy Ruched Ribbon around the swirl. The best way to add this piece to your card is with the Fine Tip Glue Pen. Just add a little in spots around the swirl and place it over the stamped swirl, hold a few seconds and you are golden! For the greeting, I stamped the banner from the Thoughtful Banners Stamp Set and punched it out with the Duet Banner Punch (Bundle & save 10%). Then I stamped the greeting in the middle and added it to my card front with Stampin’ Dimensionals!

I love the monochromatic look of this card so it would be great to make with your favorite color or the color you have tons of paper in. It was hard not to add in another color. I think making it 2 colors would be super fabulous as well!!!

If you would like to see a video showcasing the Swirly Bird Bundle, check out the video tutorial below or click here. Be sure to give it a thumbs up if you liked it and don’t forget to subscribe. I post videos every Tuesday and Thursday!

Happy Stampin’

~Laura