Family Time at the Lake!!!
Posted onWe have been home from our annual family time at the lake for a week now. I think I’m finally getting back into the swing of things!!! Here is a little sneak peak of the wonderful time we had!!!
This year my entire immediate family was all able to attend! I’m still surprised we got a great group photo with everyone basically looking at the camera! That’s a win for sure! The weather was amazing and on the cool side. I still got a little sun on my legs one more really early while on the Paddle Board. By the way, if you ever get a chance to play with one of those, I highly recommend it. It is super easy and lots of fun to paddle around on. We (adults and kids) had lots of fun on it!
The sunrises and sunsets are just stunning at the Lake! It is so calming and amazing! I love it! Lots of selfies took place throughout the week since I’m the only one who is snapping photos all of the time! I spent one afternoon on the dock reading. It was amazing and peaceful especially when it started to rain lightly! My fabulous husband went to an ice cream shop and he knows me so well. I could care less about ice cream but a waffle cone is totally my jam! YUM!
We had a wonderful time relaxing and making memories! Now I’m home and excited to get started on Holiday Cards. The Holiday Mini Catalog is coming out on September 1st and I’ve received my Pre-Order already!!! If you would like to check out all the fabulous goodies, check out the video below or click here! Be sure to give it a thumbs up if you liked it and let me know in the comments which item you are most excited about!!!
Happy Stampin’
~Laura
Black & White Floral Birthday!!!
Posted onThis black & white floral birthday card is quick and simple to make! This pattern may look familiar because it is! I created this card and had leftover pieces cut so I just changed it up a little! Love it!!!
Black and white is a fun base that you can add any color combination to! I went with some of my favorites right now – Bermuda Bay and Berry Burst!
I started with a Basic Black card base and then cut two pieces of Whisper White measuring 4″ x 5-1/4″! One is for the inside of the card and one for the front. I stamped the flowers from the Colorful Seasons Stamp Set in Berry Burst on both pieces for a little decoration. Next, I layered on a piece of Basic Black (4-1/2″ x 2-1/2″) with Stampin’ Dimensionals. For the greeting, I stamped it on a piece of Whisper White (4-1/4″ x 2-1/4″) using the Special Celebrations Stamp Set. This set is perfect for inside and outside greetings! They just pair together so well! I stamped the greeting in Bermuda Bay and added a few more flowers in Berry Burst. Finally, I added the greeting to the card on top of the Basic Black.
This card was super simple and easy to make. You could always step it up by adding some ribbon or bling or enamel shapes!
Don’t forget that the Carols of Christmas Bundle has been released this month while the rest of the Holiday Mini Catalog comes out September 1st! Purchase this bundle and save 10% AND earn Laura’s Loyal Stampers Stickers!!!
Happy Stampin’
~Laura
Technique Tuesday – Creating Snowy Evergreen Trees!
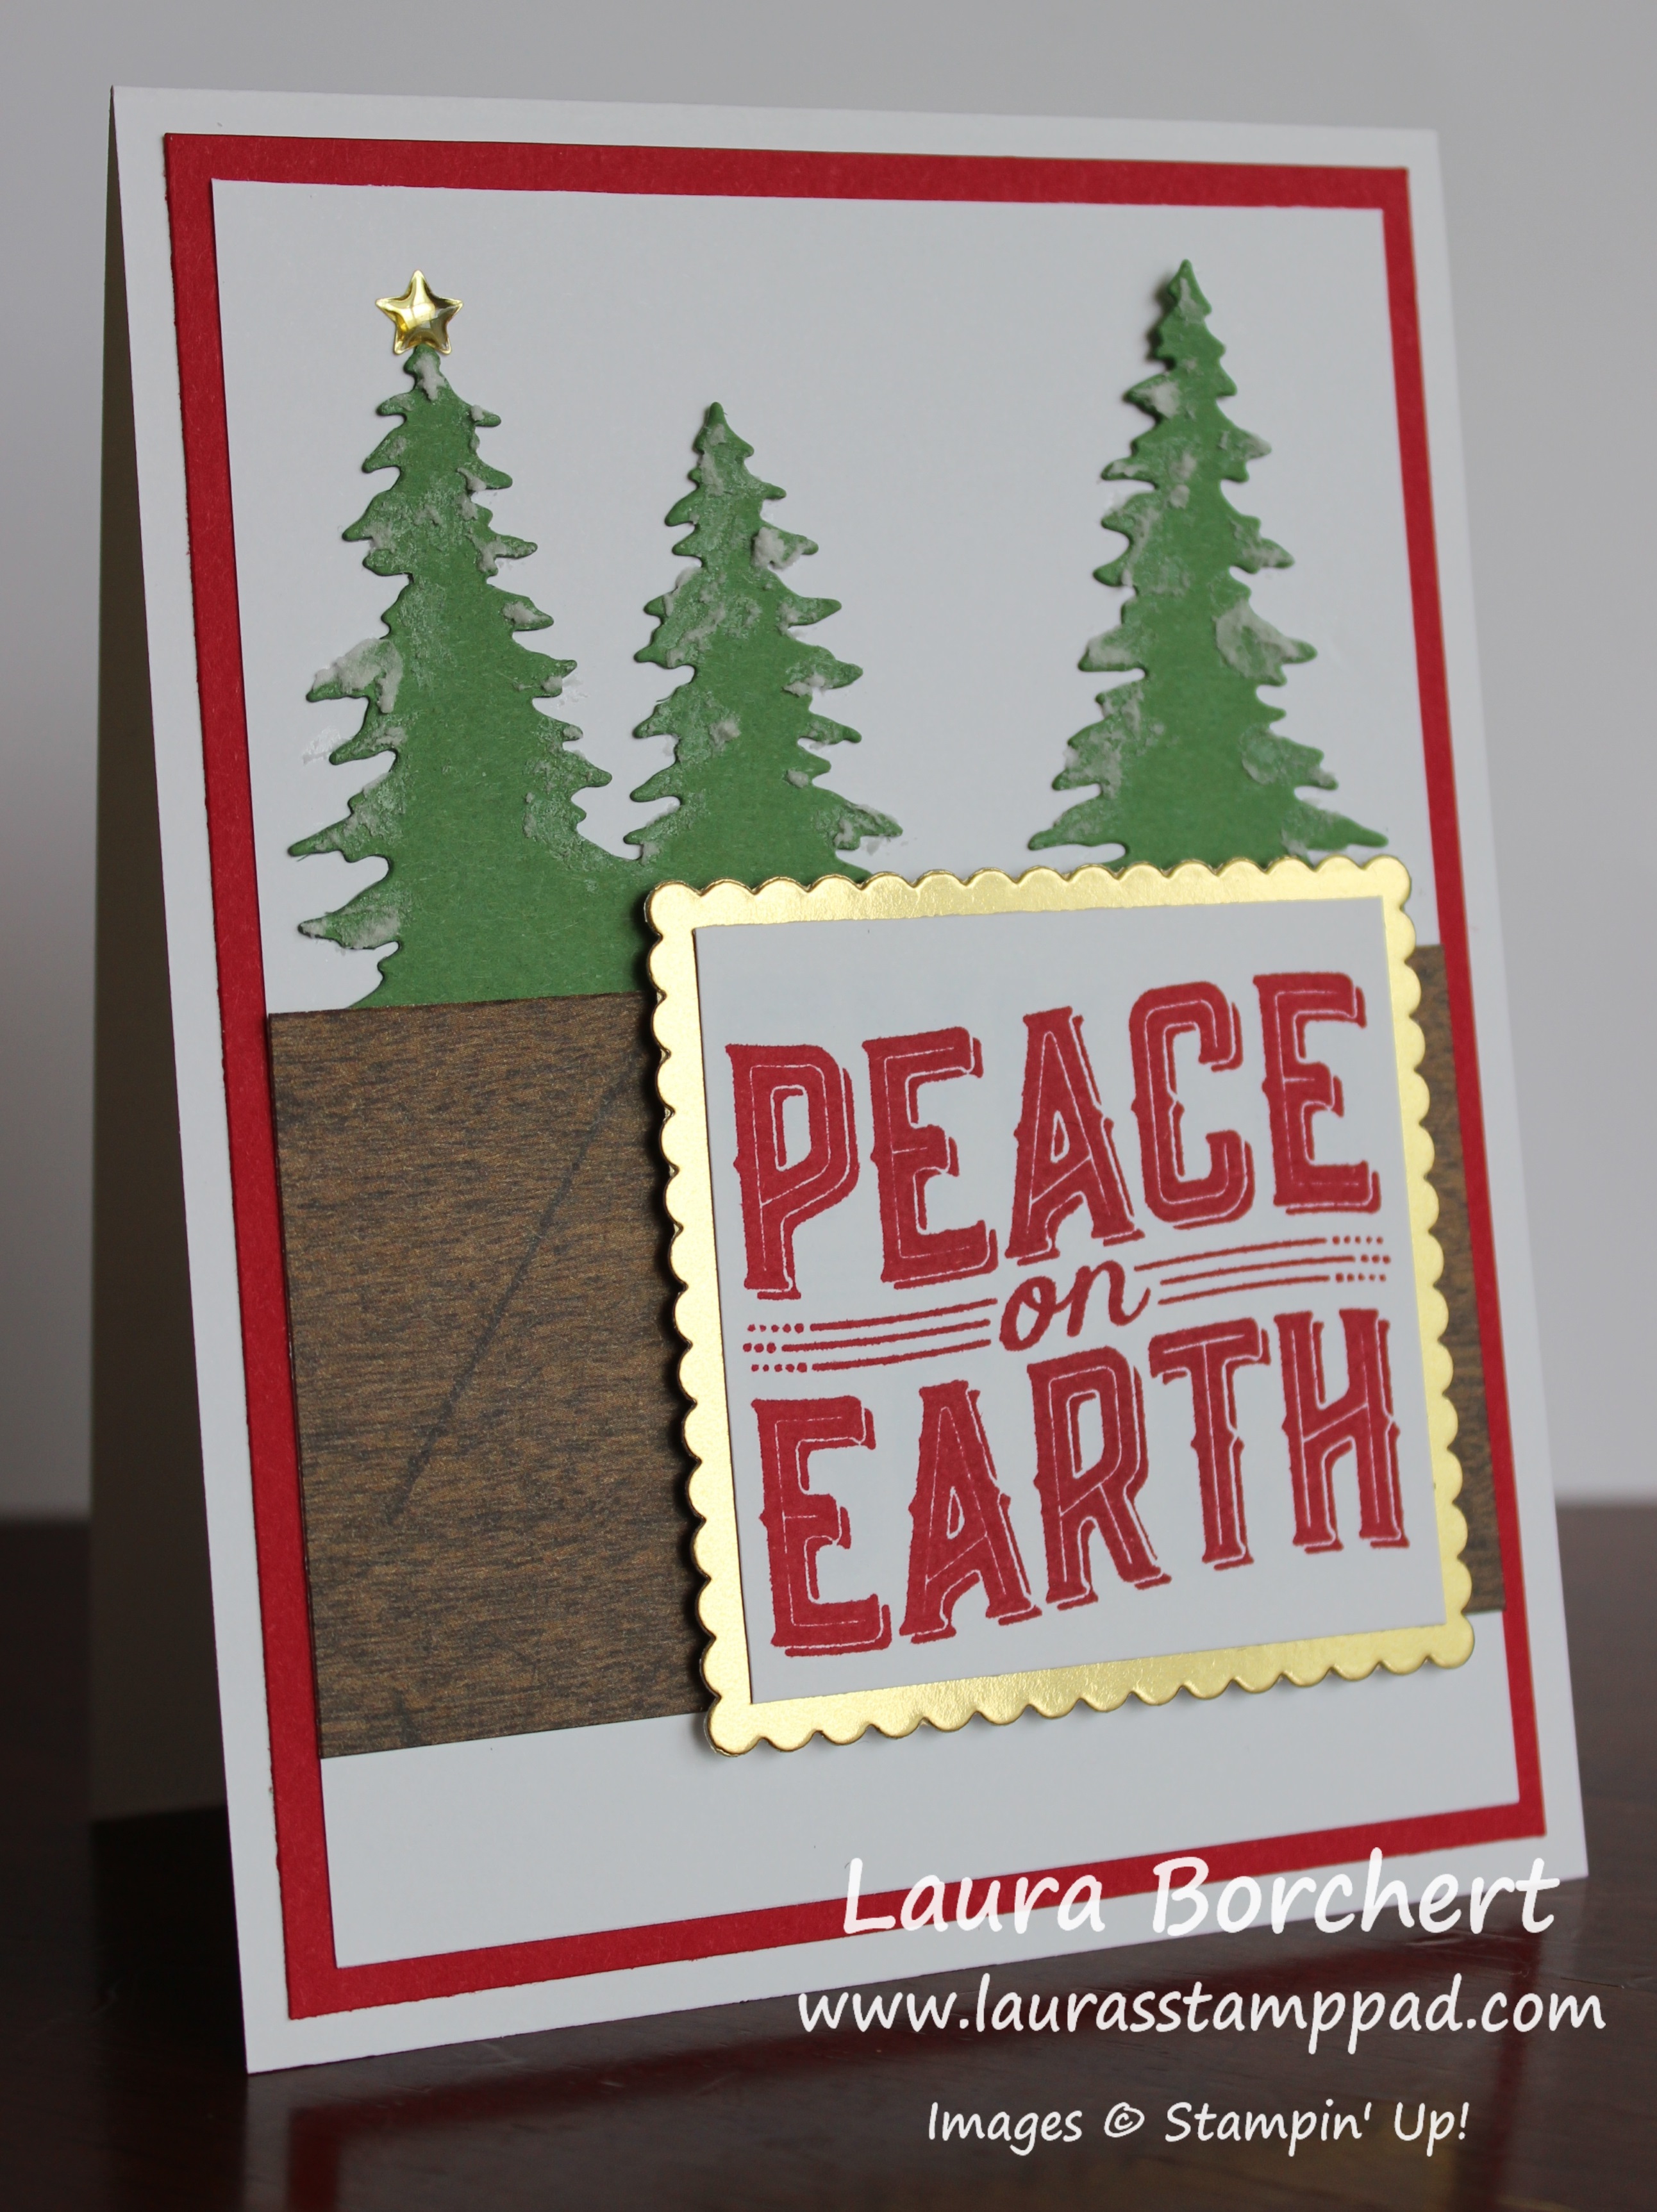
Posted onHappy Tuesday!!! You all know that means I have a fabulous technique for you! I’m showing you creating snowy evergreen trees with Embossing Paste! It’s super fabulous!
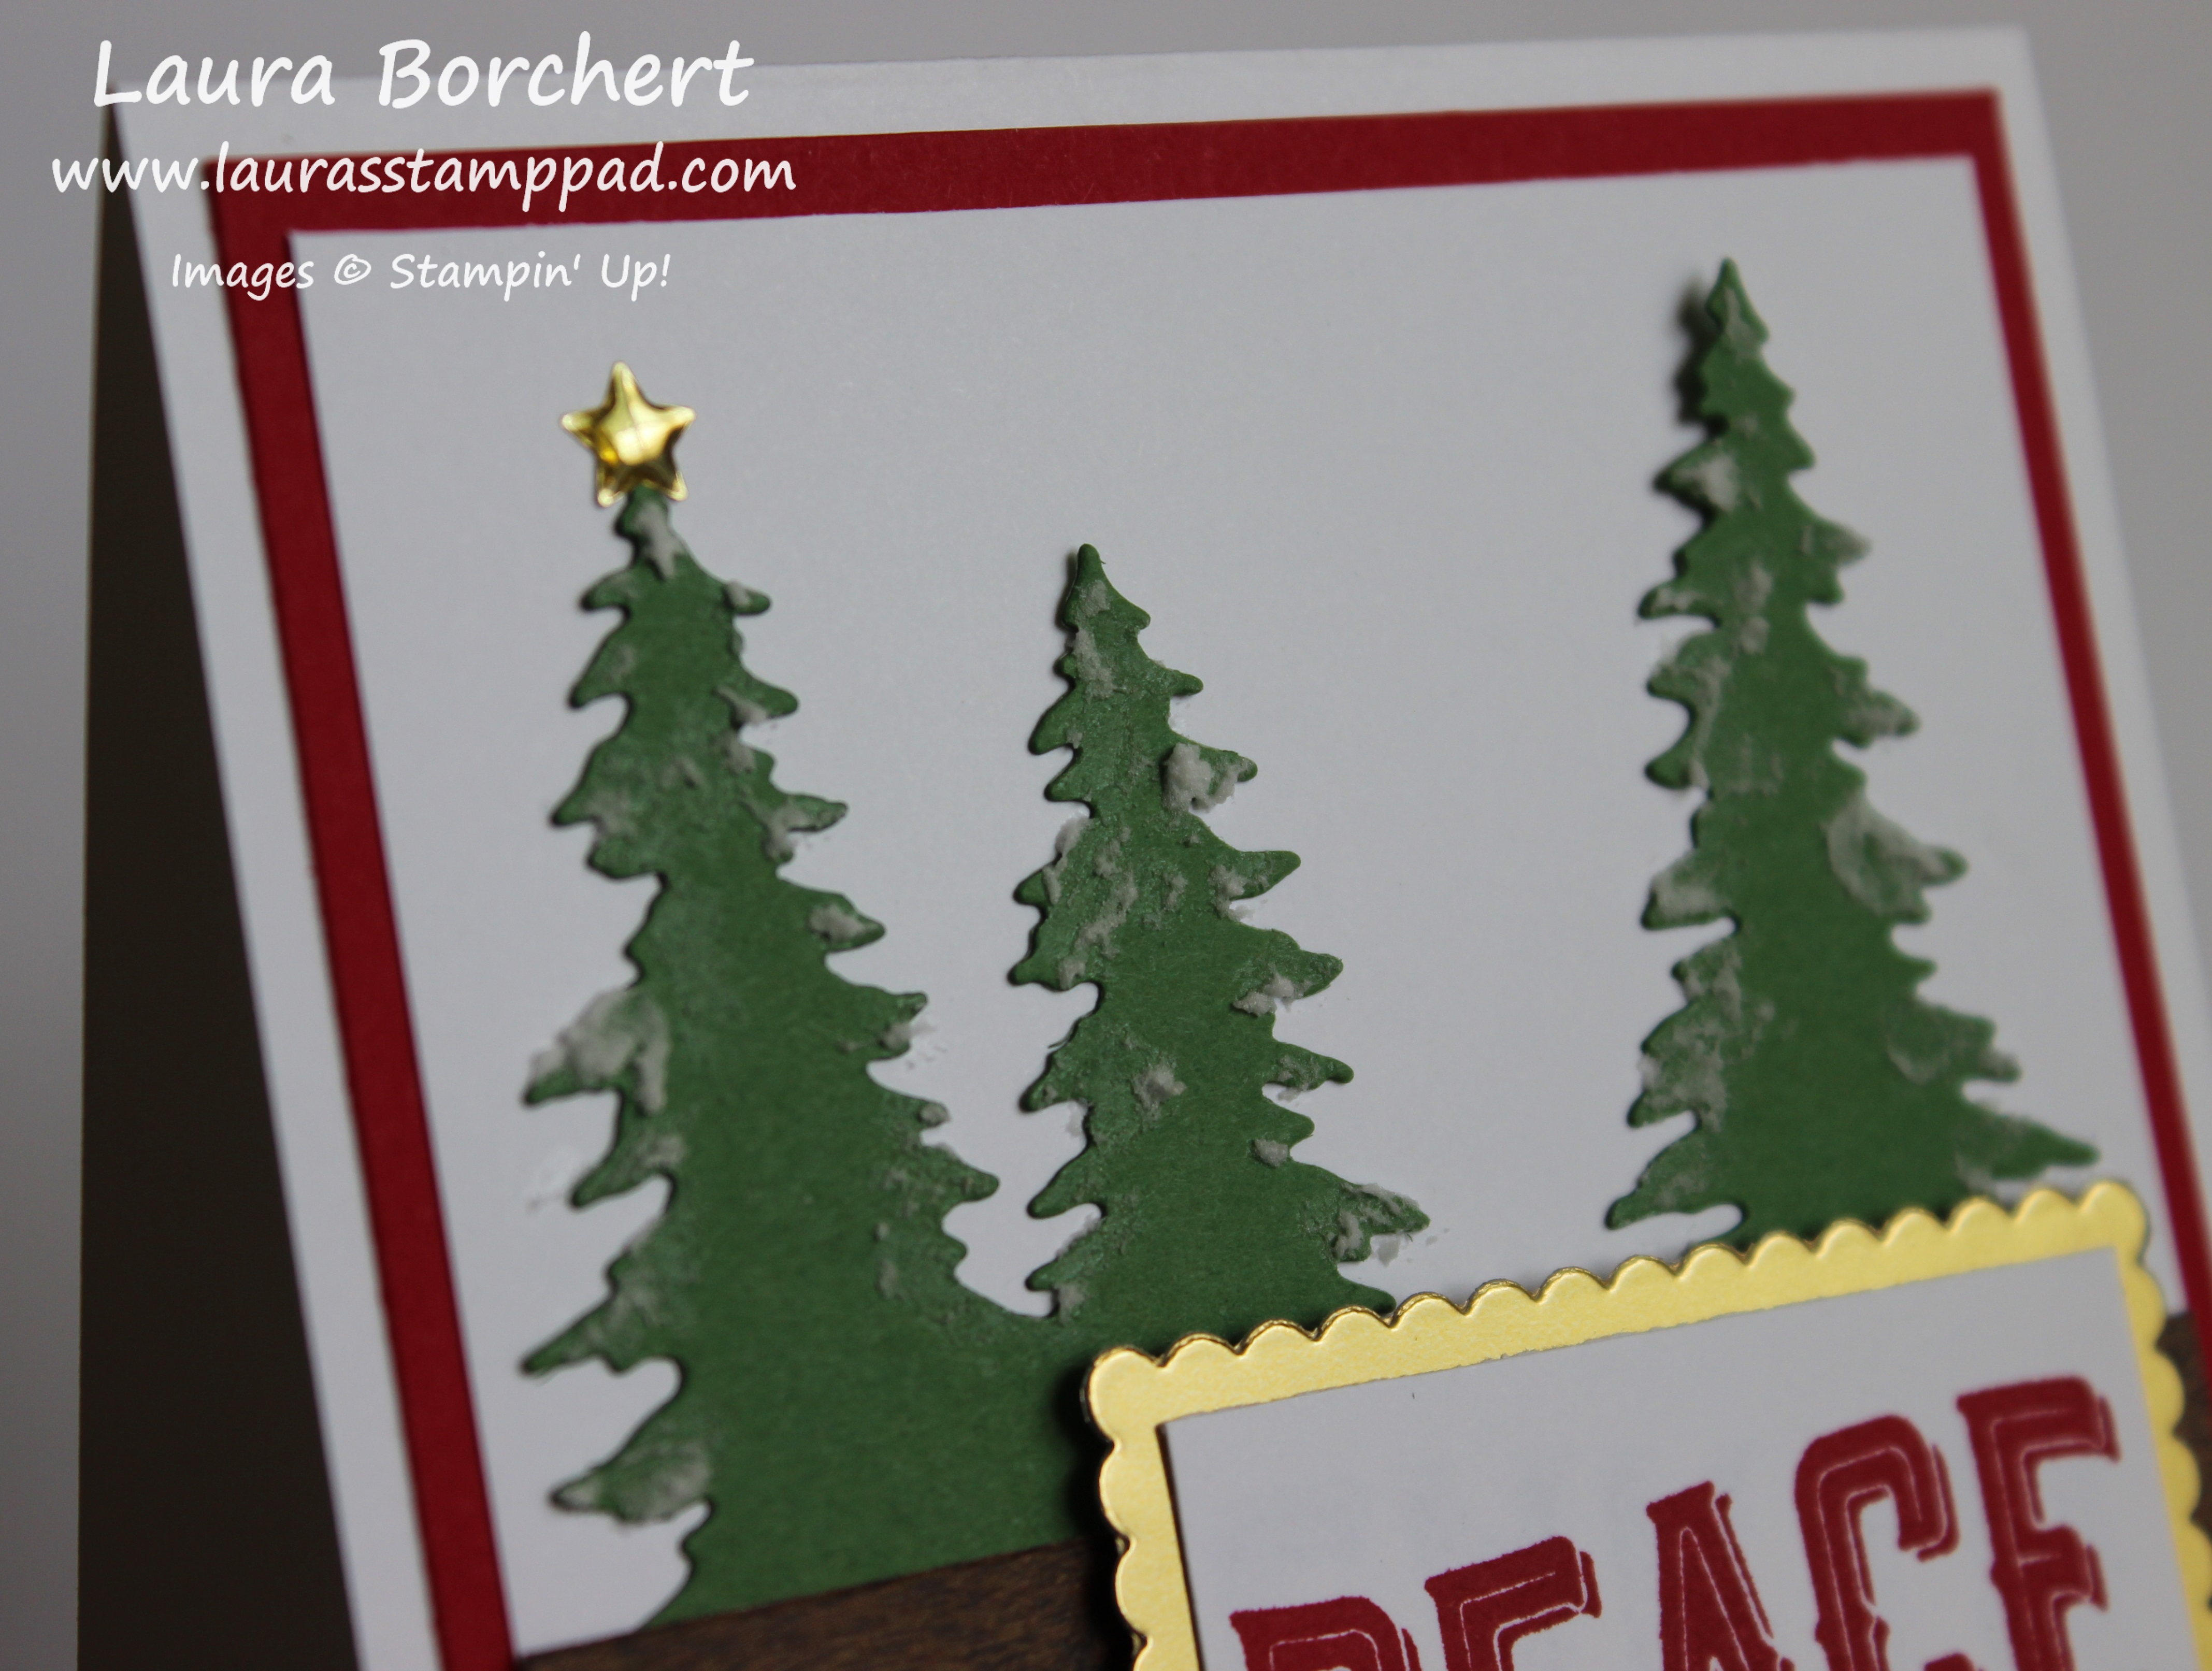
This card is so amazing! I just love it!!! The texture and snow on those trees looks so real! Eeee! 🙂
I started with a Whisper White card base. Next, I layered on Real Red (4″x 5-1/4″) and Whisper White (3-3/4″ x 5″). Using the Card Front Builder Thinlits, I die cut the double and the single tree in Garden Green. I added these to the top half of the card and then placed the Wood Textures Designer Series Paper piece over the tree bottoms.
Now for adding snow to the trees. I used 2 of the Palette Knives; one to scoop out some and one to apply it on. Since it dries so quickly, I didn’t want to leave the tub of Embossing Paste open while working. Using the second Palette Knife, I pulled a bit of the paste off and just lightly touched the edges of the tree. Just a few light dabs all over the trees is all you need! It gives that light snowy look. Be sure to tap a little in the middle of the tree so it’s all around and not just on the sides.
For the greeting, I stamped it from the Carols of Christmas Stamp Set in Real Red Ink onto Whisper White. I die cut the greeting with the Layering Squares Framelits as well as the Gold Foil layer. I added the greeting to the card with Stampin’ Dimensionals. To finish off the card, I added a Gold Metallic Enamel Star to the top of the one tree!
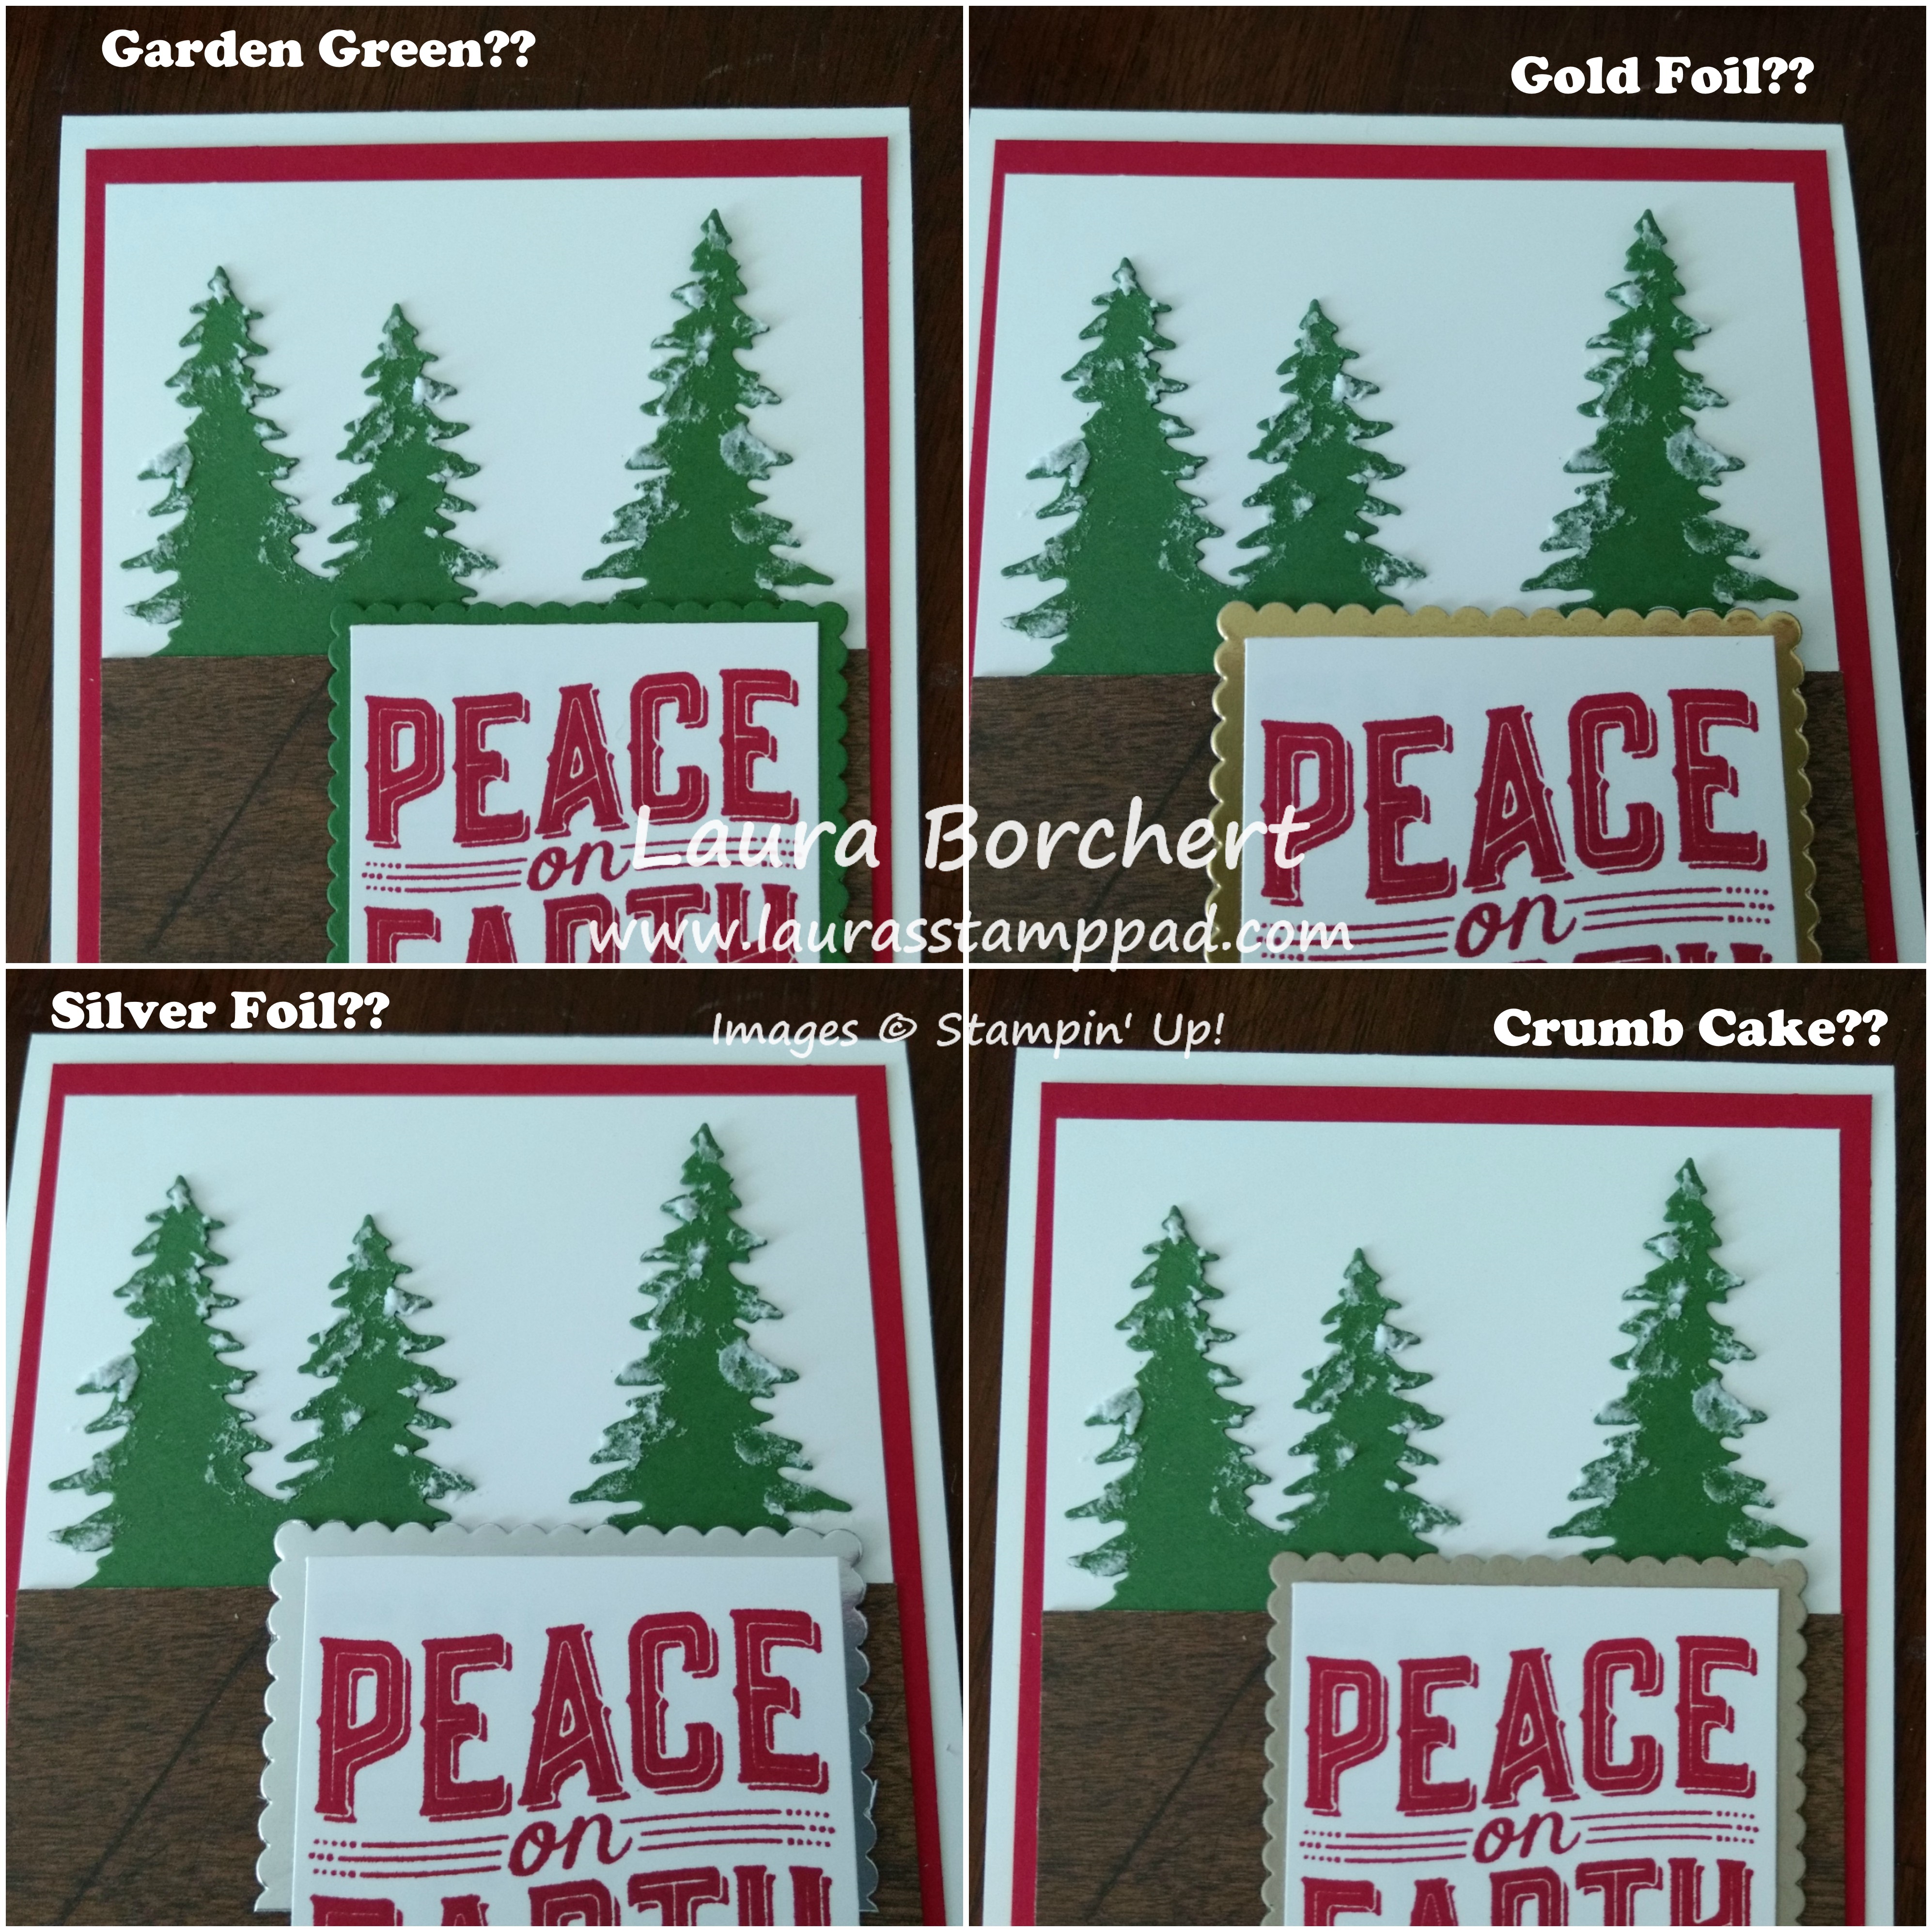
I spent a long time trying to figure out how to layer the greeting. Here are some of the ideas I was playing with – Garden Green, Silver Foil, Gold Foil, or Crumb Cake! Which one would you pick? Let me know in the comments below!
If you would like to see this all in action, check out the Video Tutorial below or click here! Be sure to give the video a thumbs up if you liked it and don’t forget to subscribe if you are new. If you would like a notification when I post a new video, be sure to click the bell right next to the subscribe!!! If you would like to see more samples using the Carols of Christmas Bundle (Save 10%), click here and stay tuned!
Happy Stampin’
~Laura
All the Details for Your Birthday!!!
Posted onIt’s all in the details for your birthday that make it super special. That is exactly what makes this card special too…..the details!!!
I love how this card turned out but I do have to admit that there are lots of details and steps for this beauty! Let’s get started!
I started with a Crumb Cake card base. Next, I took a piece of Whisper White (2″ x 4-1/4″) and stamped the greeting from the Happy Birthday Gorgeous Stamp Set. If you look really close, you will notice I stamped it twice in different colors. First, I used Tangerine Tango Ink and then I did a drop shadow in Soft Sky Ink. For the punched out greeting, I used the border and greeting from the same stamp set and punched it out with the Classic Label Punch. I added this below the birthday greeting with Mini Stampin’ Dimensionals.
Now that the greeting part is done, let’s move up the card. I took a piece of Soft Sky (1″ x 4-1/4″) and stamped the squiggle in Soft Sky Ink all along it. To me, this was the hardest part because it was so repetitive. 🙂 I flipped the image so it didn’t look exactly the same each time. Now to assemble all of this. I placed the blue and white pieces together and placed the Lemon Lime Twist Ribbon over the top. I wrapped the ends around to the back side and added this entire piece to the bottom of the card front!
For the balloons, I stamped the hooray in Tangerine Tango onto the same cardstock. I stamped the dotted balloons in Soft Sky and Lemon Lime Twist. Using the Balloon Bouquet Punch. To add the strings, I placed a piece of Whisper White Baker’s Twine on the back and set a Stampin’ Dimensional on top to secure it. I added one more dimensionals on the top side of the balloon so it was smooth on the card. So there are 2 dimensionals on the back, one down low holding the twine and one up top, both in the center. I placed the greeting balloon in the middle and then placed the other 2 on either side. Since the dimensionals are in the middle on the back, it allow me to overlap the balloons a bit. To finish it off, I tied a little knot around the ends of all three strings. This can either be left flopping around or it can be secured with a Mini Glue Dot right on that knot.
There are lots of steps to this card but it really comes together so well. This card is perfect for everyone with a few color changes so be sure to save this style. If you would like to see other samples using the Happy Birthday Gorgeous Stamp Set, check them out here and here!
Happy Stampin’
~Laura
July Laura’s Loyal Stampers!!!
Posted onHappy Friday everyone! I just got home from our Annual Family Vacation from the Lake and boy do I need a stay-cation now! We had a wonderful time but I’m exhausted and my heart is full!!!! Today, I thought I would share my July Laura’s Loyal Stampers!!!
I had 3 stampers earn a $40 Gift Certificate in July!!!! I always get so excited to present these each month!!! Would you like to know some of the favorites these ladies are picking to use their gift certificate on???
Not going to lie, these are some of my favorite items as well! Since it is August and that’s my Birthday month, let’s celebrate!!! I’m going to do DOUBLE Laura’s Loyal Stampers Stickers through the end of the weekend (ends Sunday evening at 10 p.m.).! Use the Hostess Code: QXXYSDB7 when you are checking out and you will earn the double stickers! Place this code at the bottom of the page when you are in the shopping cart! Don’t forget about the Carols of Christmas Bundle that got released this month!!! Click here to start shopping!
Have a wonderful weekend and I’ll see you back here on Monday!!! Also, I’ll be sharing more on my vacation next week! 🙂
Happy Stampin’
~Laura
Loving the Petal Garden Suite!!!
Posted onI am loving the Petal Garden Suite from the moment I saw it in the New Annual Catalog a month ago. The colors are stunning and it has lots of flowers in it!
Oh this card is just stunning. I love the color combination and different patterns and that rose! Also, is the greeting not the sweetest ever?!?!?!
I started with a piece of Pool Party as my card base. Next I layered on a piece of Rich Razzleberry (4″ x 5-1/4″) and then Whisper White (3-3/4″ x 5″). Then I punched out various pieces of the Petal Garden Designer Series Paper with the 1-1/2″ Circle Punch. Some of the pieces I punched twice to use one circle with the front of the paper and one with the back. There are so many amazing patterns that it was hard to pick just 5.
I punched one in Whisper White cardstock after stamping the greeting from the Graceful Garden Stamp Set. Stamp first and then punch it out so you can center the image inside the punch for a perfect look! For the scallop circle, I die cut some more of the designer paper with the Layering Circles Framelits. I placed all of the circles down to figure out my spacing. Then picked each one up individually to add adhesive. This way I didn’t mess up my spacing and I had it all even!
Now for that stunning purple rose! I stamped the rose from the Graceful Garden Stamp Set in Rich Razzleberry Ink onto Rich Razzleberry. Next, I fussy cut it out with Paper Snips. I did the same with the leaves in Old Olive. I adhered the two together overlapped and added it to the card with Stampin’ Dimensionals. To finish off the card, I added a few Old Olive Enamel Shapes for some texture and more pops of color.
If you would like to see more on the Petal Garden Suite, check out the Video Tutorial below or click here! Be sure to give the video a thumbs up if you liked it and don’t forget to subscribe if you are new. If you would like a notification when I post a new video, be sure to click the bell right next to the subscribe!!!
Happy Stampin’
~Laura
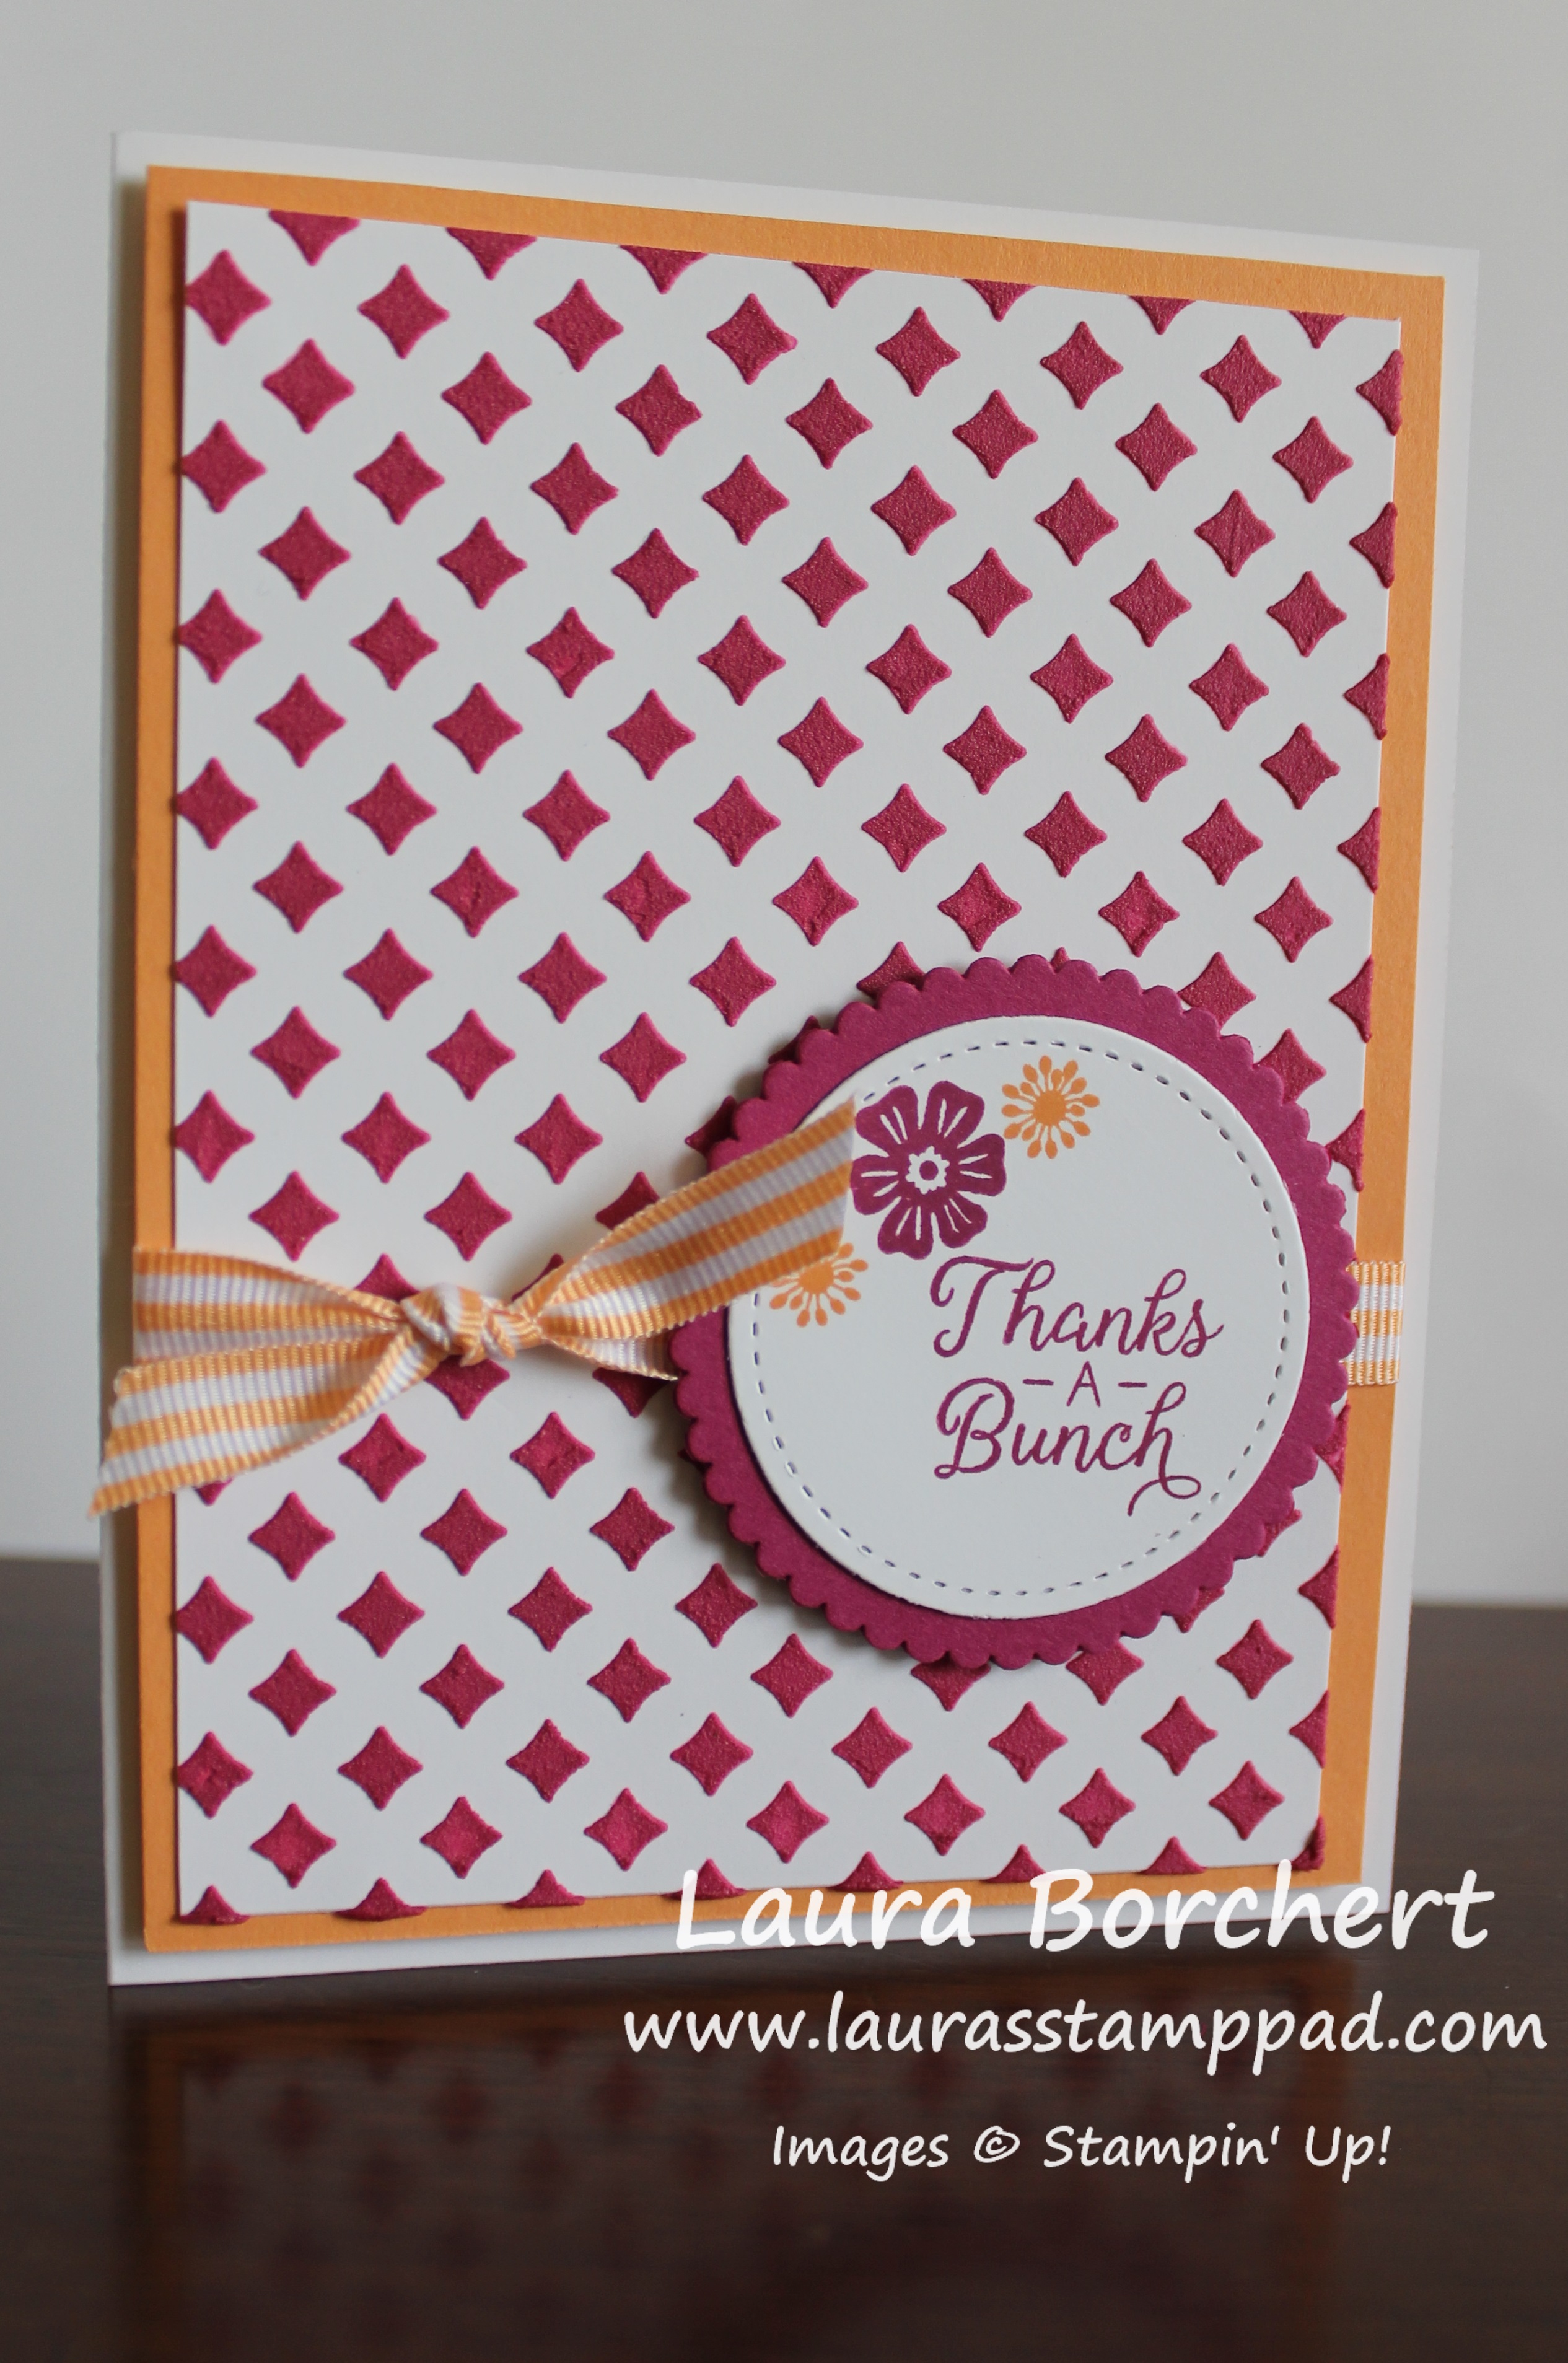
Nothing More Truly Artistic Than To Love People!!!
Posted onThere is Nothing More Truly Artistic Than To Love People….that’s just a fabulous greeting for a card, especially a homemade one!
I really like this card for all of the layers and texture but also that color combination. Berry Burst is my favorite color right now for sure!!!
I started with a Whisper White card base. Next, I took a piece of Berry Burst (4″ x 5-1/4″) and added some Embossing Paste. I used the Pattern Party Decorative Masks and the Palette Knives to swipe some paste diagonally across. I didn’t fill in each diamond hole, I just swept it across and that’s it. That messy, eclectic look is super cool for any style of card! I set that part aside to dry while I completed the greeting!
For the greeting, I die cut out the squares with the Layering Squares Framelits. The greeting was stamped from the Just Add Text Stamp Set in Berry Burst Ink. Now to assemble, I tied some Soft Sky Classic Weave Ribbon around the Berry Burst and added it to the card front. Next, I added the greeting with some Stampin’ Dimensionals. I like using these for dimension on my project as well as a nice tight grip over the embossing paste. The foam sinks into the embossed image and holds on tight. To finish off the card, I added a few Soft Sky Enamel Shapes.
If you would like to see more samples as well as video tutorials using Embossing Paste, check them out here, here, and here!
Happy Stampin’
~Laura
Want to join my Mailing List and get fabulous offers, card making tips, and more? Be sure to sign up in the upper right corner if you are on a computer or at the very bottom of the page if you are on a mobile device!
Technique Tuesday – Carols of Christmas Bundle!!!
Posted onHappy Tuesday!!! It’s August and Stampin’ Up pre-released the Carols of Christmas Bundle!!! The holiday mini catalog will come out next month but we get to enjoy this amazing stamp set and coordinating framelit….NOW!
This card is quick and simple and perfect for making multiples this holiday season!
I started with a Whisper White card base which is perfect for writing your message on the inside. Next I took a piece of Fresh Fig cardstock measuring 4″ x 5-1/4″ and stamped all over it with the Carols of Christmas Stamp Set. The corners each have the little fan image stamped in them. Then I used the four dots (pointsettia center) to add a little more decoration to the background. Next, I added this layer to the card front.
For the greeting, I used the Stitched Shapes Framelits for the Whisper White square. The greeting was stamped in Fresh Fig Ink and then lines with a fan were stamped in Garden Green. There are 2 images like this – one is straight across to use with the Deck The Halls greeting and the other one has a wave to it. I used the wave one to coordinate with the wave in the greeting. All of these images are in the Carols of Christmas Stamp Set. I layered the greeting onto a piece of Silver Foil Paper die cut with the Layering Squares Framelits.
Next, I took some Silver Metallic Thread and wrapped it around my finger 8-10 times. Then I slid the thread off my fingers and twisted it in the middle to create a figure 8. Set the twist down on the back of the greeting and secure it with a Stampin’ Dimensional. Then I fan out the loops and secure them with more dimensionals. Peel off the backs of the dimensionals and attach it to the card front. To finish off the card, I added a few Silver Enamel Shapes (or you can use Rhinestones).
If you would like to see more on the Carols of Christmas Bundle, check out the Video Tutorial below or click here! Be sure to give the video a thumbs up if you liked it and don’t forget to subscribe if you are new. If you would like a notification when I post a new video, be sure to click the bell right next to the subscribe!!!
Stay tuned as I will be posting more samples and fun with this bundle! 🙂 Click here to purchase your bundle so you can play along and earn Laura’s Loyal Stampers Stickers!
Happy Stampin’
~Laura
July 2017 Paper Pumpkin~Positively Picturesque!!!
Posted onHappy Monday!!! Today I’m sharing with you the July 2017 Paper Pumpkin Positively Picturesque!!! I love the soft colors and the nature scenes of this kit! Also, I was super surprised with a name like this I was thinking it would be a photo frame or album. I prefer cards so I was excited!
Aren’t these cards just fabulous? There are a total if 8 cards in the kit with adorable lined envelopes. Of course I had tons of Washi Tape left over as well as the stamps and TWO ink spots. Soft Sky and Tranquil Tide were the ink colors this month!
You all know I love flowers so this one is my favorite. I love how the little scene of flowers peaks through the heart cut out. Also, the heart cut out is used in the other cards. I love when you can use up all of the pieces to create multiple styles of cards. Notice in the card in back, I trimmed my grass to be different heights for a cool look. 🙂
With the heart cut outs, I added some washi tape and the wooden accents to make these two cards. Perfect!
The next set has a die cut circle for this amazing mountain scene! Those little clouds in the background are adorable. I didn’t put my mountains down far enough on the one card but that’s okay! The bottom has a strip of Washi Tape to coordinate together and give that front piece a little design.
The punched out circles were used for these cards! Do you see them? They are covered in Washi Tape and back the greeting so perfectly. I loved the idea of placing Washi Tape all over the circle to create a whole new look. Love it!
Here’s another photo of those cut out pieces showing a scene through the hole. Isn’t that just fabulous?!?! I love it!
I am super excited about the August Kit because I just don’t know what it might be. Also, it’s my birthday month so I’m hoping its something with flowers and bling! 🙂 Be sure to get signed up before August 10th so you can have fun with me! Click here to sign up! Try it out for a month. Enjoy it for a few months. You can cancel at any time or even place a hold on getting it if you know you have a busy month or just don’t want it one month. My favorite part is the surprise and how it feels like a present each month! I also love doing a product for fun and just stamping rather than having to come up with the idea. Can’t wait for the August Kit!
Happy Stampin’
~Laura