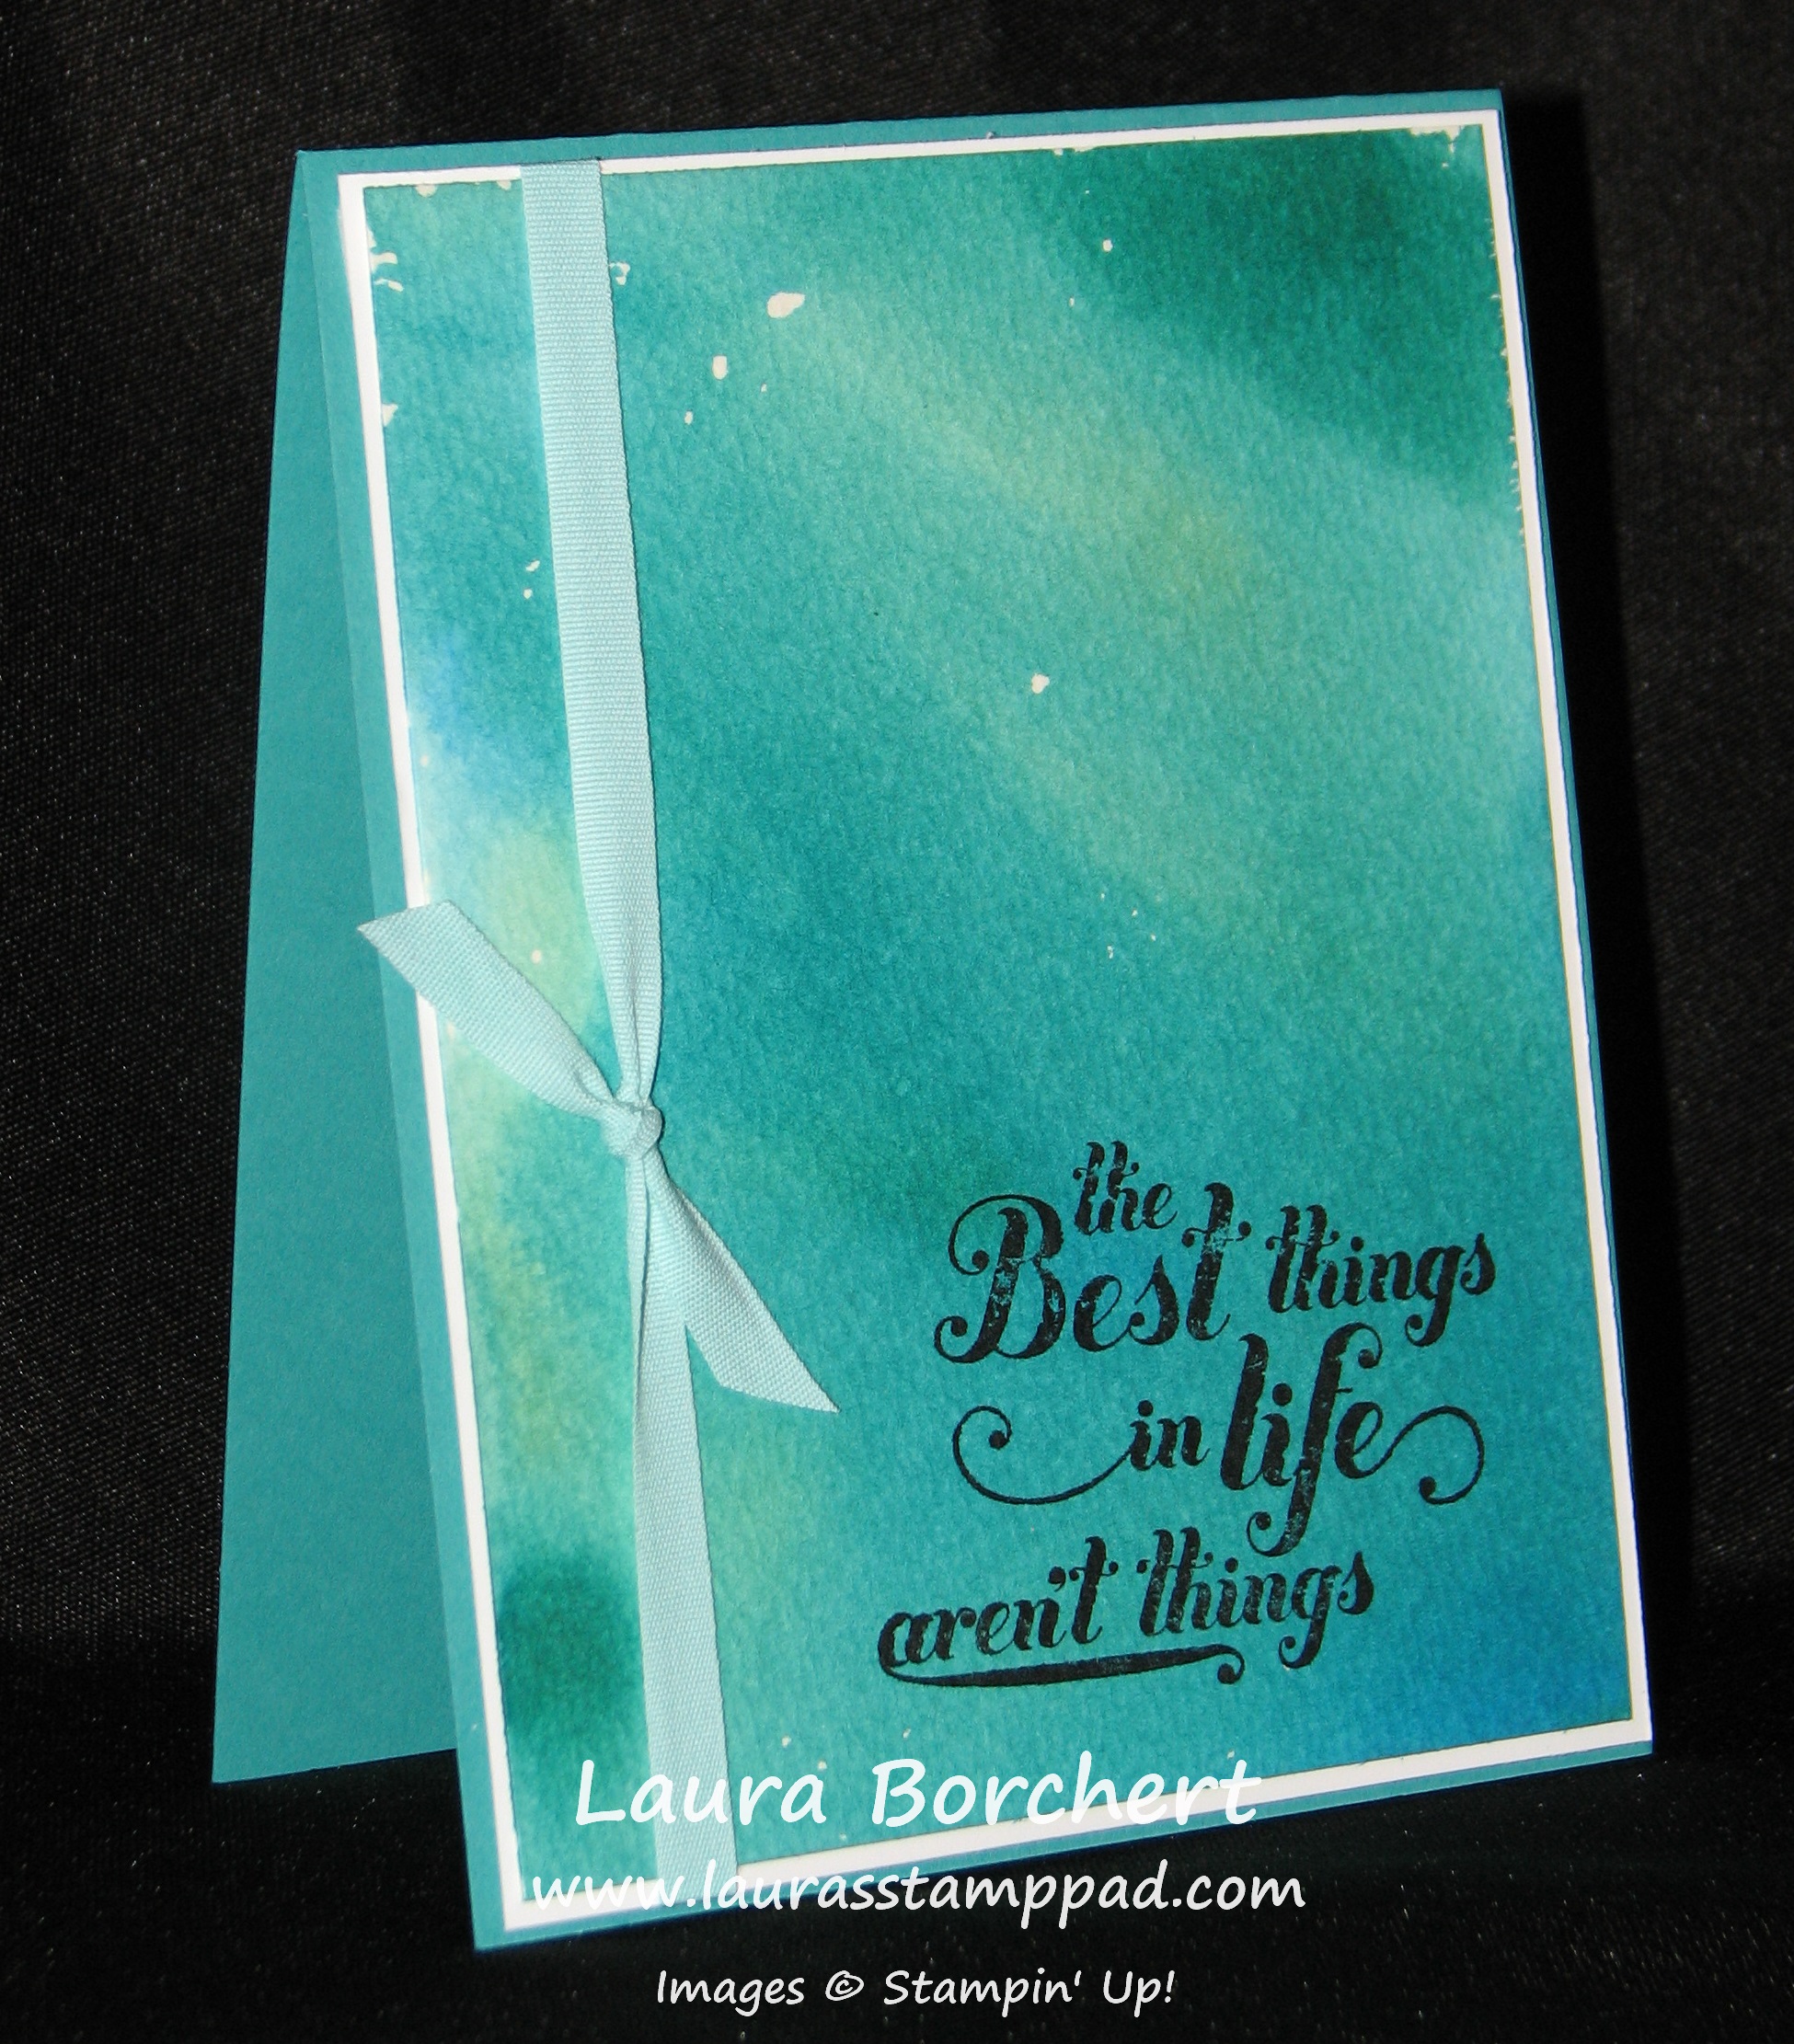
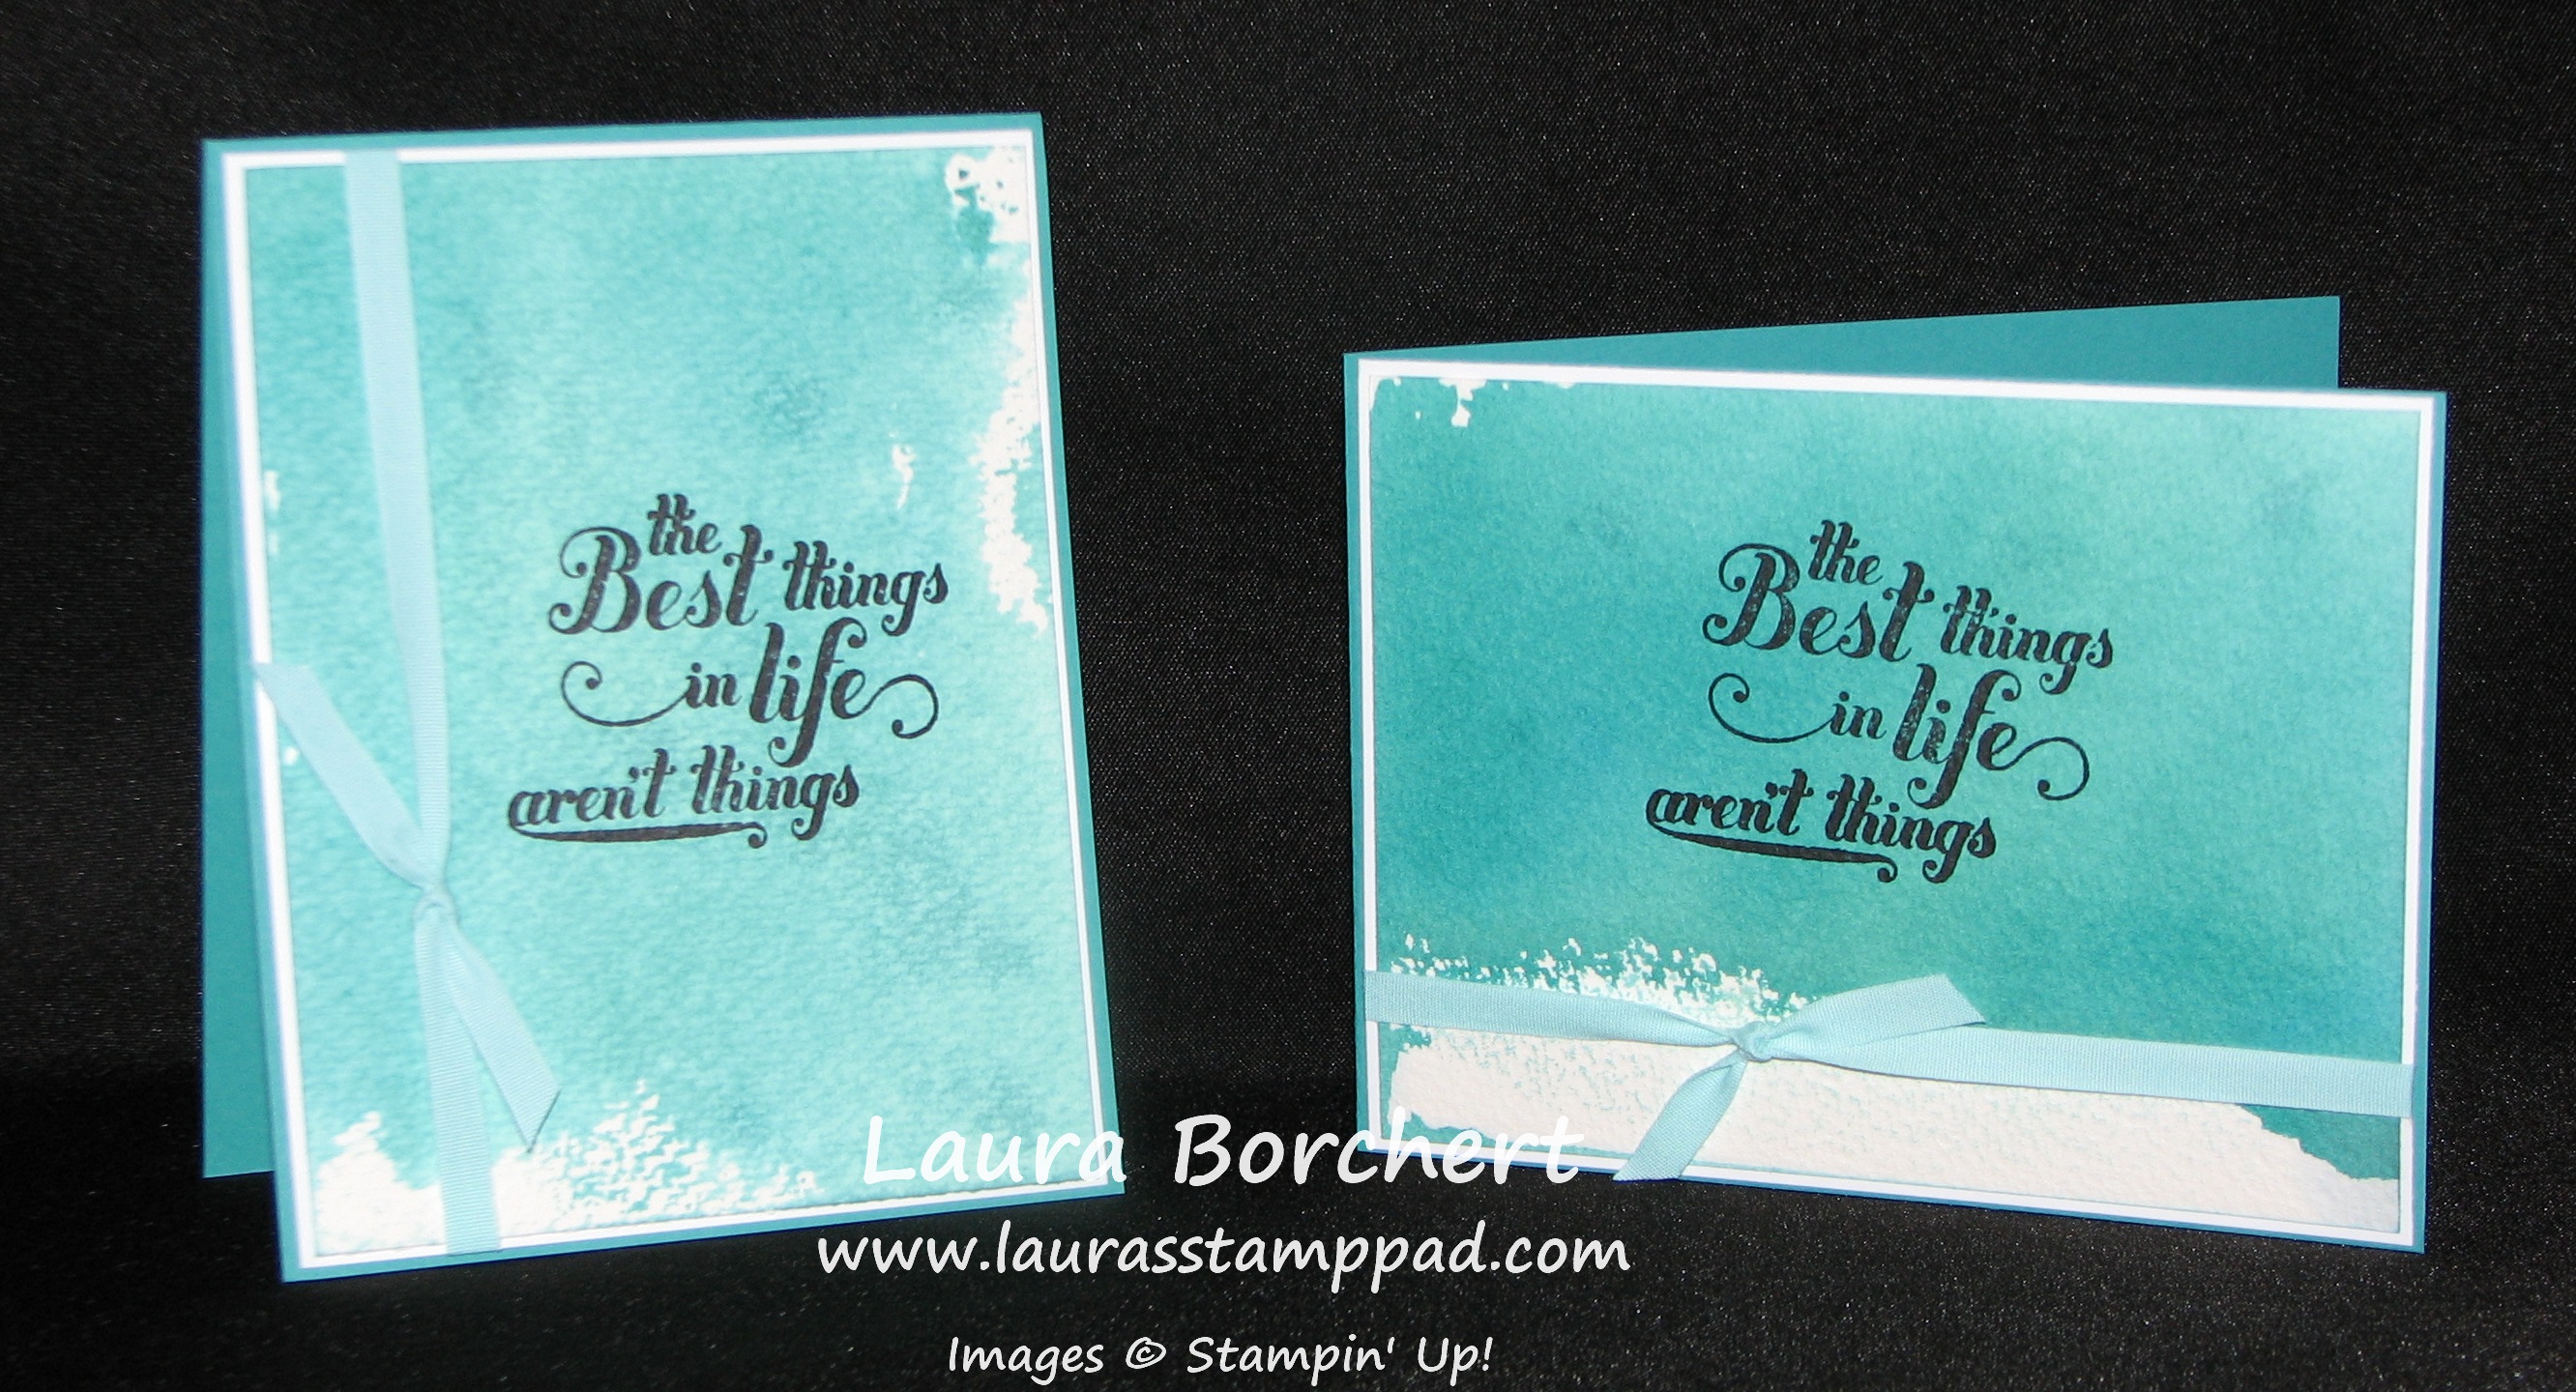
Vacation is officially over. 🙁 We are home and as promised I have uploaded the video showing you the fabulous technique of a watercolor background using Re-Inkers and your Silicone Mat! For the samples and post on this click here! For the Video Tutorial, click here or the box below!
Who doesn’t love inky fingers? Wait, am I the only one who does LOVE inky fingers? 🙂 Ahh It washes off eventually and it is just so much fun being messy! Well this technique I am going to show you is for sure messy but so much fun and super cool!
Disclaimer: No 2 Watercolor Cards come out alike! Playing with watercolors is always a toss up on the outcome!
I felt I needed to put that disclaimer out there because I can’t really teach you how to achieve this EXACT look because they all come out different. I’m not going to lie this one did come out amazing – I love the colors, I love those white spots on the top left, it’s perfect to me! I have done a few others and my fellow stampers like the ones I don’t like and don’t like the ones I do like so you never know what you might get! Okay let me tell you about this technique!!!
I started with some re-inkers and my Silicone Mat! In the card above I used Pool Party, Coastal Cabana, Bermuda Bay, and Tempting Turquoise! Drop dots of the re-inker all over the silicone mat. You can make some of the drops touch or keep them all apart. Then you will take a Spritzer with alcohol or water and give it about 5 spritzes or so. Enough to add some liquid to the mat and to make a few dots bleed a little. Then you will place your Watercolor Paper right on top. Feel free to instantly pick it back up for lots of white areas, press it all around and let ink really soak in, or press in only a few spots. Now you will pick it up and turn it over to see what you have!
Again here you can set it aside to dry, tilt it around to mix the colors, use your finger to move some color around and fill in white spots, whatever you decide! You can also get multiple watercolor pieces out of one set of re-inker drops. Just lay another piece down! I have also added a few drops of a preferred color or added a few spritzes to get it more wet! Here is another set that I did in Melon Mambo, Pumpkin Pie, and Hello Honey! I thought I would love these but for the most part….ehhh not my favorites!
I will have a Video Tutorial for you to see this technique in action, but we decided to stay an extra day on vacation so I will be posting the video later today! 🙂 Thank you for understanding!!! Be sure to subscribe to my Channel though so you don’t miss out on this one and other videos!
Summer time is definitely wedding season! We had one in June, another in July and we have one in August!!!! I love love love weddings though so I’m okay with that. AND then I get to use the fabulous Big New Stamp Set for my wedding cards!!!! I am really loving this set because of the giant greetings and I love the sayings!!!
How cute is this? I used Pacific Point and Soft Sky for the colors! These colors matched my wrapping paper ;)! You could always match it to the wedding or just use whatever paper is your favorite color that day!
I embossed the background with my Beautifully Baroque Embossing Folder which I love because it has this elegant pattern to it! Then I stamped my greeting and added a little heart from the Itty Bitty Punch Pack on the front and inside!!! This is a MUST for your next order if you don’t have it! A little heart, star, and flower…..they are just perfect for a little something added to your project! Perfect size and perfect images! Love them!!!! I will be making lots of these for all of my upcoming weddings! Stay tuned!
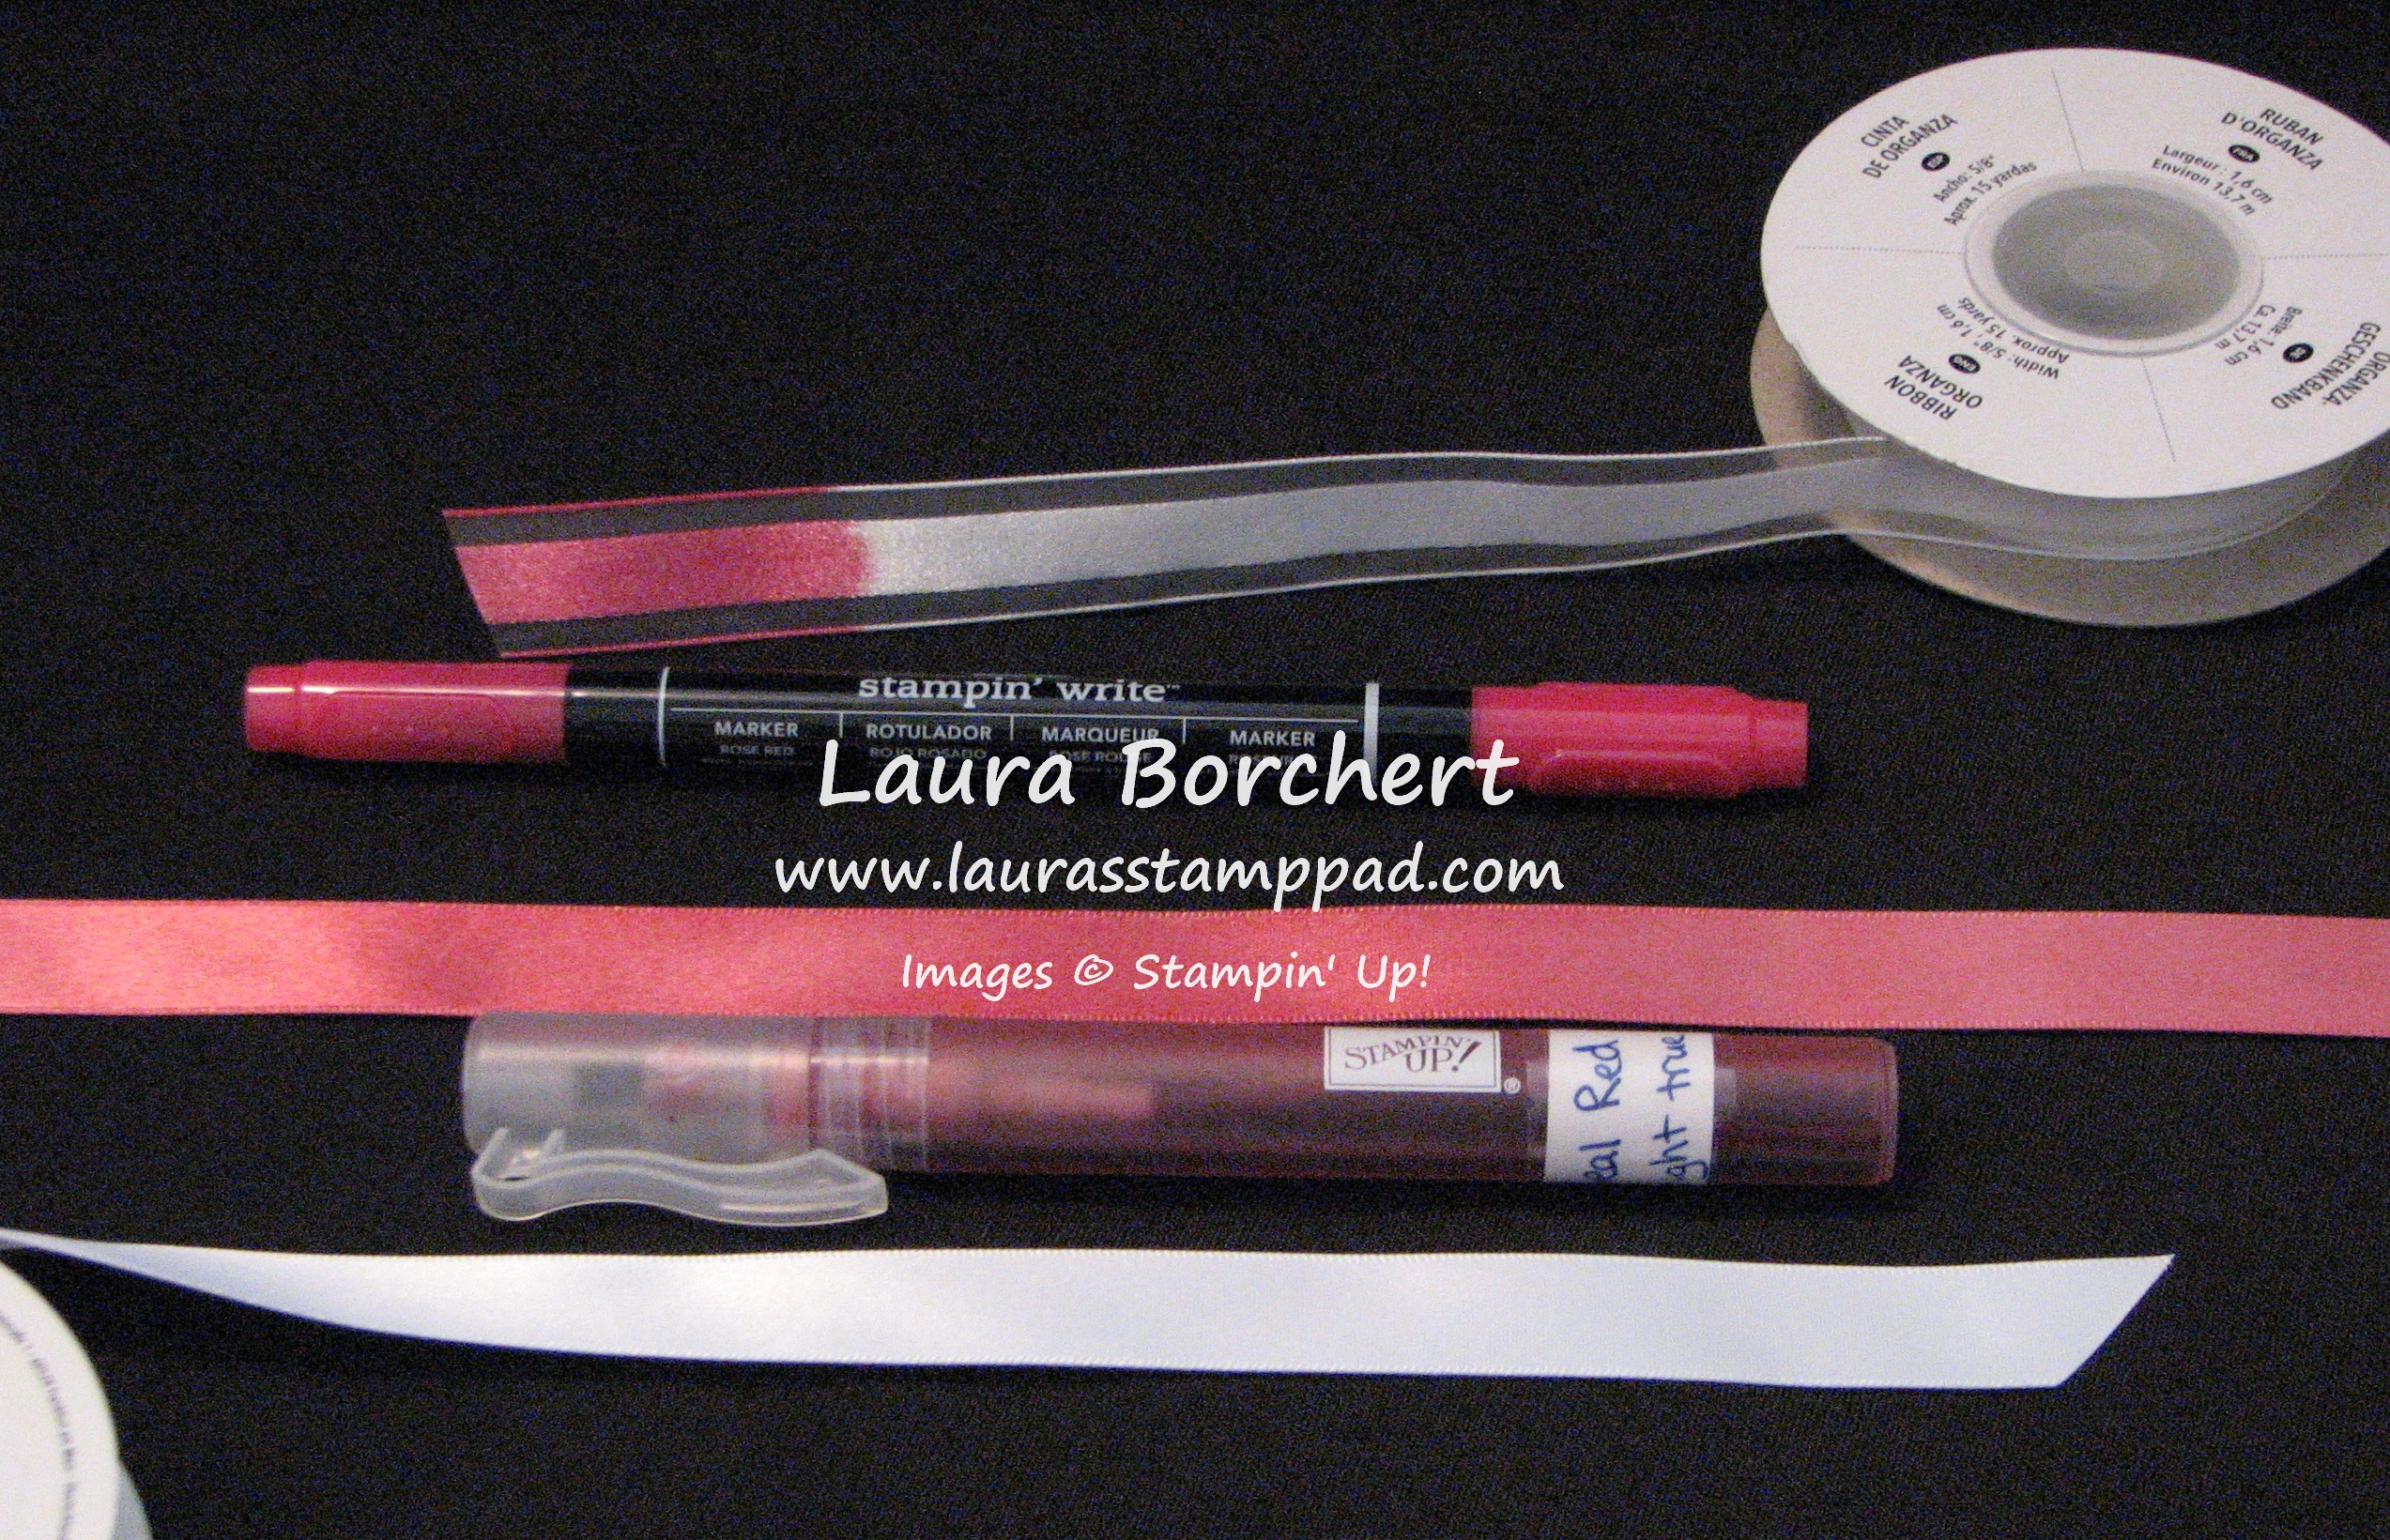
Happy Tuesday!!! That means I have a fabulous technique to share with you! This technique is one of those Ah Ha moments! If you need a specific color of ribbon and either don’t have it on hand or the ribbon doesn’t come in that color….no worries anymore! All you need is Whisper White Satin or Organza Ribbon or another type of white ribbon!
See how I have matched the ribbon to the card! It’s so much fun!
Now this technique has the Ah Ha moment because you only need a few supplies and it is the easiest thing ever to color your ribbon. You will wonder why you hadn’t thought of this before. You can color your ribbon either by coloring it with your markers, tapping your sponge dauber in the ink and rubbing it on, or spritzing it with your Spritzer. For the Spritzer, you will just add Re-inker and Alcohol (70 Proof or less) and spritz away! 🙂 I have found that the colors sometimes come out lighter or darker than you may expect so sometimes you might need to go light or pick a lighter color to match your project!
Or Girl!!! Is this card not precious or what? I created this for a friend of mine who is going to be a Grandma to a little baby boy! I used the Epic Alphabet Stamp Set which is a photopolymer set so that means it is completely clear and you can see your stamping placement perfectly!!! Love it! I stamped the letters in Stazon so I could color them in with my Pear Pizzazz & Pool Party markers! I added the “it’s a boy” greeting from A Dozen Thoughts Stamp Set (which also has an it’s a girl greeting)! You could always leave off the gender greeting and make this card in yellow and gray or another gender neutral color to have on hand for your next baby card need! I thought the card needed just a little something more so of course I pulled out my Itty Bitty Punch Pack star punch and added a little Daffodil Delight star on there! Adorable!!!!
What are some of your favorite saying or words that you like to spell out on your cards with the Alphabet Stamps? Leave me a comment down below! I’m having a hard time coming up with short words although I did do this super cute card!!!
Happy Friday!!! This week has been super busy and tonight I have a fabulous stamp event with 16 ladies! I am so pumped for an evening of fun and stamping!!! There is no better way to start the weekend!!!! Also, today starts my BIRTHDAY MONTH! I like to celebrate all month long. 😉 There is also a fabulous special going on this month too!!!!
I love love love my Big Shot and always think about buying a second one….not sure why because one is enough but I just LOVE IT! You can emboss and die cut! You can give texture to your project, pop out an image (rather than fussy cut) and make boxes and other 3D items! It is so quick and simple! With this special, you get a FREE Bundle (Stamp Set and matching Framelits) which means you can get started as soon as it arrives! I love that! Check out this video for the basics on the Big Shot! Click here to buy yours today! If you already have the Big Shot, click here to save on the Bundles!
Another fabulous Special……if you have thought about becoming a demonstrator for the fabulous discount, the fun and friends, the extra income for you and/or your family, or for the opportunity to have a creative outlet? To join, you will pay $99 and you get to pick out $125 worth of amazing product! If you pick the Big Shot, you will have $25 left to pick out other fabulous goodies and you will still get the Bundle for FREE! That’s over $200 in product for just $99 (and FREE shipping)! How amazing is that? Click here to learn more or feel free to ask me any questions you might have!
Also, don’t forget about the fabulous Paper Pumpkin Special too! If you want your August and September Kits 1/2 off, you need to sign up before August 10th! If you want September and October, sign up after August 10th! Click here to get started!!!
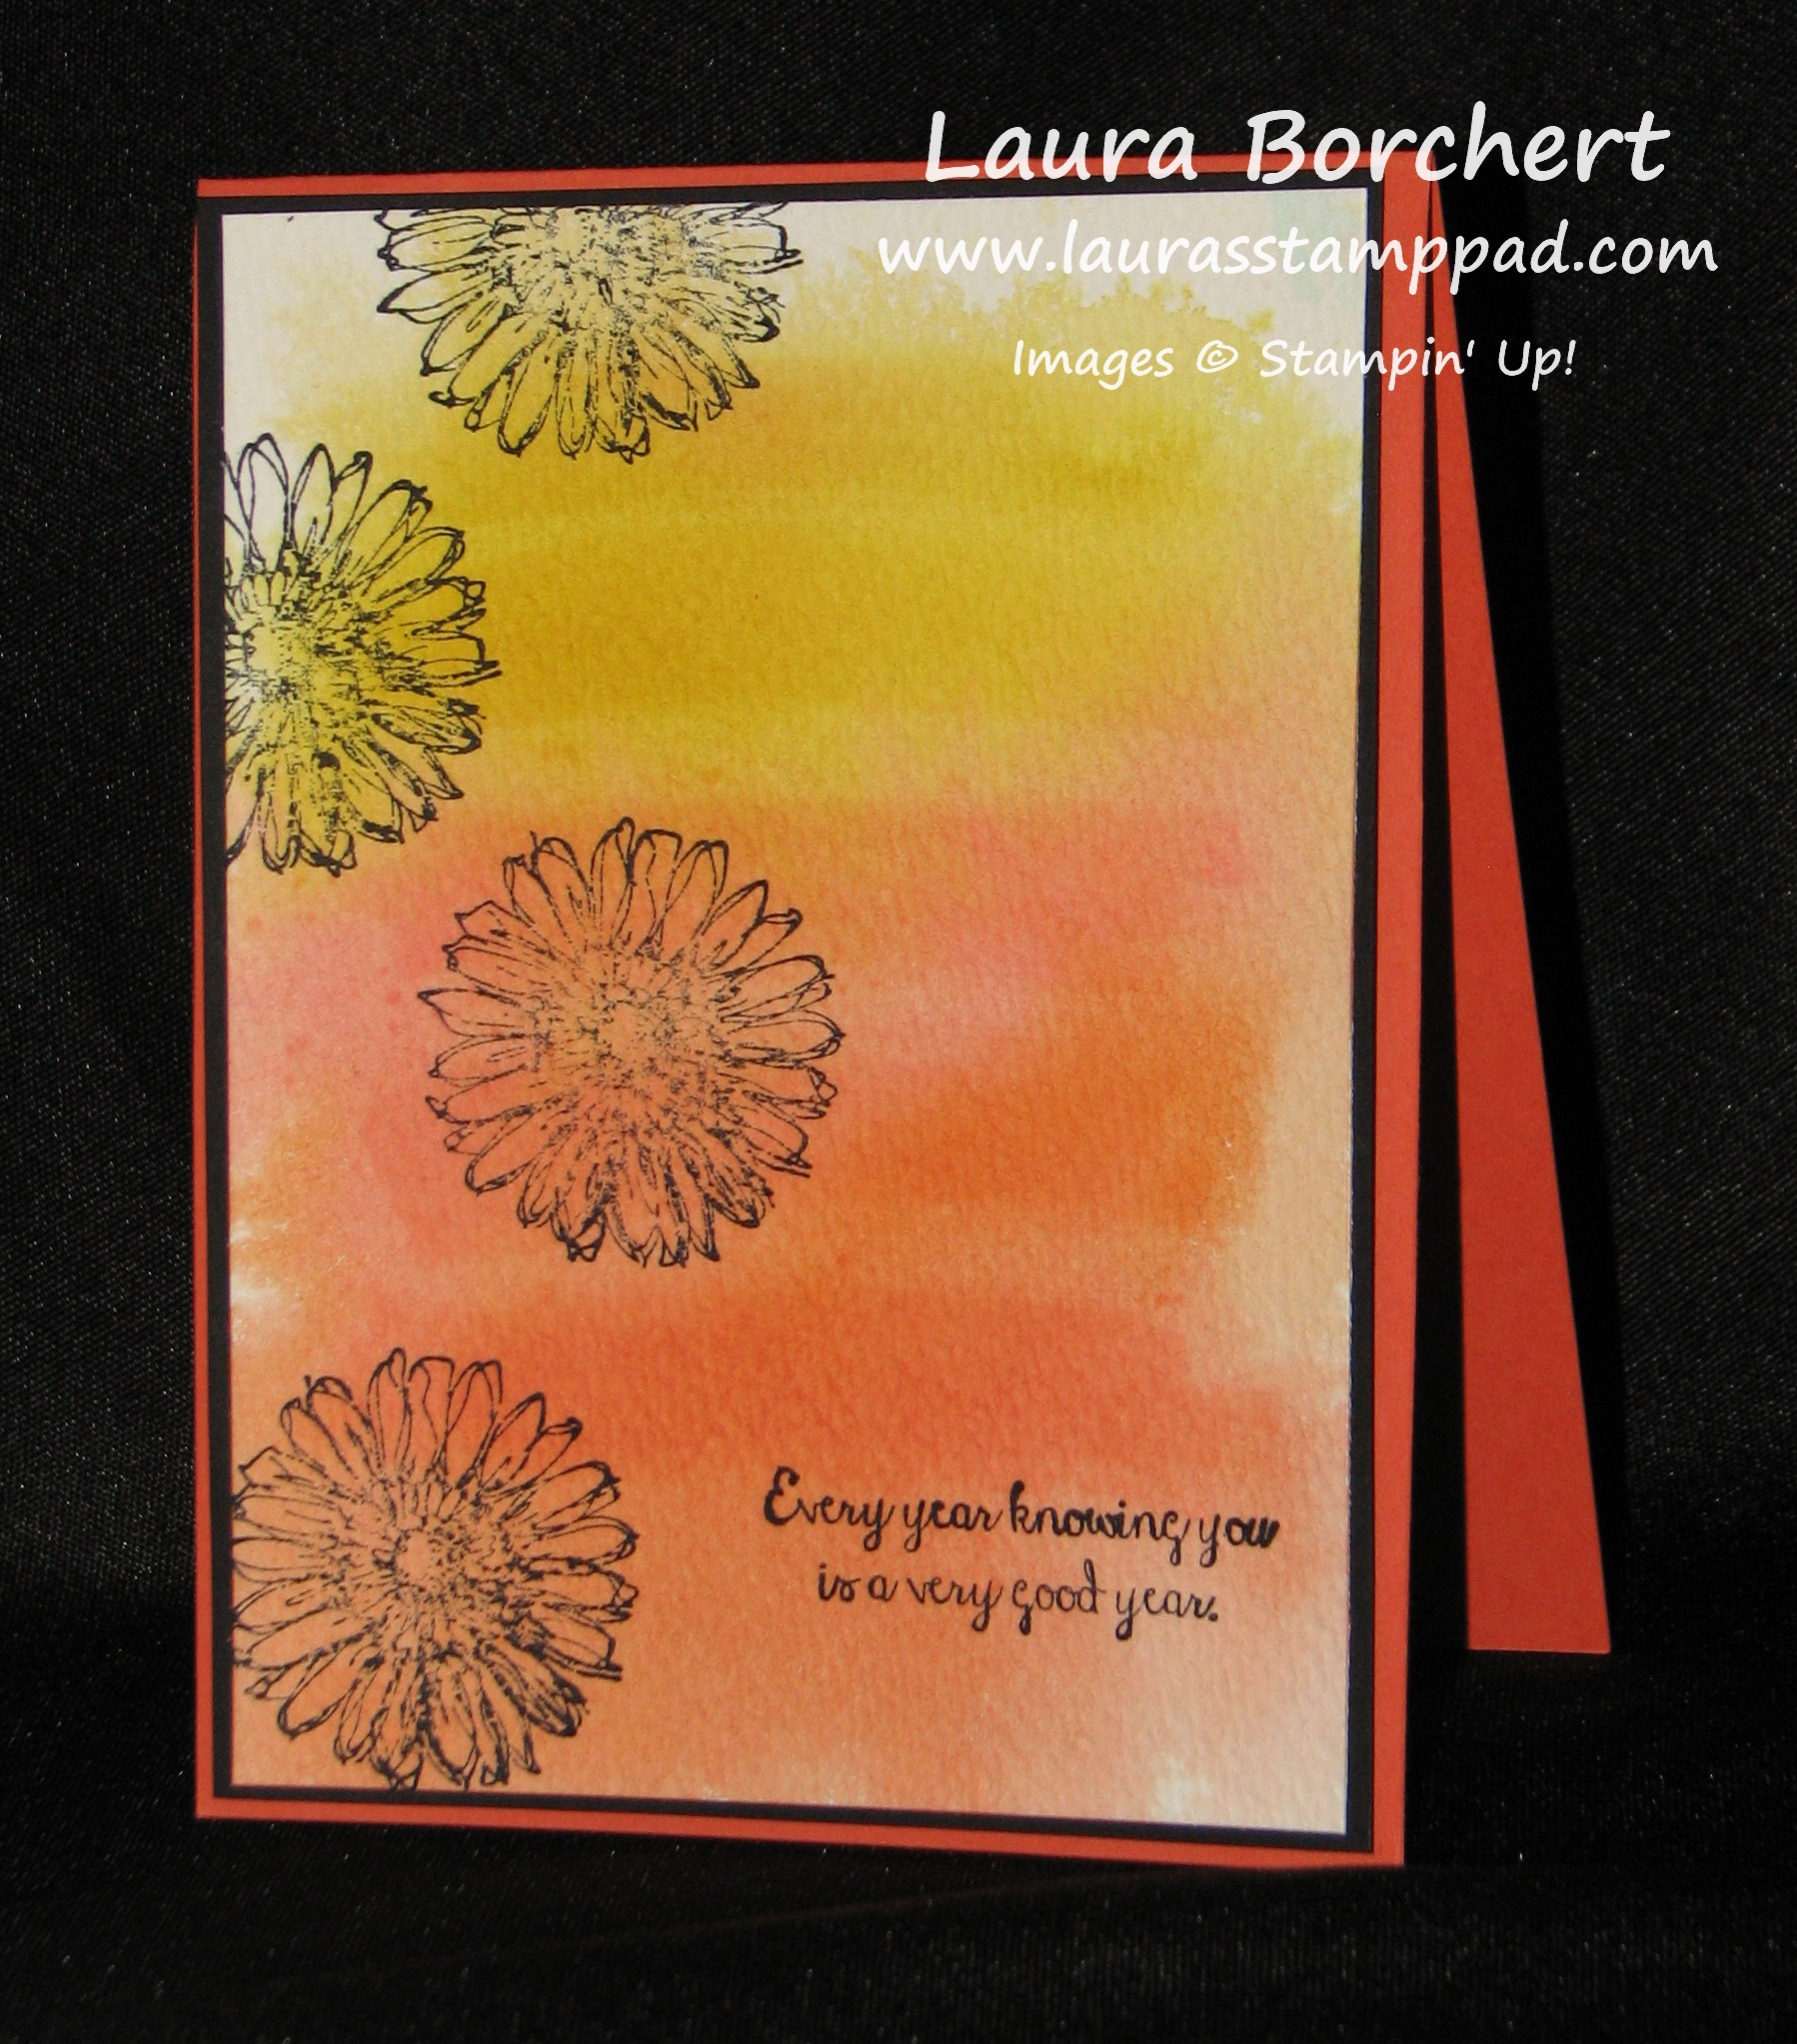
I love my big box of markers! I take them with me to every event I do because if I forget a stamp pad, I still have my markers. They are great for a multi-colored look on your stamps, coloring in and now watercoloring!!!!
The colors in the card are like that of a sunset (sunrise, neither?)!!! The various shades of yellow, coral, red, and orange and the messiness of the colors that you just can’t achieve if you tried. That’s what watercoloring is all about – you can never do the same look twice and you never know how it will come out!
To create this card, I started with a 4″ x 5-1/4″ piece of Watercolor Paper and took my markers (Daffodil Delight, Calypso Coral, Tangerine Tango, and Pumpkin Pie) and colors swatches. I did the colors in lightest to darkest and colored them either matching up or with a small gap. Once you have your swatches colored, you will spritz it with water or alcohol (70 Proof or less so the alcohol doesn’t eat the plastic in the spritzer). Spritz the heck out of it and you can either let it do it’s thing, pick it up and tilt it around to allow it to bleed, or use your finger to move the ink around. Set it aside and allow it to dry completely before assembling it to your card. When using watercolor paper, I like to use Fast Fuse or Sticky Strip to adhere it to my card because it holds nice and strong even when the paper is curling! To complete my card, I layered my Watercolor Paper onto a piece of Basic Black (4-1/8″ x 5-3/8″) and then onto a Tangerine Tango card base (4-1/4″ x 11″). For the stamping, I used my Bloom with Hope Hostess Stamp Set which has amazing flowers (perfect for watercoloring or blendabilities) and great sayings! Of course, you will want to stamp on your watercolor paper with Stazon Ink so it won’t bleed!
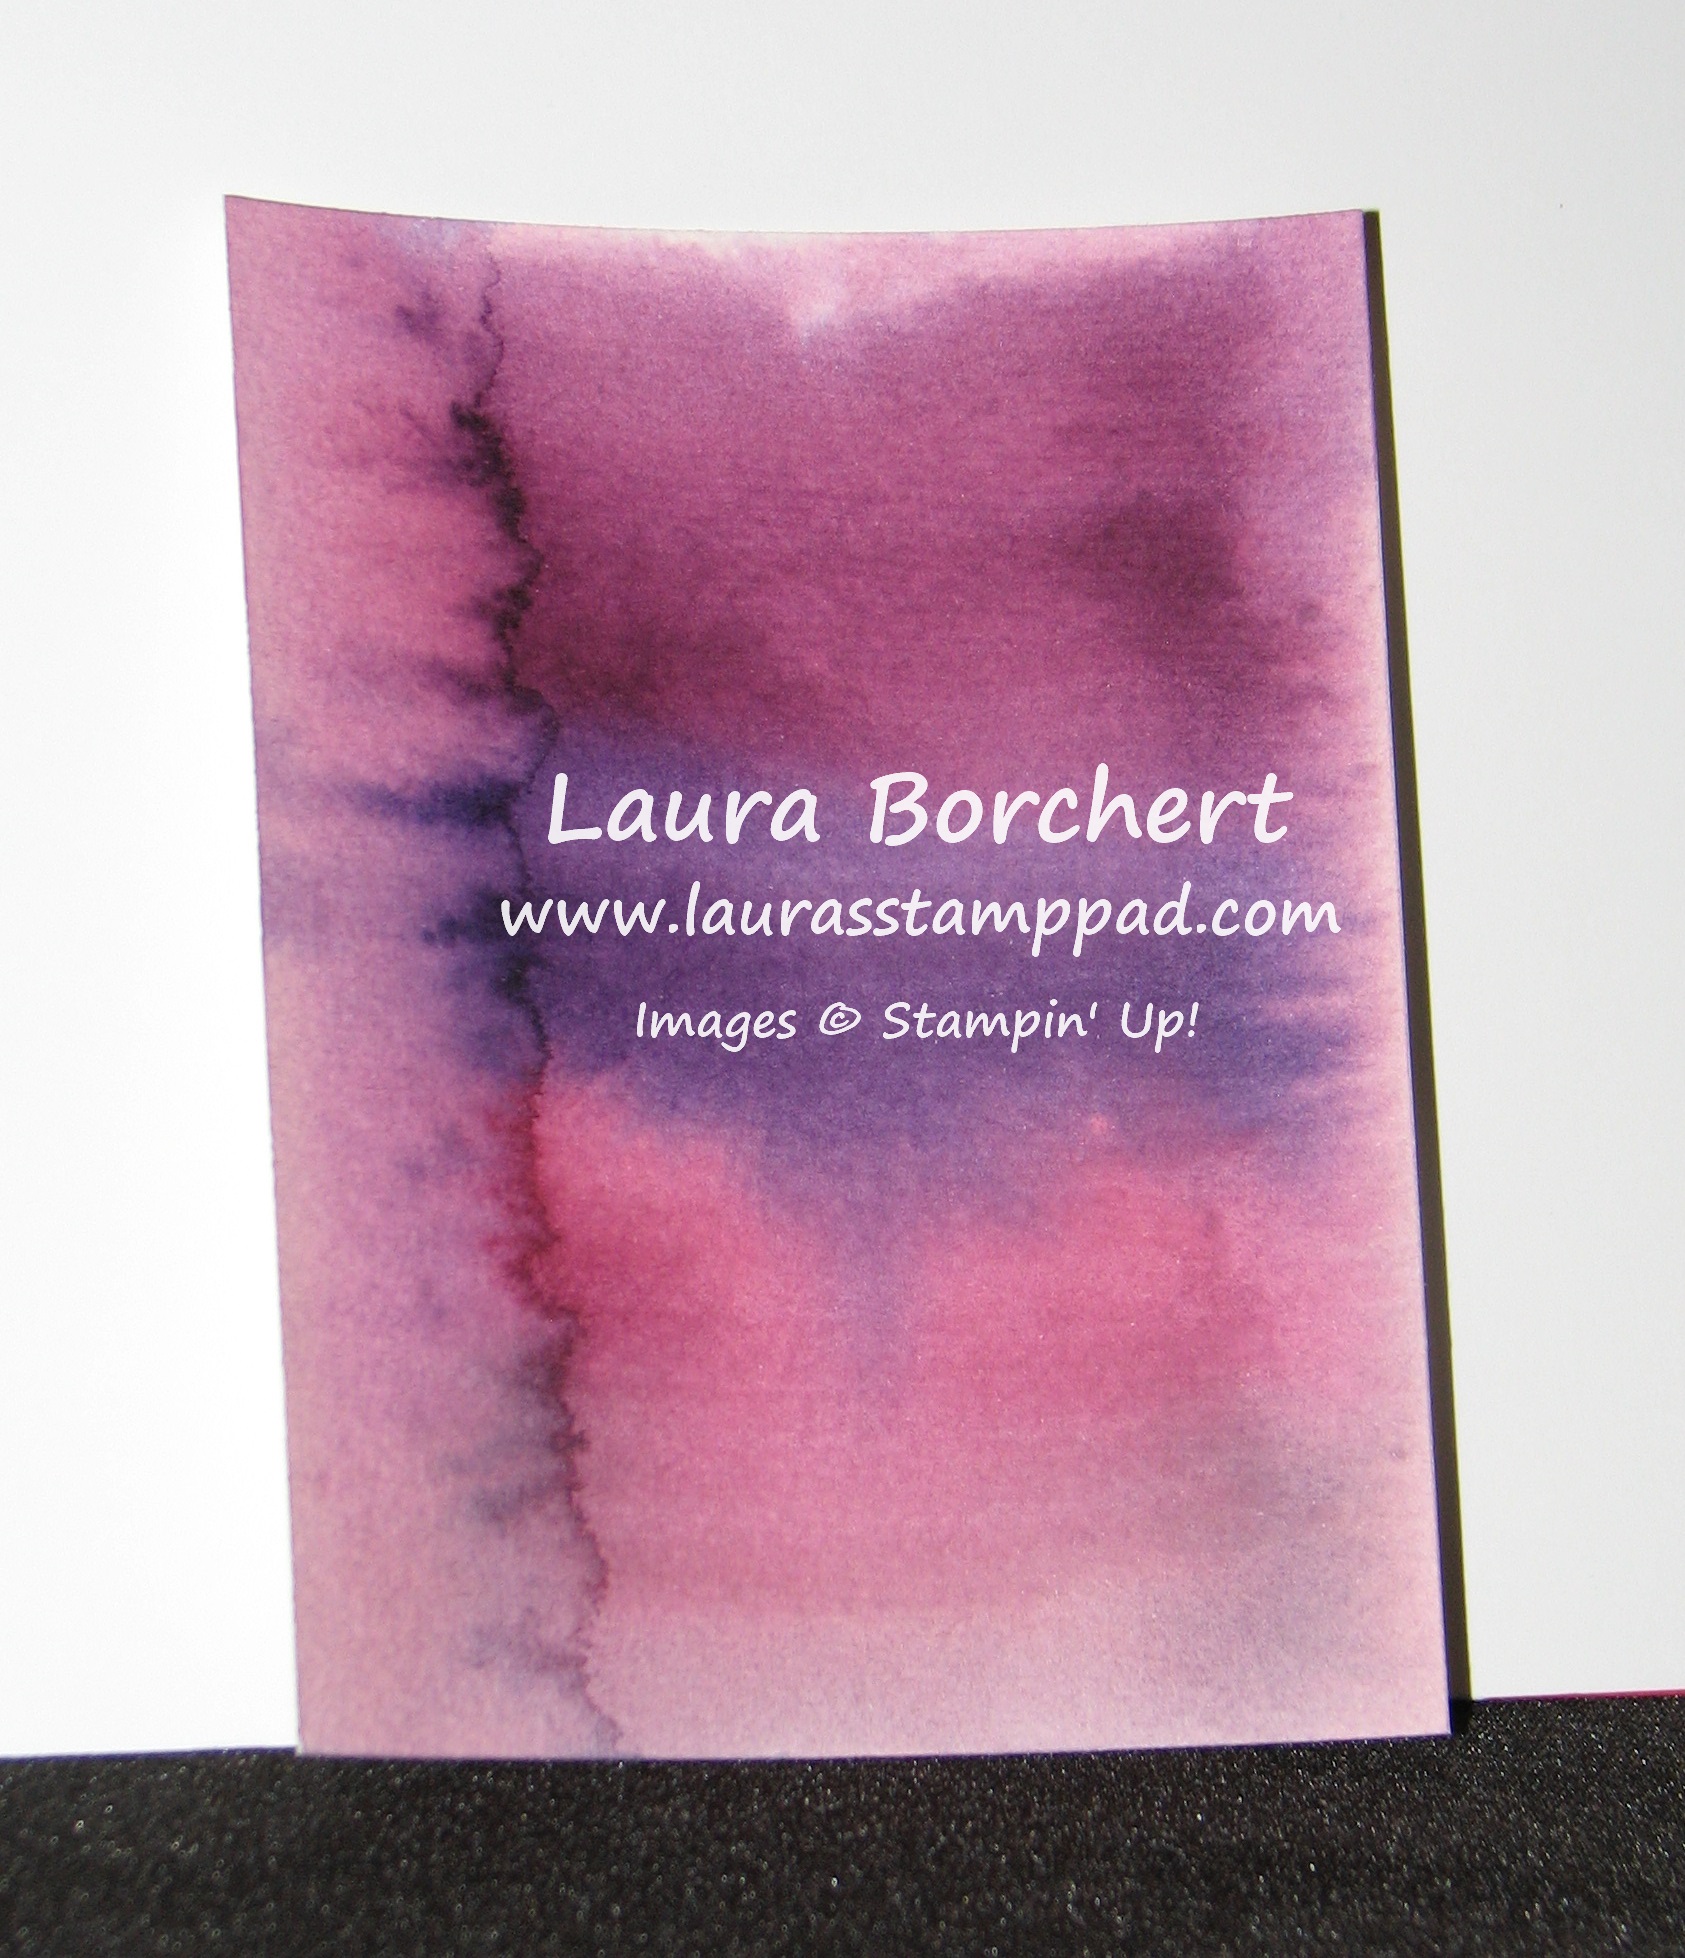
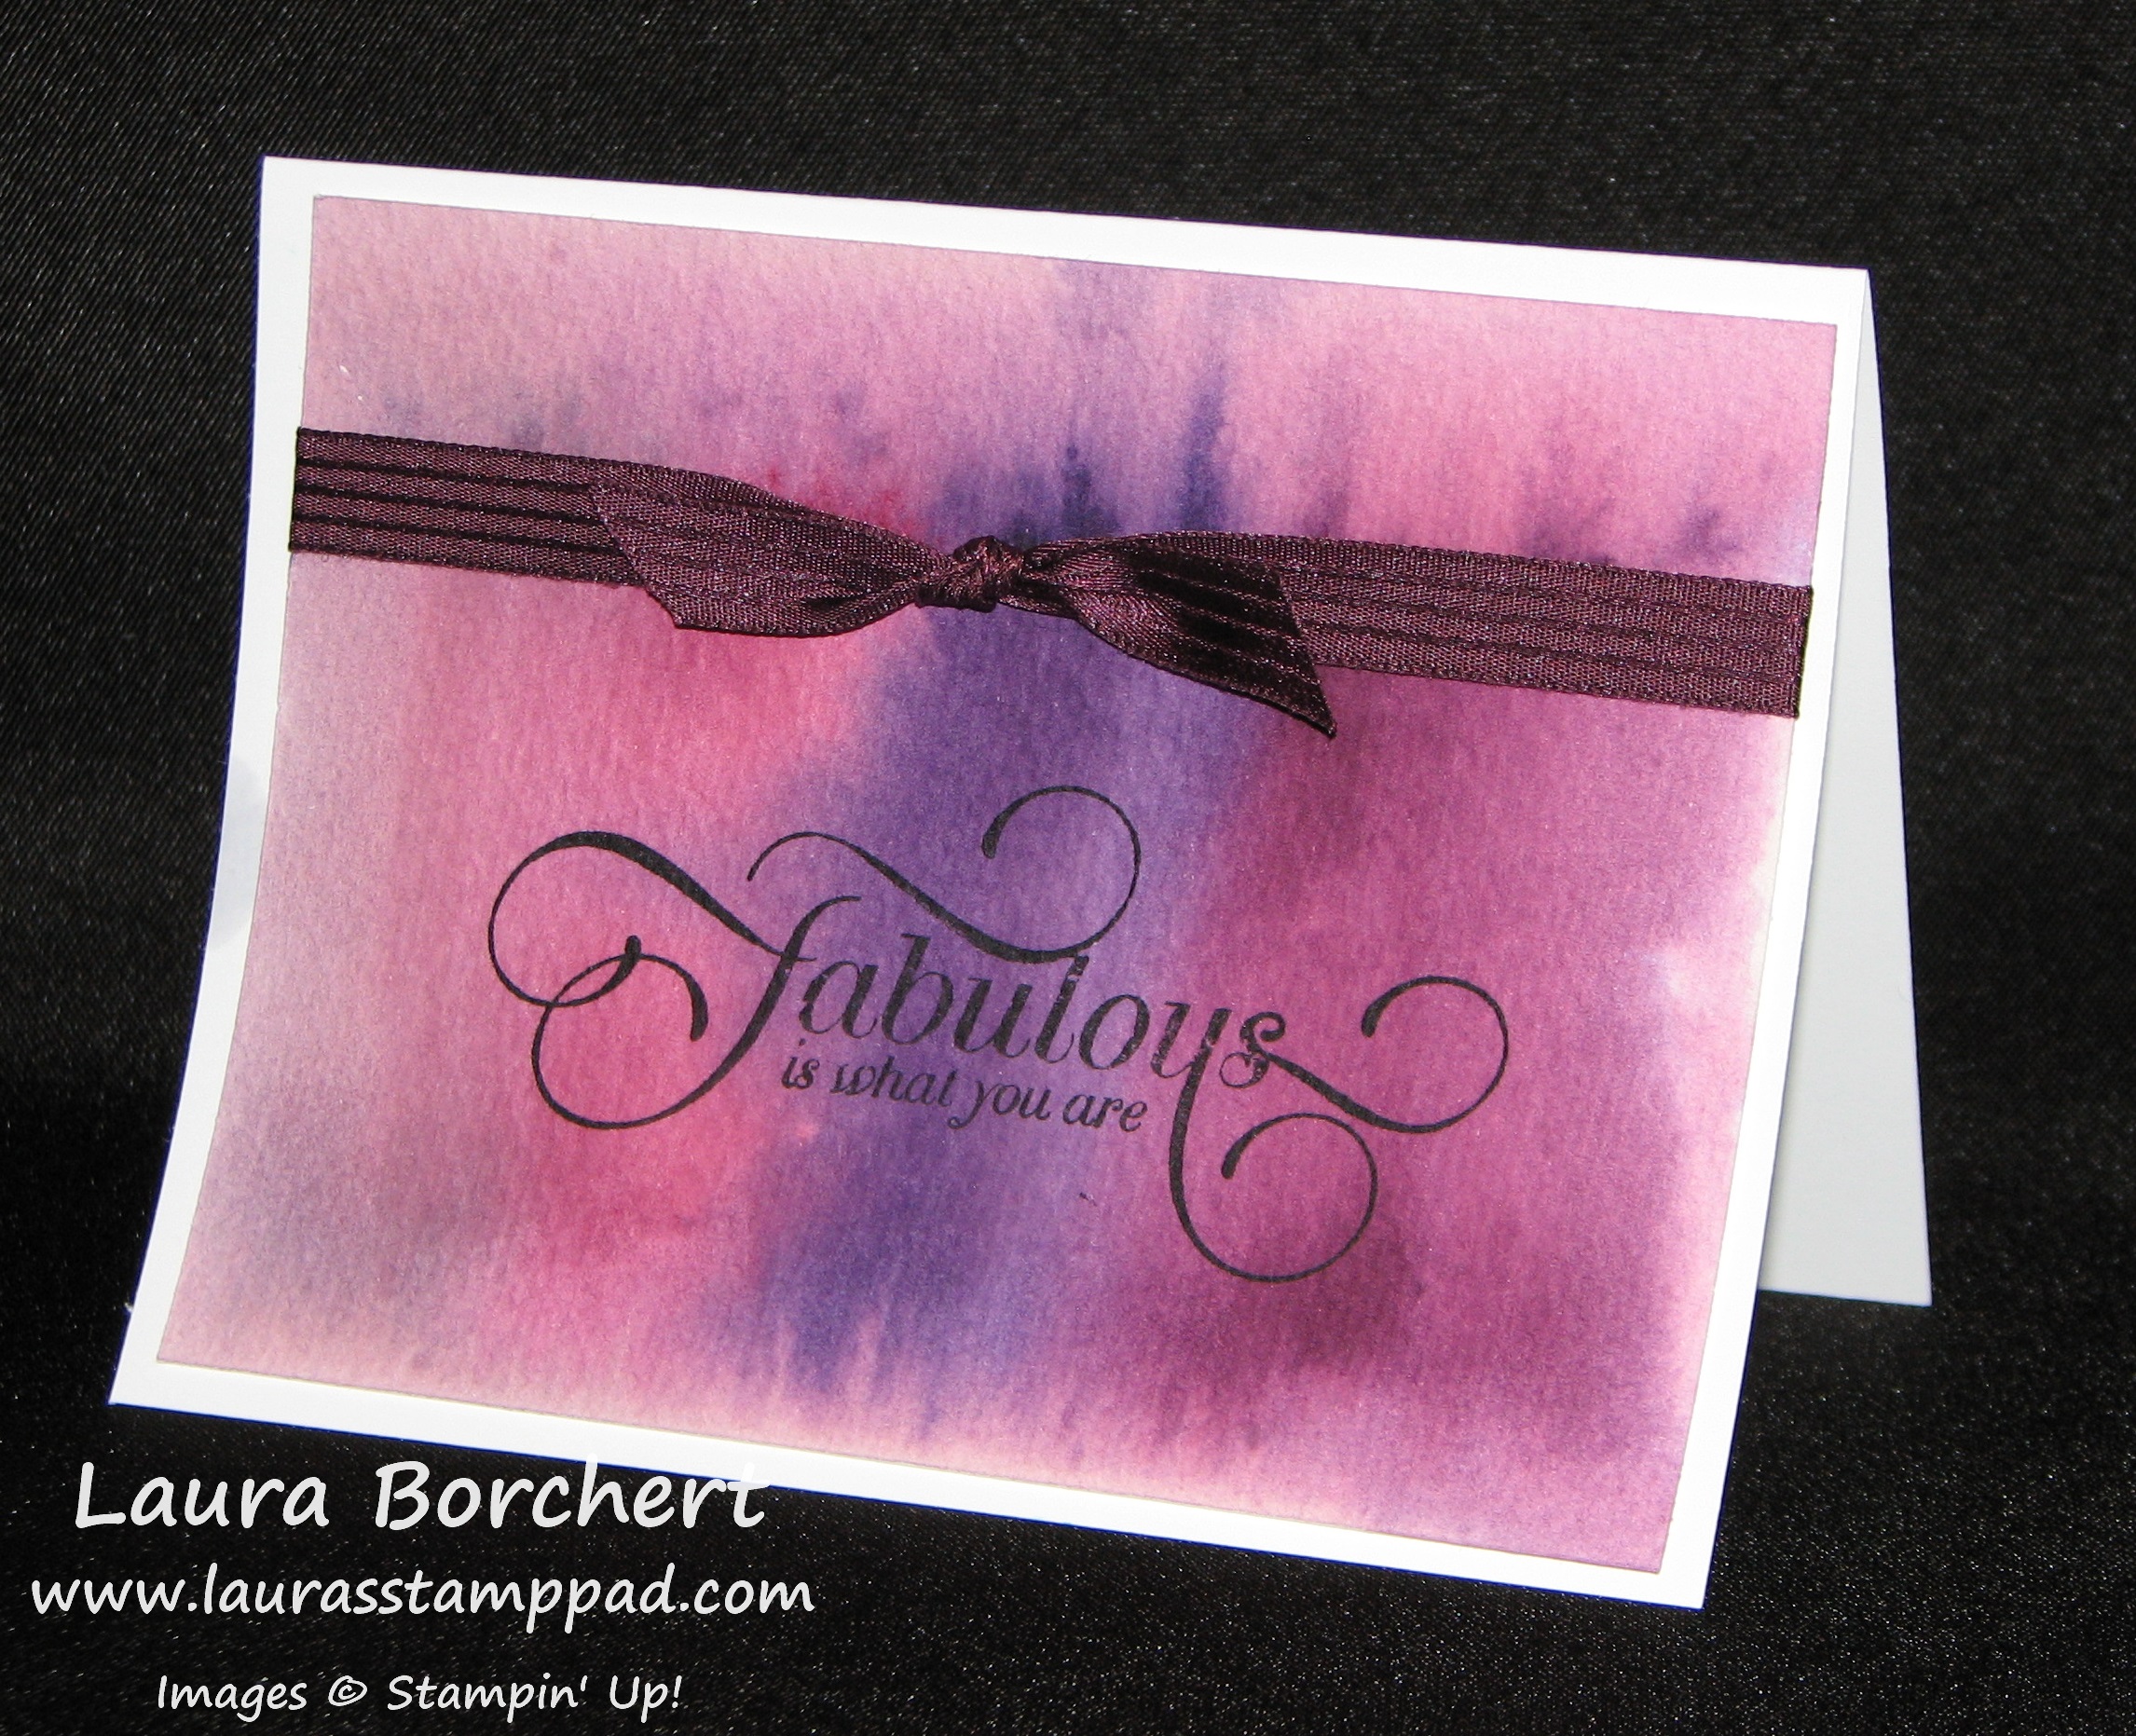
Here is another Sample that I created using shades of Purple – Blackberry Bliss, Elegant Eggplant, Rich Razzleberry, and Perfect Plum! Remember how I said you never know how it might turn out…..how this happened I do not know!
I thought about cutting it off but I didn’t want an awkward size of paper for my card. When I was showing my stampers, some loved it and some did not. They gave me the idea to cover it with ribbon so…..
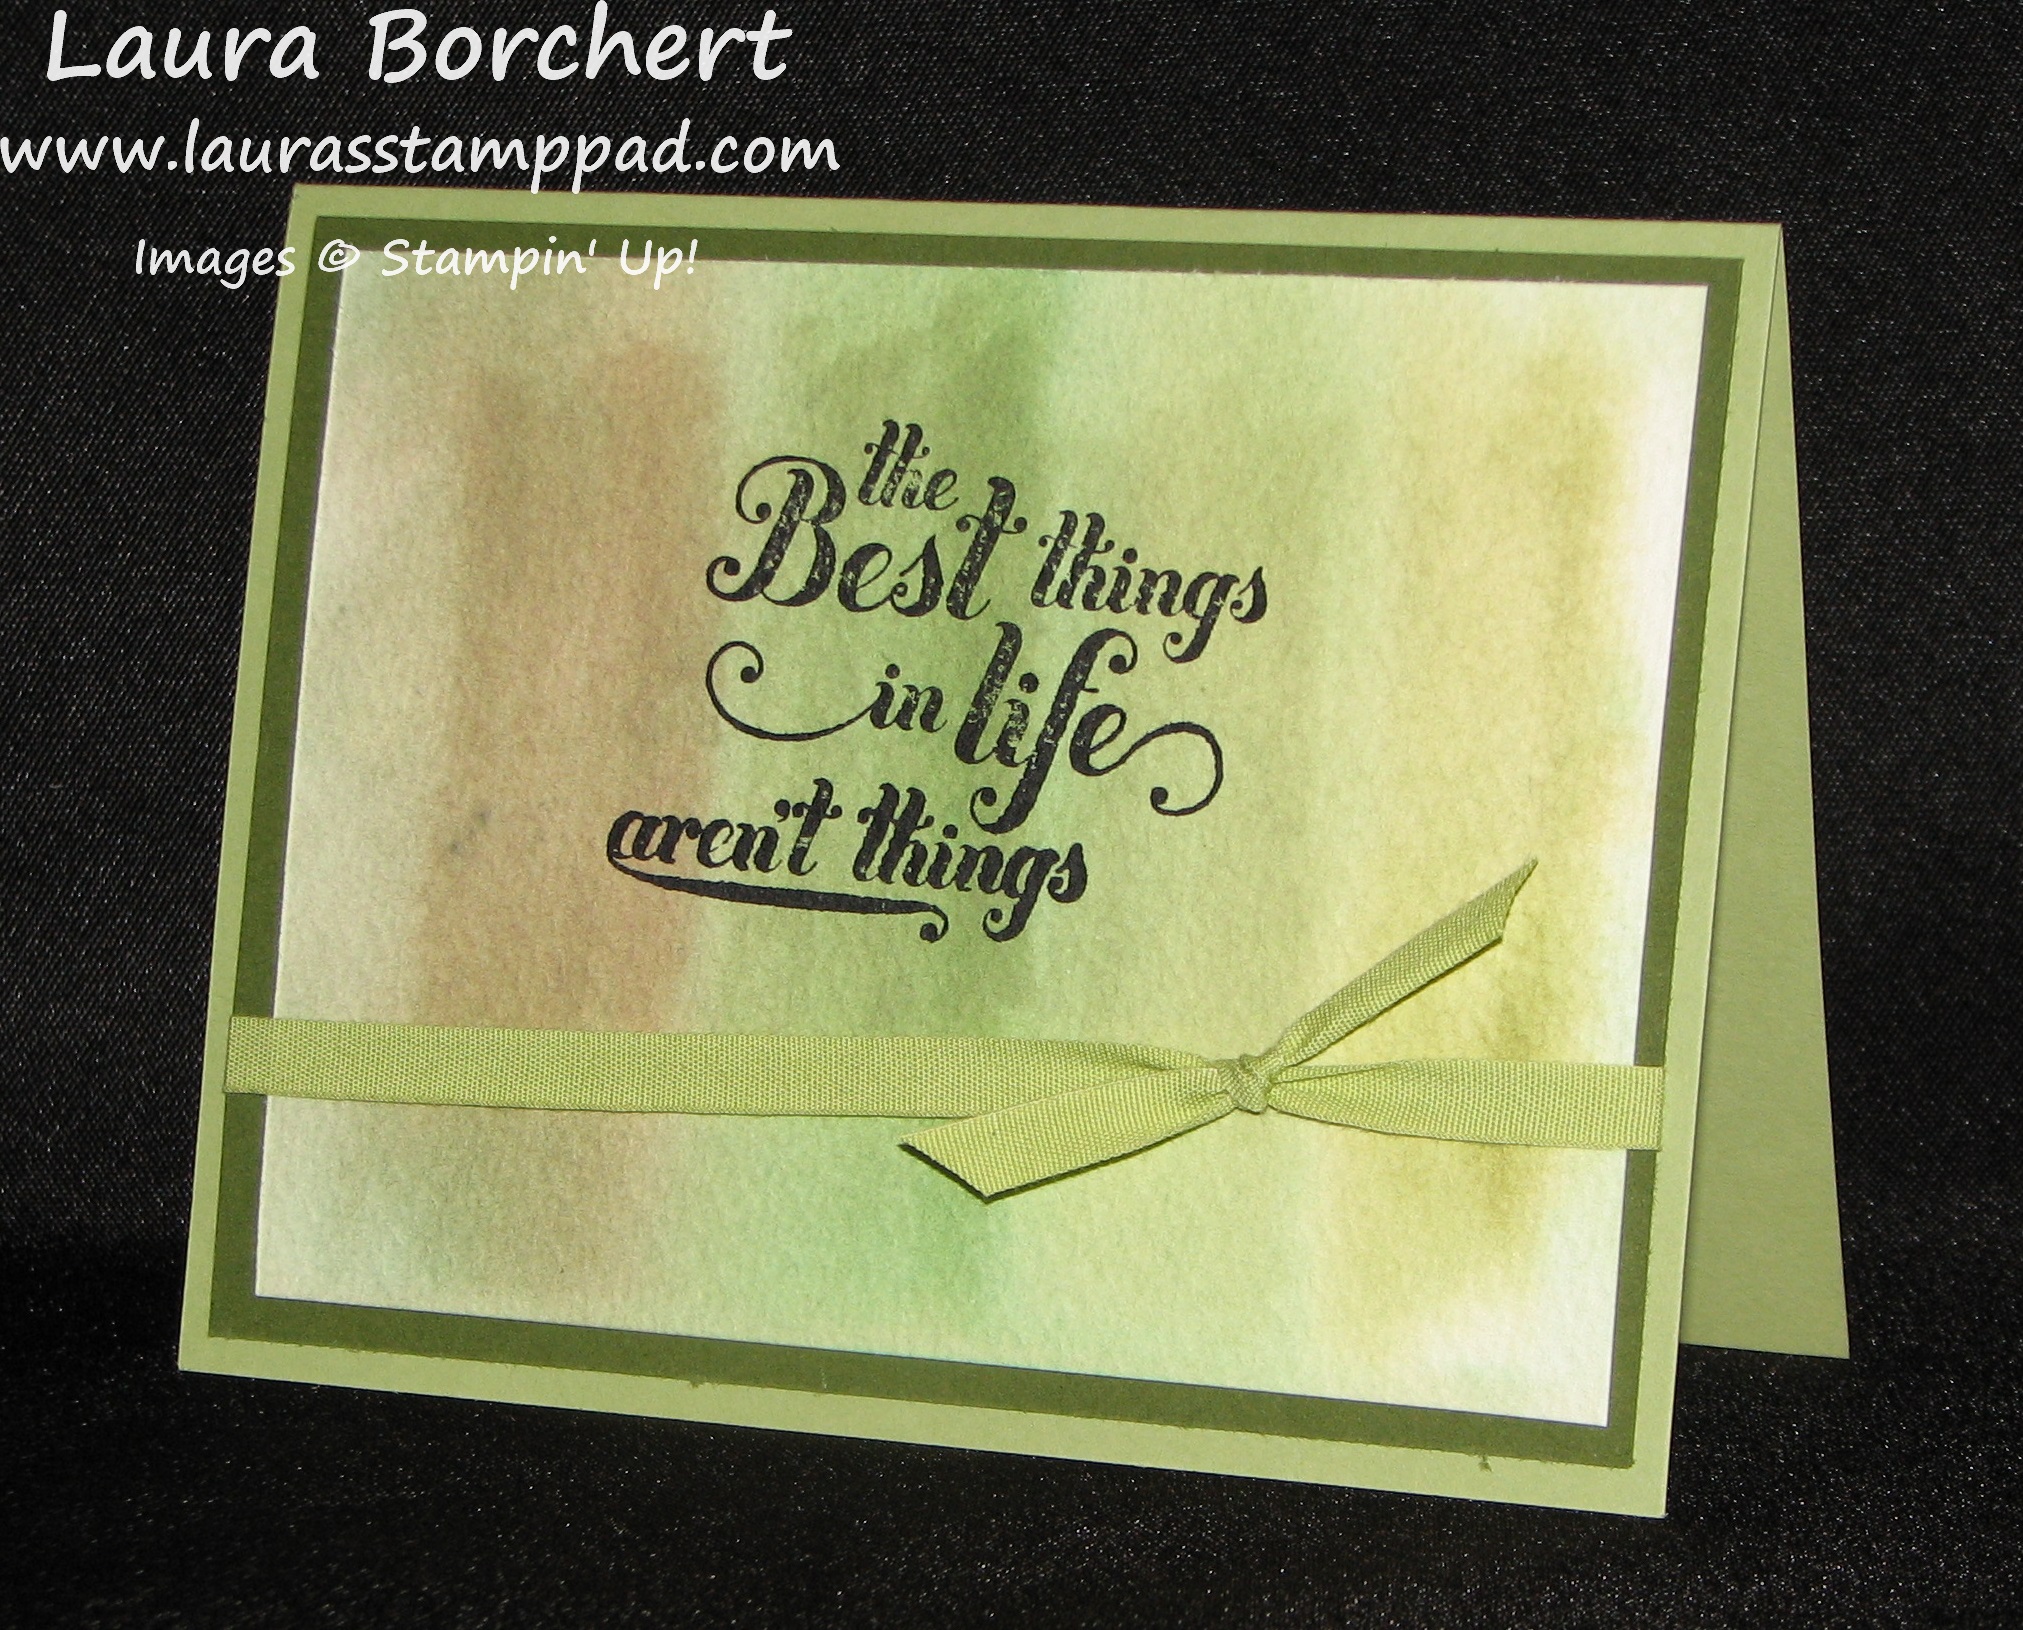
Here is another sample that I did with shades of Green – Pear Pizzaz, Old Olive, Garden Green & Mossy Meadow!
To watch this technique in action, check out my Video Tutorial by clicking here or the video below! Don’t forget to give it a thumbs up if you like it!!!
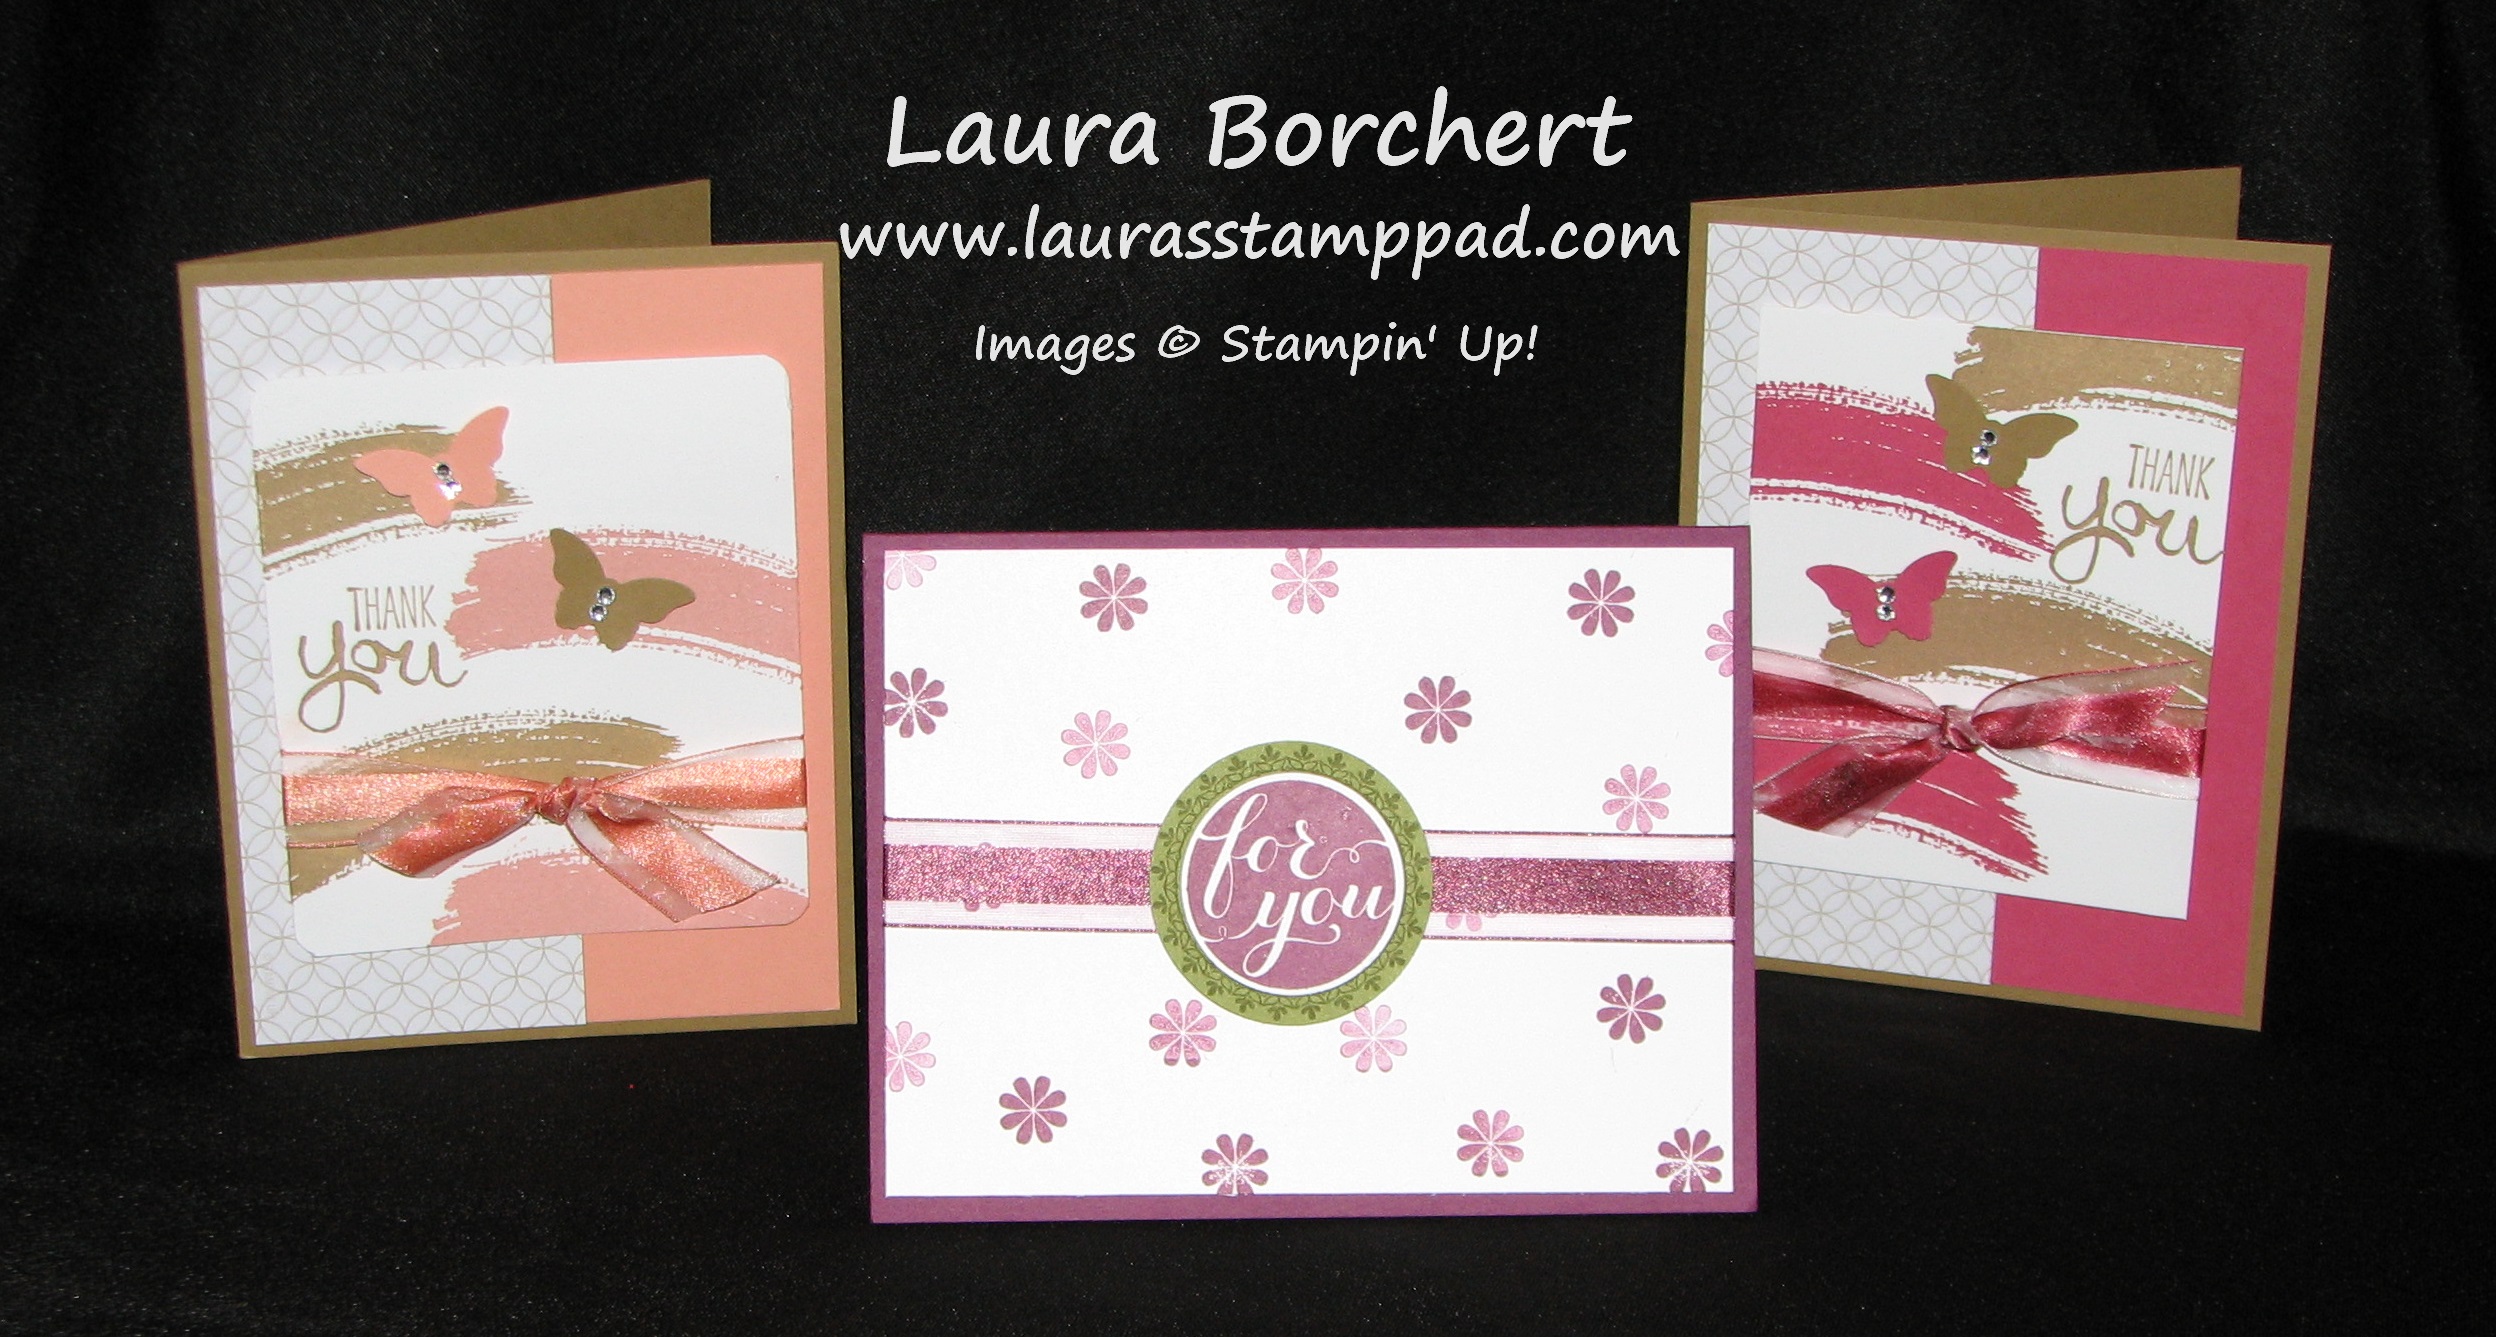
Okay so you have seen my Work of Art Note Cards which were amazing and simple! I just stamped on Note Cards so there was no adhesive or layers! You can check them out here and here! NOW, I’m going to show you more amazing cards with the Work of Art Stamp Set and these have layers and embellishments and more!!!!
This is probably one of my Top Favorites! I really love them all but I think that Blackberry Bliss is my favorite In-Color so the cards that use that color are always on top! This card uses Blackberry Bliss as well as Mossy Meadow for all of the paper and ink! I used some of the new 3/8″ Stain Stitched Ribbon on here which I love because it is like half elegant and satin and half….mmm…not elegant? I don’t know how to describe it! It can be used for both looks and work out great! (if any of that made sense) The lighter heart was actually stamped, cut out, and popped up on dimensionals for little extra texture.
This is my second top favorite!!! I love the hearts and Polka Dots from the Moonlight Designer Series Paper. I used Hello Honey and Blackberry Bliss ink and cardstock! I used that fabulous Satin Stitched Ribbon again and a few Rhinestones! I love the various shades of color you can achieve with a little stamping off or continuous stamping! So fabulous!!!
Be on the lookout for more Work Of Art cards! I just can’t put this stamp set down! If you don’t have this set yet, CLICK HERE to get yours now!!!!
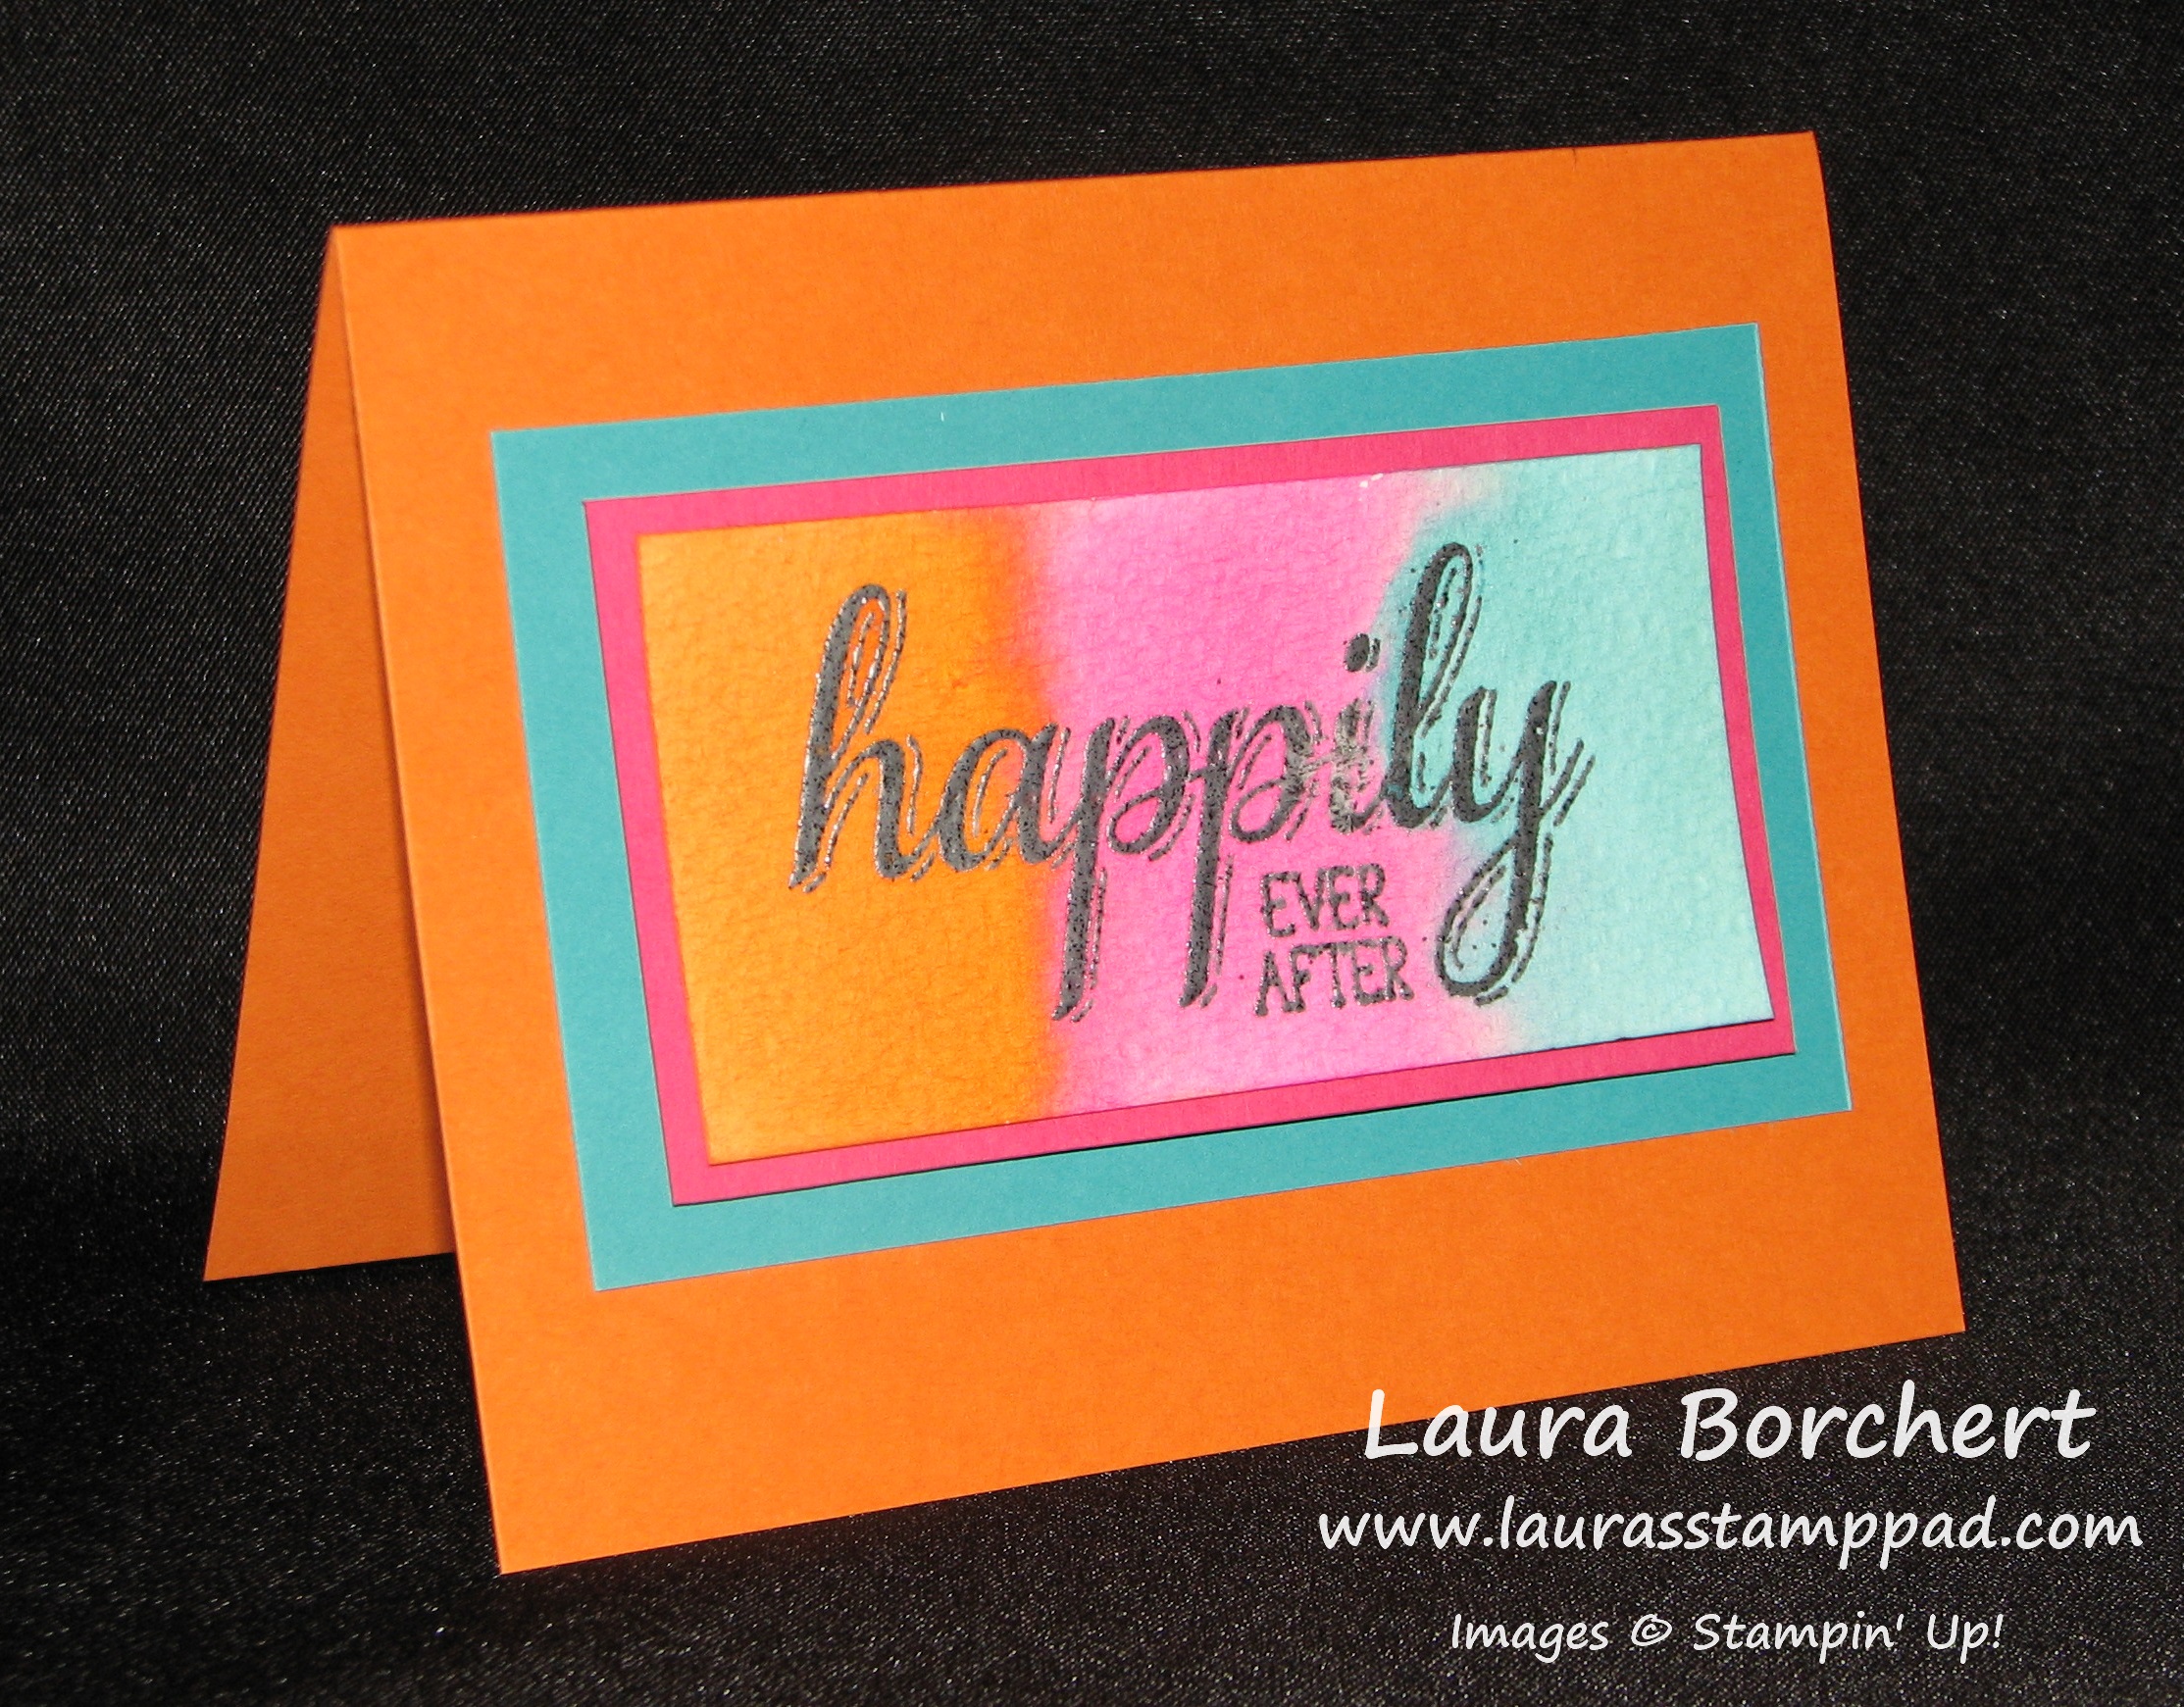
Happy Tuesday!!! That means I have a fabulous technique to share with you today!!!! I will be showing you emboss resist and watercoloring! I love love love these colors together because they are so bright and cheery!!!!
You will want to start out with a piece of Watercolor Paper. The piece I have for the project above is 4″ x 2″. Stamp your image or greeting in VersaMark and then onto your watercolor paper. Be sure to press firmly so that the VersaMark gets in the texture of the paper. I used the greeting from the Big News Stamp Set. Then you will apply embossing powder and heat it with your Heat Tool. I used Gold Embossing Powder on this one and Silver on the sample in the video! 😉 Once it has cooled, you will take your Aqua Painter and your ink pad and paint on your color! Of course, the color and water will resist for the image and only appear around the image. This gives an awesome background. I used Melon Mambo, Bermuda Bay and Pumpkin Pie. If you are using similar colors and want them to bleed together you can overlap them, otherwise just swipe close to the color but not on top of it! This gives an amazing focal point to your project. You can always do this with flowers, greetings, or any other type of image! Here I did it in Silver Embossing Powder!
If you would like to watch a Video Tutorial of this technique, click here or watch below! Don’t forget to give the video a thumbs up if you like it! 🙂 Also, be sure to subscribe to my channel so you don’t miss out on any other videos that I post!
If you try this out at home, be sure to send me a picture! I would love to see what you come up with and see your ideas!
I have created a little 6″ x 6″ Scrapbook for my Mom and Dad that includes just a few pages of every grandchild when they were born! It includes the baby’s information and of course family photos. I love how you can see the changes in each photo as the family grows! Even though the last grandchild (my niece) was born last September, I just finished her pages now! I’m not that far behind…in the world of scrapbooking that’s practically caught up! 🙂
I used the new Lullaby Designer Series Paper which is just precious. I also noticed that you shouldn’t be fooled by the name….there really isn’t anything that says BABY in this paper. If you like yellows, corals, blues, and browns this is the paper for you! Then for the journal tags, I used a few from my Project Life Everyday Adventure Card Collection. This is another wow item! This card collection comes with 100, (that’s right) one hundred double sided cards! Some of these cards are just designs and others have patterns or words already on them but they are fabulous!!! Of course, they are the perfect size to slide into your Project Life Photo Pocket Pages but you can use them on other projects like this one or even cards! For my little decoration, I used the Itty Bitty Punch Pack flower in Crisp Cantaloupe and some pearls! Love it!
Here is the second page (double page spread). Again I used the Lullaby Paper for my backgrounds! I added in the heart from the Itty Bitty Punch Pack and added my greeting on a piece of Hello Honey punched out with the Modern Label Punch!
I was able to complete these 4 pages in a matter of minutes with my Designer Series Paper (and the list of coordinating colors in the catalog), some punches, and the Project Life Card Collection! Scrapbooking made easy let me tell you! I hope you give it a try either as a new scrapbooker or a seasoned scrapbooker!
Thank you to everyone who wished me well on my Anniversary last week. The WINNER are: Deb P, Vicki M, and Tanishae T!