New Works of Art!!!

Posted on

I still can’t put down my Work of Art Stamp Set and have created some new ones!!!! You can check out some others here, here and here! This will be broken down into a few posts because there are just so many amazing ones! Be sure to check back again next Monday OR you can subscribe in the upper right corner and then you will never miss a post!

Work of Art Grapes, www.LaurasStampPad.com
How fabulous is the bunch of grapes??? This would make a super cute card for a Hostess when you bring a bottle of wine or for someone’s Birthday who enjoys wine as well!!!! I used Pear Pizzazz and the small swish for the stem. I stamped twice in full ink and then up a little with the stamped off image. For the grapes I used Blackberry Bliss and stamped about 5 times before going back to the ink! Love it!

Sailboats Work of Art, www.LaurasStampPad.com

Adorable and perfect for a little boy’s birthday or baby shower!!!!! This sailboat uses lots of blues! I used the chevron image in Lost Lagoon for the water. Then I took the large swoop and used Pacific Point to make the bottom and side sail. The second sail was stamped in Bermuda Bay. Lastly I added the mast in Chocolate Chip. You may want to lay a piece of scrap paper down in you wish to have a shorter mast like the one on the left! The clouds were created with the small swoosh and stamped off Bermuda Bay!

Pine Tree Work of Art, www.LaurasStampPad.com

This tree is quick and simple. I used Chocolate Chip and the long piece for the trunk of the tree. Then with Mossy Meadow and the large swoosh upside down you will stamp them angled down for the branches. I’m done with my Christmas Cards so I added a Birthday greeting from Remembering Your Birthday but this would look amazing with a star on top and Cherry Cobbler Dazzling Details as ornaments. So many options! I love it!

Want to see this in action? Check out this Video Tutorial!

Which one is your favorite?? Leave me a comment down below and don’t forget to check back on Monday for more!

Happy Stampin’

~Laura


Peaceful Beauty!!!!

Posted on

This card that I’m sharing today is amazing because of the feelings it gives me. I grew up in the country and I LOVED when it would be so peaceful and still outside with snow on the ground and cold crisp air. There is nothing more breathtaking! I just love it and it gives me such amazing emotions of the beauty in nature!

Festival of Trees, Snow, www.LaurasStampPad.com

Are you feeling that with this card? I started with a card base of Crumb Cake! I used the “ornament” stamp from the Festival of Trees Stamp Set for the snow in the background. I created this card first which is why I didn’t realize it was actually ornaments and did this on the tree card I made next! 🙂 After I did the background I ripped some scrap pieces of Whisper White to look like snowy hills and adhered them to the bottom of the card. Then I stamped the trees from the Festival of Trees Stamp Set onto more scrap white paper in Mossy Meadow and punched them out with the Tree Punch (Bundle & Save)! I attached those to the card using Stampin’ Dimesionals on two of them for that texture and scenery look. Of course I needed some glimmer to make the snow look more real so I added some Dazzling Details to the hills and bottoms of the trees! I love the bling!!! The greeting was stamped in Real Red and punched out with the Modern Label Punch! Love it!!!! This card is perfect for the Holidays or if you don’t get your cards done in time for Christmas, you could send this out as a winter greeting! 🙂

Happy Stampin’

~Laura


Technique Tuesday – Glimmer & Glitz Stars

Posted on

Happy Tuesday!!!! That means that I have a fabulous technique to share with you and I LOVE LOVE LOVE this one! Lots of bling and you can pick whatever color you want!!!!

Glimmer Vellum Stars, www.LaurasStampPad.com

I love love love Silver and BLING….add in a pop of color and it screams my name!!!!

SUPPLIES NEEDED: Silver Fancy Foil Designer Vellum, Silver Glimmer Paper, Cardstock, Sponge Dauber, Star Framelits, Big Shot, Stamps & Ink

Start off with a card base of 4-1/4″ x 11″ in Whisper White and adhere a piece of Silver Fancy Foil Designer Vellum on top measuring 4″ x 5-1/4″. Vellum can be tricky to adhere because you can see where the adhesive is since it is partially clear. With this card, you don’t have to worry about your adhesive because it is covered by the Whisper White decorative piece. Then using a piece of Whisper White cardstock measuring 3-1/2 x 4-3/4″, you will place the third largest star from the Star Framelits on the bottom half and run it through your Big Shot! Now using your Sponge Daubers, brush the edges of the white rectangle and the punched out star! You can use the star on the inside of your card or for a completely different project! Stamp your greeting to the top of the white rectangle and then add Stampin’ Dimensionals to the corners of your white rectangle. You can add maybe 1 or 2 in the middle if you like them a lot like me! Place that on your card front. Now using the 2nd smallest Star Framelit, cut out a star in Silver Glimmer Paper! You will adhere this star in the center of your cut out star on your card front. Adhere with Snail Adhesive! You can place your cut out white star on the inside of your card! For the card above, I used Blackberry Bliss and the Endless Wishes Stamp Set!

Red Stars Vellum Glimmer, www.LaurasStampPad.com

For this card, I used Real Red and the Endless Wishes Stamp Set. I added the star to the inside on the top for some extra flare!

Birthday, Stars, Vellum, Glimmer, www.LaurasStampPad.com

For this card, I used Pacific Point and the Remembering Your Birthday Stamp Set! Also, I added in a little Silver Foil Star from the center of the wreath from last week’s post! To see this all in action, check out the Video Tutorial below! Be sure to give it a Thumbs Up if you liked it!!!!

I would like to thank Dawn Griffith for this great idea. She did her’s in all Silver which I loved but I added my flare with the color!!!! Let me know in the comments below which color your favorite was or which color you would like to use for a POP of color!

Happy Stampin’

~Laura


November My Paper Pumpkin!!

Posted on

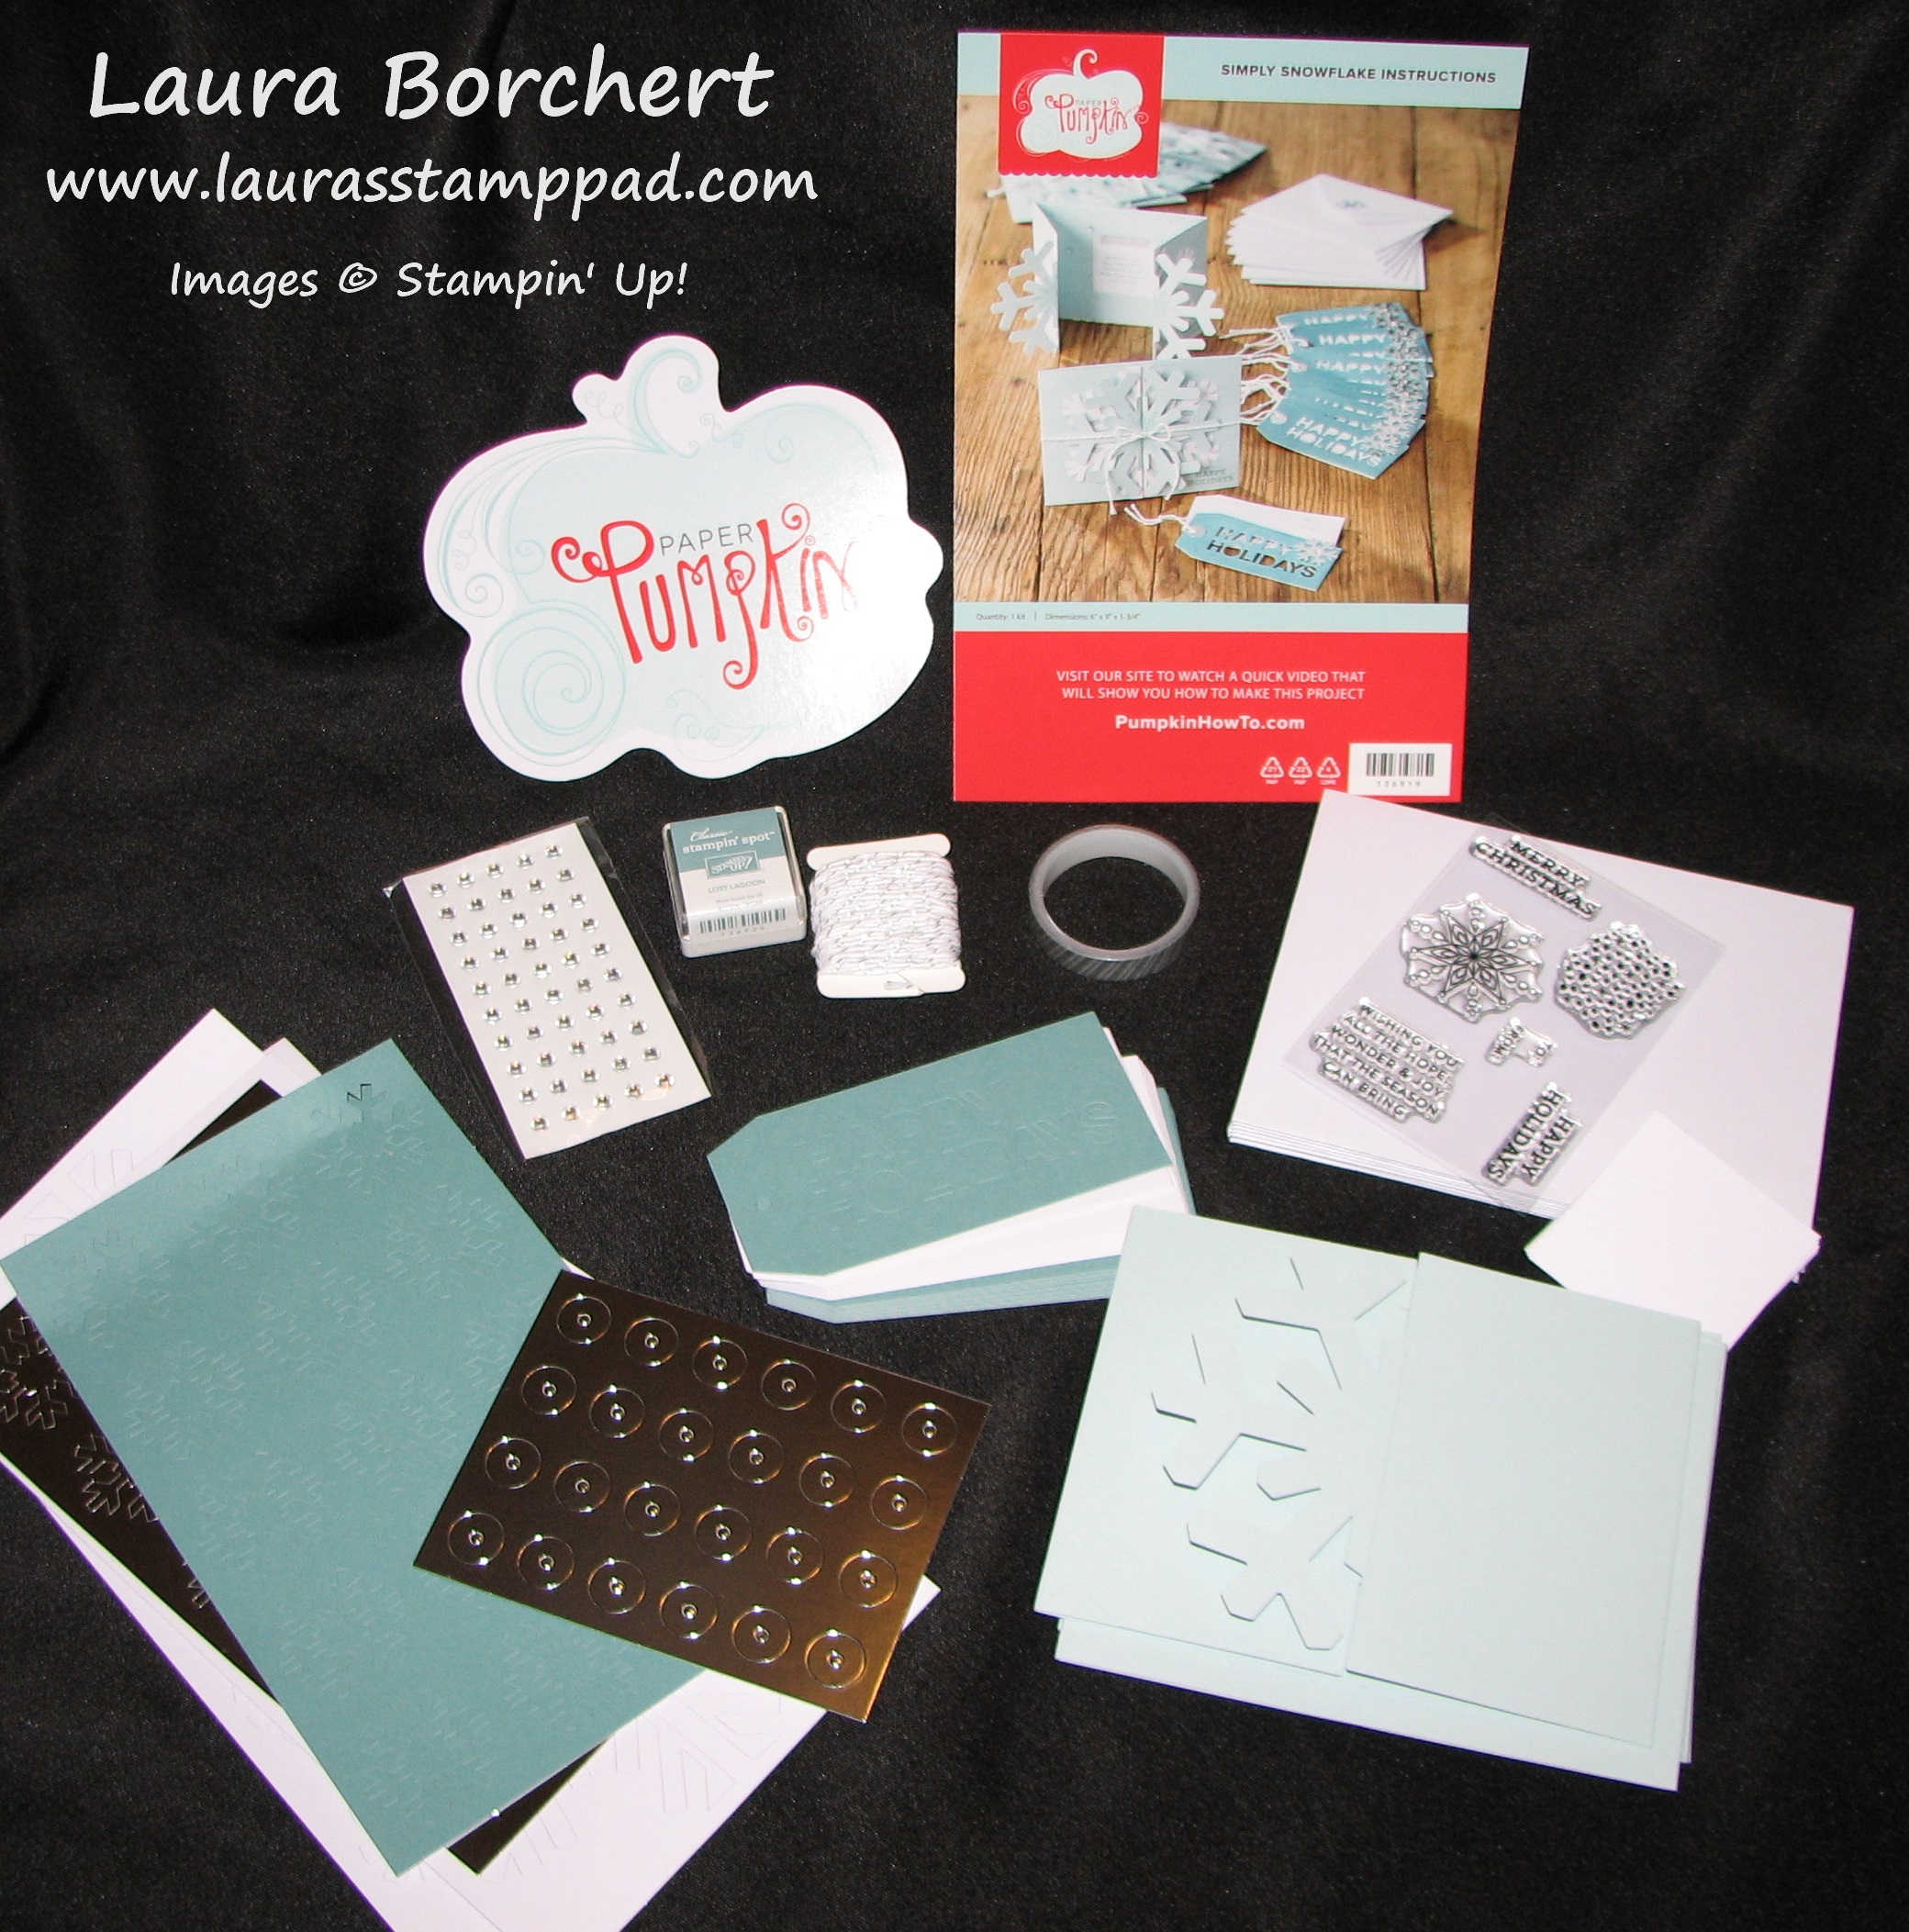
I know I’m a little behind on completing my November Paper Pumpkin Kit! Just like everyone, the past couple of weeks have been crazy! I finally finished my kit this past week…..just in time to use the tags on my presents but too late for Holiday Cards.

November Paper Pumpkin, www.LaurasStampPad.com

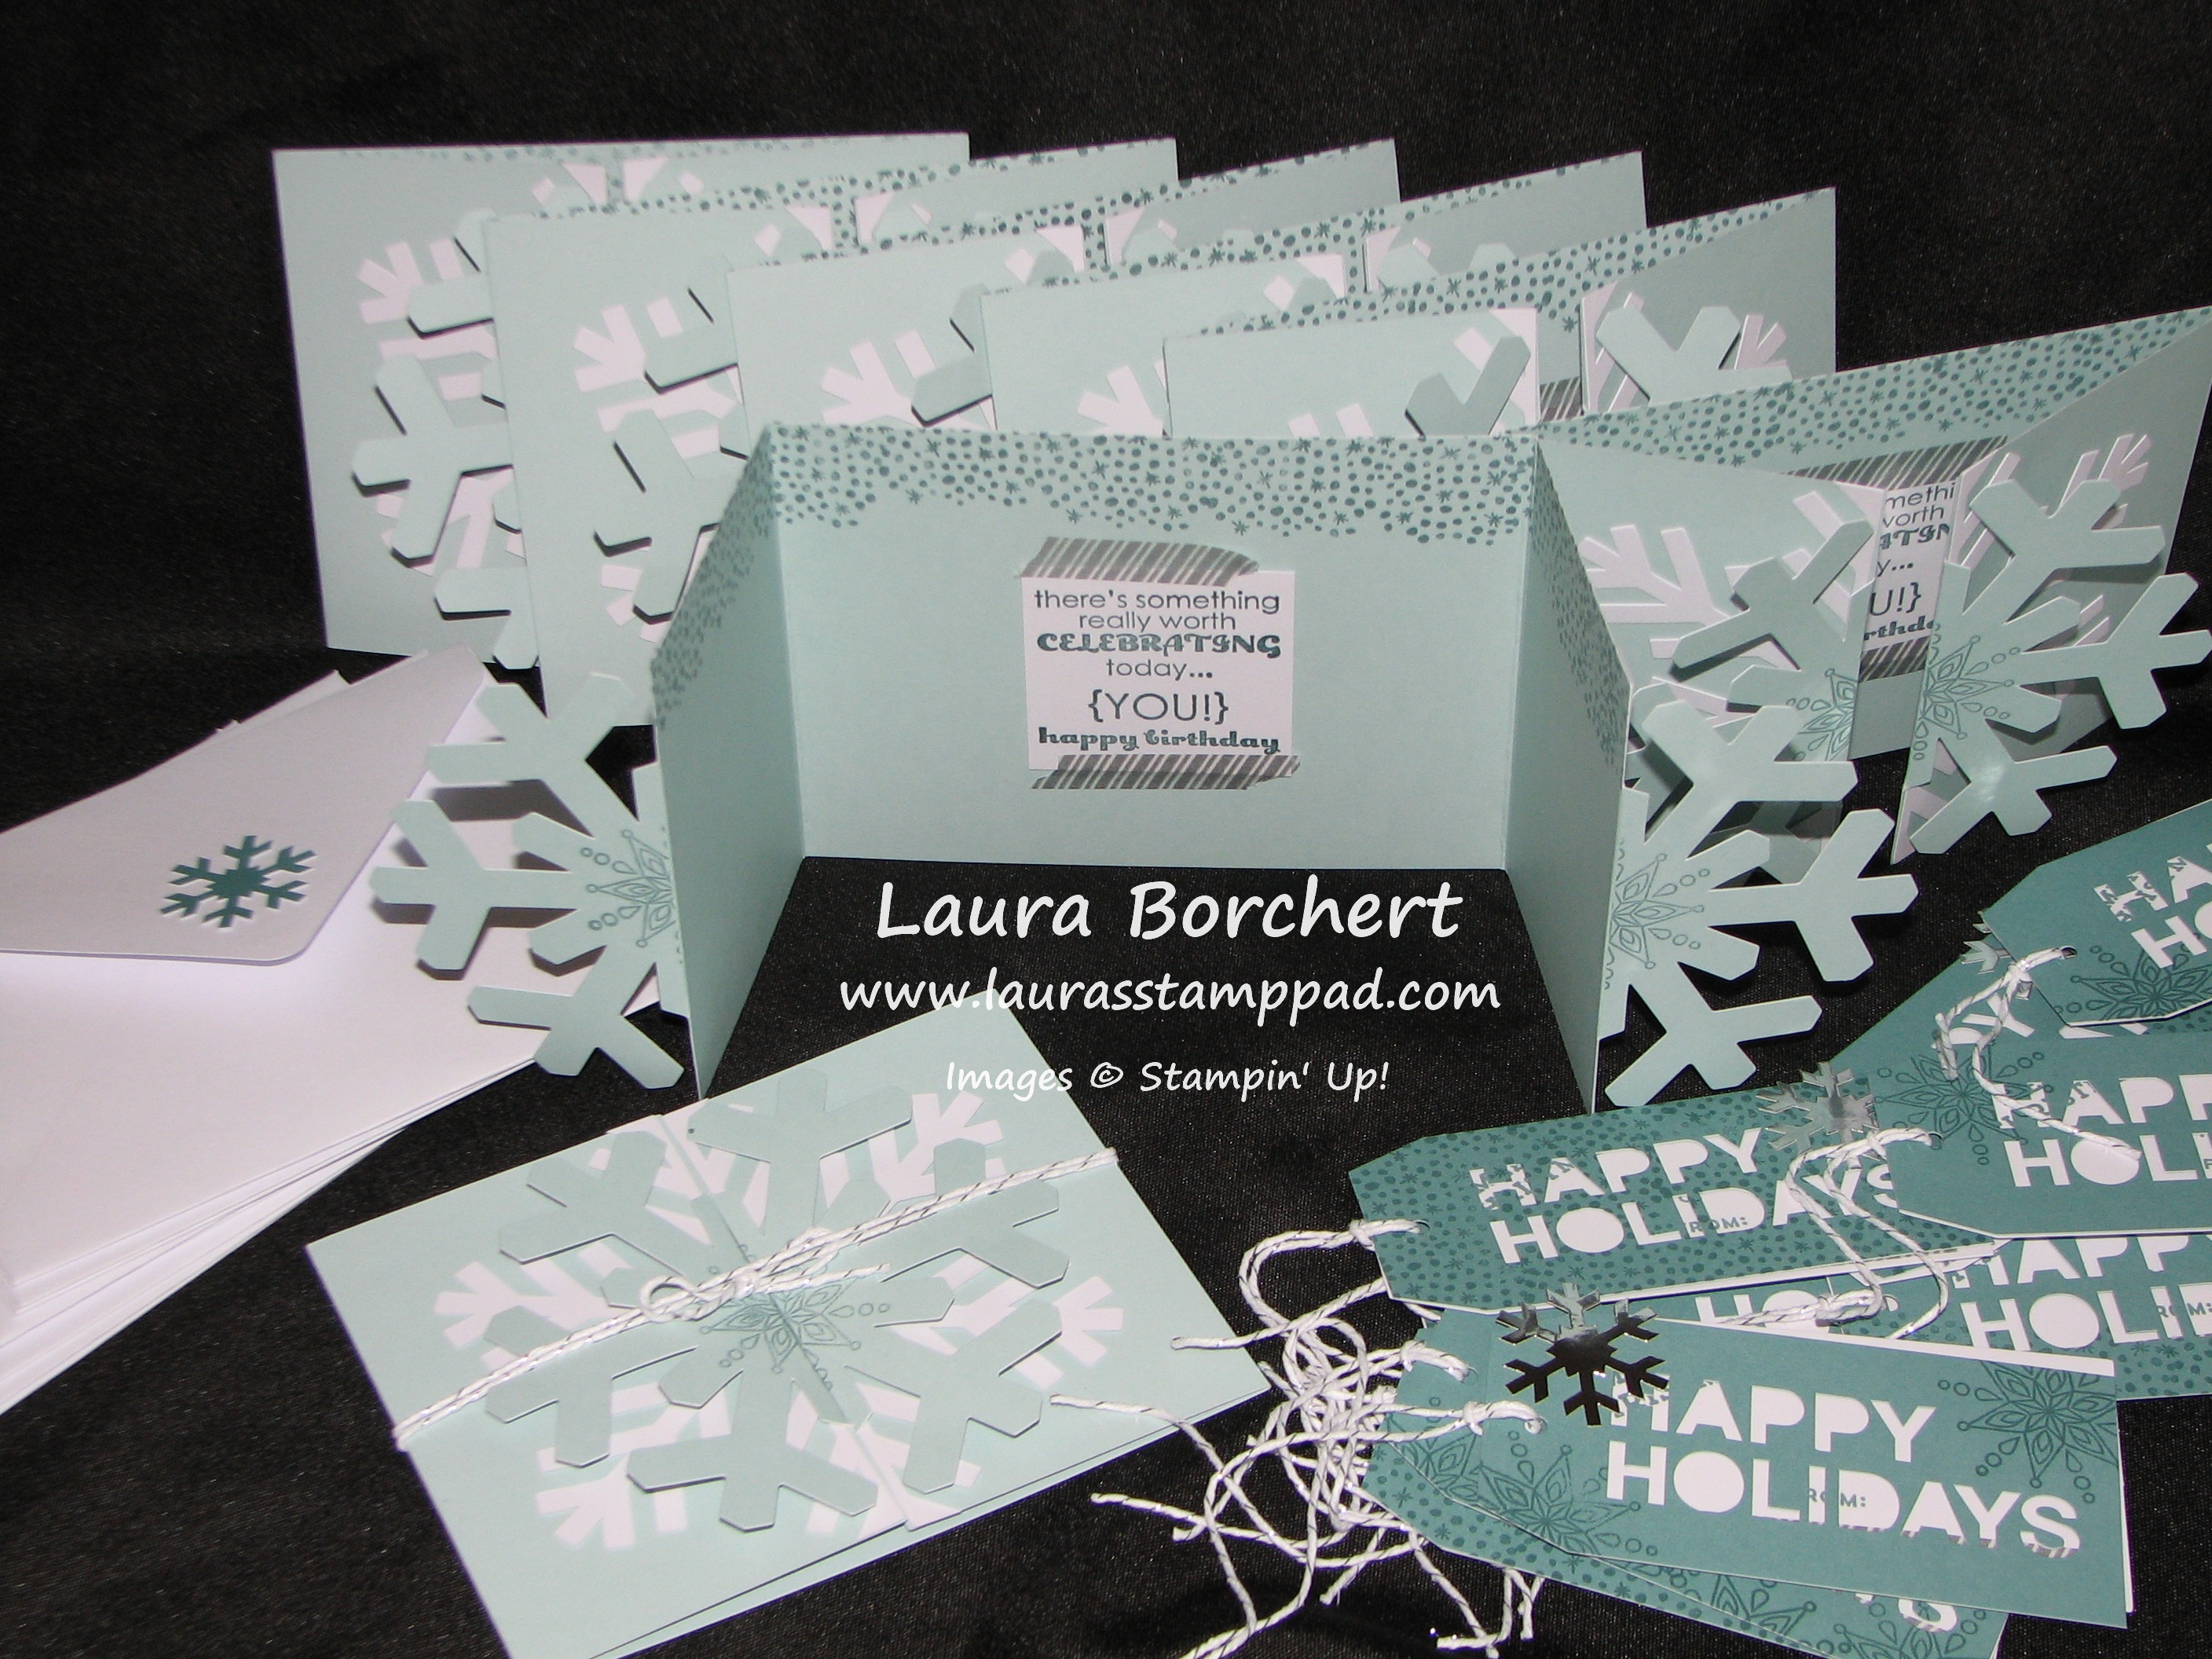
The goodies arrived in the middle of November and I was super excited! You can check out this video which I did when I first opened it! That was so exciting to open and share with all of you! I instantly loved the stamps which have perfect greetings. My Christmas Cards were all complete but I needed a greeting for the inside and this one was PERFECT! I stamped….correction my husband stamped that on the inside of my cards while I completed the rest and stuffed them in the envelopes. He is so fabulous! 🙂 Then life got in the way and time flew by and I finally sat down last week to do the rest of the kit. I am using the tags for my presents but I’m done with my cards so I created winter birthday cards! I did them exactly like the instructions but with a greeting from Remembering Your Birthday Stamp Set!

November Paper Pumpkin, www.LaurasStampPad.com

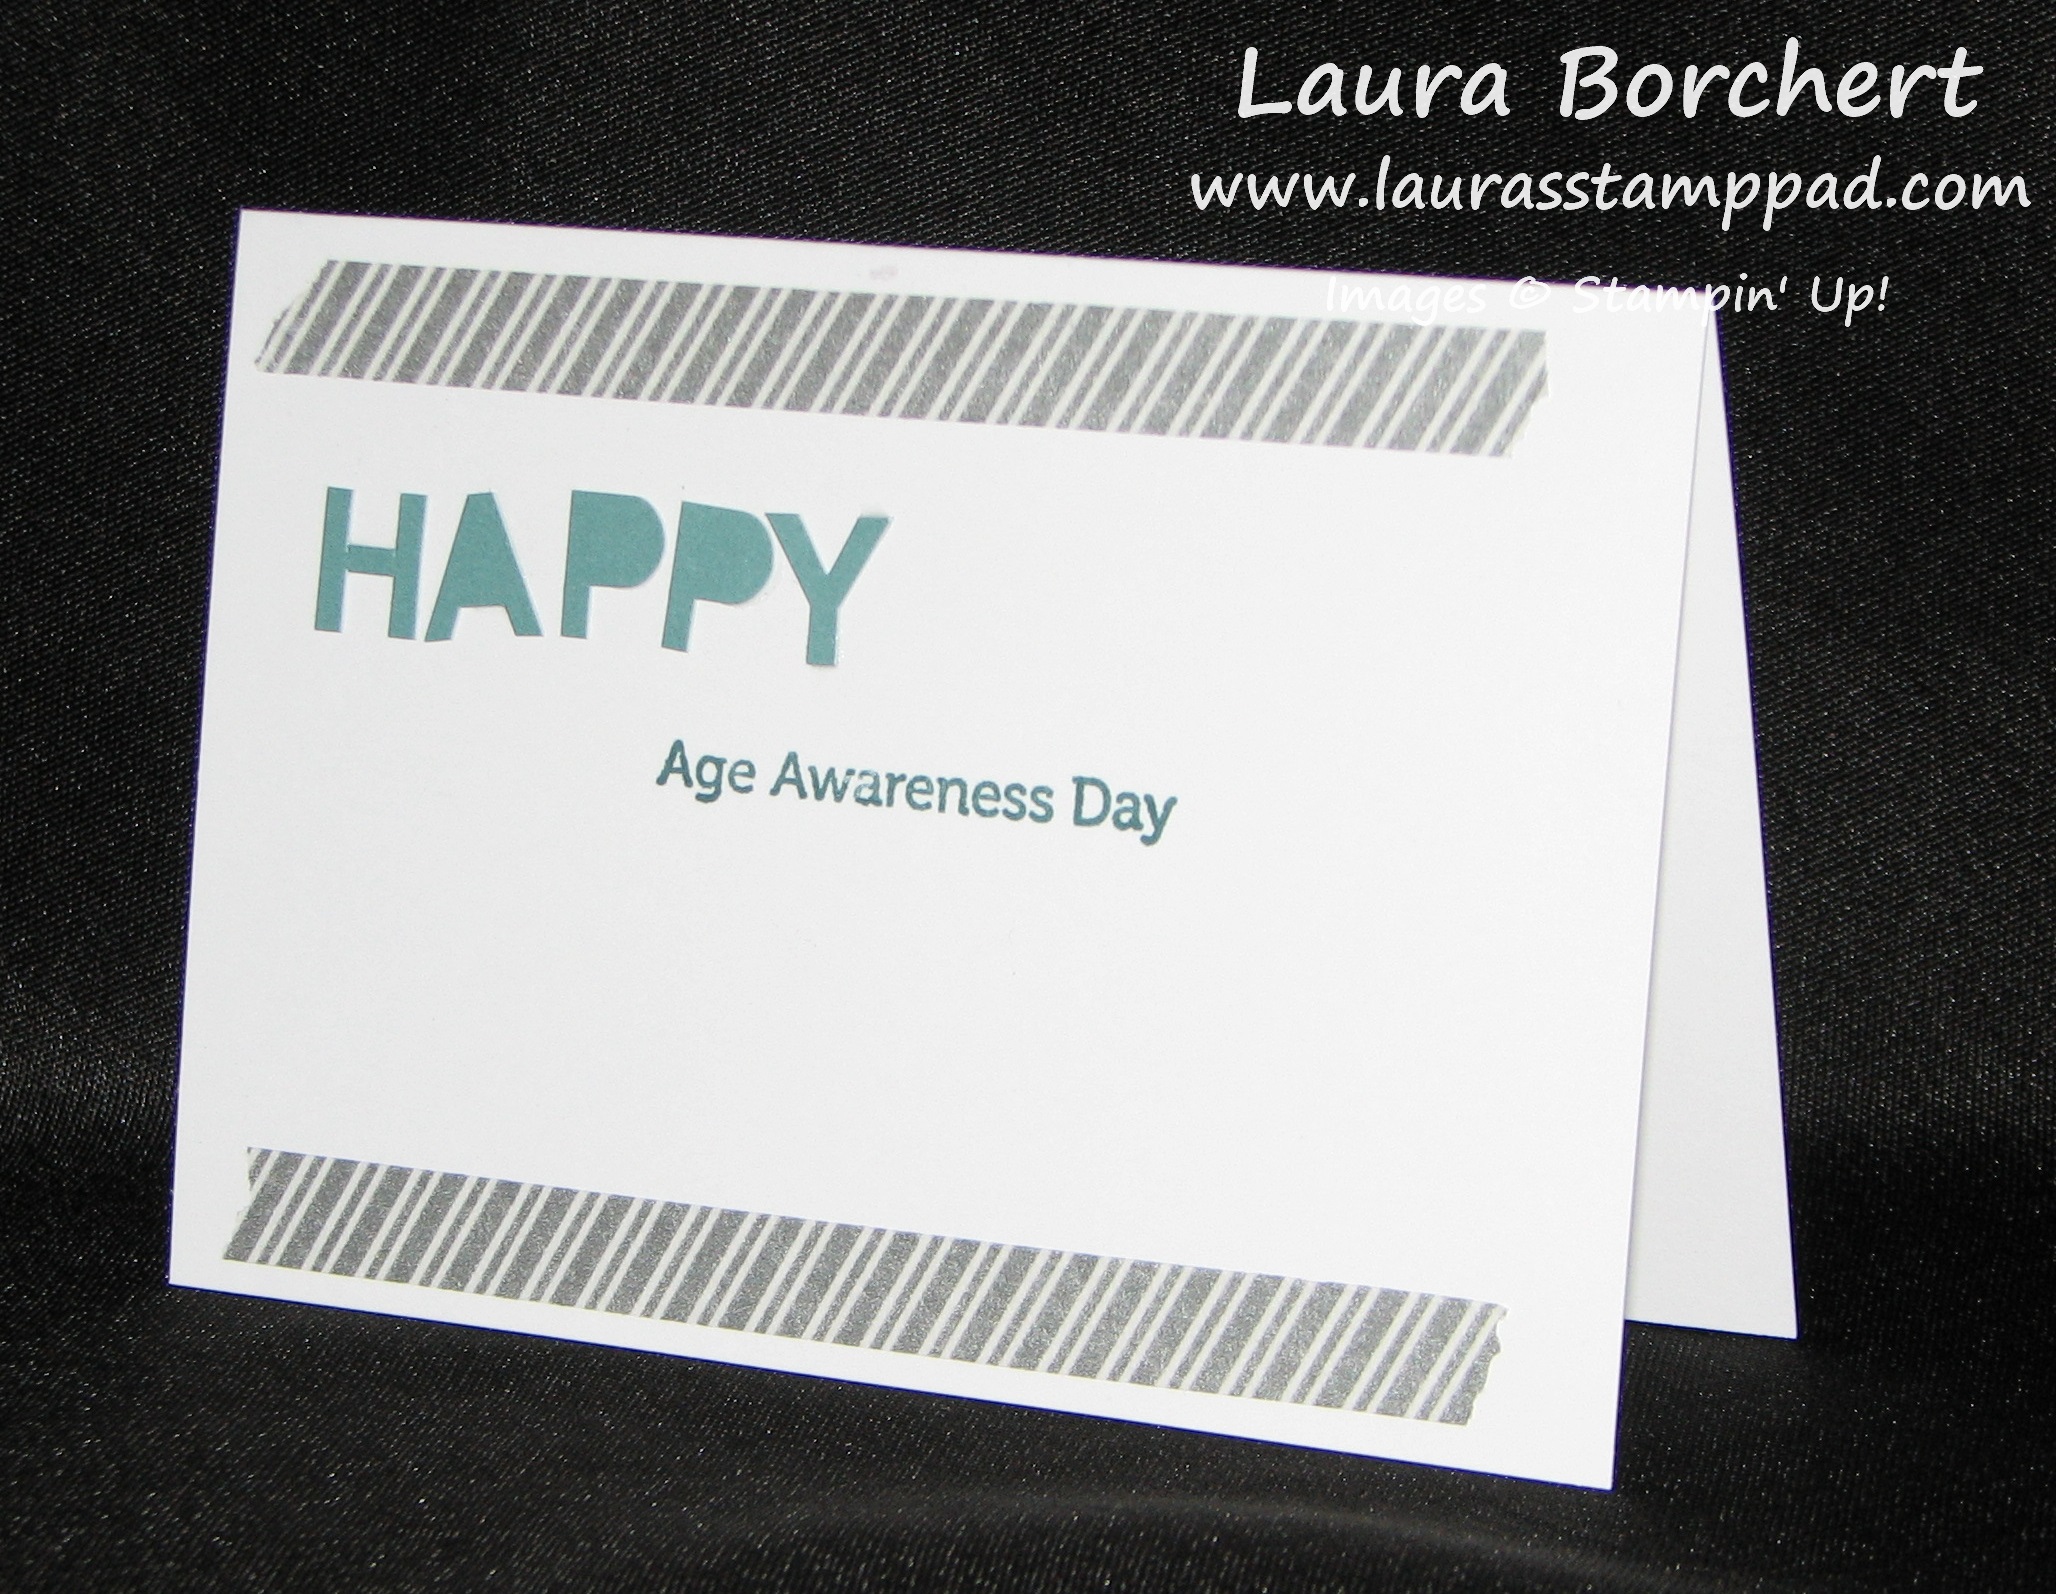
Super cute and now I’m ready for all of my January Birthdays! Love it!!!!! Also, for the popped out letters on the tags, I created this quick and simple Birthday Card!

Age Awareness Nov MPP, www.LaurasStampPad.com

I took a Note Card and Envelope, added some Washi Tape to the top and bottom. I used the greeting from the Age Awareness Stamp Set and added the letters HAPPY. Fabulous!!!! I can’t wait to get my December Kit in the mail any day now! Be sure to subscribe to my YouTube Channel so you don’t miss out on the December My Paper Pumpkin Reveal! Make sure you are signed up before January 10th so you can receive the January Kit! These also make fabulous Christmas Presents! Click here to see the pre-paid subscription options!

Happy Stampin’

~Laura


Simple Snowflakes for Your Friday!!!

Posted on

Happy Friday!!!! Who is ready for the weekend!?!?!?! I have nothing planned so we will be relaxing and getting some things done! My to-do list includes some stamping fun and working on my 2014 My Digital Studio Album!!!!! But first……..

Endless Wishes Simple, www.LaurasStampPad.com

I wanted to share this quick and simple snowflake card! I used a piece of Whisper White cardstock measuring 4-1/4″ x 11″. I stamped some of the snowflakes from the Endless Wishes Stamp Set all over. I used Lost Lagoon, Pool Party and Night of Navy ink. Then I added a greeting towards the bottom in Lost Lagoon! For the ribbon, I actually combined the Satin Stitched Lost Lagoon Ribbon and the Silver Ribbon and tied them into a knot! Simple and yet amazing!!!

Weekly Deals 12.9

Of course, what is a Friday without the Weekly Deals!!!! Love love love the Modern Mosaic Embossing Folder! I, also, have another fabulous thing to share with you today!!!! Stampin’ Up came out with another Photopolymer Stamp Set this week! LOVE IT!

Snuggles and Smooches, www.LaurasStampPad.com

Adorable!!!! I hope you have an amazing weekend and enjoy lots of snuggles and smooches!

Happy Stampin’

~Laura


Christmas Bauble!!!

Posted on

Christmas Bauble, www.LaurasStampPad.com

This Christmas Bauble Stamp is so simple and yet so much fun! It is a single stamp and really that is all you need! How fabulous is this card? I stamped the bauble on Whisper White cardstock in VersaMark and then poured Silver Embossing Powder over it. Heated it with my heat tool and then let the magic begin! I played with my Cherry Cobbler Blendabilities a little and then was sad that I didn’t have the Old Olive set as well. No worries, I got out my markers. I will saw that the Blendabilities were more fun and you can’t see the stroke lines like you can with markers! Either way though, this card is fabulous! After coloring it, I cut it out with my Labels Collection Framelits and my Big Shot, added some Stampin’ Dimensionals and popped it on my card! My card base is Crumb Cake and the center strip is Cherry Cobbler ran through the Big Shot with the Perfect Polka Dot Embossing Folder!

Christmas Bauble, www.LaurasStampPad.com

Here is another one using my Lost Lagoon Marker and I left out the Cherry Cobbler strip. I just played around with it to see what I liked the best. I prefer the top one! What about you?

If you love to color, this is so much fun and you NEED the Blendabilities Markers! 🙂

Happy Stampin’

~Laura


Pine Tree Perfection!!!

Posted on

Pine Tree Festival of Trees, www.LaurasStampPad.com

I am loving this card…..is it the Trees? Mossy Meadow? Lucky Stars Embossing Folder? Satin Stitched Ribbon? I’m not sure which one item it is or if it is just a combination of all of them! It just look so perfect and like a real tree line!

I started with a card base of Mossy Meadow. Then I took a piece of Whisper White (4″ x 5-1/4″) and ran it through the Big Shot with the Lucky Stars Embossing Folder! I really love that one! I wrapped some Mossy Meadow Satin Stitched Ribbon around the bottom portion and then adhered it to the card front. Then with some scrap white cardstock, I stamped the trees from the Festival of Trees Stamp Set in Mossy Meadow! I used the coordinating Tree Punch (Bundle & Save) to punch them out and I added them to the card with Stampin’ Dimensionals! The greeting is from the Festival of Trees Stamp Set as well and I brushed the edges with my Sponge Daubers! For the ends, I slide the piece of paper into my Curly Label Punch to only punch one side at a time! Of course do that before sponging the edges! I hope you enjoy this card as much as I do!

Happy Stampin’

~Laura


Technique Tuesday – Silver Foil Wreath!

Posted on

Happy Tuesday!!!! That means I have a fabulous technique to share with you today and this one is amazing!!!! It uses lots of my favorite items – embossing folders, bling (Silver Foil), and ribbon!

Silver Foil Wreath, www.LaurasStampPad.com

Isn’t the Silver Foil just amazing? The best part is there is no Silver Foil waste because you cut out the wreath from the layering piece of foil! I love using up all scraps and pieces!

SUPPLIES NEEDED:  Silver Foil (or Gold Foil), Wonderful Wreath Framelits, Embossing Folder, Big Shot, Cardstock, Stamps, and Ribbon

You will start with a piece of Silver Foil measuring 3-3/4″ x 3-3/4″! Lay the wreath framelits in the center and run it through the Big Shot. Be sure that it is in the center because you will be using the leftovers to layer on your card! Now that you have your wreath cut out, you will place it in the Embossing Folder of your choice. I used the Perfect Polka Dot Embossing Folder in the one above and Stylish Stripes in the one below!

Embossed Silver Foil, www.LaurasStampPad.com

Now you can start to assemble. Add some Snail Adhesive to the corners of a piece of cardstock measuring 3-1/2″ x 3-1/2″. For the one at the top, I used Night of Navy and for the one just above I used Lost Lagoon! Then you will adhere that to your Silver Foil that you used to cut the wreath out of. Add some Stampin’ Dimensionals to the back corners of the Silver Foil and attach to the top portion of your card base. Then you will add Stampin’ Dimensionals to the Wreath and attach that to the center of your square. Now you can pick the ribbon of your choice to add to the top of your wreath. For the card at the top, I used Whisper White Organza Ribbon and for the card just above I used Lost Lagoon Silky Taffeta Ribbon! On the bottom you can put the greeting of your choice. For one card at the top, I used Christmas Bliss Stamp Set and Modern Label Punch. For the card just above, I used the Watercolor Winter Too Stamp Set! The card pictured below uses the Bloom with Hope Hostess Stamp Set because I wanted a Birthday greeting that was scrolly and elegant like the card! I am loving this card idea and can’t wait to make more!

Birthday Foil Wreath, www.LaurasStampPad.com

To watch this card be made, check out the Video Tutorial below!!!! Don’t forget to give it a Thumbs Up if you liked it and be sure to subscribe so you don’t miss next week’s video on how to use the center of the wreath to make the little star!

Let me know which color was your favorite in the comments below – Night of Navy or Lost Lagoon?

Happy Stampin’

~Laura


The Newborn King!!!

Posted on

Manger Newborn King, www.LaurasStampPad.com

This stamp set- The Newborn King is just fabulous….especially if you like to color! 😉 I played with my Blendabilities and this stamp set one afternoon and created these fabulous creations!

NewBorn King Blendabilities, www.LaurasStampPad.com

It was so much fun but took lots of patience and you know me…..easily distracted and ready to move on! It was super fun and turned out amazing but we all know that making 200 Christmas Cards with this scene colored all over is just not on my To-Do List! So I came up with the card above! I started with a Night of Navy card base, cut 2 pieces of Whisper White measuring 4″ x 5-1/4″ and brushed all of the edges with my Night of Navy Sponge Dauber. LOVE! I then stamped the manger scene in Night of Navy (toward the top). Of course what is a Laura Creation without some bling so I added a little strip of Silver Glimmer Paper to the bottom portion. I put the manger scene on the card front and put the other one on the inside. Also, I stamped the star in the top left corner on the inside Whisper White piece and added the greeting! Perfect! I think the hardest part of this card was the Sponge Dauber portion….and that’s not hard, it’s FUN! 🙂

I hope you enjoyed this card and be sure to tell me about your Christmas Cards or current project you are working on! I would love to hear about it so leave me a comment down below!

Happy Stampin’

~Laura


Punch Art – Kirby!!!

Posted on

Happy Friday!!!! If you have been following my blog for awhile now, you know that my husband and I make each other cards for Birthdays and Valentine’s Day. After the first time, my husband said, “So it’s on?” Ever since we try to come up with new and fun cards!!! You can check out the past ones here, here and here! Brad’s birthday was on Wednesday and here is what I came up with!

Kirby Punch Art, www.LaurasStampPad.com

It’s Kirby!!!! Isn’t he cute? My husband likes to play video games and I think Kirby is just adorable. I created him with a few punches and lots of love! 🙂 Especially since I was all done and I stamped the greeting on the top with a very large clear block (you know where I’m going here) and I got ink on the clear block and also on Kirby’s cheek. I wanted to cry. I texted my husband that I messed it up and he said I’ll love it anyway. Awwww So then I redid it!!!

Kirby mistake

I used a 3″ Circle from the Circle Framelits in Pink Pirouette for the body. The eyes use the Small Oval Punch in Basic Black with another punched in Pacific Point and trimmed down with scissors. The white circles were punched out from the Owl Builder Punch! I used my Basic Black Marker for the smile and my Melon Mambo Sponge Dauber for the cheeks! I punched out 2 Extra Large Ovals in Pink Pirouette for the arms and one in Melon Mambo for the front foot. For the back foot, I punched out a 1-1/4″ Circle in Melon Mambo. I brushed the edges of the Melon Mambo feet with my Sponge Dauber for that darker edge look! Believe it or not, I didn’t use Stampin’ Dimensionals! I used the Strawberry Slush Thick Baker’s Twine for the lasso! The greeting is from the Age Awareness Stamp Set and I did that in Pacific Point! I hope you enjoyed this little Punch Art Tutorial! Let me know if you try it out! Also, if you have any ideas for other video game punch art, leave me a comment down below!!!! I need to start thinking of my Valentine’s Day card! 😉

Weekly Deals 12.2

Of course what is a Friday without the Weekly Deals!!!! I hope you have an amazing weekend! It is our Annual Christmas Cookies in Carrollton day tomorrow! My favorite Holiday event by far!!!! Have a wonderful weekend!

Happy Stampin’

~Laura