Easter is just around the corner and this card is perfect!!! This is my favorite holiday of the year so to me it is an Egg-Stra Special Easter! 🙂 How cute is that greeting!?!?!? I just love it!!!

I don’t typically send a lot of Easter cards but I do send a few and like to make treat bags for my nieces and nephews! The Basket Bunch Bundle is perfect for Easter but I have been making SO MANY OTHERS too. Check out yesterday’s fabulous post! I have even more amazing samples coming soon too!
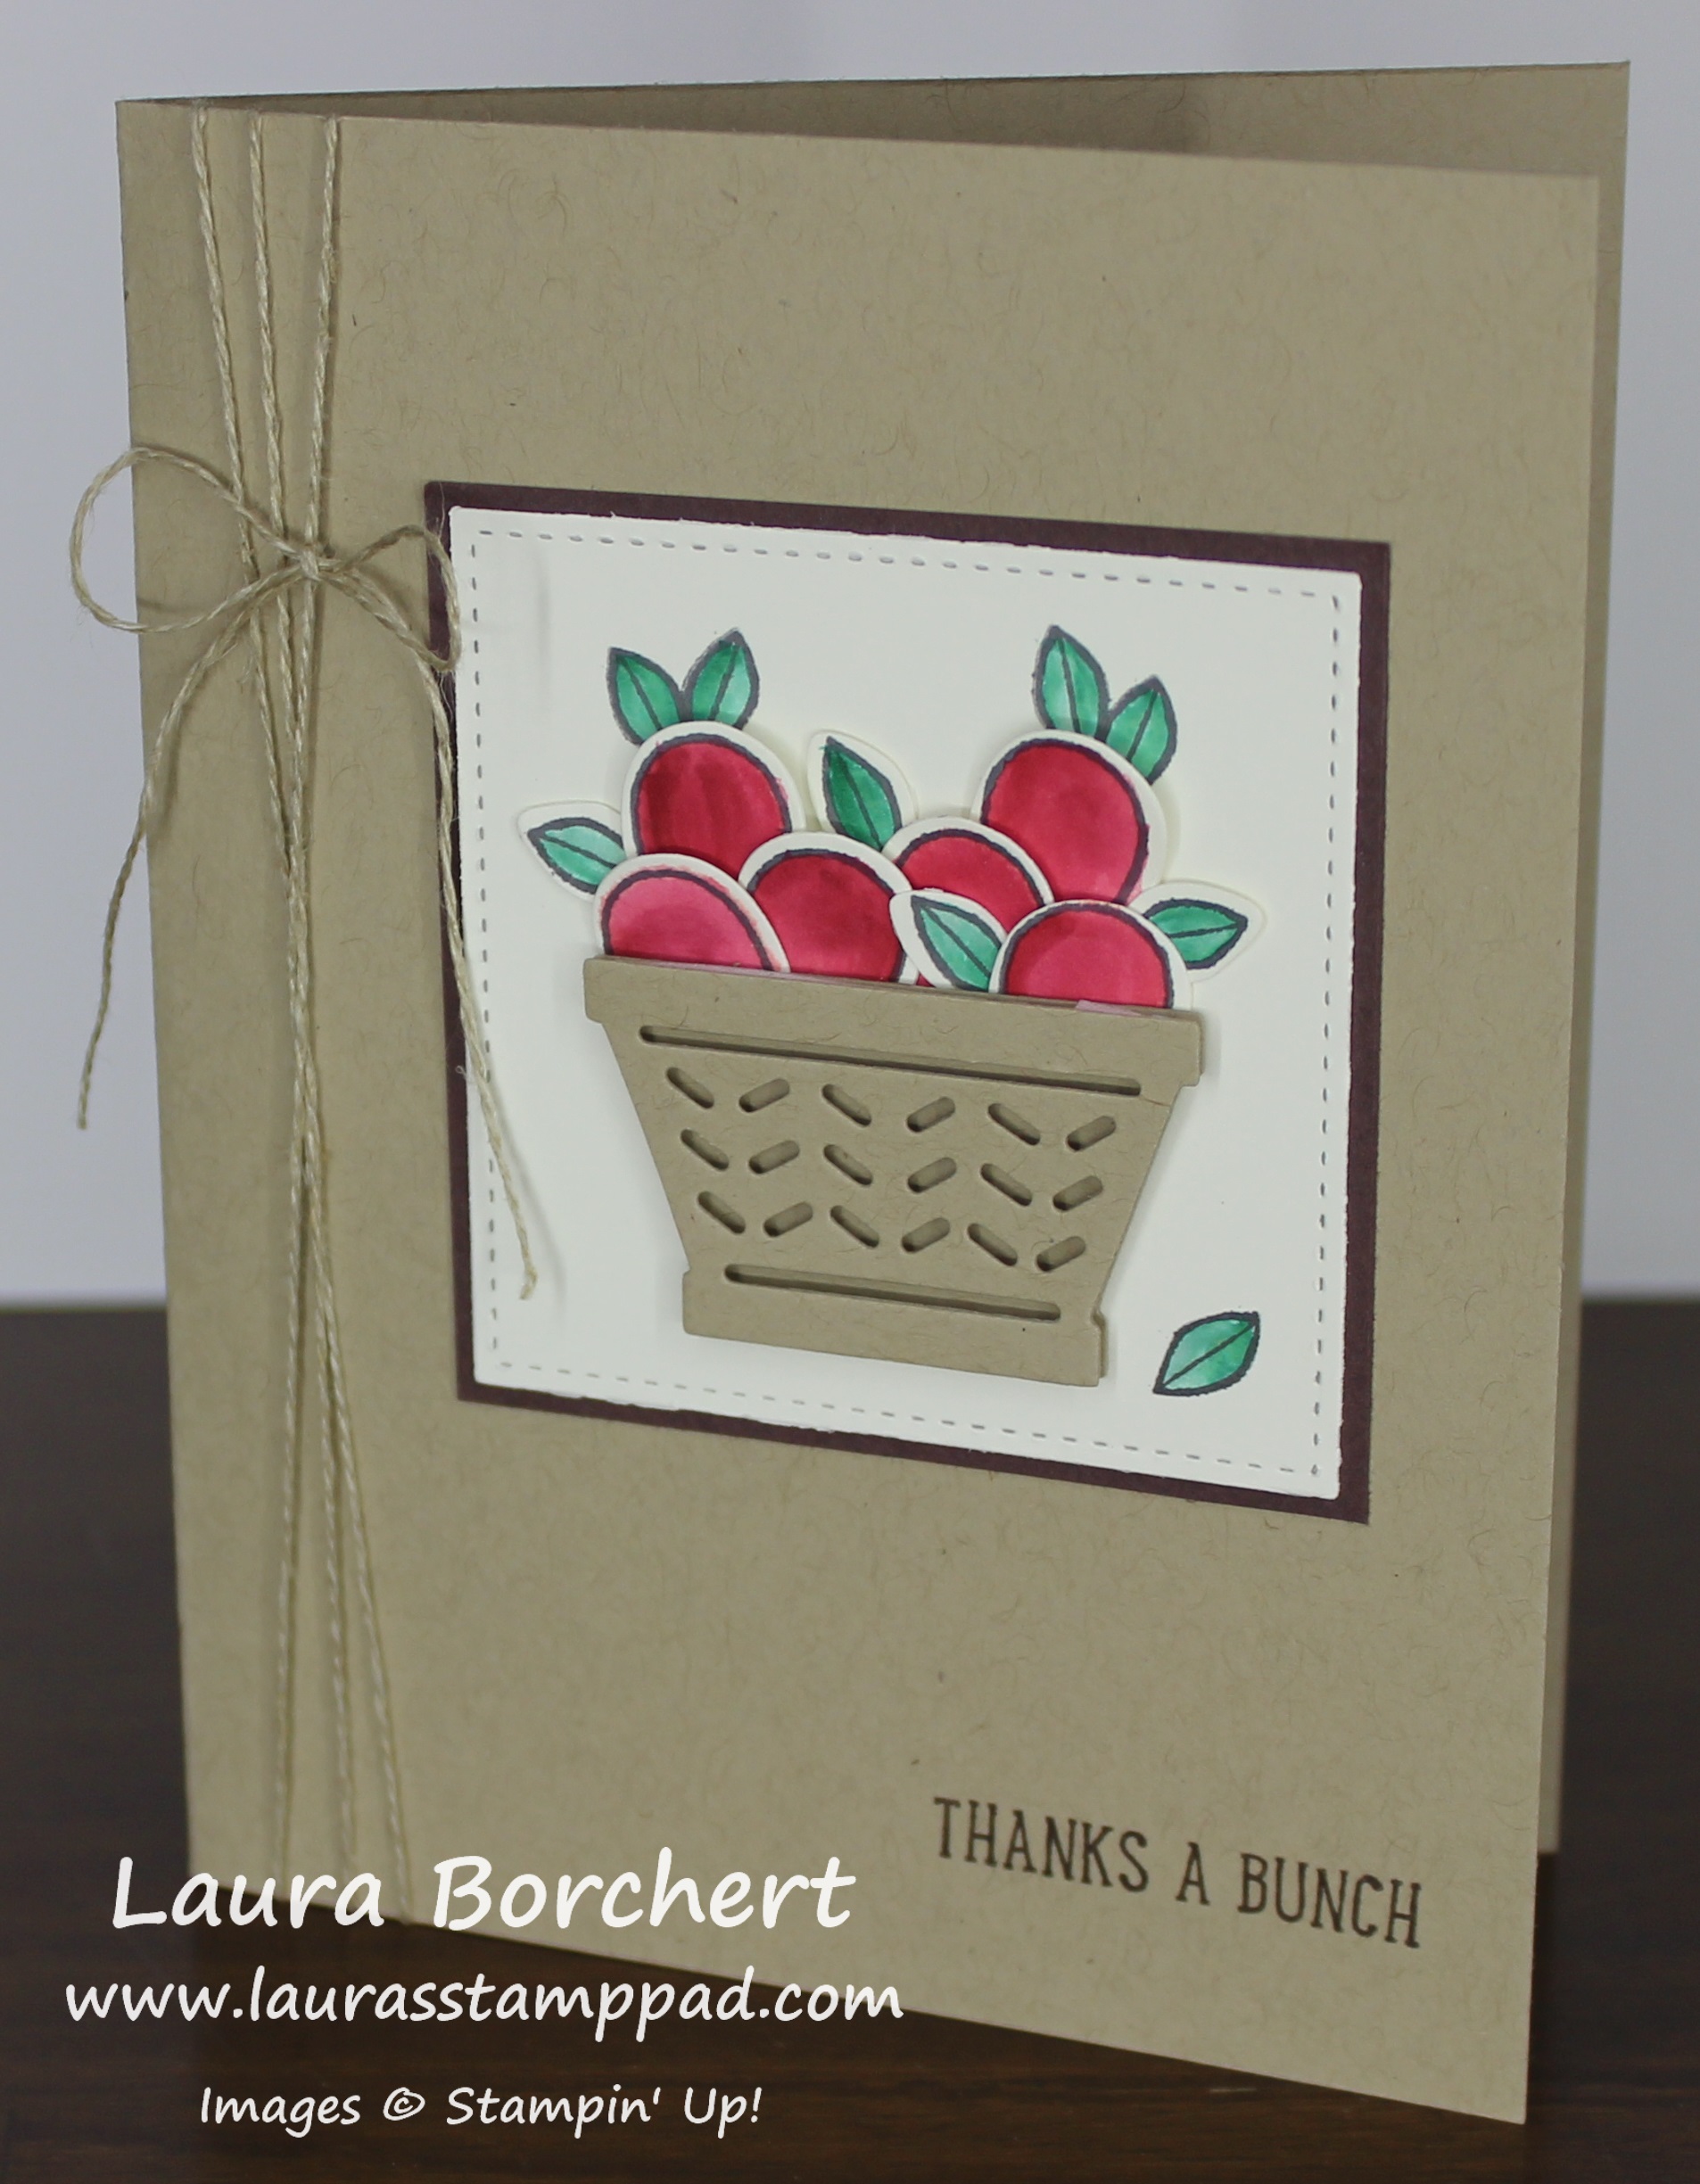
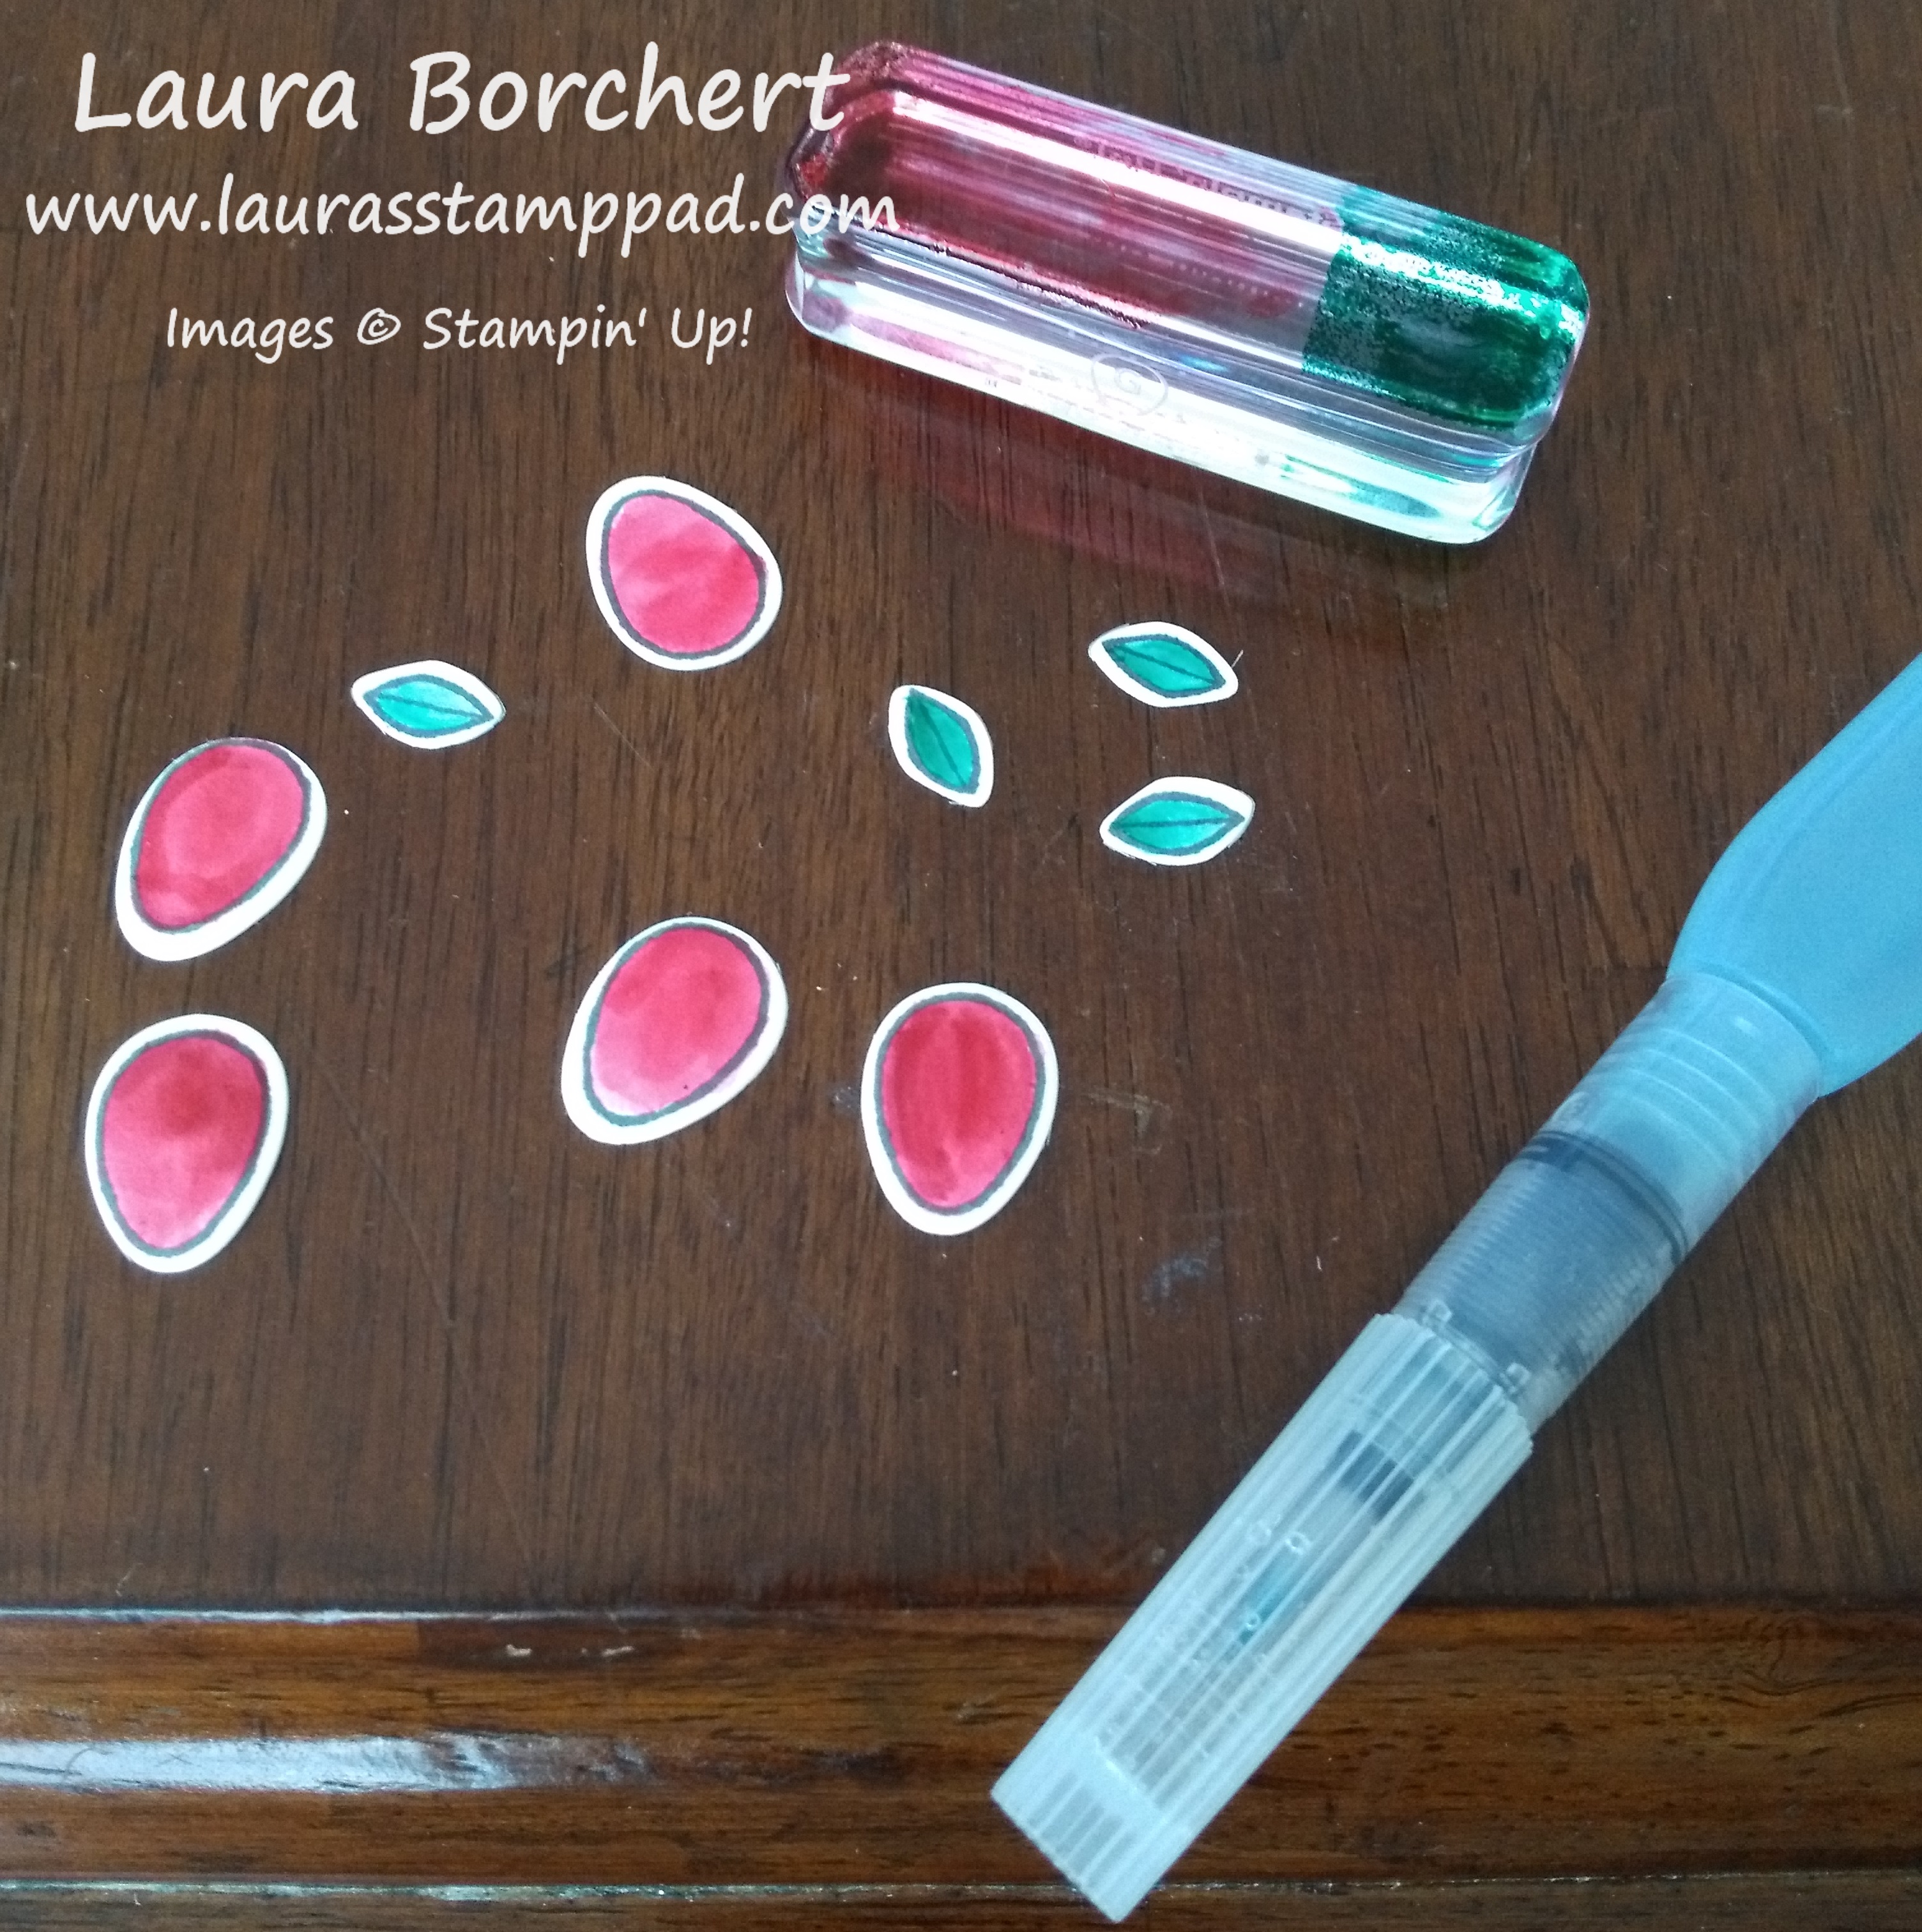
I started with a Wild Wasabi card base. Then I took a piece of Whisper White measuring 2″ x 5 1/2″ and stamped the grass from the Basket Bunch Stamp Set in Wild Wasabi Ink all along bottom. I stamped the Easter eggs and bunny in Basic Gray Ink so I could watercolor them and for the softer look. There are lots of great images in the stamp set to decorate your card with! The Watercolor Pencils are super fun for coloring all of these beauties! I used the Blender Pens for a nice even look of color! I just love all the bright colors!
Next, I took a piece of Rich Razzleberry (3-1/2″ x 5-1/2″) and ripped the top and bottom for a little texture. Depending on how much you rip off, you could start with a 3-1/4″ wide piece or smaller. I added this piece to the card front and tied some Crushed Curry Baker’s Twine around and into a bow! For the greeting, I stamped it from the Basket Bunch Stamp Set onto Daffodil Delight and punched it out with the Duet Banner Punch! Of course, I added the greeting to the card with Stampin’ Dimensionals!
Do you like to make Easter Cards or Easter Treats??? Another more important question…..Do you like Peeps? I feel like you either love them (ME) or hate them (my husband)? Which side are you on?? Let me know in the comments below!!
Happy Stampin’
~Laura