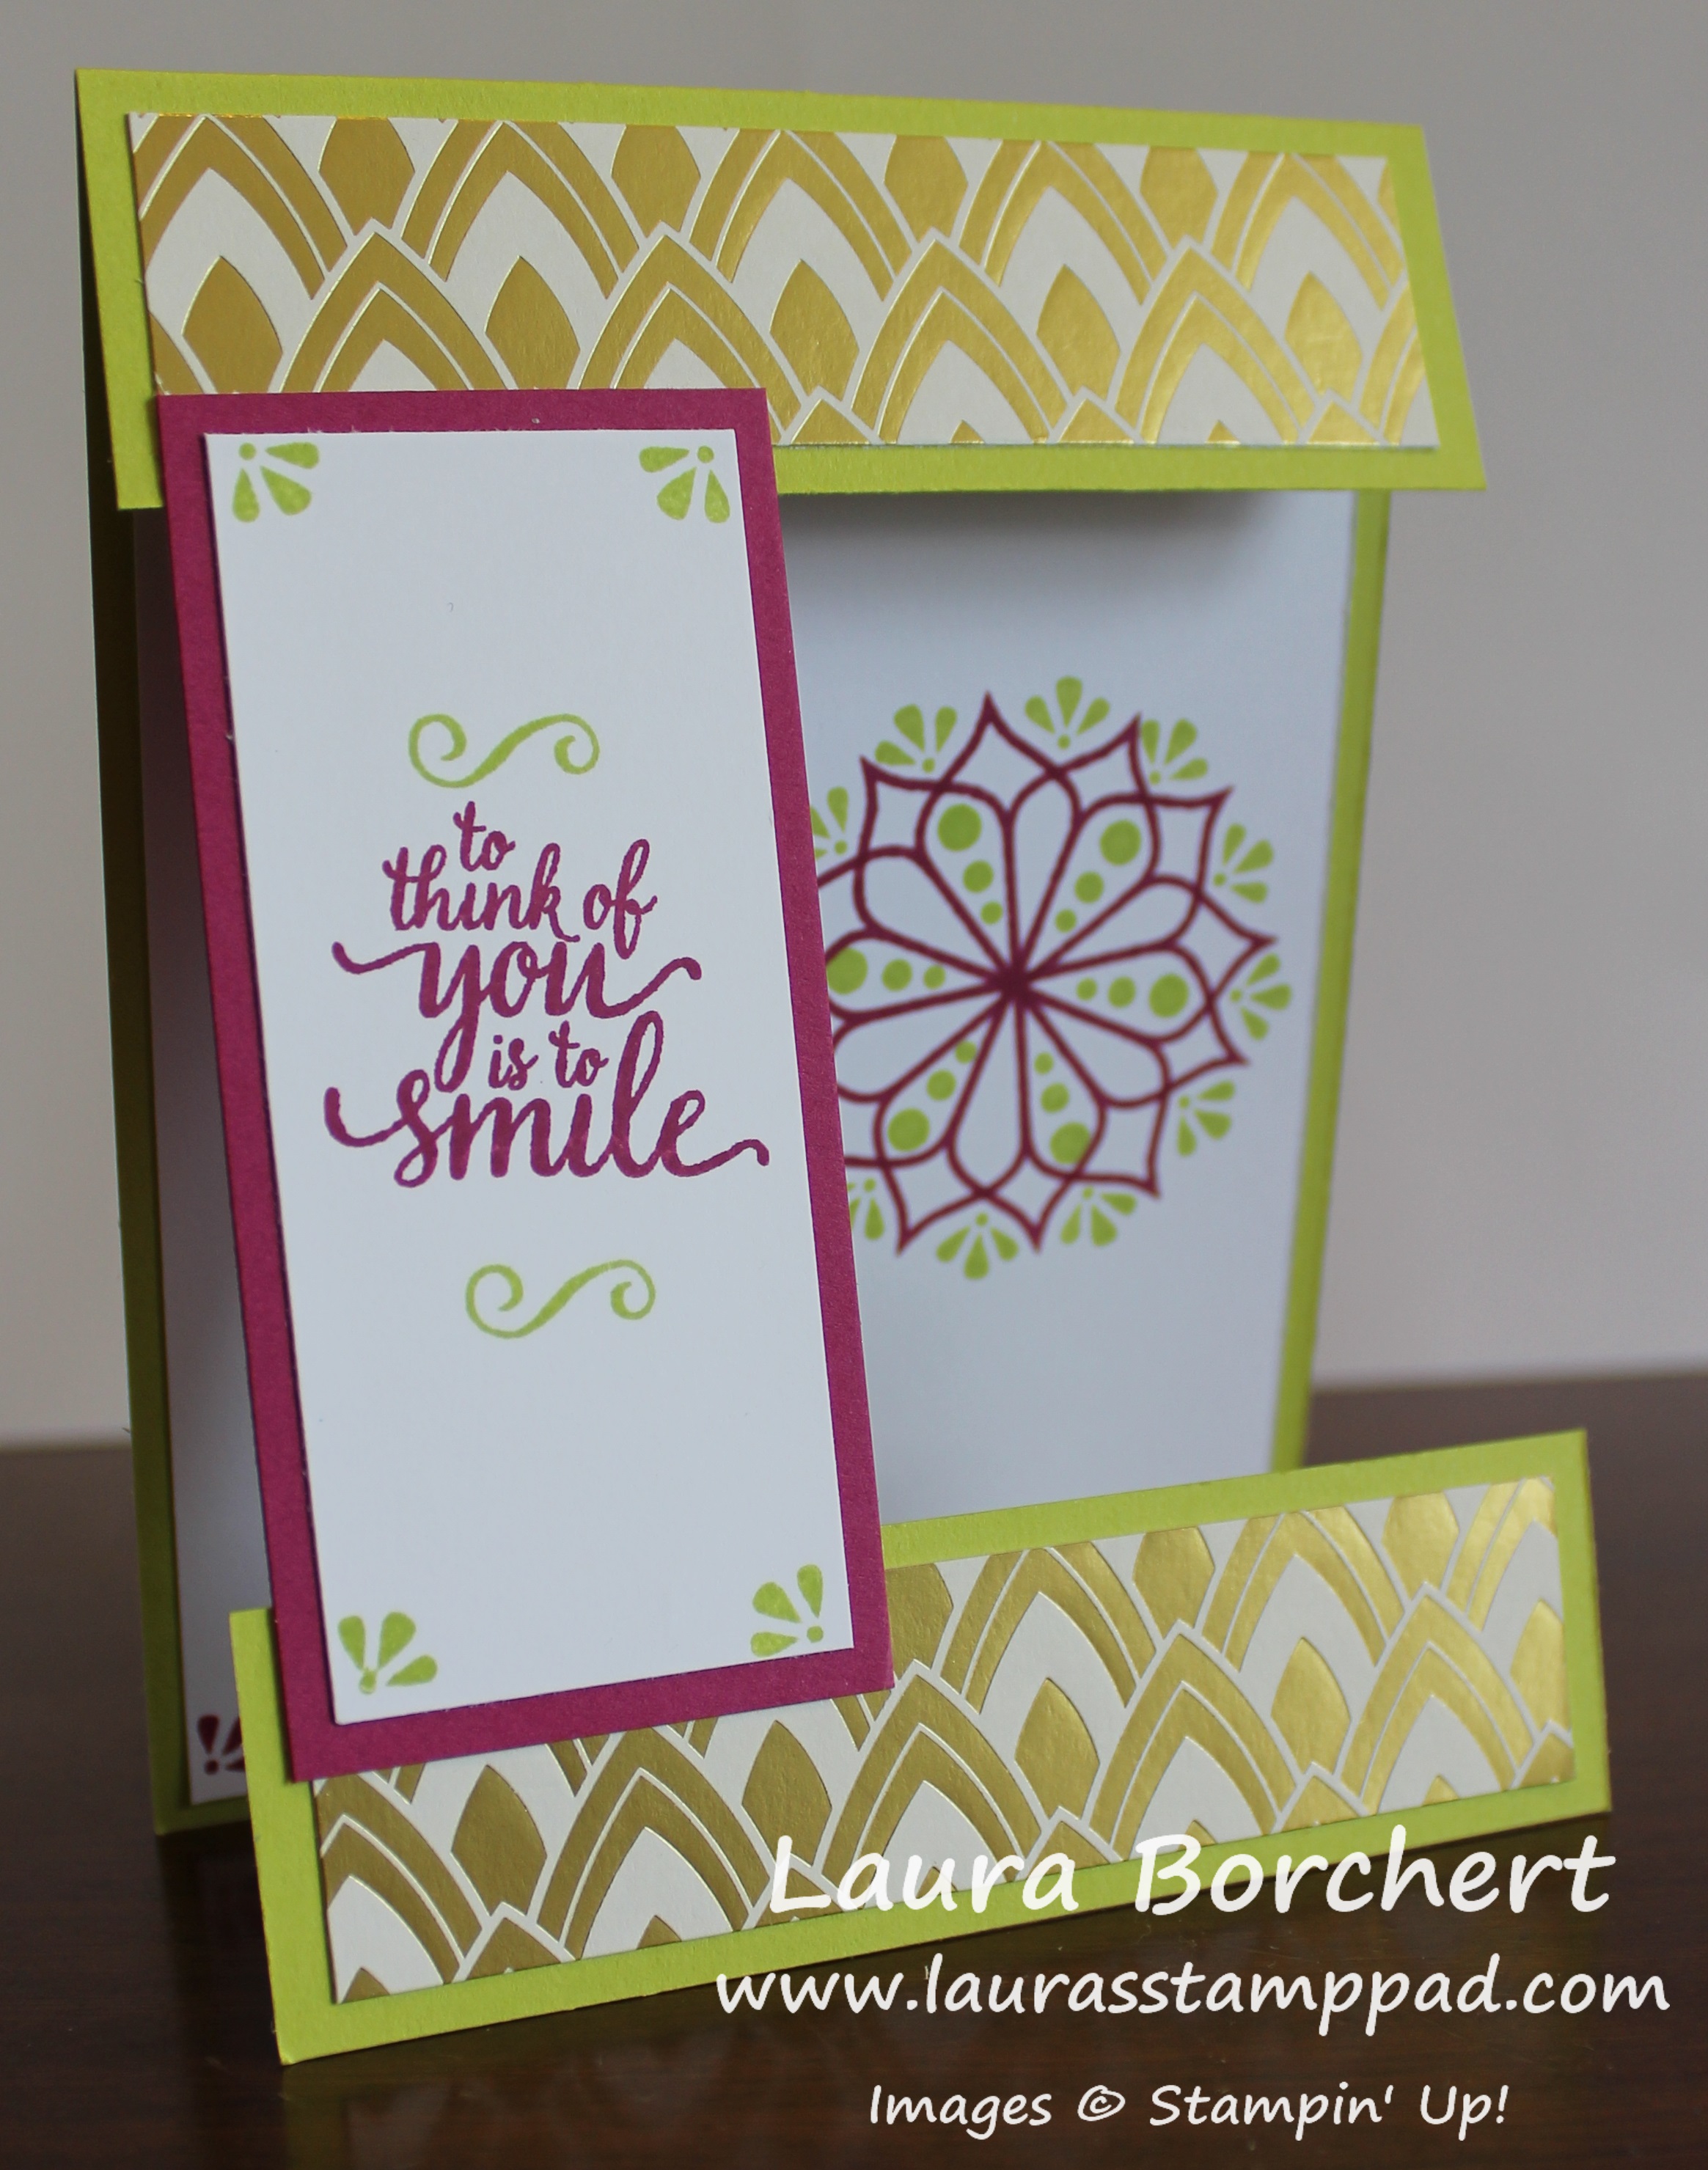
Okay so I know I love pink so Berry Burst makes me happy but I really think Berry Burst and Gold were made for each other! I’m also more of a silver girl that gold too but this card is just stunning!!! 🙂

Isn’t this card just stunning?!?! It is super simple to create too which is just icing on the cake….cupcake! Let’s get started on this beauty!
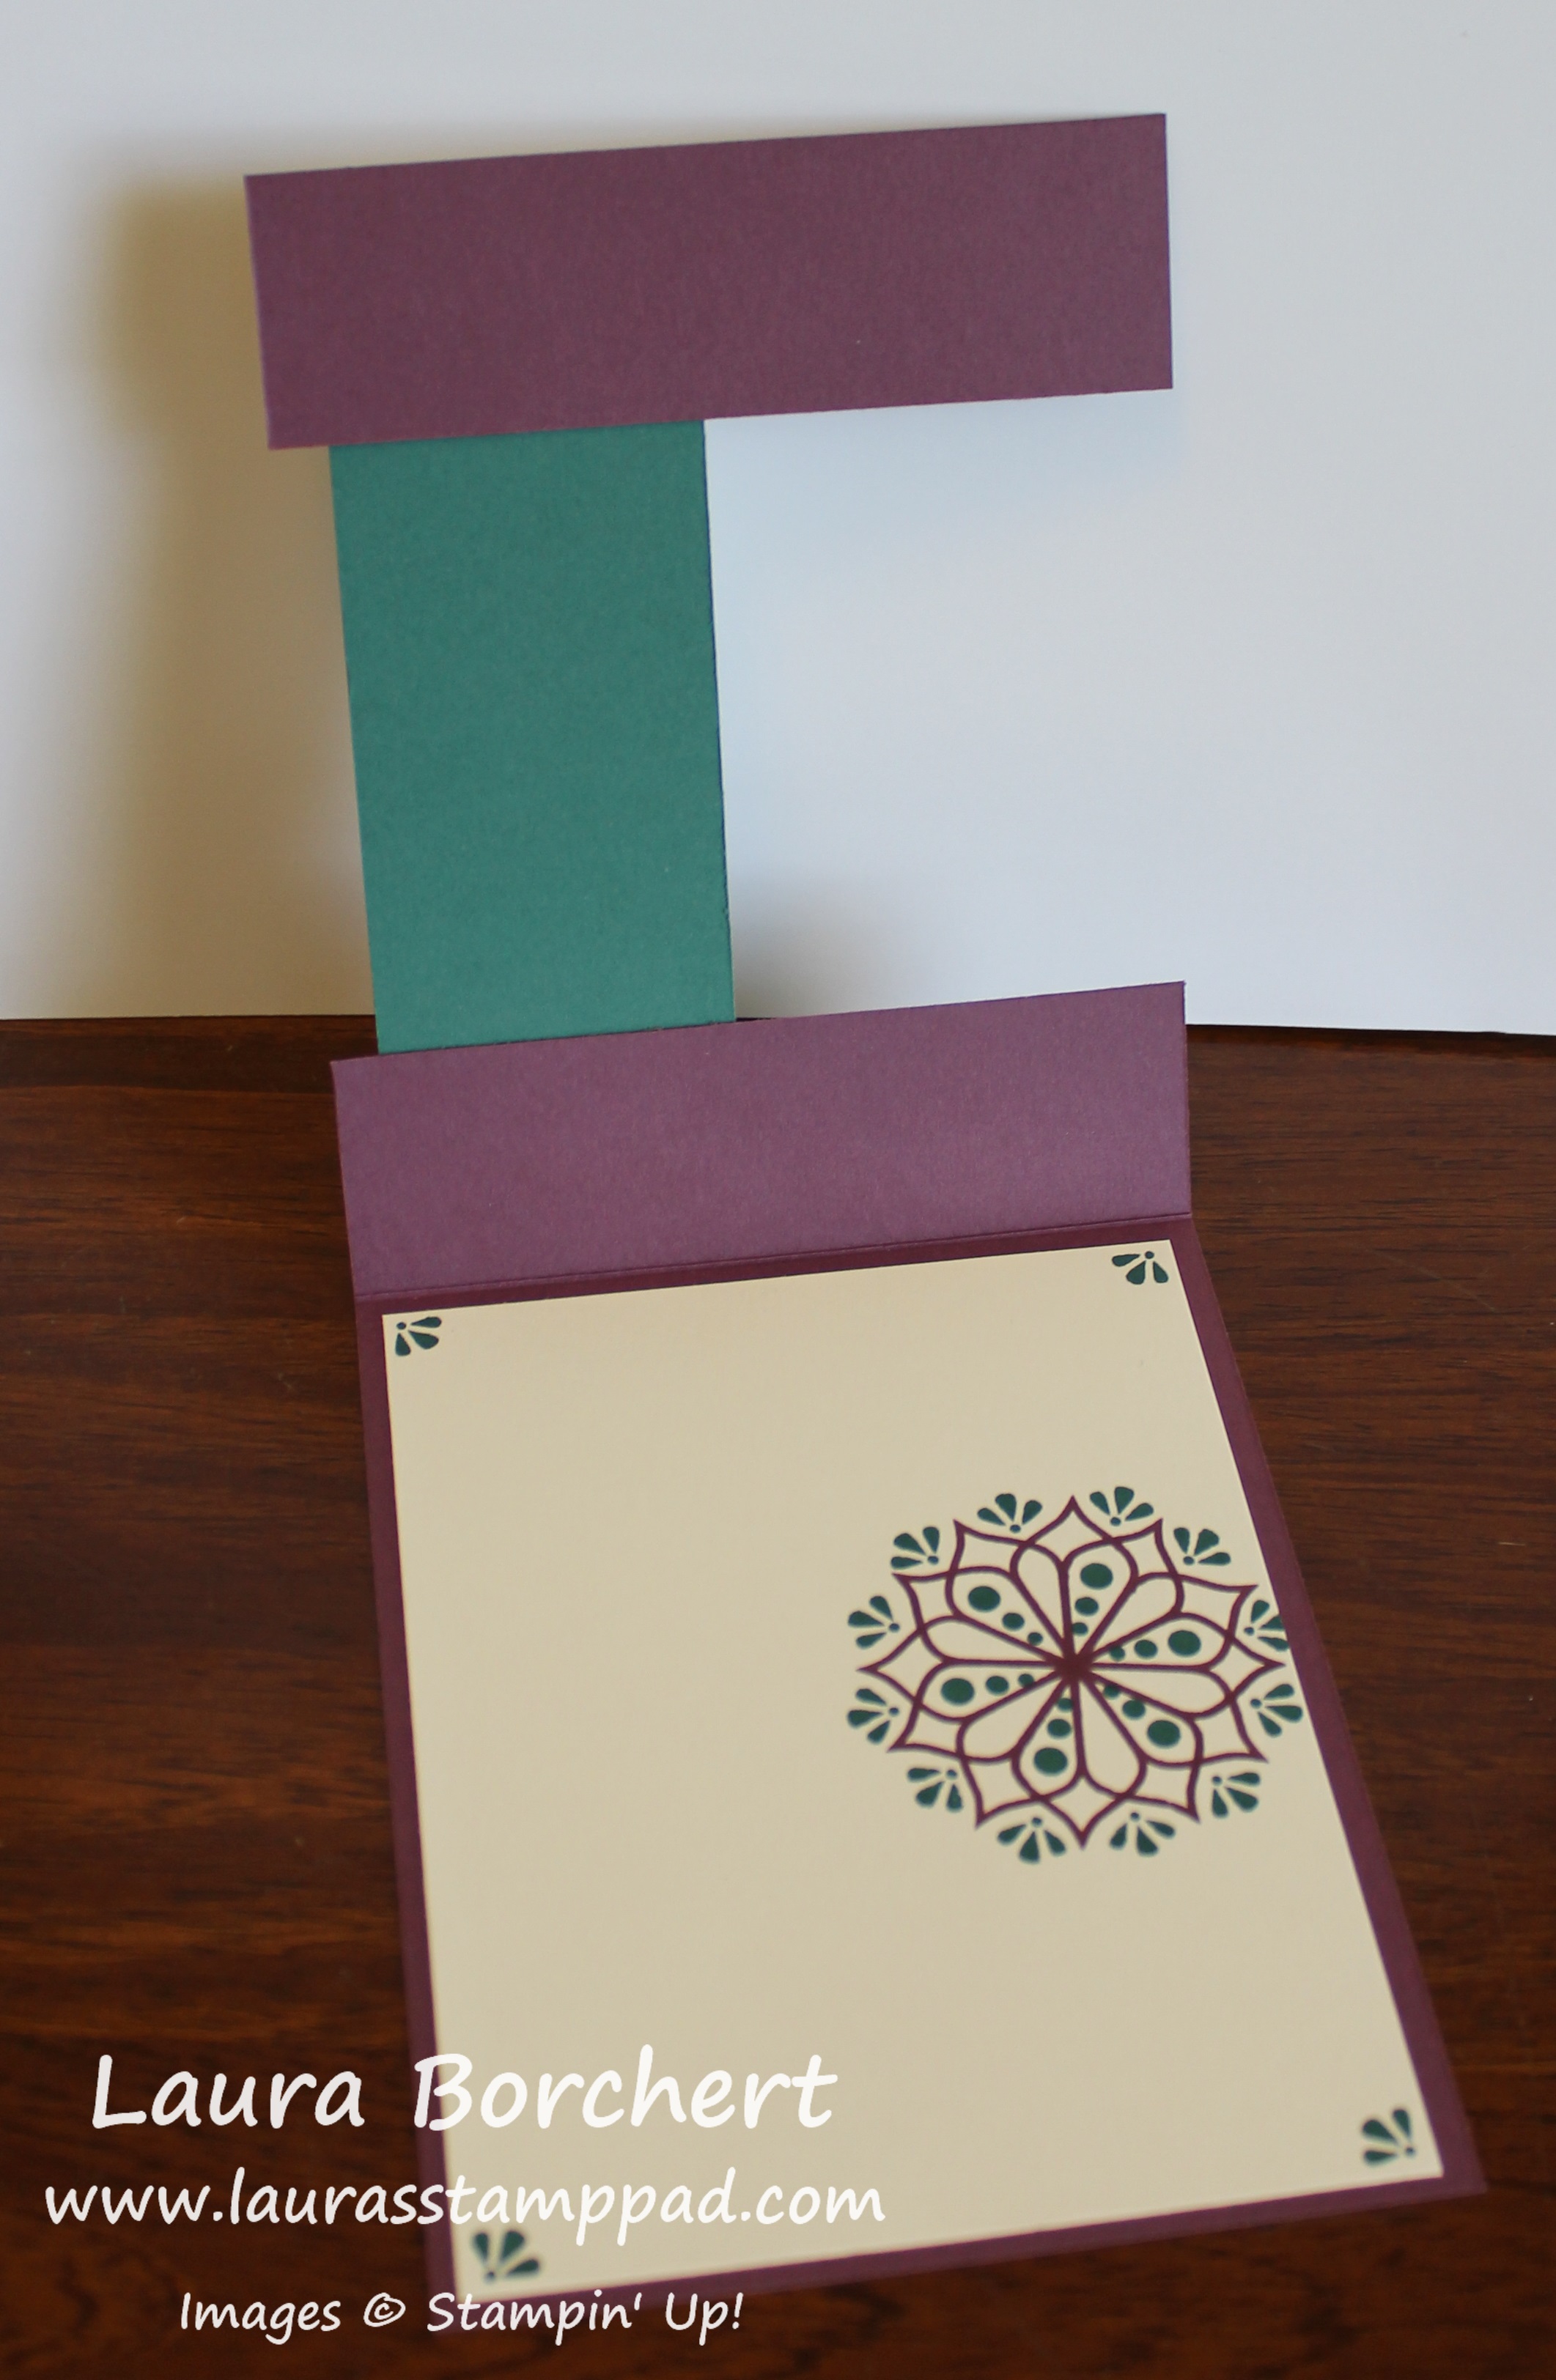
I started with a Very Vanilla card base. Next, I took a piece of Berry Burst measuring 3-1/4″ x 3-1/4″ and die cut the flower image from the Eastern Medallion Framelits in the center. Then I placed one of the flowers from the Gold Vinyl Stickers pack in the center. One other thing that I did before layering this onto the Gold Foil was pop each of the petals forward. Of course this will lay flat again once they are in an envelope but this helps make them shine a bit more! Using Stampin’ Dimensionals, I popped up this layer on Gold Foil Paper measuring 3-1/2″ x 3-1/2″. Next, I added this to the card base centered at the top!
For the greeting, I really struggled with popping it up and going all out or doing something simple. I went with simple and I like it! I stamped the greeting from the Eastern Beauty Stamp Set in Berry Burst Ink. The card did need a little more than just that greeting so I added some more Gold Vinyl Stickers. Gold Enamel Shapes would probably look fabulous as well!
This card is simple and stunning! I just love the colors and texture! What color combination do you like to use with Gold? Or Silver? Let me know in the comments below! I love Silver and Navy!
Don’t forget about the Double Laura’s Loyal Stampers Stickers for all online order this week using the Hostess Code: 2GH4Z9WH. This offer ends on Friday! Click here to start shopping!
Happy Stampin’
~Laura