Happy Tuesday!!! That means I have a fabulous technique to share with you today! This one is rather simple and super fun! I’m sharing some candle creations using the Picture Perfect Birthday Stamp Set from the Occasions Mini Catalog. This Suite is my favorite by far and I just can’t put it down!

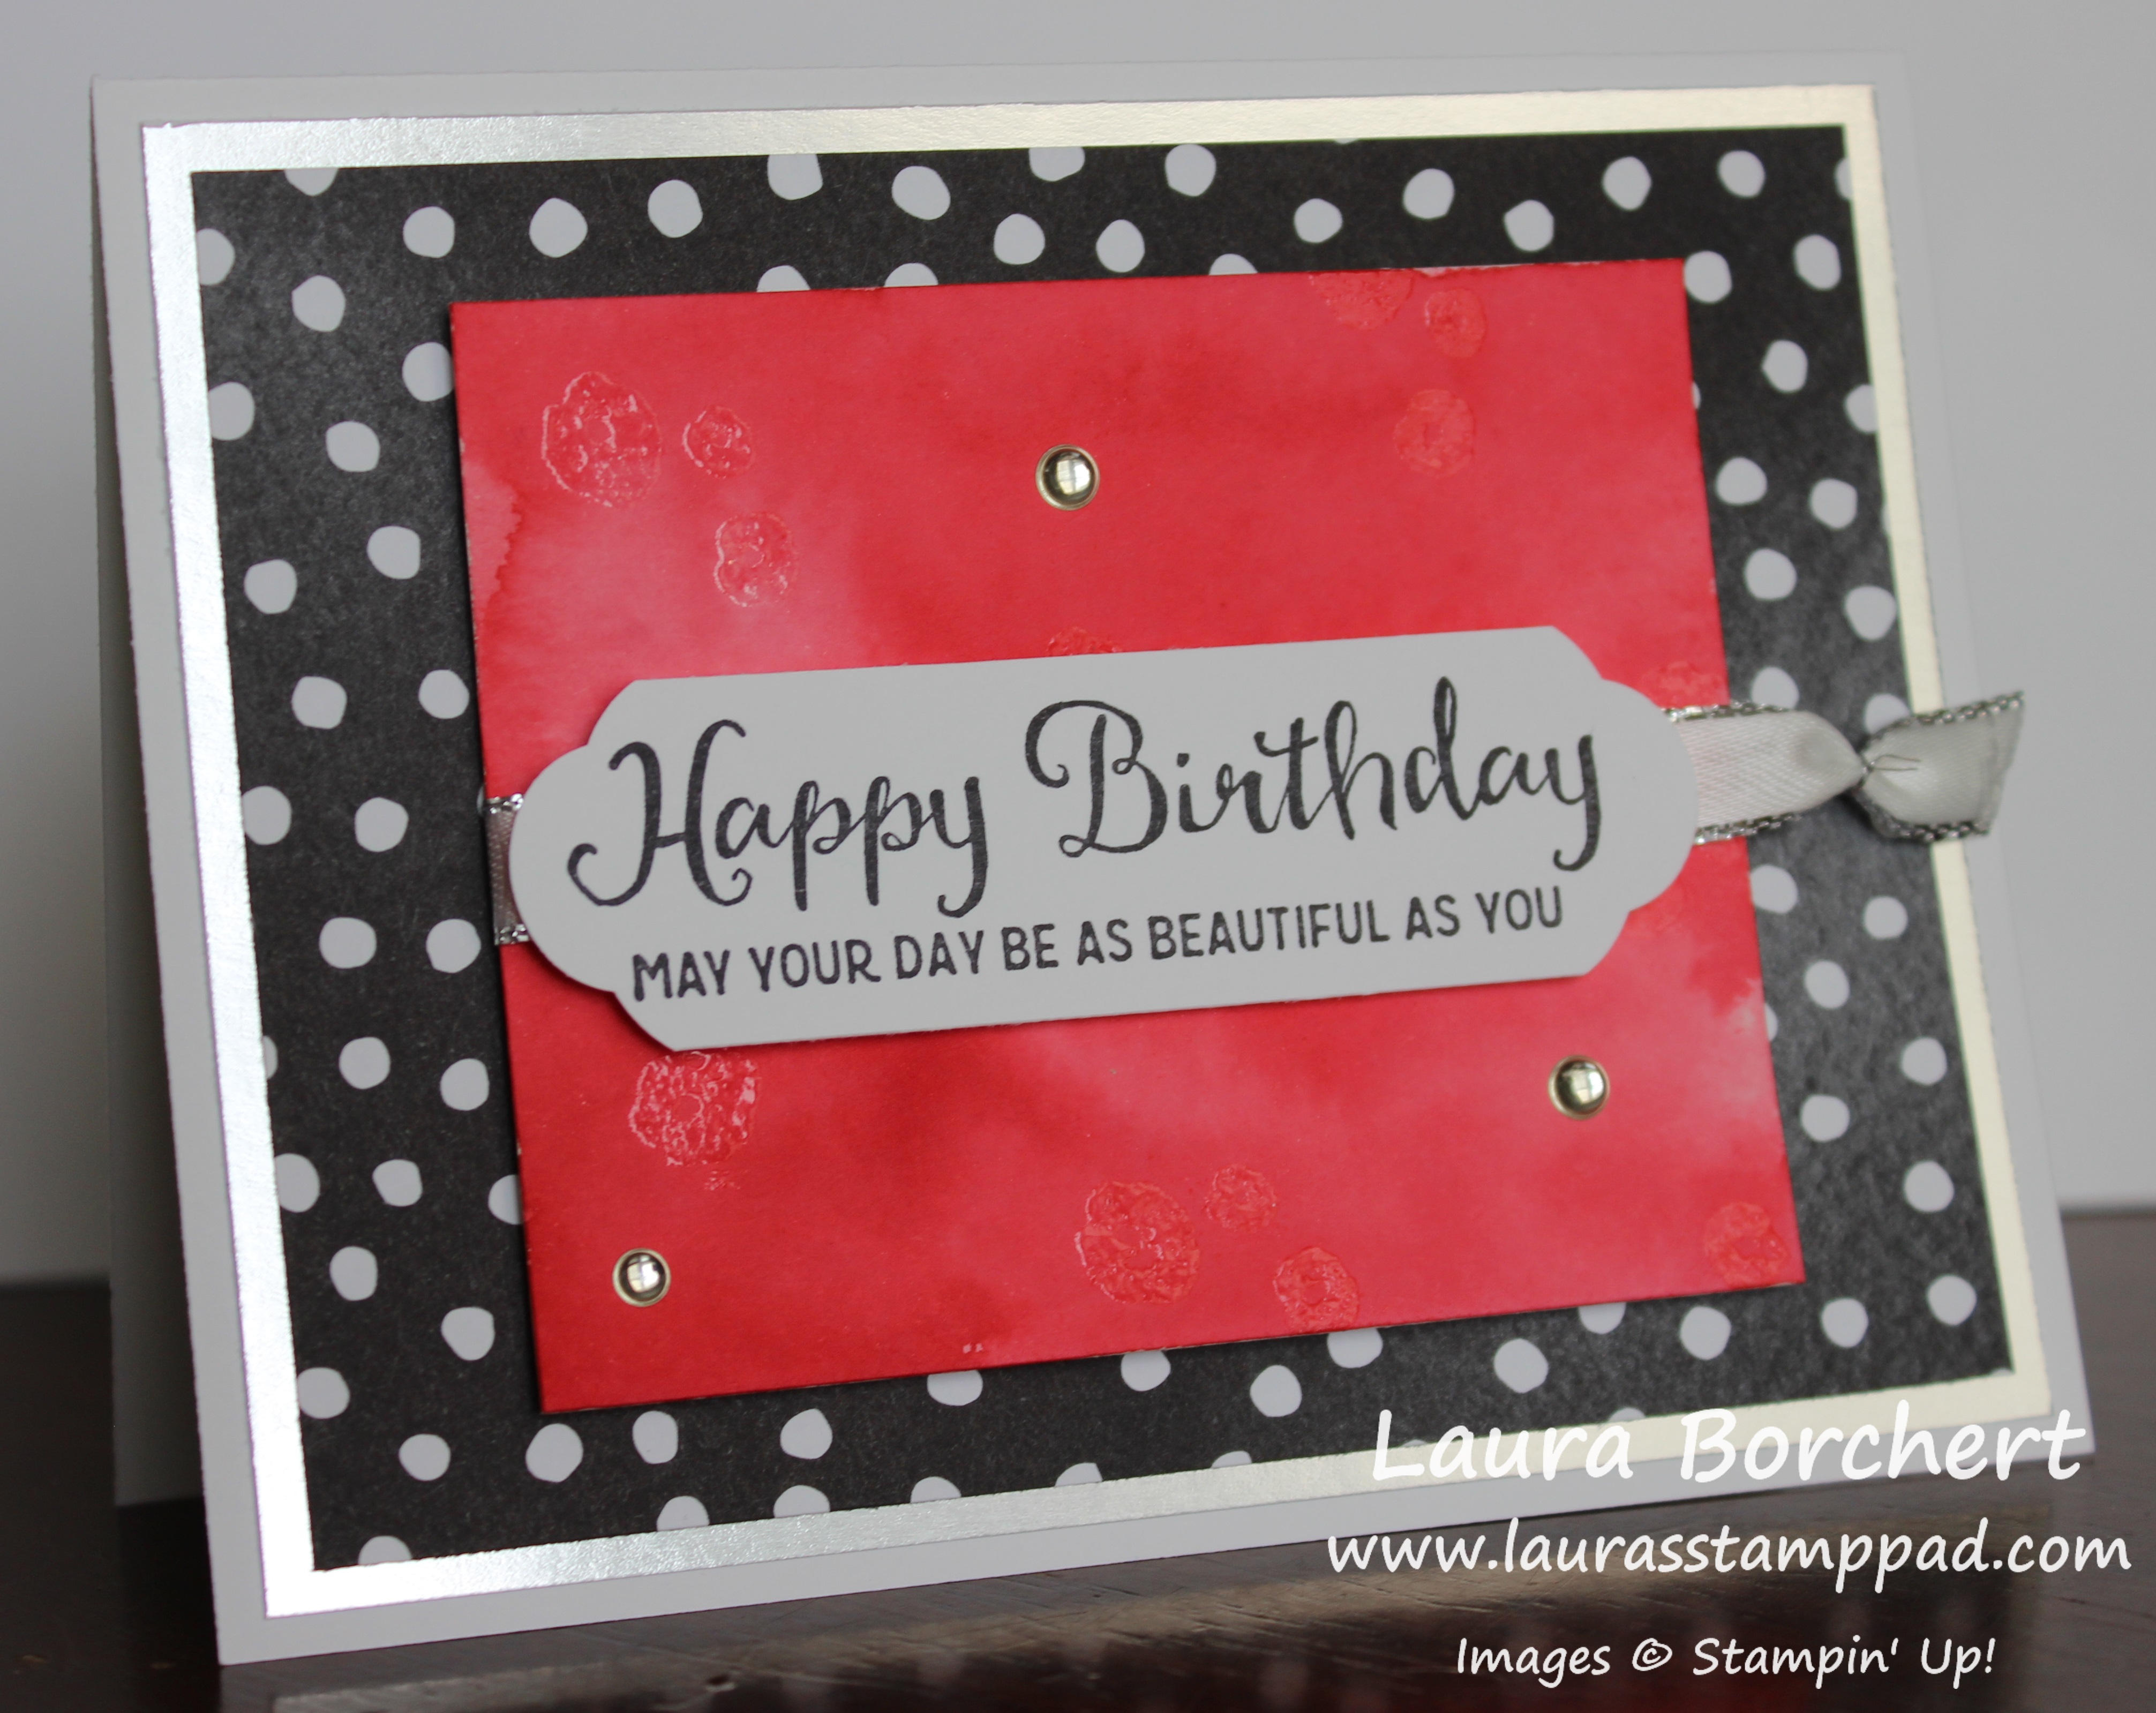
This quick and simple card is perfect for a Man Card but stay tuned to the card I’m going to show tomorrow which is more feminine and changed up a little! Both of these styles of cards are great for making multiples to have on hand all year long!!!
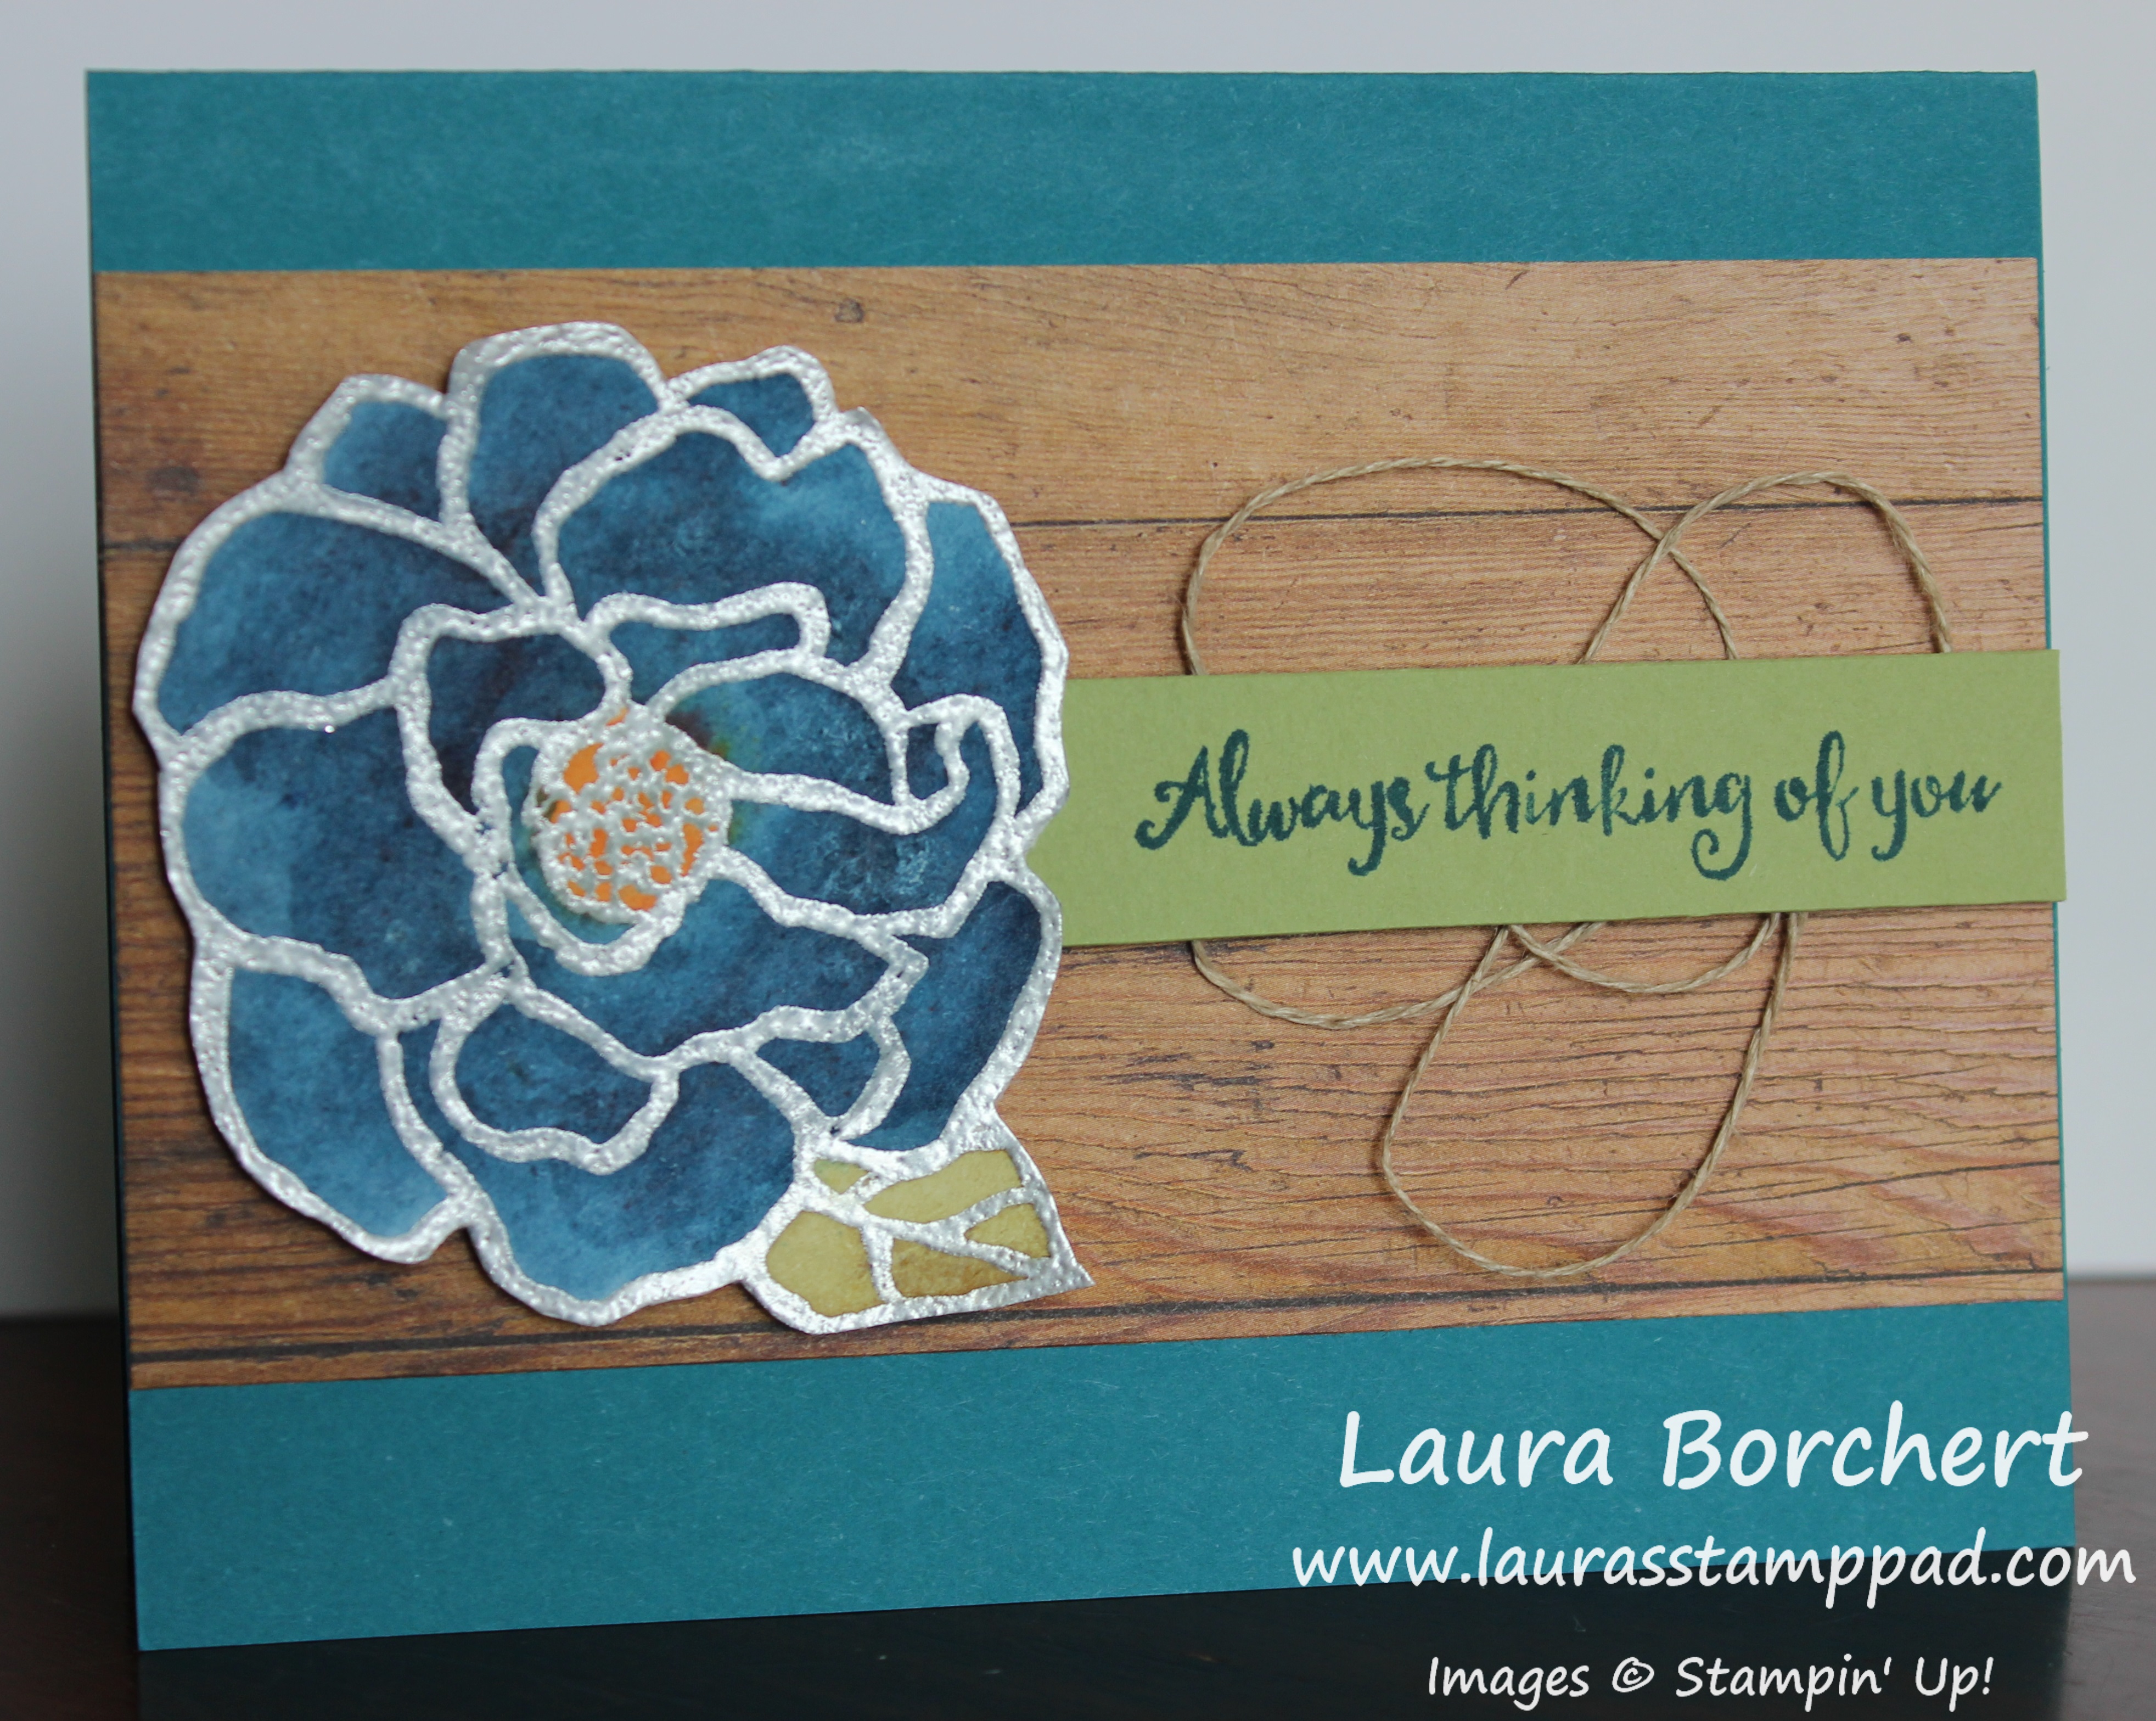
I started with a Lemon Lime Twist card base. Next, I stamped the greeting all along the top and bottom in Bermuda Bay Ink using the Picture Perfect Birthday Stamp Set! Be sure to start stamping on the edge with the greeting hanging off some so that it looks like the greeting continues on and on! Then, I added a piece of the Picture Perfect Party Designer Series Paper (5-1/4″ x 3″) in the center.

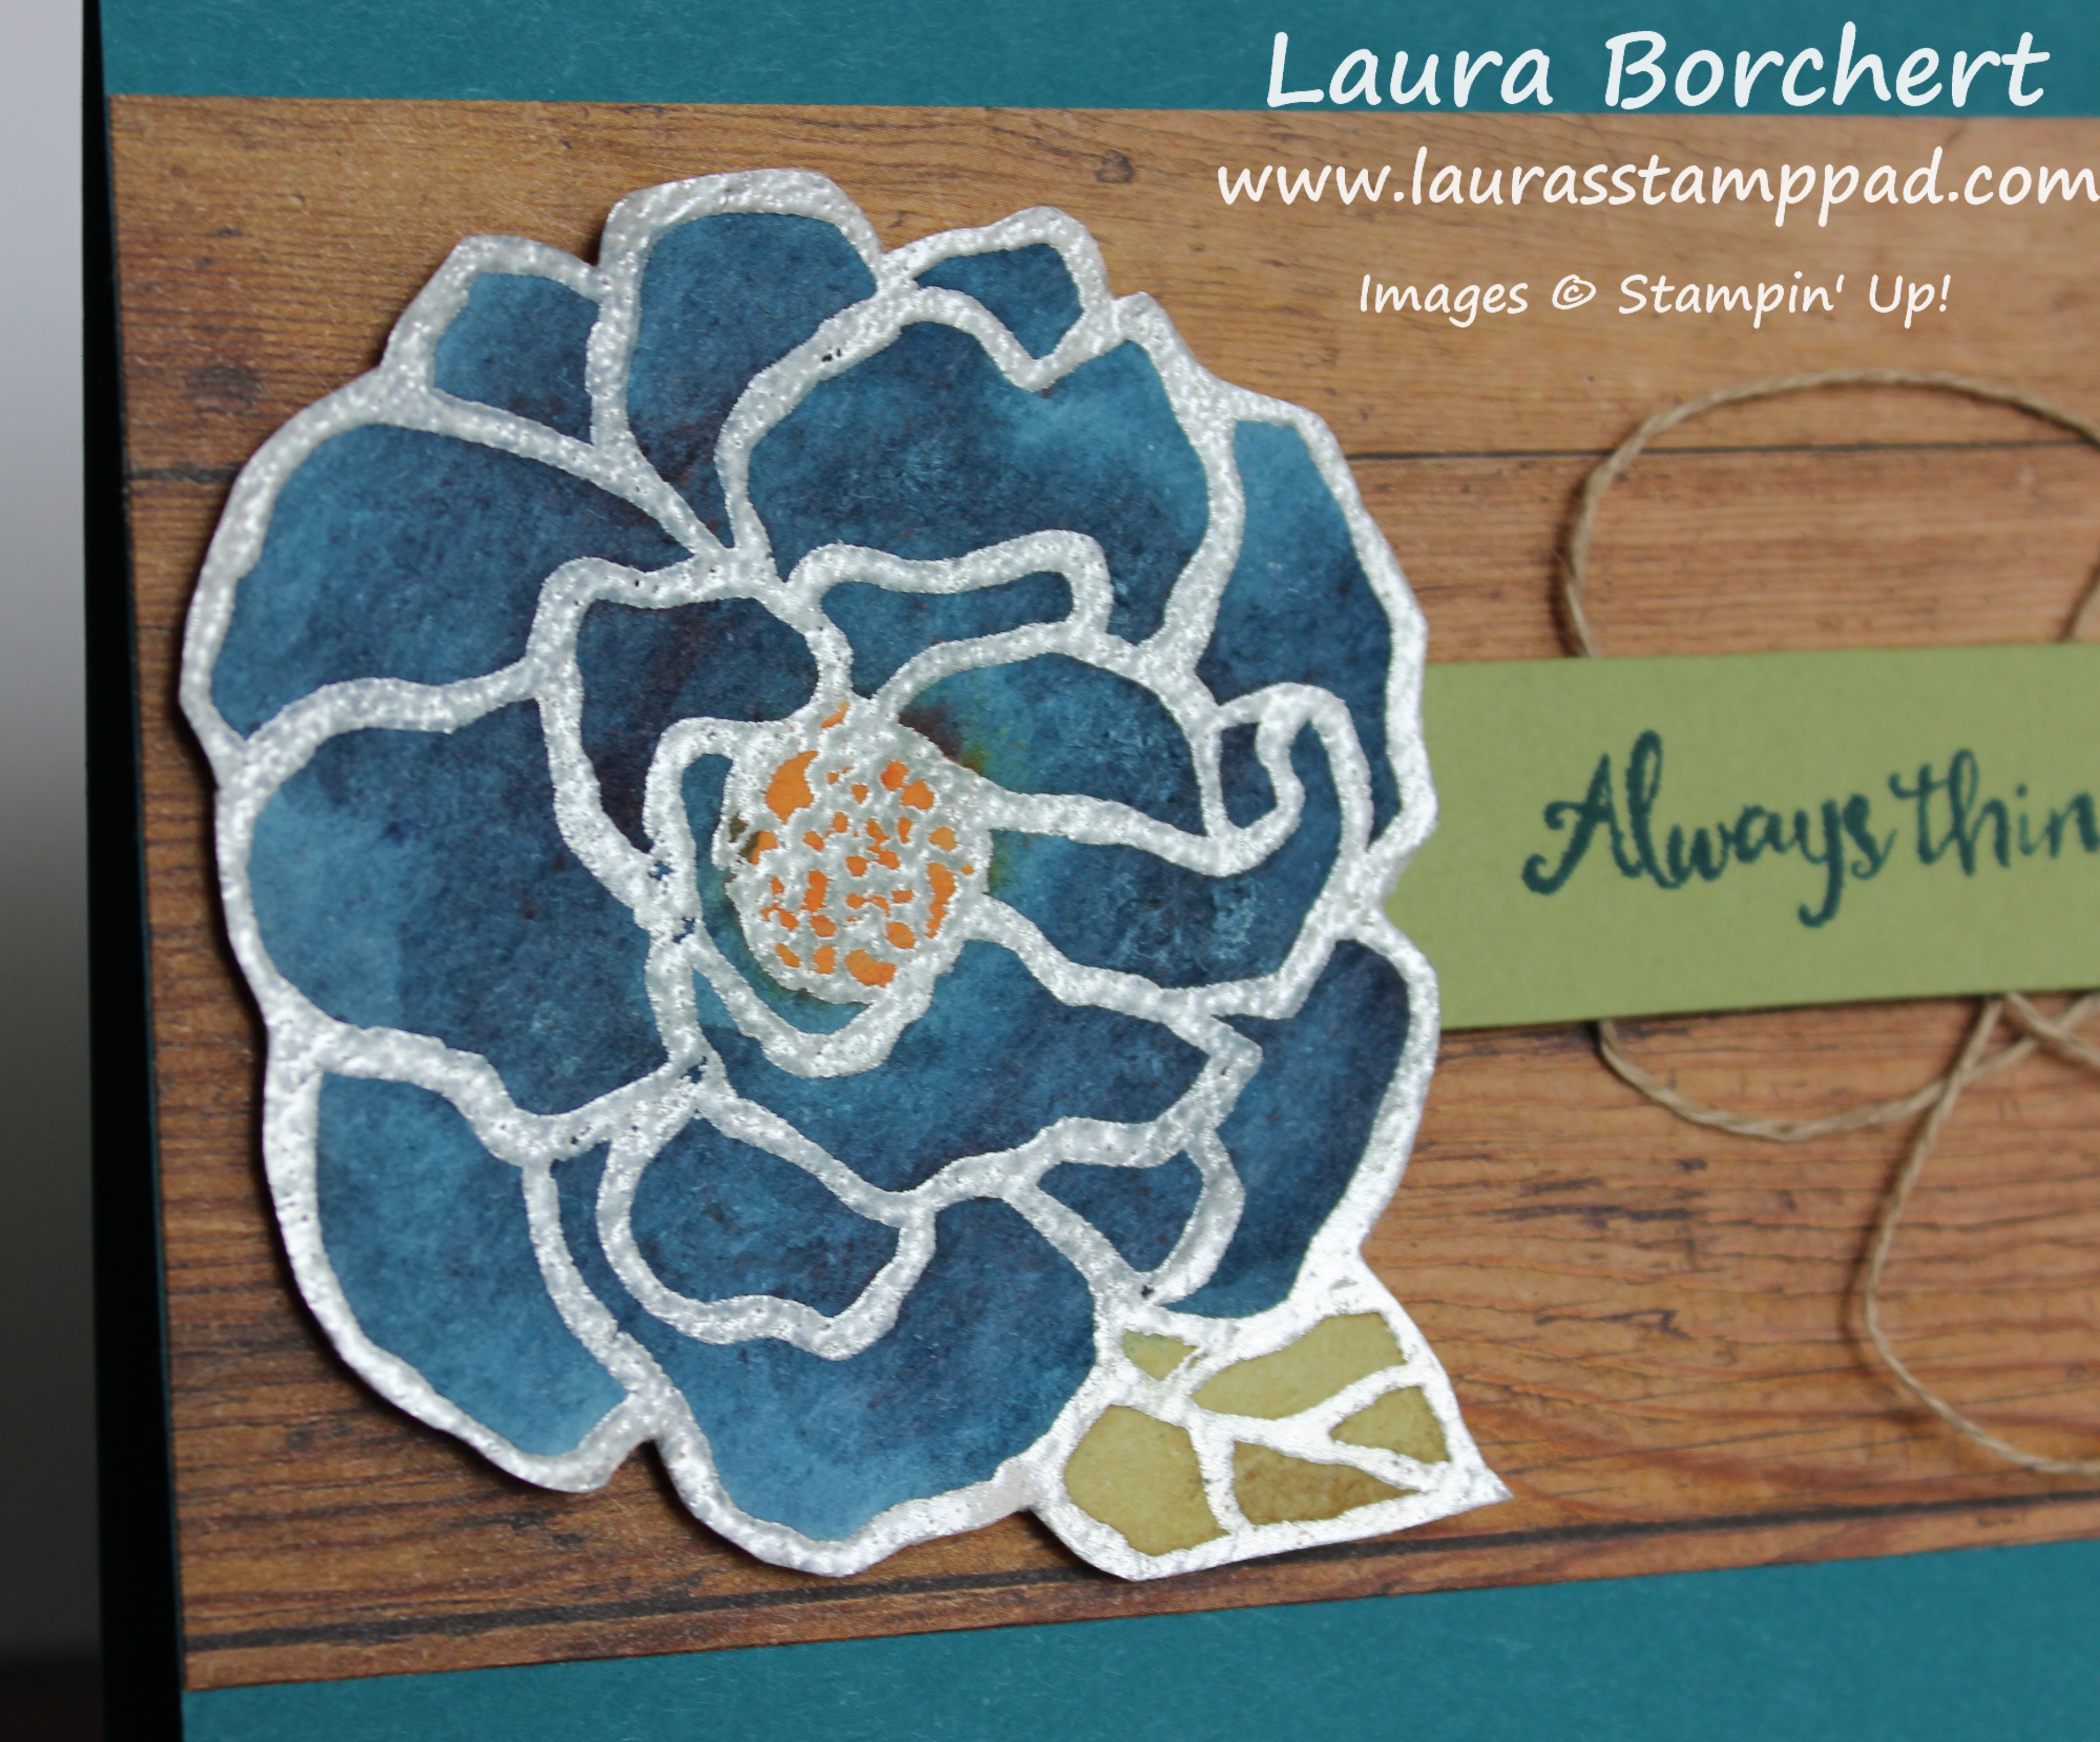
Then I took a piece of Whisper White cardstock (2-1/2″ x 4-3/4″) and stamped the candles. There are 3 styles of candles in the set – solid, dots, and stripes. So while each candle can be stamped alone, there are also combinations that can be created. Simply stamp the solid image off once onto scrap paper and then onto your project. Then stamp the patterned candle in full strength! Be sure to check out the video tutorial below to see these fun combinations! I stamped the center candle first and then worked my way out from either side. I found that this helped me with my spacing. Another tip was that I stamped them a little angled on purpose because I knew I wouldn’t be able to get them perfectly lined up straight and even! After stamping the candles in Bermuda Bay and Lemon Lime Twist Ink, I stamped the flames in Crushed Curry Ink. Once I was finished stamping, I added this to the card front! Check back tomorrow to see a few ways I stepped up this card with some variations! You can even join my mailing list here so you don’t miss out!
If you would like to see this all in action, check out the Video Tutorial below or click here! Be sure to give the video a thumbs up if you liked it and don’t forget to subscribe if you are new. If you would like a notification when I post a new video, be sure to click the bell right next to the subscribe!!!
Happy Stampin’
~Laura
Product List

 Designer Series Paper")


 Organza Ribbon")


 Shimmer Ribbon Pack")


 Designer Series Paper")


 Metallic-Edge Ribbon")