A Part of My Story!!!

Posted on

Good Morning!!! Happy Monday!! If you know me even a little bit, you know I am a talker. I can talk all day and I have since I was a little girl. We always said if someone kidnapped me as a child, they would bring me back because I wouldn’t stop talking their ear off. I’m a very open person as well. I have no problem sharing the ins and outs of my life even if it’s hard to talk about. Life is hard but it doesn’t mean we don’t talk about it! I love this sentiment for this card because I feel like it fit perfectly for me. The moment someone enters my life in person or online, for a moment or for a longtime, they become part of my story!

A Part of My Story, www.LaurasStampPad.com

This is the inside of the card actually. Lately I have been all about decorating the inside with a coordinating image or even putting the greeting on the inside and just a beautiful decoration on the outside. Do you like to decorate the inside of your card? Let me know in the comments below! Of course with this card being Night of Navy, I needed to put a piece on the inside to write on!

Lovely Lace, www.LaurasStampPad.com

I used a lot of the Free Sale-A-Bration items for this card. The image on the front and flower on the inside are from the Lovely Lattice Stamp Set. The greeting is from the Part of My Story Stamp Set and the Lovely Lipstick Foil Paper is from the Foil Pack (Lovely Lipstick & Grapefruit Grove). We all love Free Stuff and look at this beautiful card created with it! Each of these items are at the $50 level!

I started with a Night of Navy card base. Next, I stamped the image in Night of Navy Ink onto a piece of Whisper White measuring 3-3/4″ x 5″. On the bottom portion, I added a piece of the Lovely Lipstick Foil Paper measuring 3-3/4″ x 3/4″. This foil paper is beyond amazing. It’s just so beautiful!!! Next, I took some Whisper White ribbon and tied it around the white piece over the foil. Then I added this to the card front. For the inside I stamped the greeting in Night of Navy and the flower in Lovely Lipstick Ink! Simple stamping and quick to assemble! This is another card that any greeting could be stamped on the inside because it is so versatile!

What greeting would you use?? Let me know in the comments below!

Happy Stampin’

~Laura


Let’s Talk About Spring!!!

Posted on

Happy Wednesday!!! It’s the calm between 2 storms….or so they say! We had a snow all weekend this past weekend and supposedly rain and snow are coming this weekend. Who’s ready for Spring??? 63 More Days….not that I’m counting! In the meantime, being stuck inside means more time for cuddles and crafting, right? What do you do when you are stuck inside from a winter storm? Let me know in the comments below – Bake, Watch Movies, Craft, Clean, Nap??

Let's Talk About Spring, www.LaurasStampPad.com

I am loving Butterflies right now! They are so fun because they look fabulous in every color. I think they are the perfect sign of Spring which I can’t wait for! They are also so uplifting and beautiful which makes them perfect for any occasion. As you can see here I used the Butterfly Gala Stamp Set and coordinating punch! The inspiration for the colors came from the Gingham Gala Designer Series Paper and Sale-A-Bration Ribbon Pack. These have Balmy Blue, Daffodil Delight, Grapefruit Grove, Highland Heather, and Lemon Lime Twist in them. So much coordination to make it super easy!

I started with the card base in the 5 colors mentioned above. Next, I took a piece of Whisper White measuring 4″ x 5-1/4″ and adhered a strip of the Gingham Gala Designer Series Paper measuring 4″ x 2″. Then using the Butterfly Gala Stamp Set, I stamped the greeting in the lower portion. Some of them I stamped in the lower right corner and others I stamped under the designer paper. I used the coordinating ink color with the designer paper and ribbon. You could always mix and match colors for even more options!

Yellow Butterflies, www.LaurasStampPad.com

For the butterflies, it is super easy to create lots of them because each time you stamp and punch you are getting 2 butterflies. The stamps are connected featuring both a big and small butterfly. I simply stamped twice for each card. The stamped image lines up perfectly in the punch as well. Each card has 4 butterflies – 3 on the outside and the 4th one on the inside! Some of the cards, I put a piece of Whisper White on the inside (4″ x 5-1/4″) and then placed the butterfly on it. This makes it pop more and also white to write on.

Orange Butterfly, www.LaurasStampPad.com

Also, I mixed an matched the butterflies. Some of the cards have 2 little on the front with 1 big butterfly and others have 2 big and 1 little! It’s so much fun to play with these and get different looks with the same stamp set. There are also 4 different types of butterflies in the set too! I love it!!! Bring on all of the butterflies!

Order the Butterfly Gala Stamp Set & Punch Bundle and Gingham Gala Designer Series Paper! Pick out another $4 in goodies like an ink pad, Snail Adhesive, Stampin’ Dimensionals, or cardstock and get the Ribbon for FREE with Sale-A-Bration!!! Click the supply list below!

Happy Stampin’

~Laura

Product List


I Made This!!!

Posted on

Happy Monday!!! I hope you all had a wonderful weekend! I’m so excited to share this card because I made this one and I super struggle with Man Cards!

I made this, www.LaurasStampPad.com

This card is quick and simple and simple and masculine. I just love bling, ribbons, and pinks so much that I struggle with masculine cards a lot. When I create a good one, I tend to make LOTS to use all year long.

I started with a Mossy Meadow card base. Next, I took a piece of the Wood Textures Designer Paper (3″ x 4″) and stamped the tree from the Rooted In Nature Stamp Set. I used Mossy Meadow Ink for all of the images on this card. Then, I placed (NOT adhered…yet) this onto a piece of Crumb Cake measuring 4″ x 4″. I stamped the greeting from Picture Perfect Birthday along the top and bottom. I really really wanted my Stamparatus to work for the greeting and just notch the platform down for each greeting but the greeting was too long and the spacing was odd. Soooooo I just thought I would wing it and it was fabulous but this is also why I suggest not adhering it till after your greeting is stamped. Simply place the stamped designer paper on it so you can line things up. Then hold your breath and stamp. Just kidding it’s only 3 times and it’s okay if they aren’t perfectly straight across or evenly spaced. Mine sure aren’t and it’s still fabulous! Also, always remember there are 2 sides to every piece of paper! 😉

After stamping the greeting, added the stamped designer paper and adhere it to the card front! For the finishing touch, I tied some Linen Thread along the spine of the card, looping around 3 times. Since linen thread  is so thin, I always double knot it before tying the bow! This way it is nice and tight around the card and if you think bows are not masculine, you can leave it as a knot.

Check out the supply list below to recreate this card for all of the men in your life! Also, if you purchase all the supplies to make this card, you will earn a FREE Sale-A-Bration item! Woot Woot!!!

Happy Stampin’

~Laura

Product List


You Are Loved!!!

Posted on

Valentine’s Day is around the corner…..okay more like around this corner and that corner. BUT that means you still have plenty of time to create some fabulous cards for those you love or treats for kid’s classmates and teachers. Some like to think that Valentine’s Day is all hearts and chocolates for your significant other. I like to think of Valentine’s Day as a day to share your love with those around you…..like everyone. Also, I prefer cupcakes over chocolate! 🙂 This card saying You Are Loved is perfect for anyone!

You are loved, www.LaurasStampPad.com

Tell me this….how do you feel when someone says I love you to you?? For me, I feel warm and fuzzy. I feel like I matter and someone cares about me and that makes me very happy. Since that is the way I feel, I like to think others feel the same. This is why we should always send or share our love! I’m pretty sure my brother would roll his eyes if I said I love you to his face. So to spare the embarrassment, I send a card…after all I do love him and every other member of my family. My sister doesn’t roll her eyes! 🙂

This card is quick and simple. I started  with a Whisper White card base and stamped the hearts down the left side. The hearts are from the Forever Lovely Stamp Set in the Occasions Mini Catalog and they are stamped in Flirty Flamingo!! Next, I took a 3″ square piece of the All My Love Designer Series Paper and layered it onto Flirty Flamingo cardstock. I added this to the card front!

All My Love Designer Paper, www.LaurasStampPad.com

For the greeting, I stamped it from the Forever Lovely Stamp Set onto Whisper White and punched it out with the Pretty Label Punch. I added the greeting to the card with Stampin’ Dimensionals for a little bit of texture! Using the Flirty Flamingo Ribbon from the All My Love Ribbon Combo Pack, I tied a bow and added it with a Mini Glue Dot. On the bottom of the card, I added a few Clear Epoxy Hearts. The perfect card for Valentine’s Day…..or any day of the year!

Want to create some of these cards to send out? Click the supplies listed below! Purchase all of them and earn a FREE Sale-A-Bration item!!! Don’t need all of those items? Add a few other favorites like Stampin’ Dimensionals, Whisper White Cardstock, Envelopes, and  more!

Happy Stampin’

~Laura

Product List


Lovely Lasting Lily!!!

Posted on

Happy Monday! I hope you all had a wonderful weekend!!! We are in full swing of the Occasions Mini Catalog & Sale-A-Bration!!! Today, I’m sharing with you this lovely Lasting Lily card that I created!

Lovely Lasting Lily, www.LaurasStampPad.com

I love the soft look of this card and how easy it is! The greeting is perfect for thinking of you, sympathy, I’m sorry, and many other occasions!

I started with a Soft Sea Foam card base. Next, I took another piece of Soft Sea Foam measuring 5″ x 3-3/4″ and stamped the lilies from the Lasting Lily Stamp Set. This is one of the $100 level free sets you can earn through Sale-A-Bration. It has tons of greetings for both the inside and outside. The flowers and stems were all stamped in Mint Macaron Ink. Before adding this piece to the card front, I punched out a half circle on the right edge using the 3/4″ Circle Punch. This gives a little tab to secure some ribbon! I tied some Silver Metallic Edge Ribbon around the cardstock and into a knot.

For the greeting, I used a piece of Whisper White measuring 1-1/2″ x 3″ and stamped the greeting from the Lasting Lily Stamp Set. Using the Banner Triple Punch, I punched the banner tips. The greeting was added to the card front with Stampin’ Dimensionals for a little bit of texture!

Sale-A-Bration Lily, www.LaurasStampPad.com

For the inside of the card, I added a piece of Whisper White (4″ x 5-1/4″) and stamped another lily in the corner and greeting up top! Do you like to decorate the inside of your cards? Let me know in the comments below! I didn’t use to but I have been wanting to a lot lately. #newyearnewcardstyle Just maybe! 🙂

Happy Stampin’

~Laura

Product List


Season of Good Cheer!!!!

Posted on

Happy feels like Monday!!!! Today is the last day of the Holiday Mini Catalog!!! Lots of the items are on sale too! If you are one of those who gets their Christmas Cards done in January with the sale items from the season, click here to get these goodies!

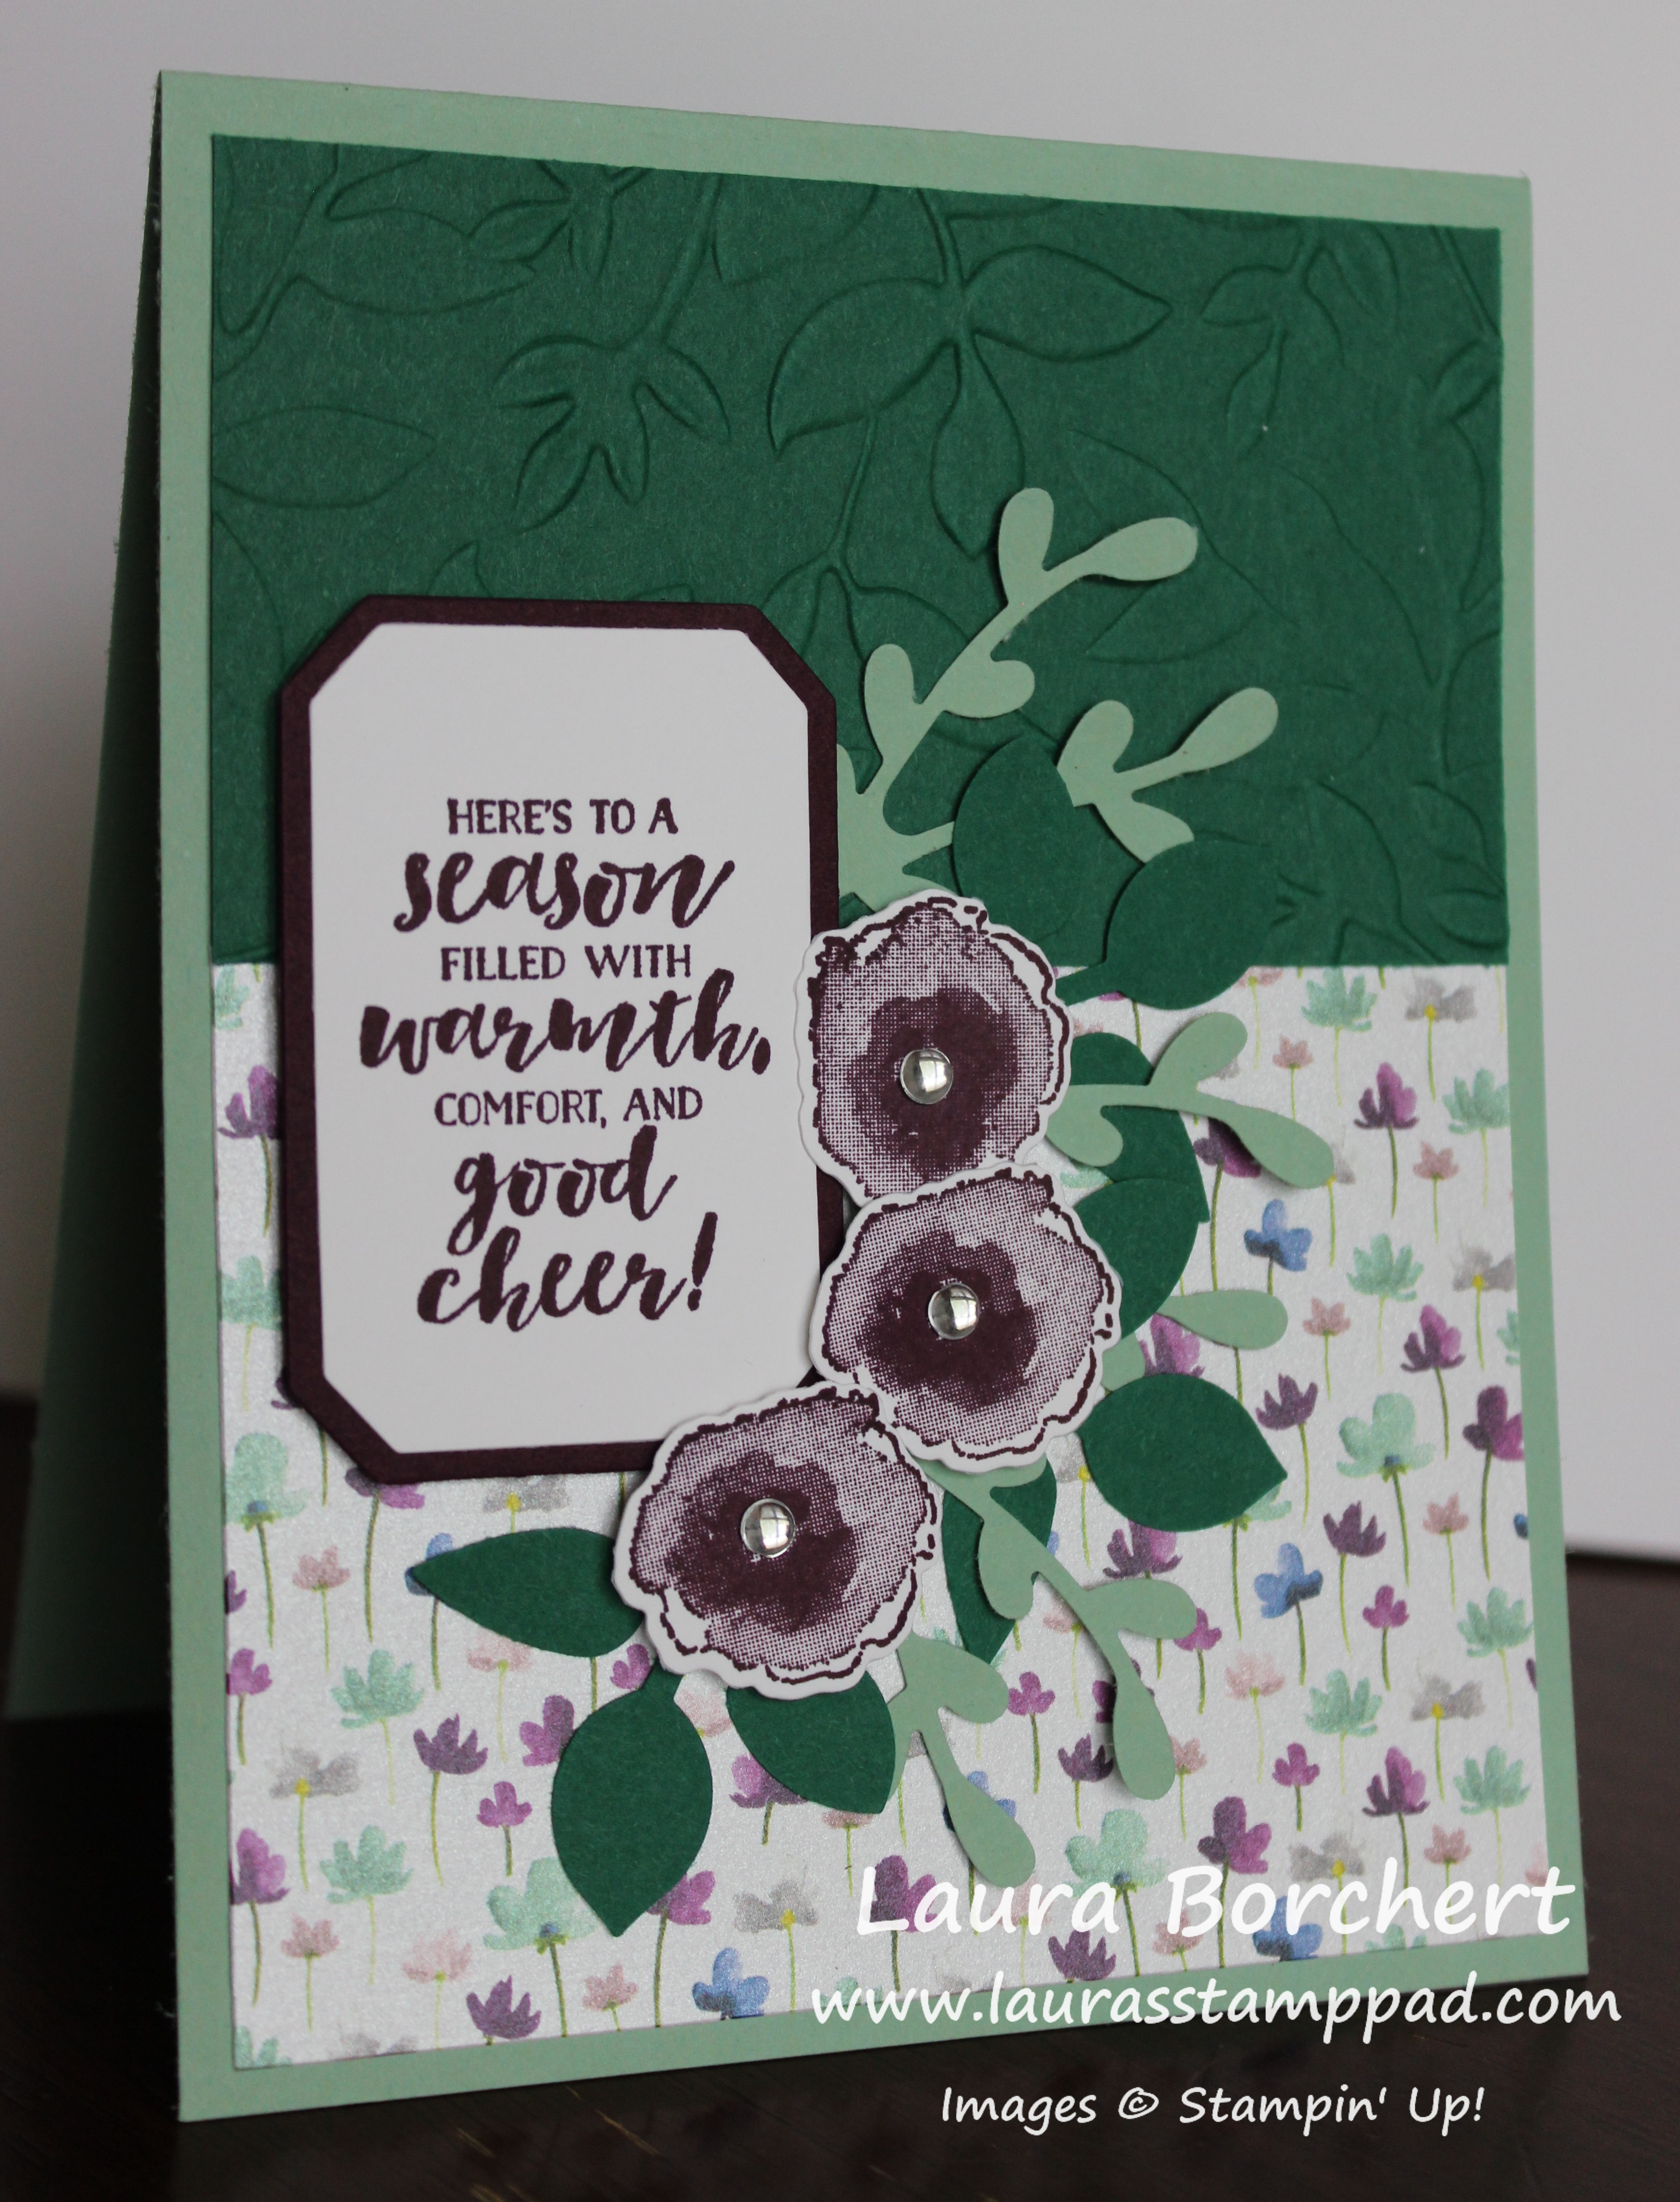
Season of Good Cheer, www.LaurasStampPad.com

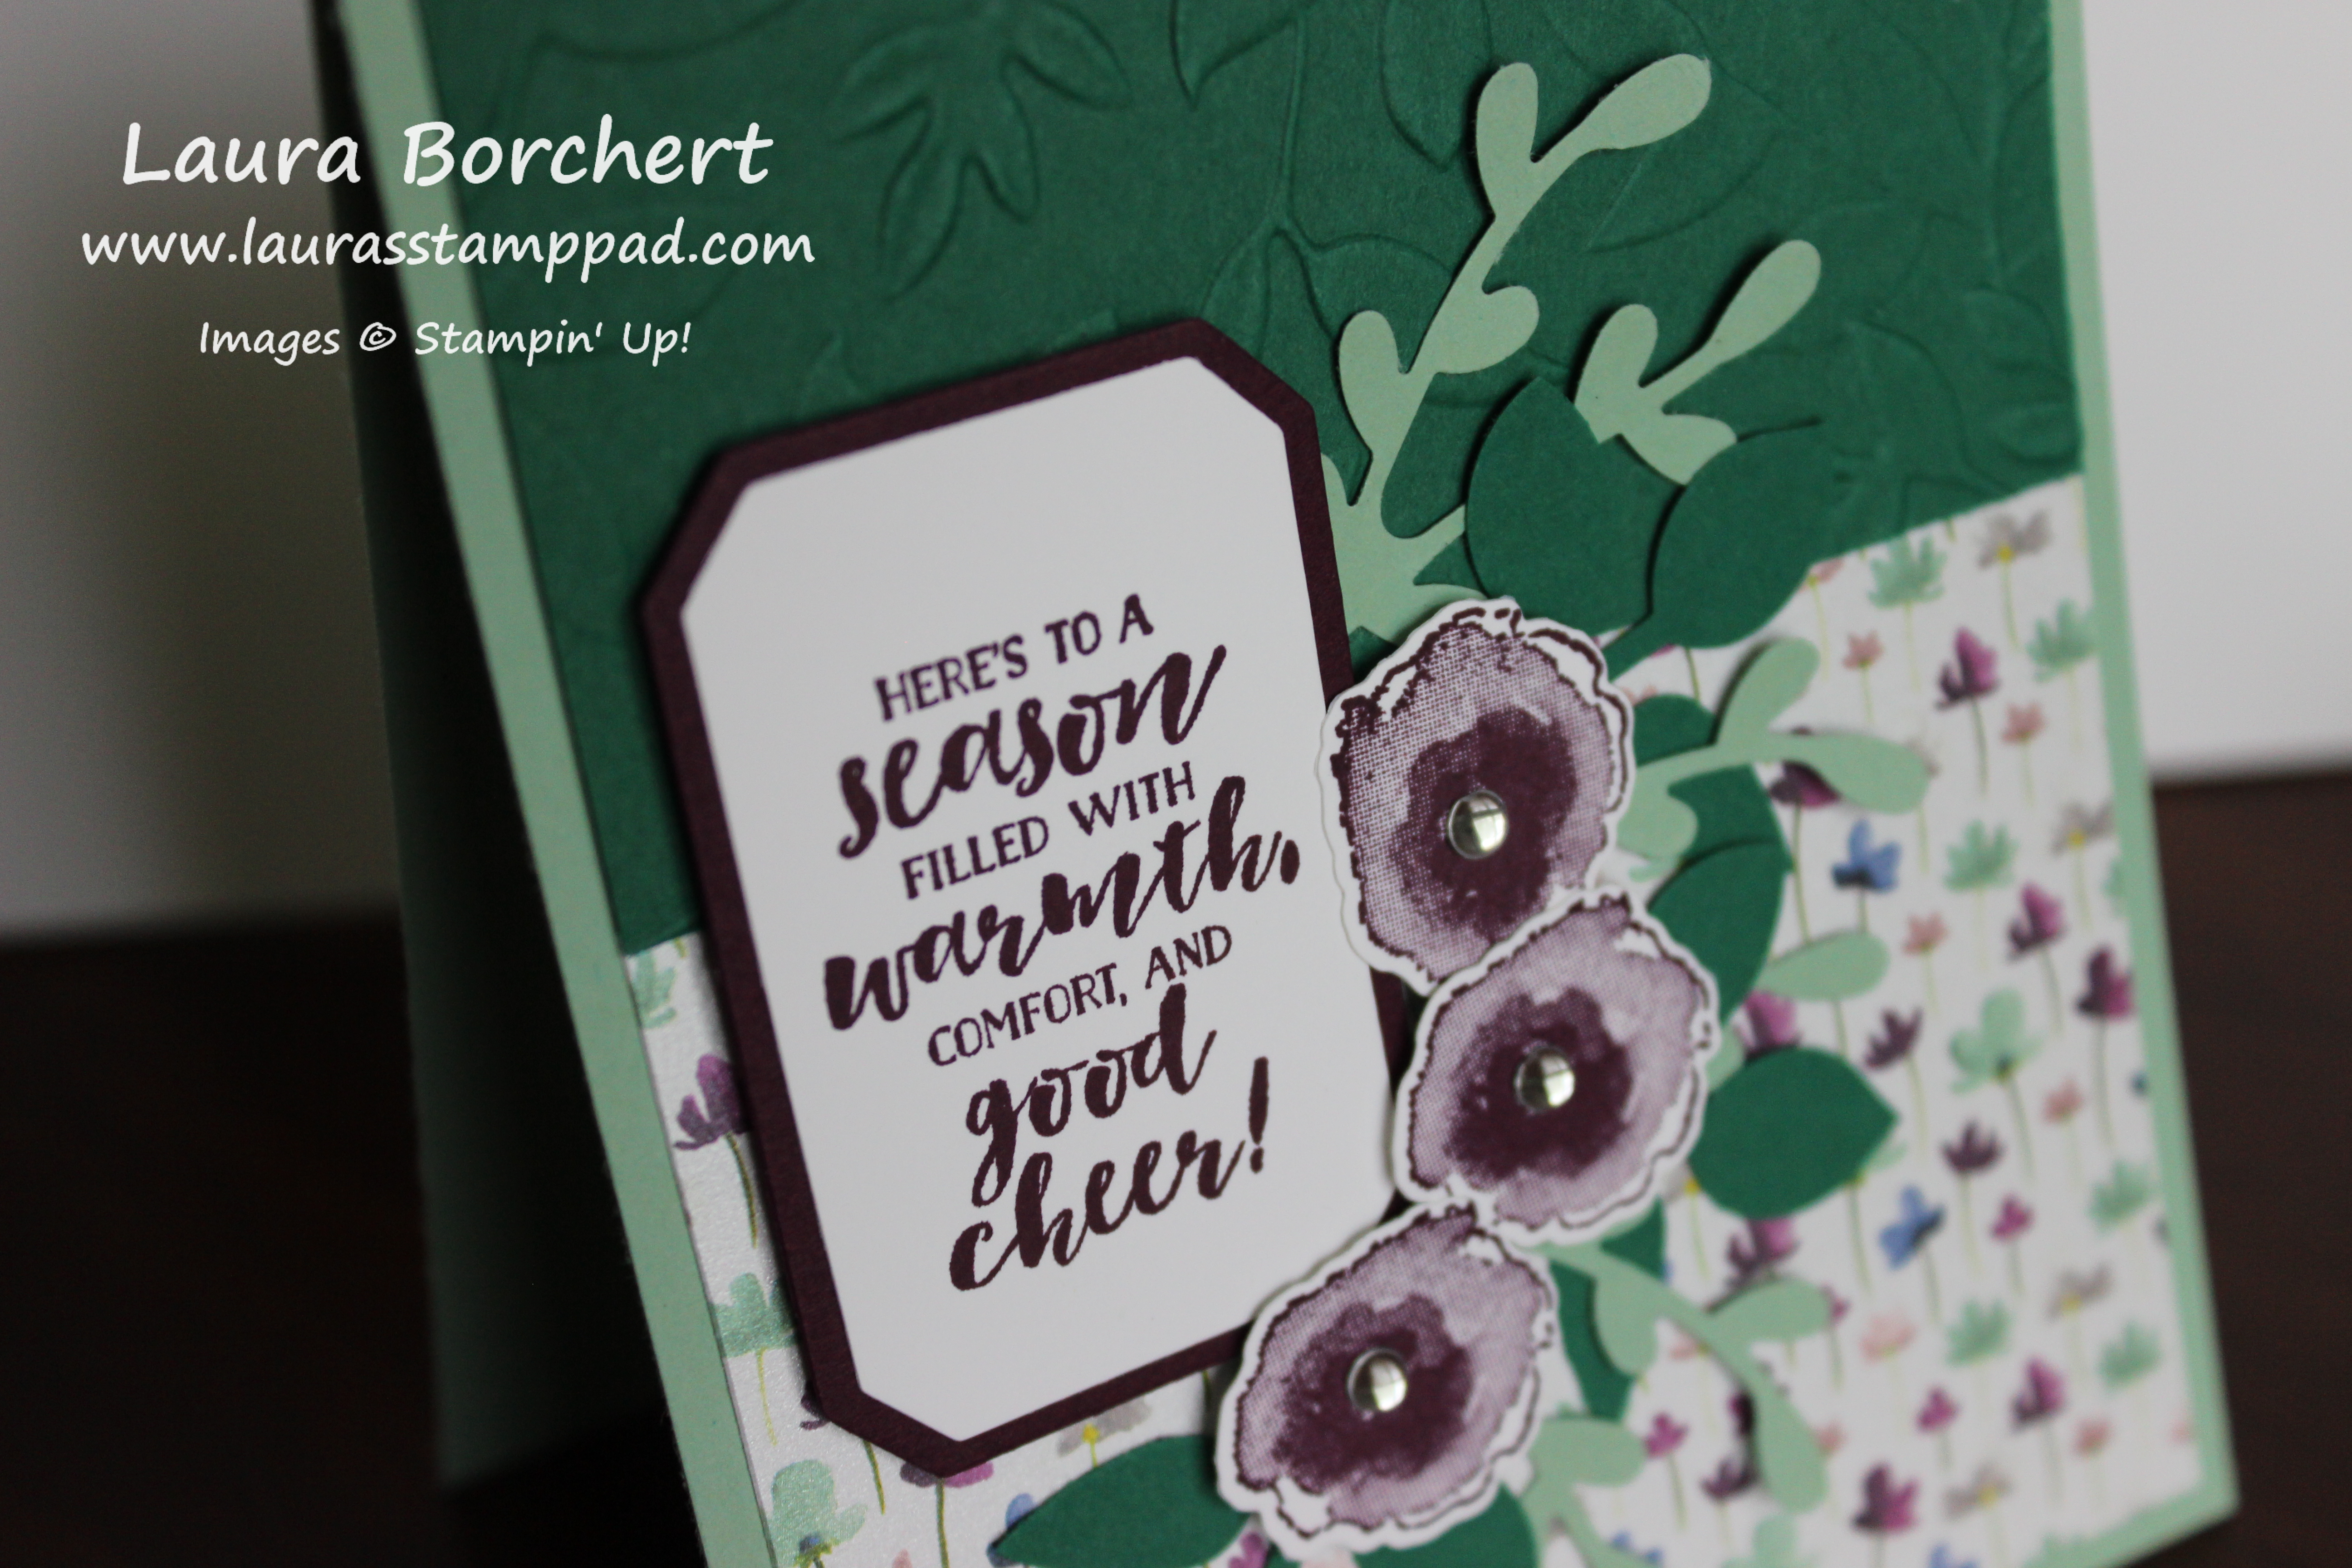
I just couldn’t not show this beautiful card. It’s got flowers, shimmer, and warmth! I used the First Frost Bundle and Frosted Floral Designer Series Paper!!! I love it so much and it’s great for lots of occasions!

I started with a Mint Macaron card base. Then I layered on a piece of the Frosted Floral Designer Paper (3″ x 4″) on the bottom. One the top, I embossed a piece of Tranquil Tide with the Layered Leave Embossing Folder and added it to the card front! For the decoration, I stamped the flowers in Blackberry Bliss from the First Frost Stamp Set. The awesome thing about die cutting these flowers out is that there are multiple flower dies in the set. This cuts your die cutting time down a lot!!! The leaves were punched using the Sprig Punch and Leaf Punch.

Sprig & Leaf Punch, www.LaurasStampPad.com

For the greeting, I used the layered greeting dies from the Frosted Bouquet Framelits. The greeting was stamped in Blackberry Bliss from the First Frost Stamp Set. I added the greeting with Stampin’ Dimensionals. Then I added all of the leaves around the greeting with Snail Adhesive. Don’t worry if there isn’t a ton of adhesive on the leaves because the flowers will also hold them on. I used Stampin’ Dimensionals on the flowers. To finish it off, I placed an Epoxy Dot in the center of the flowers for a little more shimmer!

I love this color combination so much!!! Also, I have to mention that the First Frost Bundle is not retiring with the Holiday Mini Catalog. You can still purchase this bundle through the Occasions Mini Catalog!!! Woot Woot!!! Check out the supply list for this card below! Don’t forget that the Occasions Mini Catalog and Sale-A-Bration begin tomorrow!

Happy Stampin’

~Laura

Product List


Friends Make the Season Shine!!!

Posted on

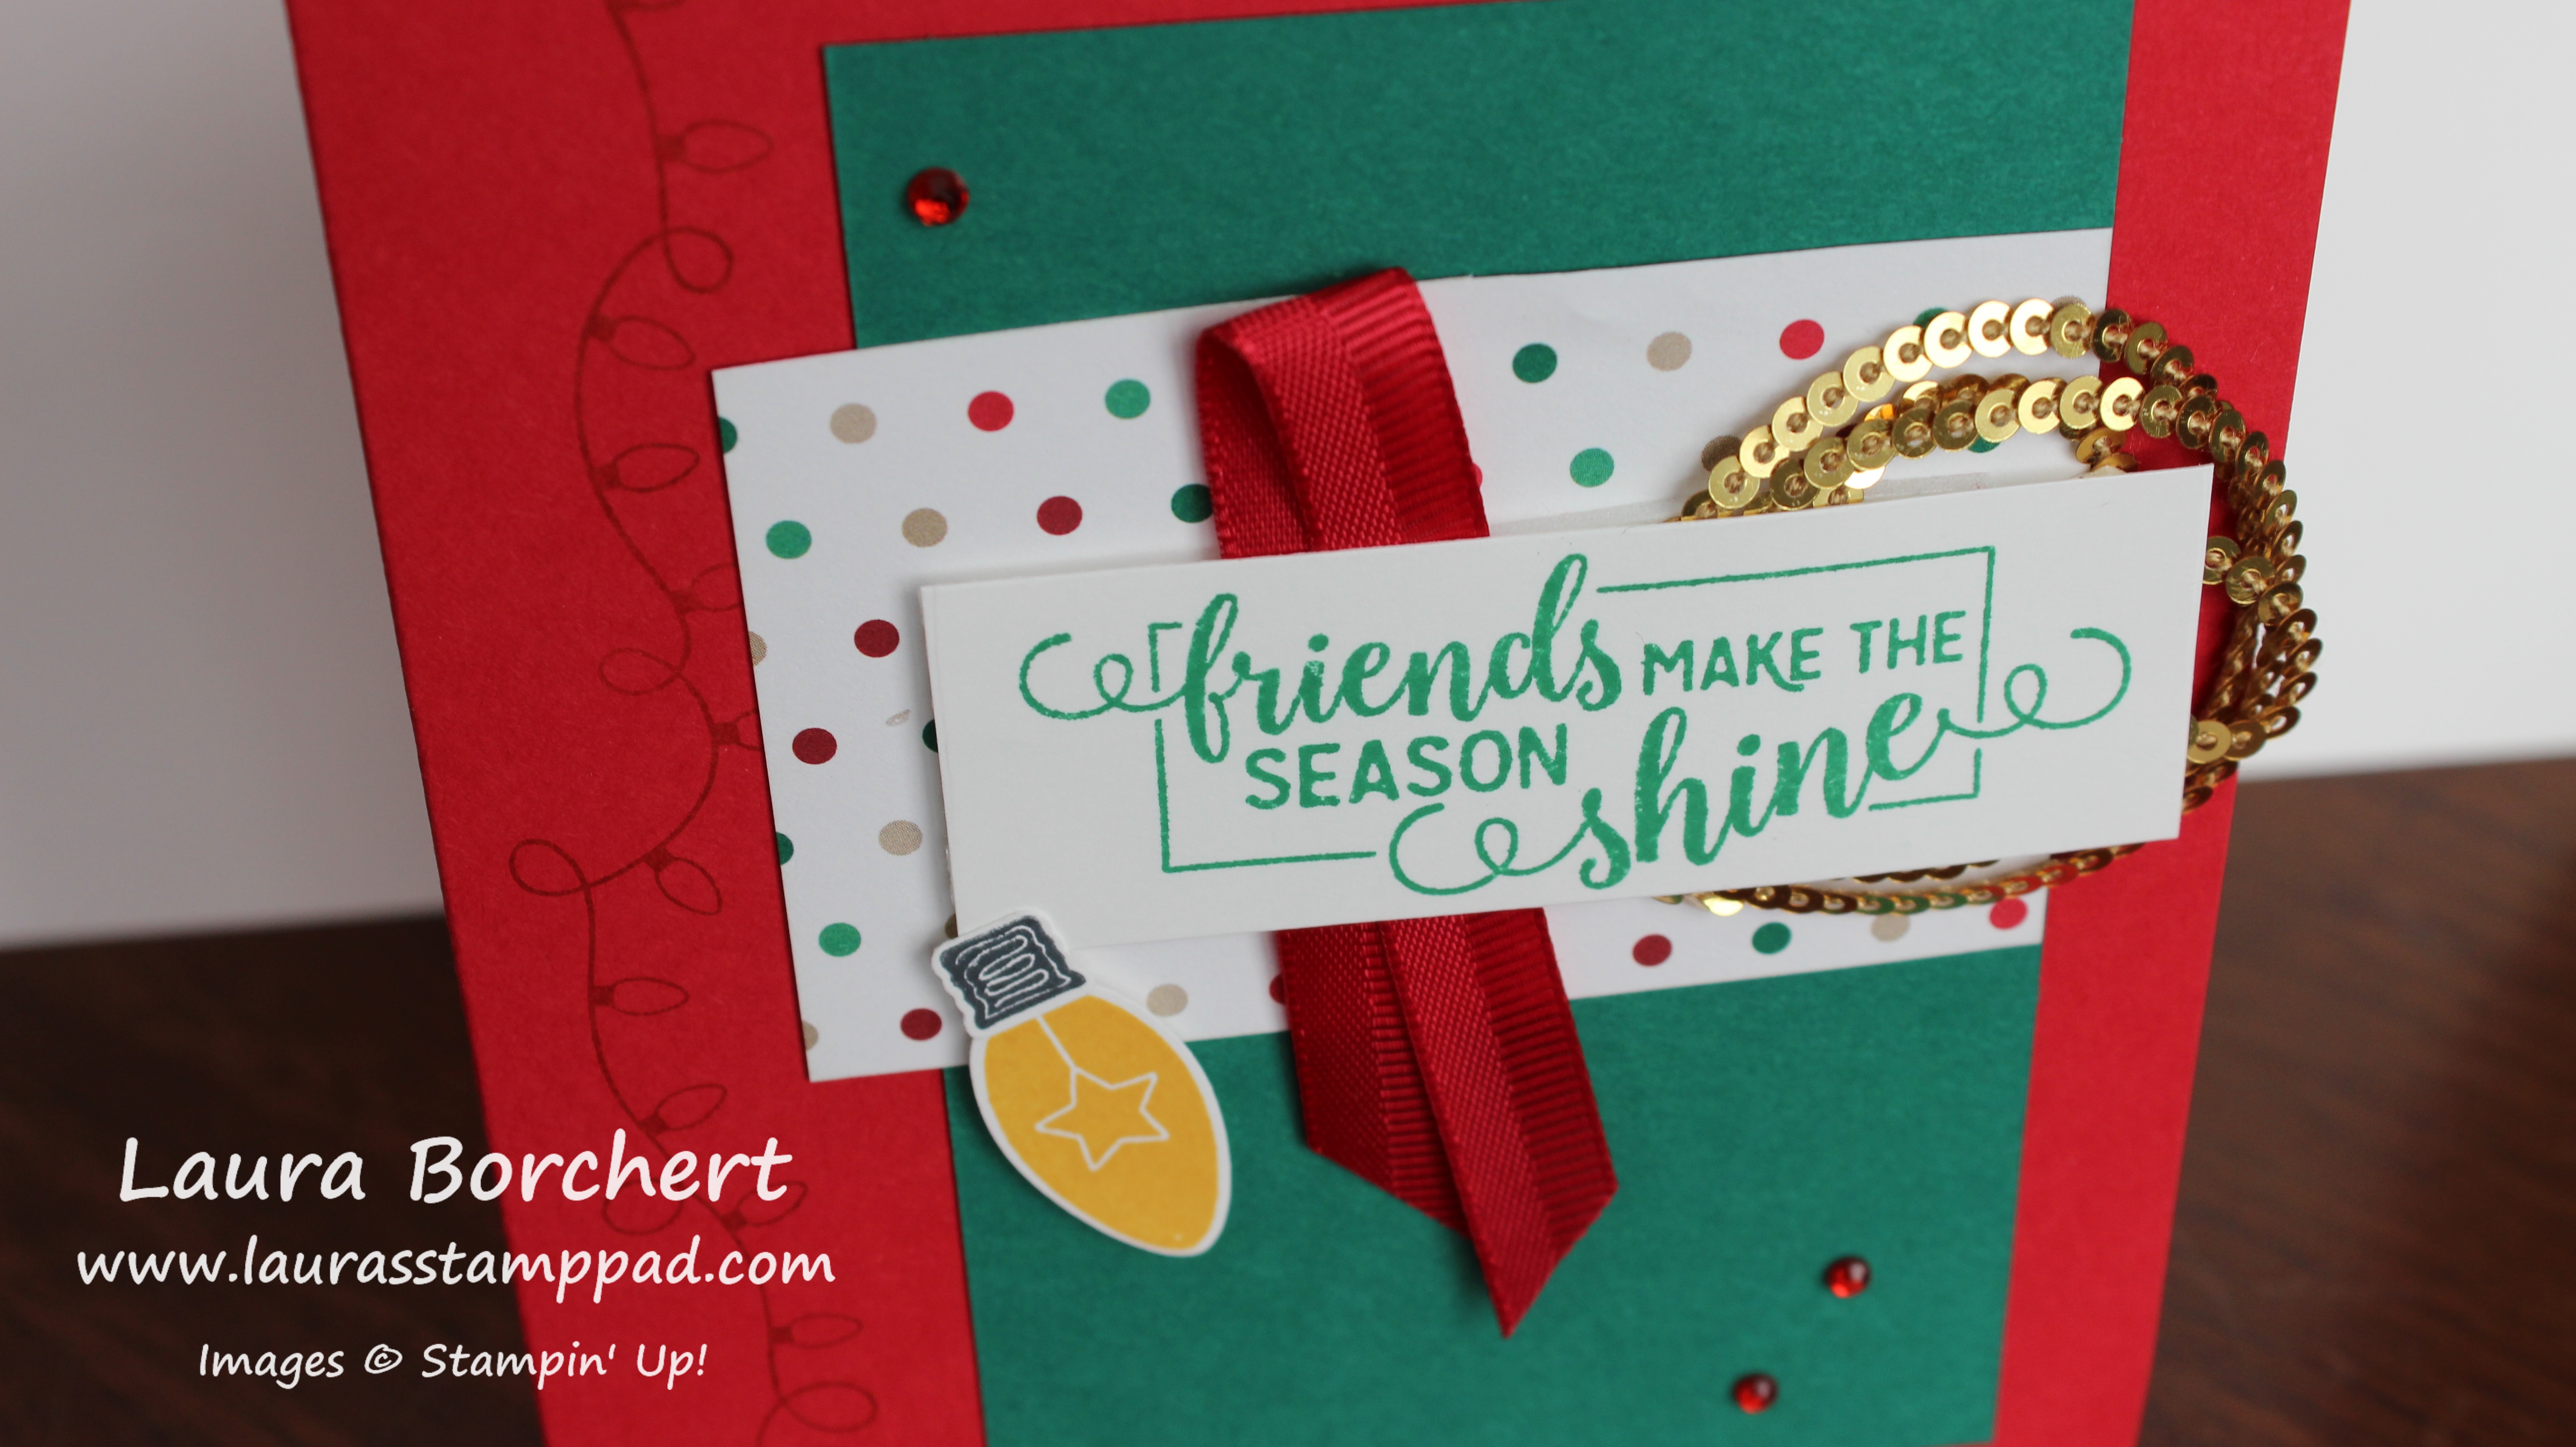
Friends Make the Season Shine!!! This greeting is just perfect and makes this card sweet! I love it!!!

Friends Make the Season Shine, www.LaurasStampPad.com

I got this idea for this card at a stamp event with fellow demonstrators. I modified it a few different ways for various classes I have had. I almost think I like the simply look better than the more detailed on. Let me know which you prefer in the comment below!

I started with a Real Red card base and stamped the lights along the left side in Real Red Ink. All of the images used on this card are from the Making Christmas Bright Stamp Set from the Holiday Mini Catalog. Don’t forget this catalog ends on January 2nd! Next, I cut a piece of Call Me Clover (2-3/4″ x 4-1/4″) and added it to the card front. Then I cut a piece of the All is Bright Designer Series Paper (2″ x 3″) and placed it over the clover piece, flush with the right side edge.

Shining Bright, www.LaurasStampPad.com

For the focal point, I stamped the greeting in Call Me Clover onto a piece of Whisper White (1″ x 3″). Then I flipped it over and added both the ribbon loop and sequin circles to the back securing with Stampin’ Dimensionals. The ribbon is the Real Red Mixed Satin Ribbon and I just folded it in half. For the Gold Sequin Trim, I wrapped it around my fingers a few times and then slid it off and placed it on the back. You all know how much I love Stampin’ Dimensionals so of course I used plenty to secure the ribbons and to make the greeting pop! Next, I stamped the light bulb in Crushed Curry Ink and the end in Memento Black Ink. Using the coordinating Bulb Builder Punch, I punched it and adhered it to the card front. I finished off the card with a few Red Rhinestones!

Gold Sequin Trim, www.LaurasStampPad.com

Here I created a similar card but left off the Real Red Ribbon, Rhinestones, and Light Bulb. I do like how the Gold Sequin Trim stands out more though. Which is your favorite?

Click the supplies below to create this fabulous card and get these goodies before they retire on January 2nd!! Happy Stampin’

~Laura

Product List


Designer Series Paper Scraps Used Up!!!

Posted on

Come on I know we all have plenty of scraps laying around. Today I’m sharing how to get those Designer Series Paper scraps used up!!!

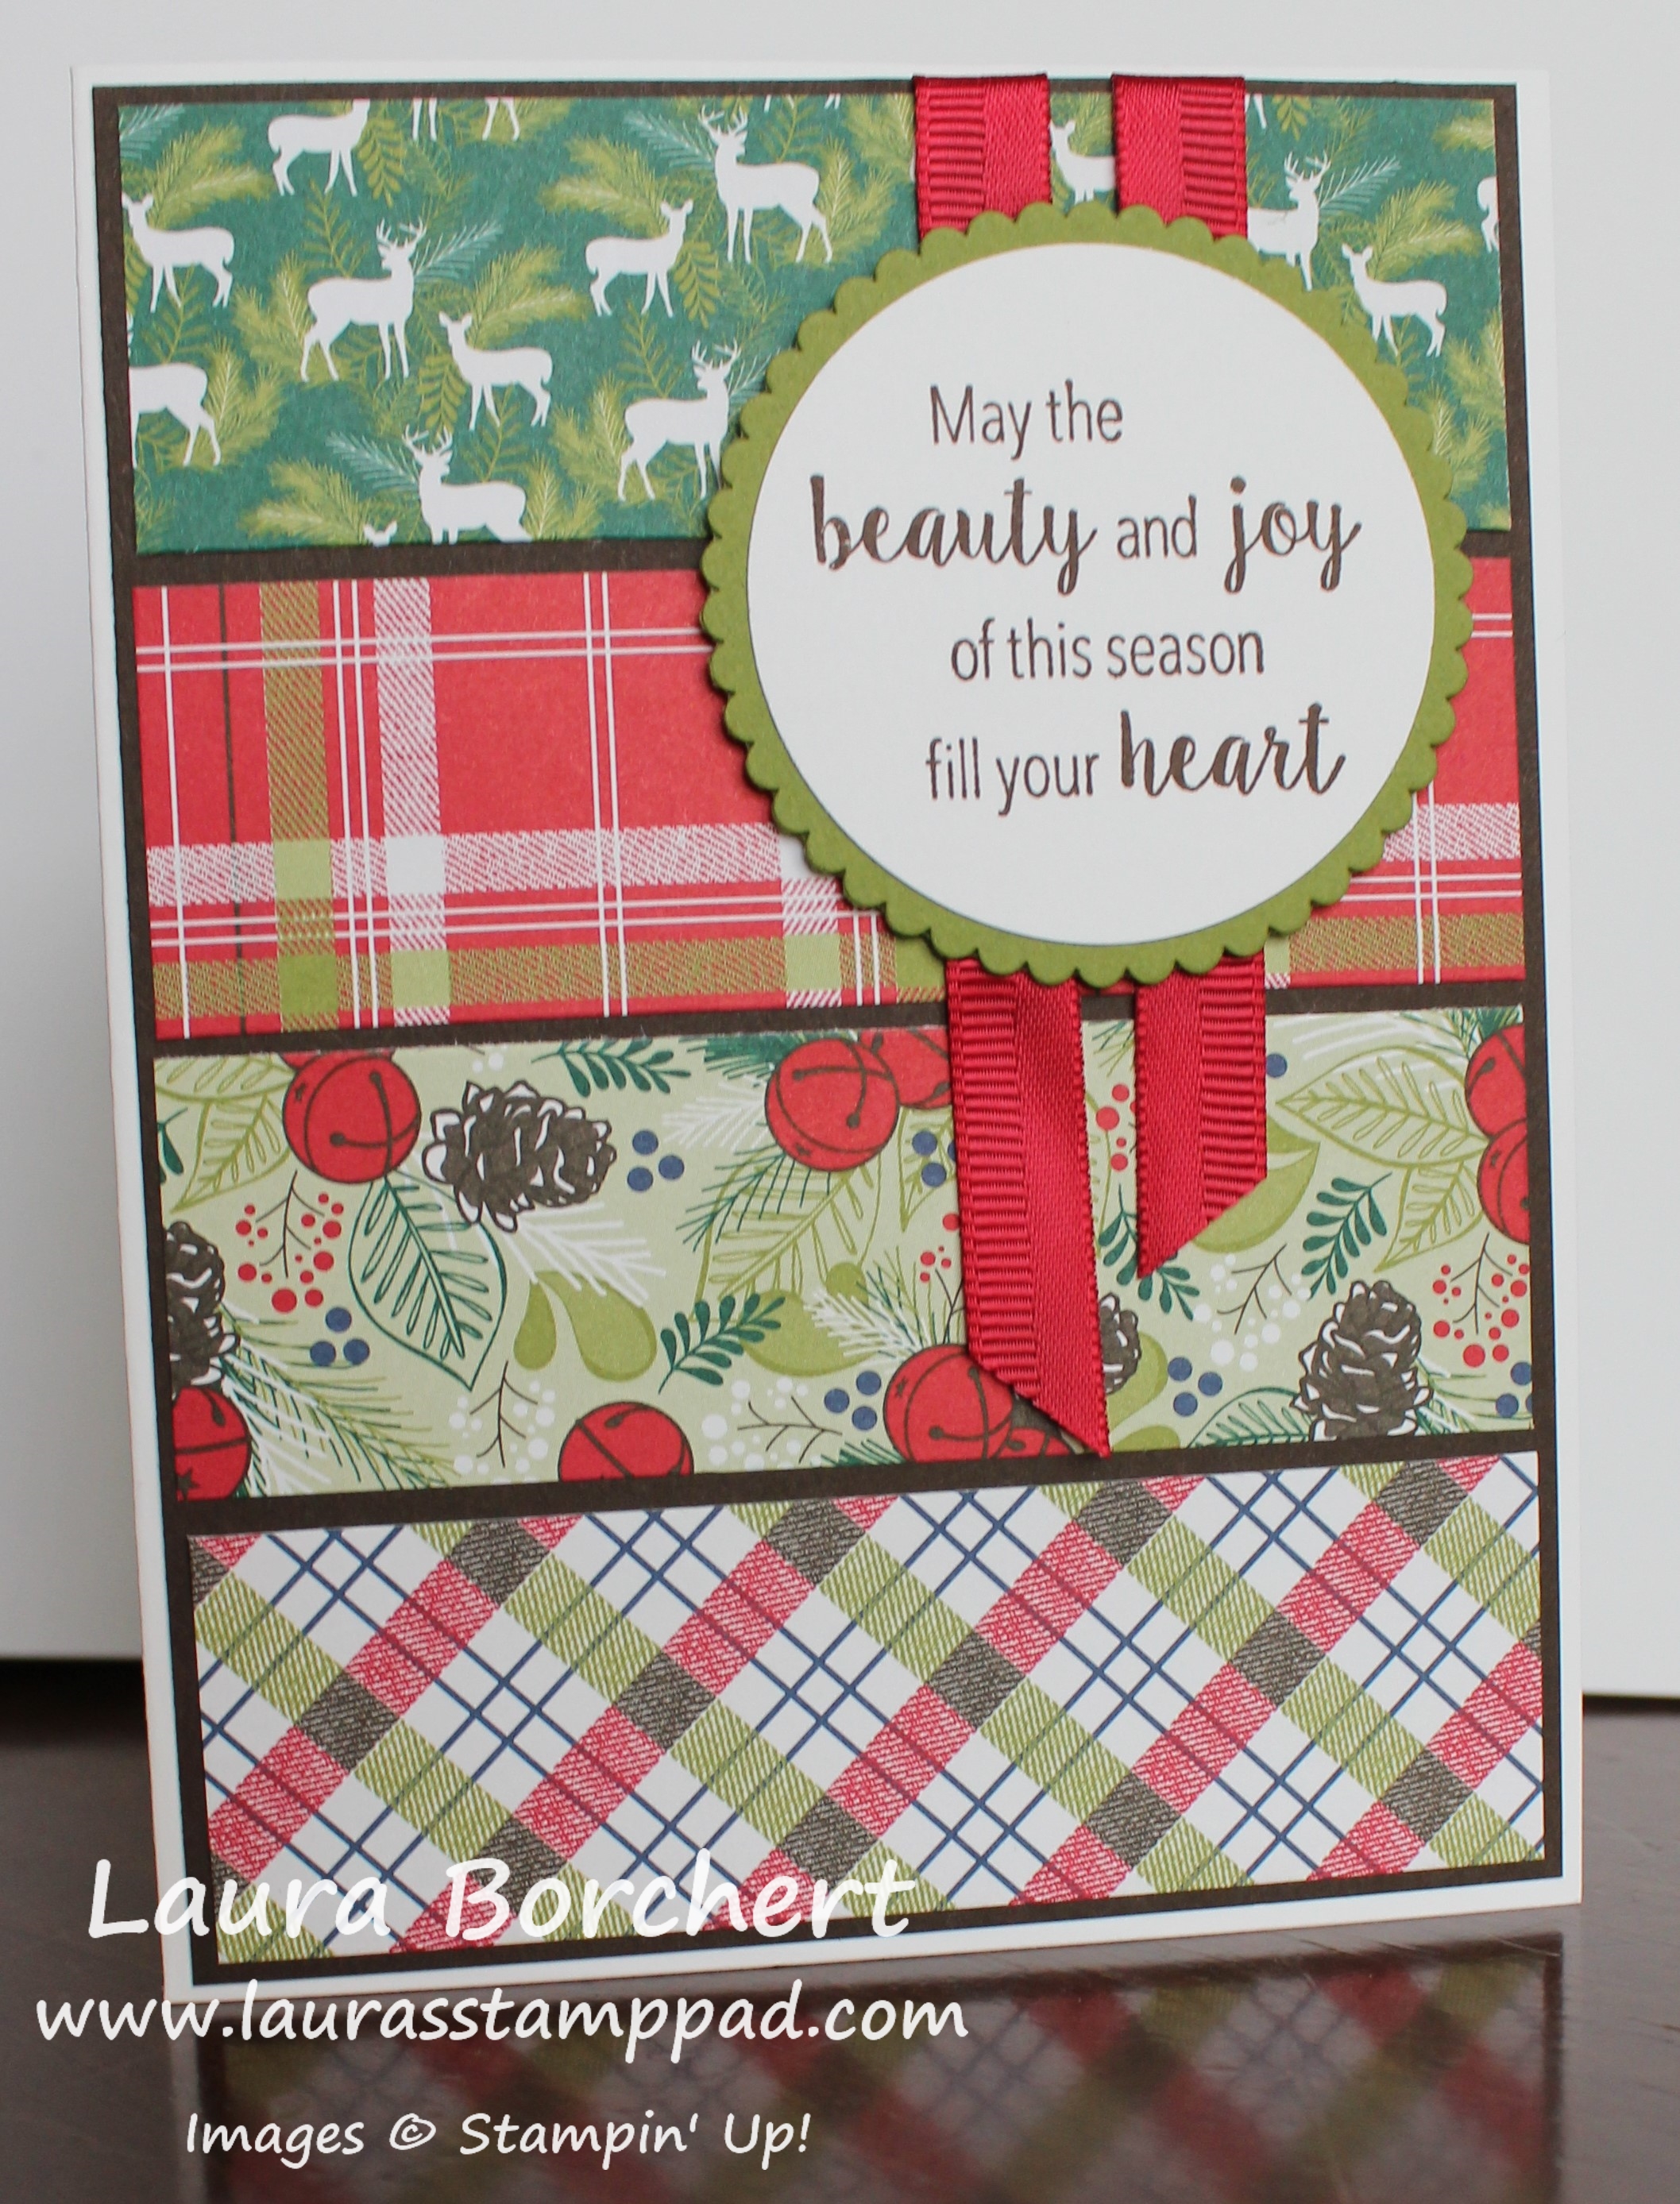
Designer Series Paper Scraps Used Up, www.LaurasStampPad.com

This card uses scraps of designer paper measuring 4″ x 1-1/4″. I mixed and matched the pieces together. Some of the patterns I used both the front and the back and others I just used one of the sides for each card. All of these are layered on a piece of Early Espresso cardstock measuring 4-1/8″ x 5-3/8″. My tip for getting the spacing correct is to start on the outside and work your way in. All of this was layered onto a Whisper White card base.

For the decoration, I added a piece of the Real Red Satin Ribbon with the loop at the top and the ends hanging down. Simply add a smidge (an inch) of adhesive to the card and press the ribbon into it. Then place your greeting over the top to help secure it. The greeting uses the Laying Circles Framelits in Old Olive and Whisper White. The greeting was stamped in Early Espresso from the Stylish Christmas Stamp Set from the Annual Catalog! Of course the greeting is popped up with Stampin’ Dimensionals for a little bit of texture and a smooth finish over that ribbon!

What designer paper pack do you have lots of scraps from? What style of card or occasion are you going to make this with pattern?? Let me know in the comments below!

Happy Stampin’

~Laura

Product List


Merry & Bright!!!

Posted on

It’s the Christmas Season so we should all be merry & bright……right??? We should all try at least. I know the holidays can make us all a little crazy and stressed out trying to get everything done. Thank goodness Claire is too little to know this year because I feel like that is helping me ease into this all. I promise she will have a stocking next year. 🙂

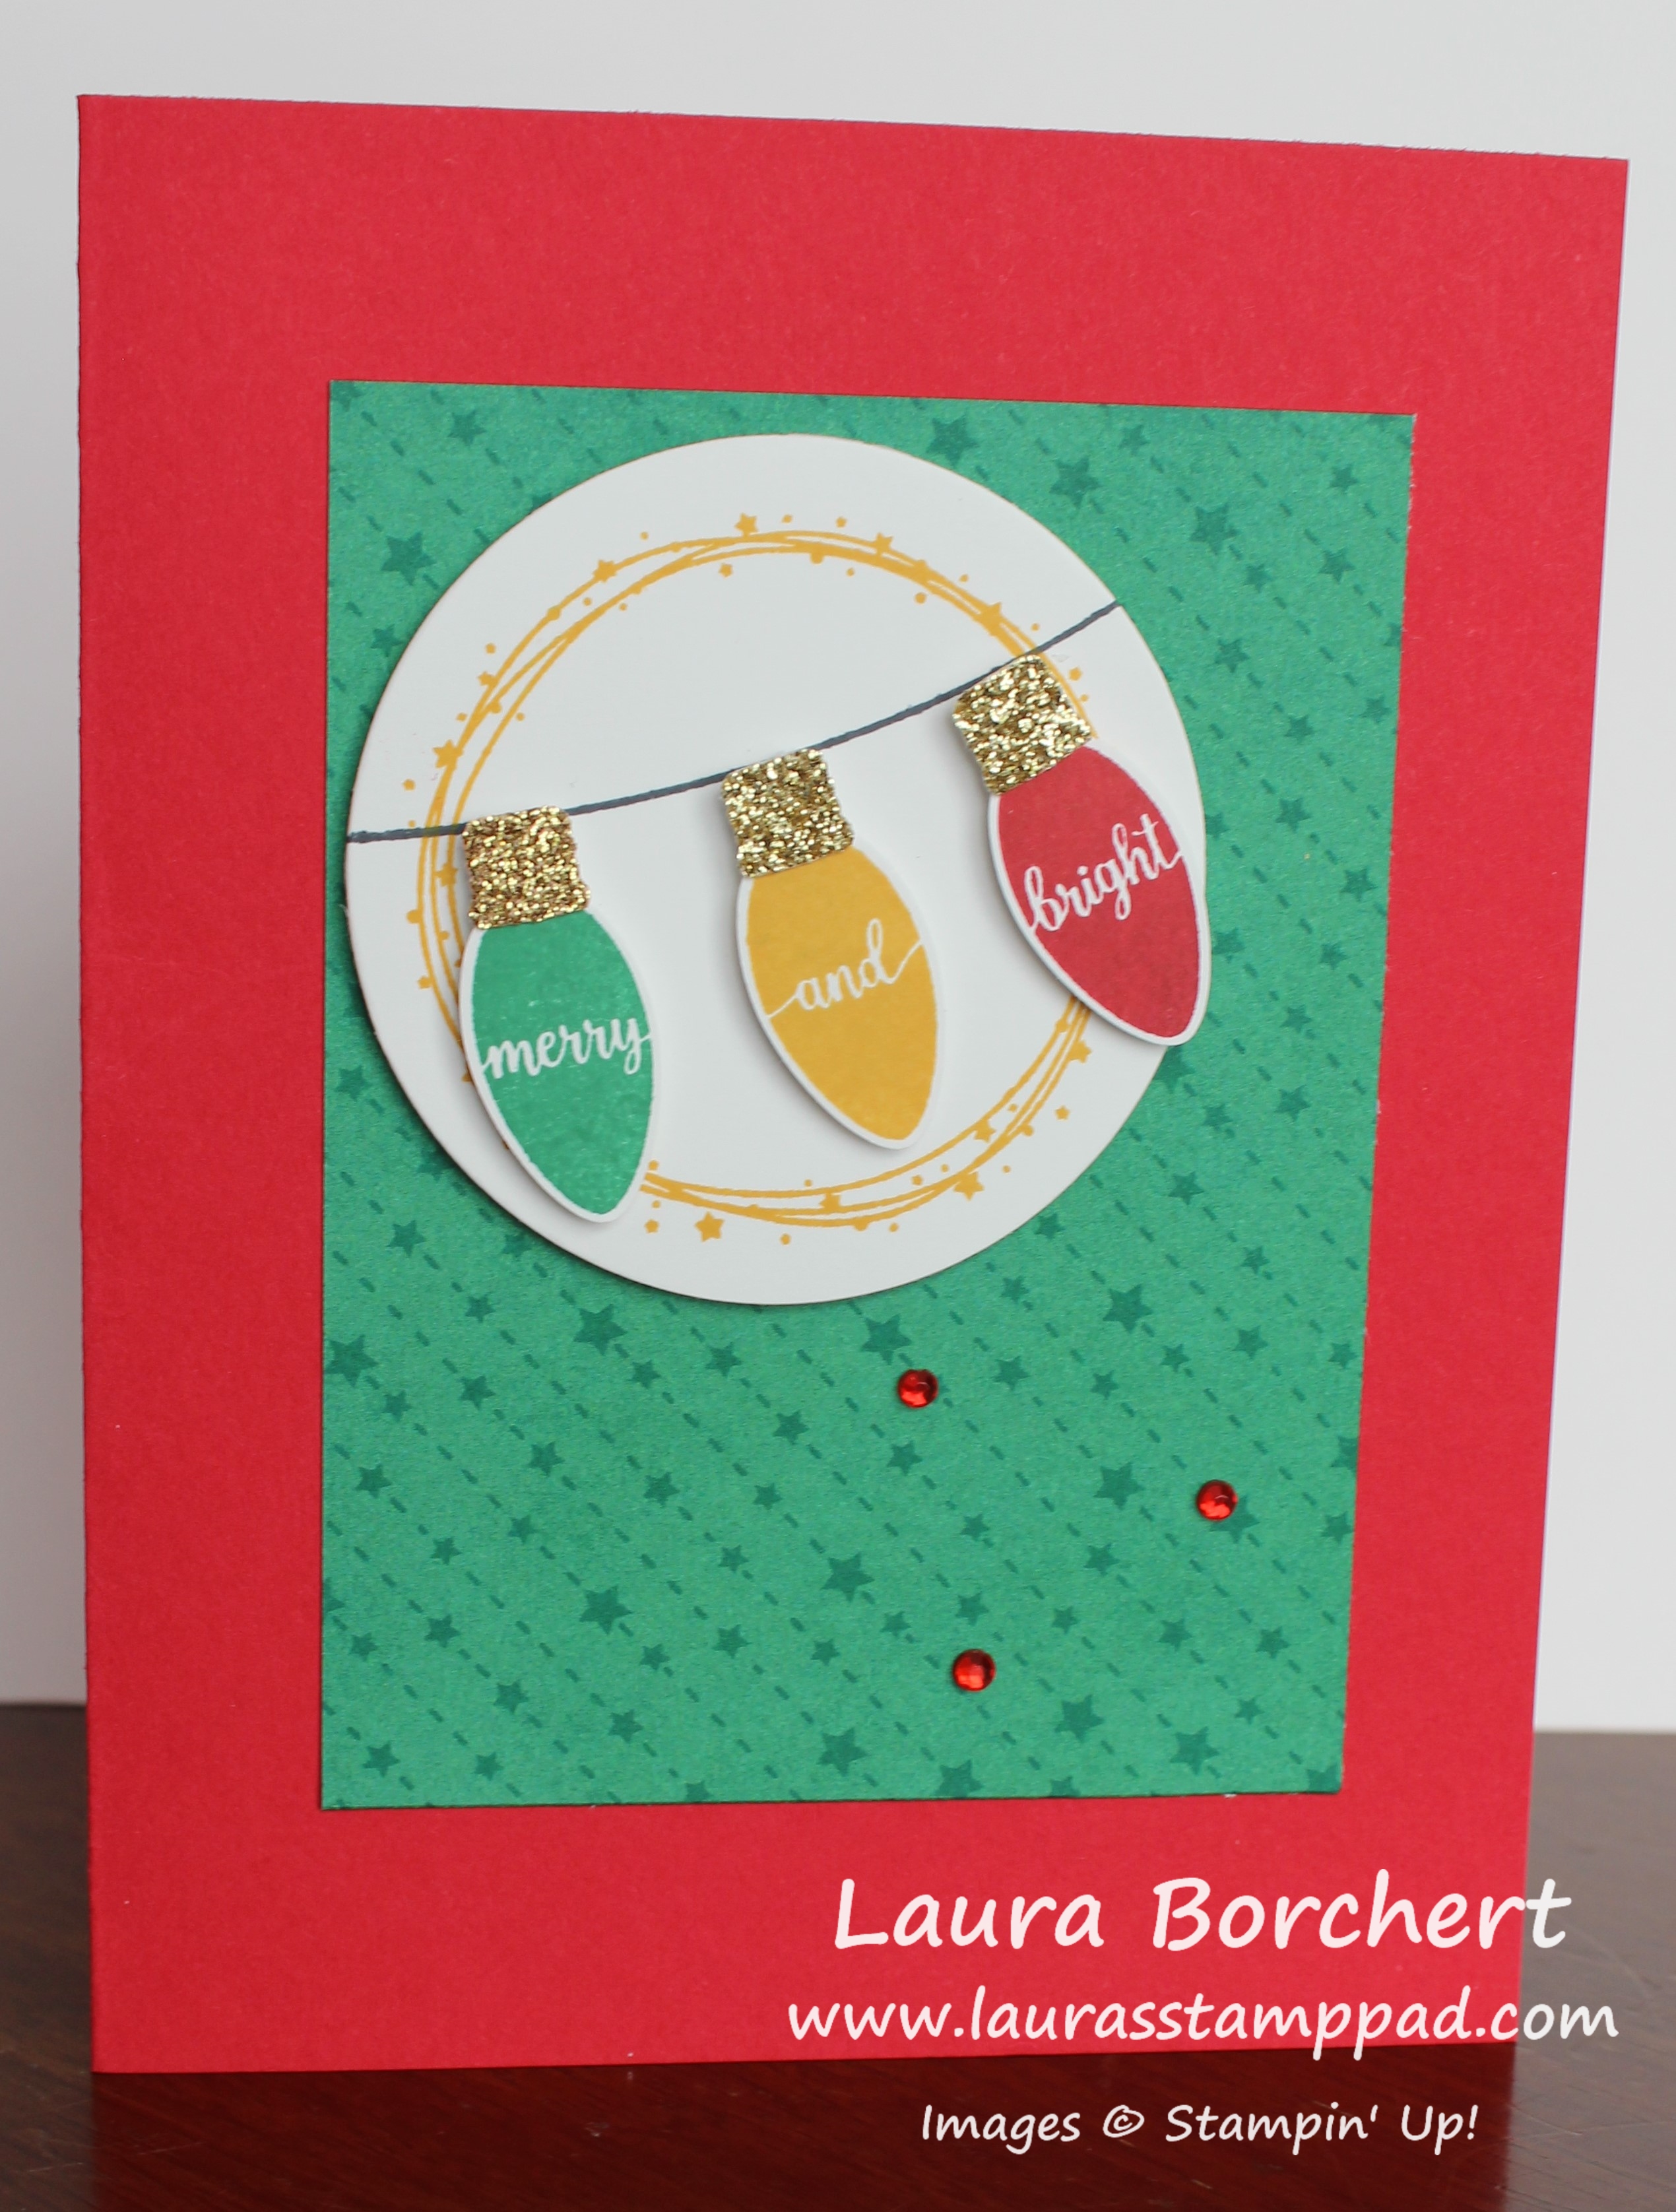
Merry & Bright, www.LaurasStampPad.com

I love the bright colors of this card and that cute little greeting. This was another fabulous card idea that I got from Vacation Stamping School. Swapping ideas with other stampers is the best!!!!

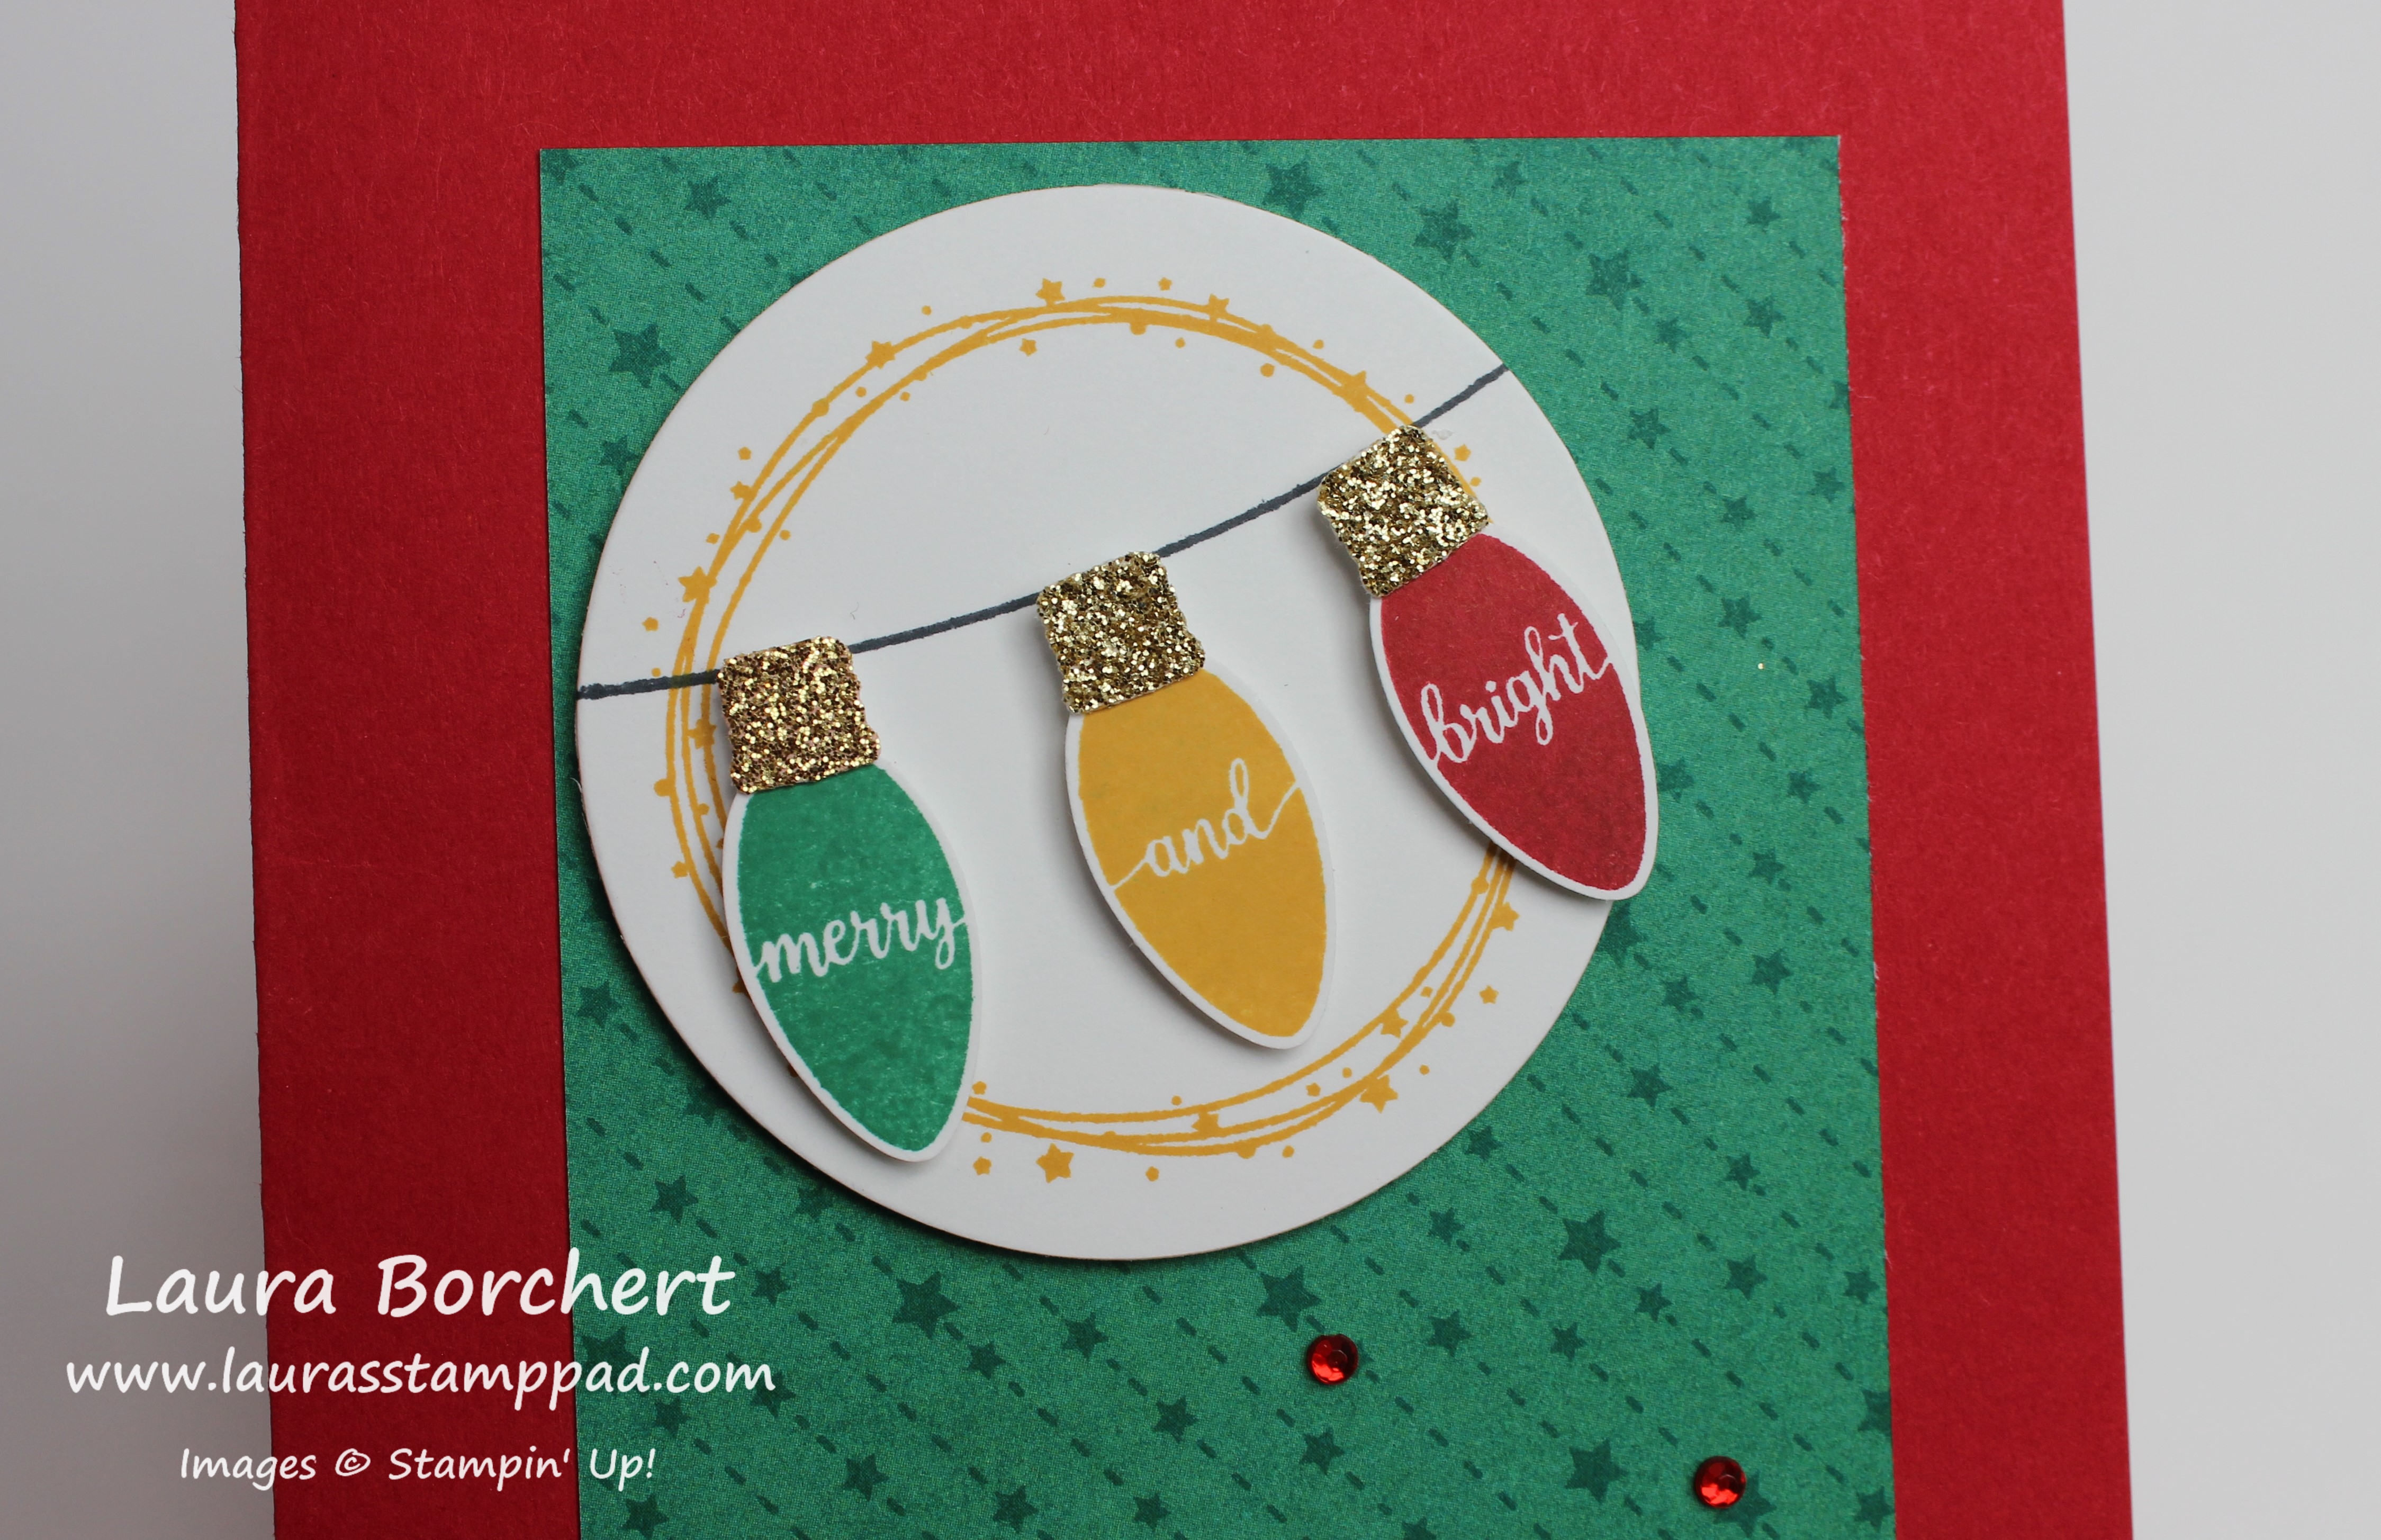
I started with a Real Red card base and added some of the All is Bright Designer Series Paper to the center. Next, I stamped the lightbulbs and punched them out with the Making Christmas Bright Stamp Set and coordinating Christmas Bulb Builder Punch. I used Call Me Clover, Crushed Curry, and Real Red Inks. For the ends of the bulbs, I punched out Gold Glimmer Paper. To adhere the pieces together, I added a Mini Glue Dot to the end of the colored bulb and pressed the gold end onto it. Then I used a Mini Stampin’ Dimensional on the end and a regular Stampin’ Dimensional on the bulb.

Colored Christmas Light Bulbs, www.LaurasStampPad.com

I punched out a 2-1/4″ Circle Punch and stamped the wreath image from the Making Christmas Bright in Crushed Curry Ink. Then I stamped the line in Memento Black Ink and added the light bulbs. Be sure to place them down so your words read correctly. That may sound silly but I just about had it say And Bright Merry. 🙂 I added this to the card front and finished it off with some Real Red Rhinestones!!! It’s the perfect little card for the season.

Want to make this card? Check out the supplies listed below! Don’t forget that the Holiday Mini Catalog ends on January 2nd so get these items before they are gone! Click here to start shopping!

Happy Stampin’

~Laura

Product List


Christmas Lights With All The Colors!!!

Posted on

Happy Wednesday!!! Yesterday in class I did a poll on whether you prefer white or colored Christmas Lights. It was about 50/50. So now I’m asking all of you! Christmas lights with all the colors or just white lights??? Let me know in the comments below!

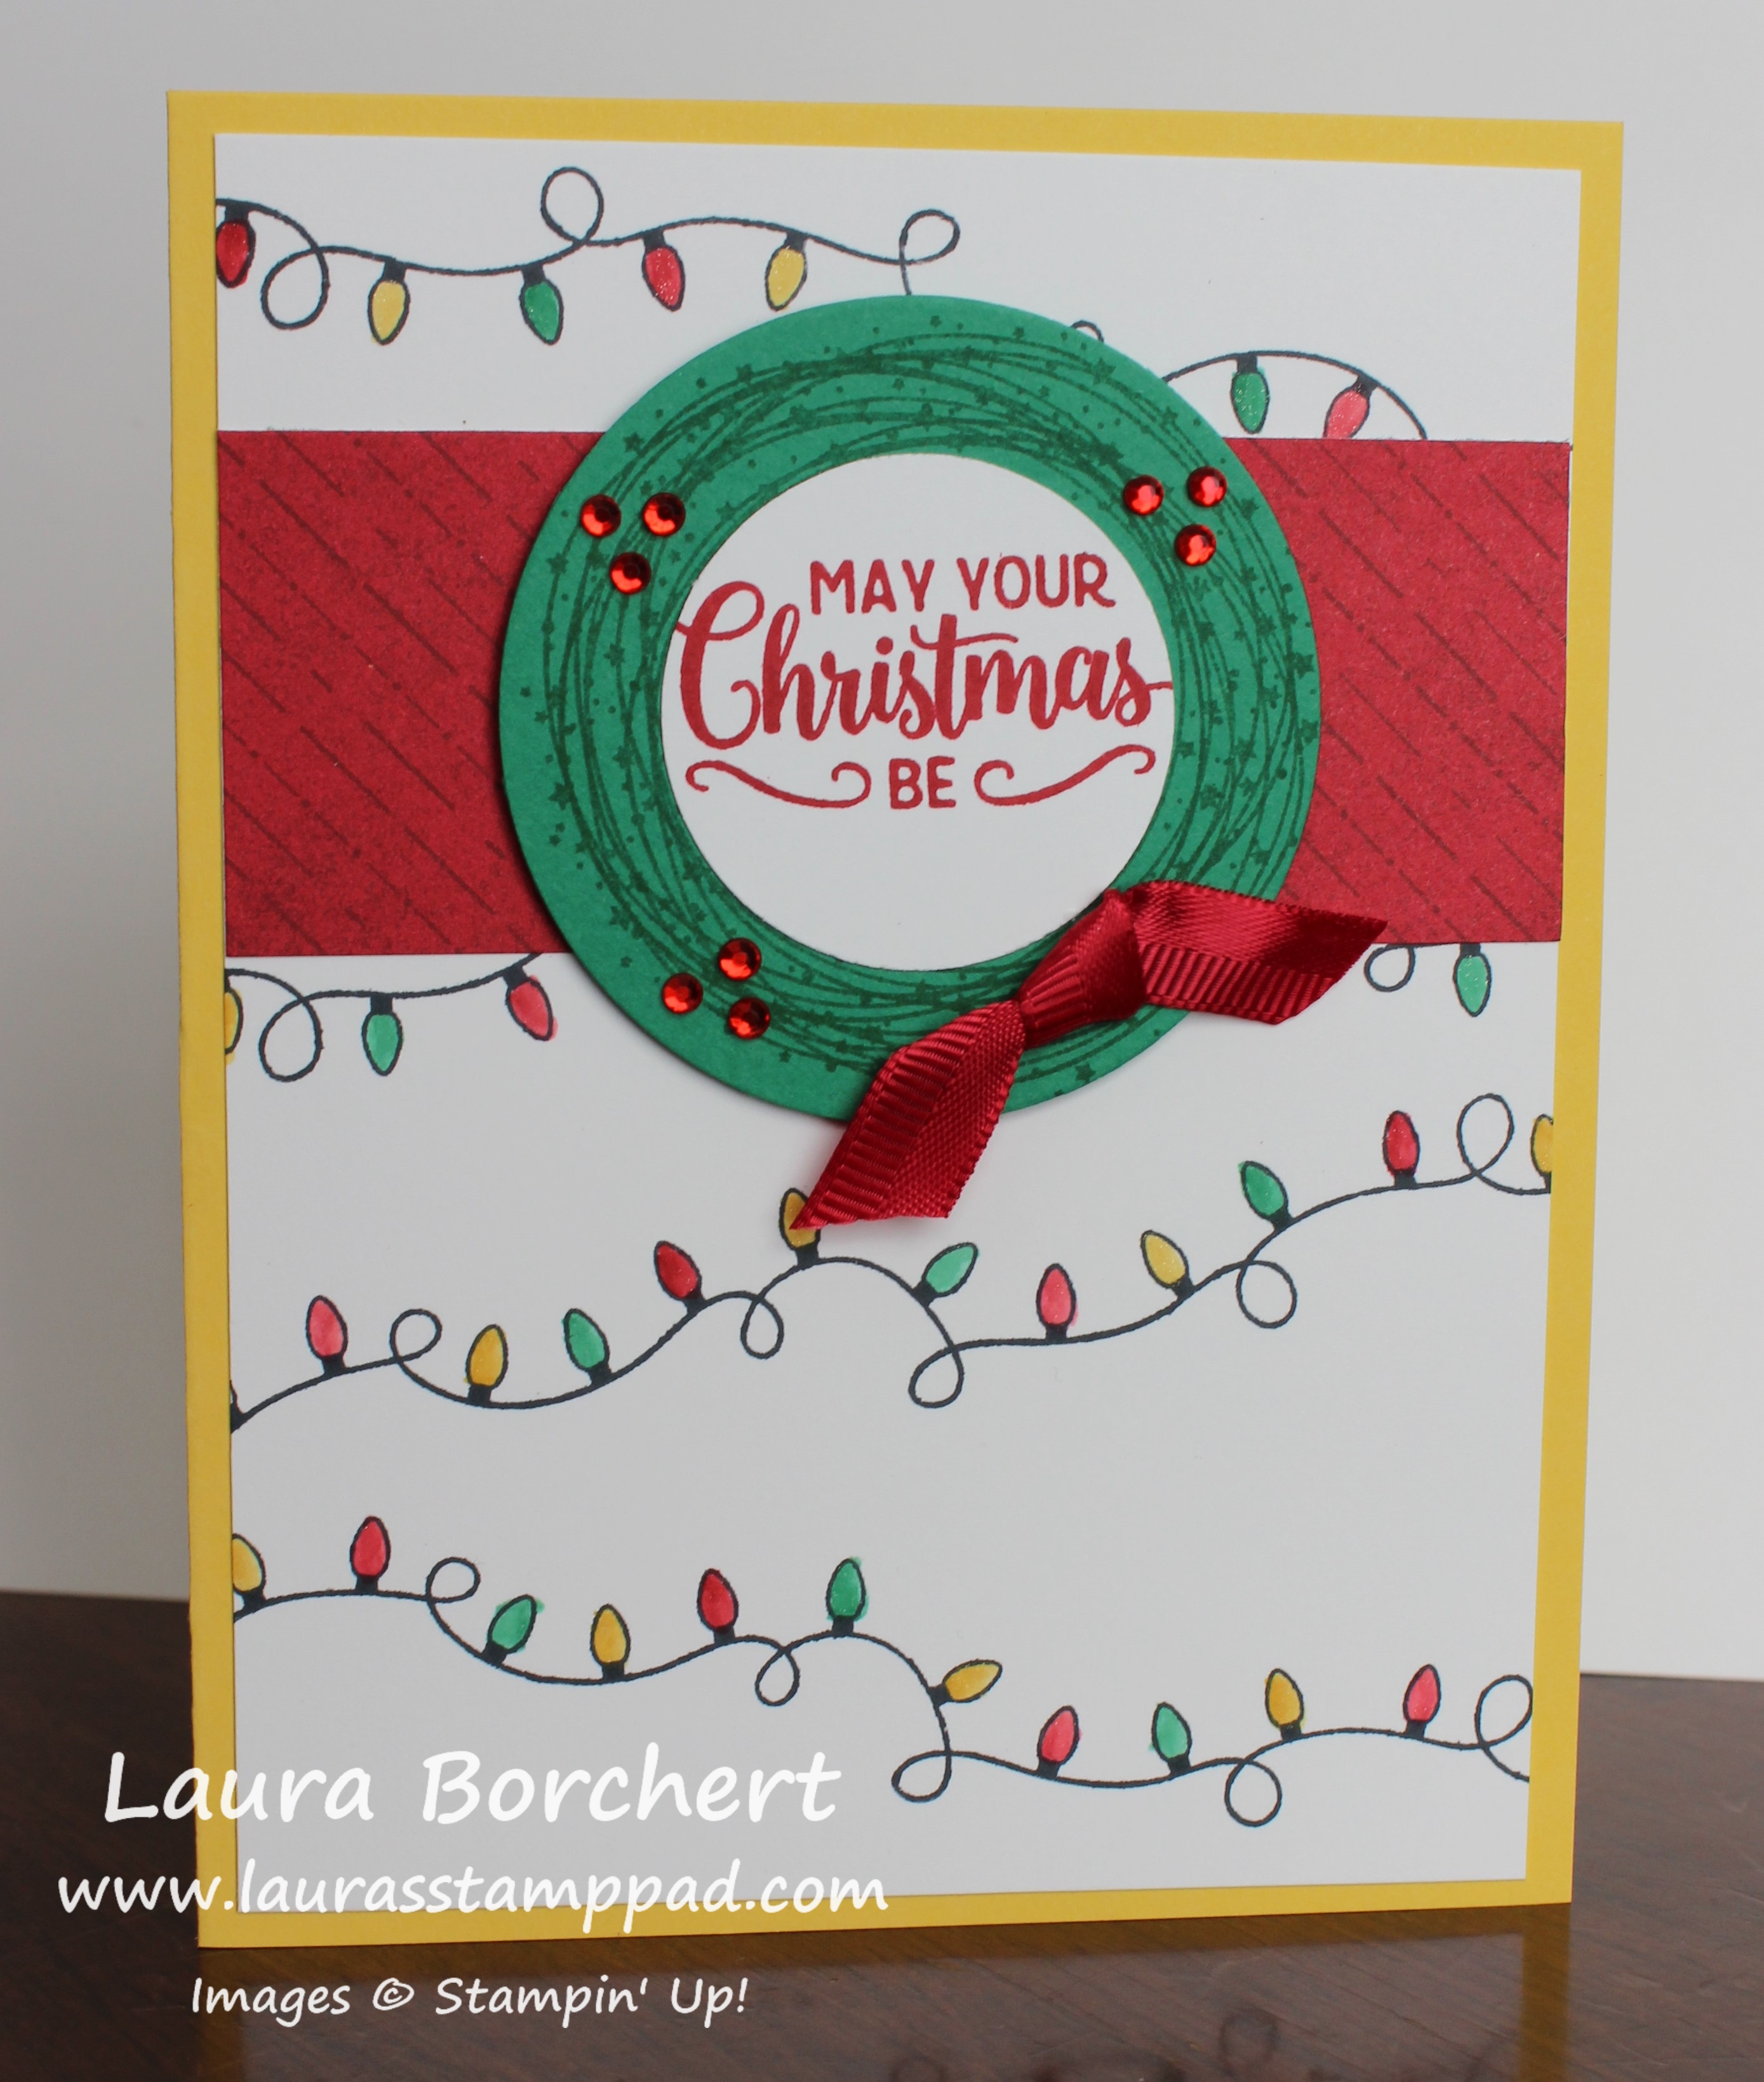
Christmas Lights With All The Colors, www.LaurasStampPad.com

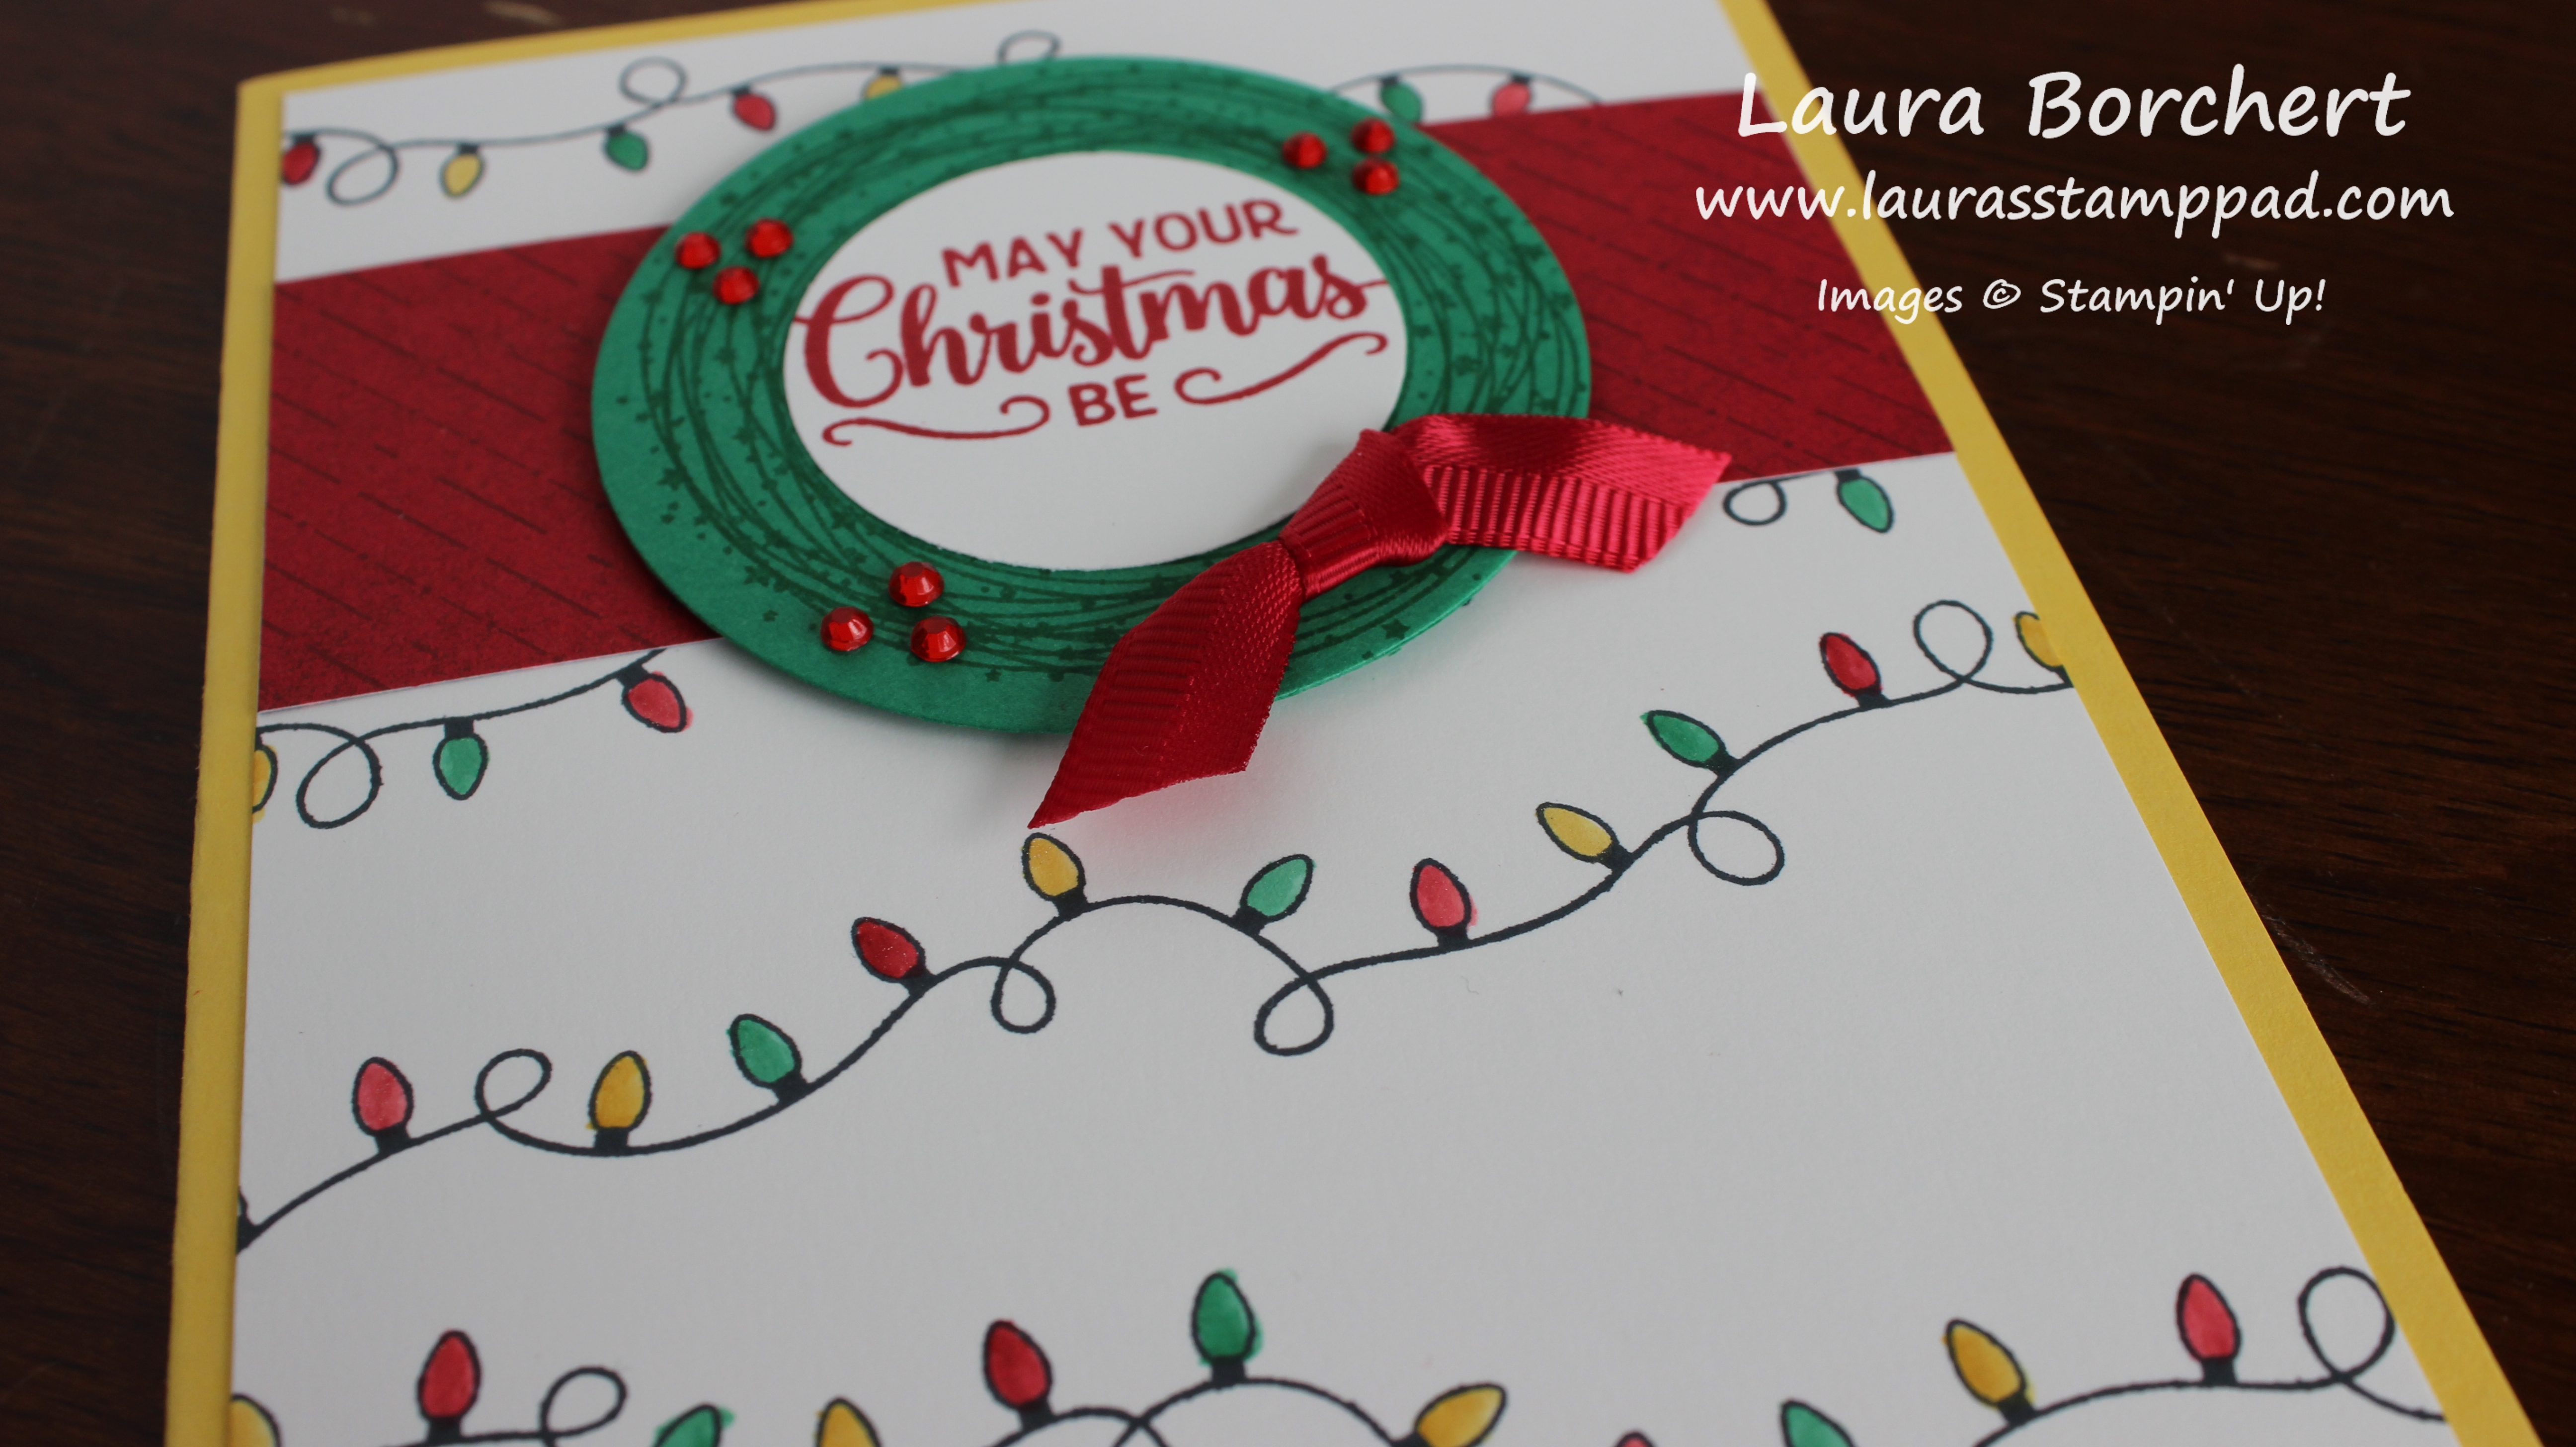
This was another fabulous card idea that I got at our Vacation Stamping School event in August! I changed it up a smidge and LOVE IT!!! There is a little technique on this card that I just wish you could see it better. Each of the lights have a bit of twinkle to them. I watercolored them with Wink of Stella! Yeah! That’s a thing. Just pick up the ink with the brush like you would an Aqua Painter and paint on the color and shimmer at once! Amazing!

I started with a Daffodil Delight card base. Next, I took a piece of Whisper White (4″ x 5-1/4″) and stamped the string of lights from the Making Christmas Bright Stamp Set. It was stamped in Stazon Black Ink since I watercolored the bulbs. Using the Wink of Stella Brush, I dabbed it into some ink and then brushed on color. A little shimmer and a little color all in one!

Christmas Wreath, www.LaurasStampPad.com

For the focal point, I added a strip of the All Is Bright Designer Series Paper. Then I punched out a 2-1/4″ Call Me Clover circle. Using the wreath image from the Making Christmas Bright Stamp Set, I stamped it in Call Me Clover Ink. To get that full look, I stamped it, inked it again and stamped a little to the left of the first one. Then I stamped again but a little lower than the first one and a little to the right from the first one. This makes the wreath look full! I added this to the card front with Stampin’ Dimensionals!

Coloring with Wink of Stella, www.LaurasStampPad.com

I stamped the greeting onto Whisper White and then punched it out with the 1-3/4″ Circle Punch and added it to the wreath. Don’t forget to stamp Bright on the inside of the card! To finish it off, I added some Red Rhinestones for holly berries and a little knot of Real Red Mixed Satin Ribbon! All the shimmer and shine!!!

Want to create this card? Check out the supply list below! Don’t forget that all orders of $75 or more will earn the Buffalo Check Stamp Set for FREE from me!

Happy Stampin’

~Laura

Product List