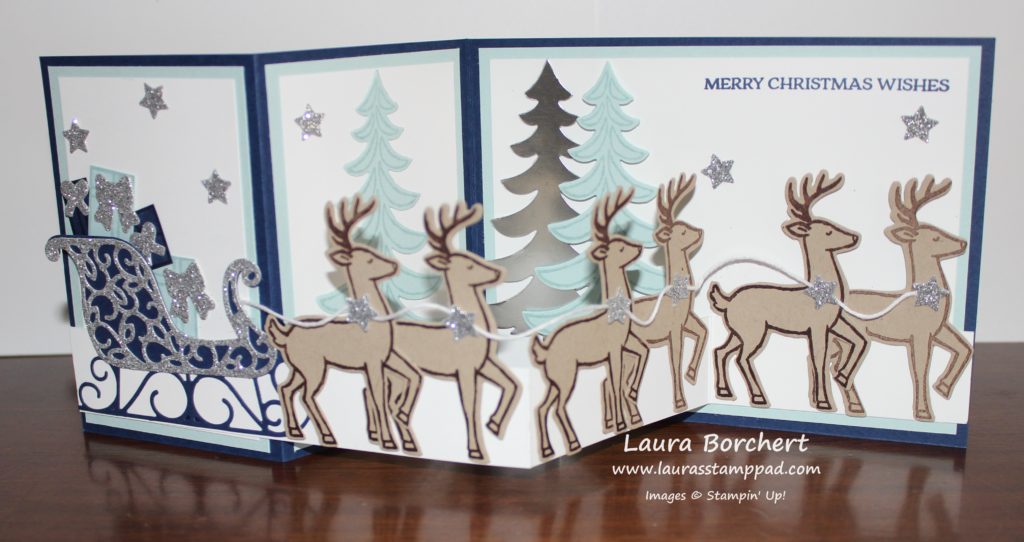
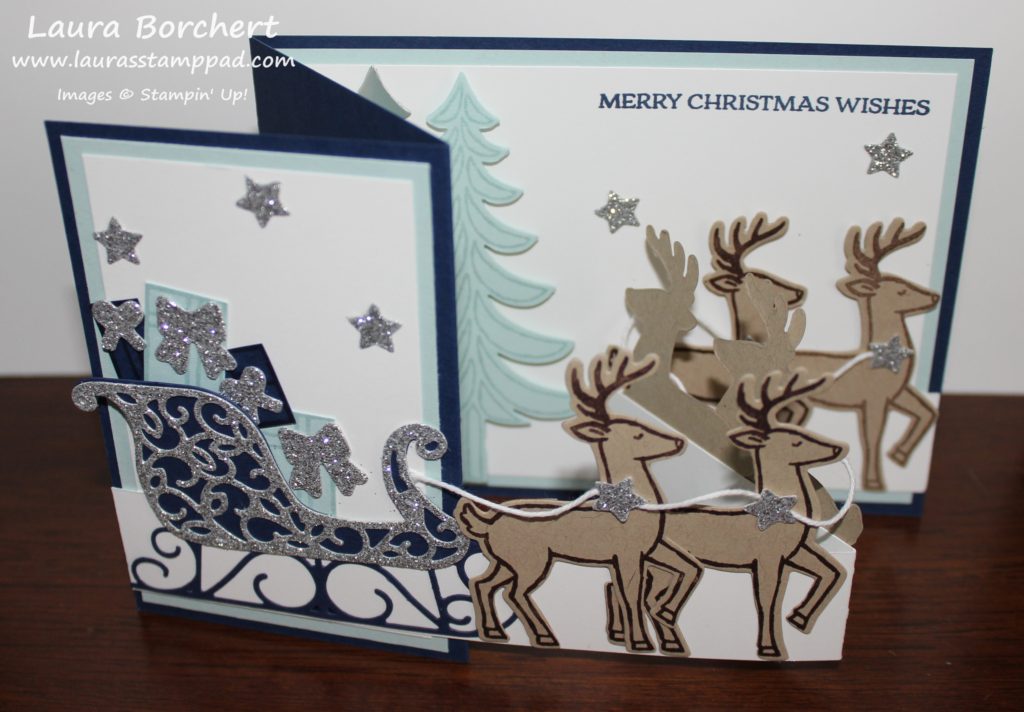
Happy Tuesday!!! Are you ready for this amazing masterpiece??? I have to say this is probably THE MOST amazing, detailed, stunning card I have ever made in my 12+ years of stamping. Check it out!!!
There are just no words for this card. I honestly don’t think I am going to send it out. I’m going to save it and display it every year ever so proudly. I just love it so much!!! Now let’s get started on how to make it with the Santa’s Sleigh Bundle (Save 10%)!!!
I started with a Night of Navy card base measuring 11″ x 4-1/4″ and a strip of Whisper White measuring 11″ x 1″. Both of these are scored at 2-3/4″ and 5-1/2″ which creates the Z folds! For the panels, I cut Soft Sky cardstock into the following measurements – 4″ x 5-1/4″ and two pieces of 4″ x 2-1/2″. Then I cut Whisper White to layer on top measuring 3-3/4″ x 5″ and two pieces of 3-3/4″ x 2-1/4″. Go ahead and layer the white onto the Soft Sky and then onto the card base. You can stamp the greeting in the upper right corner. I used the one from the Santa’s Sleigh Stamp Set!
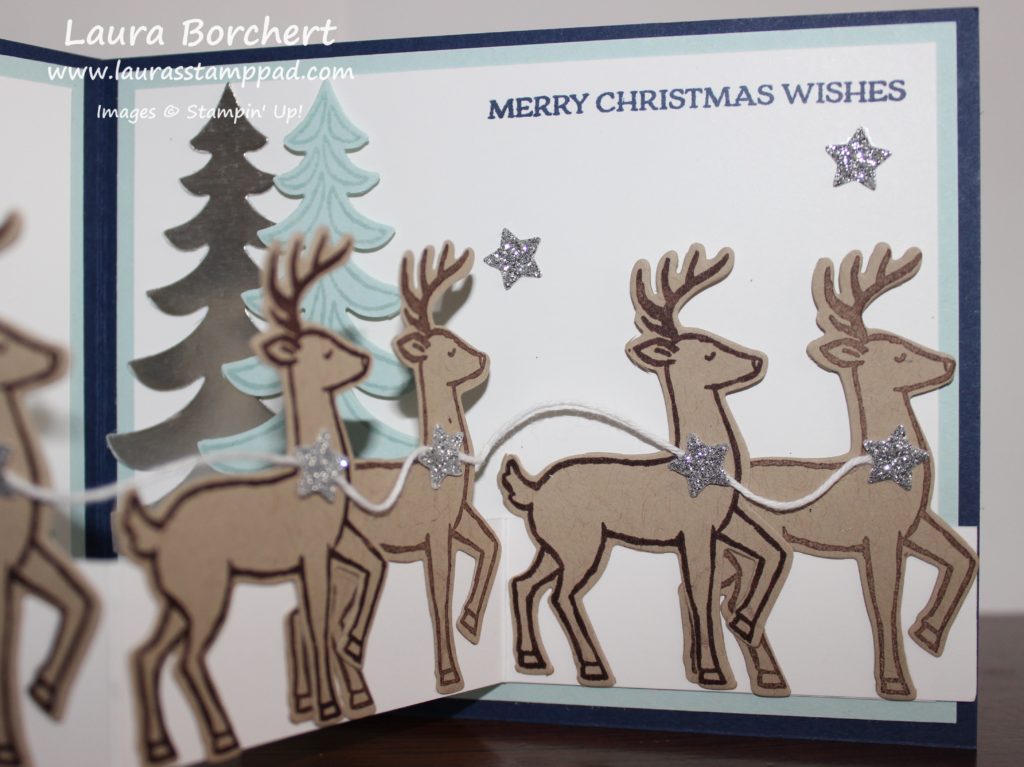
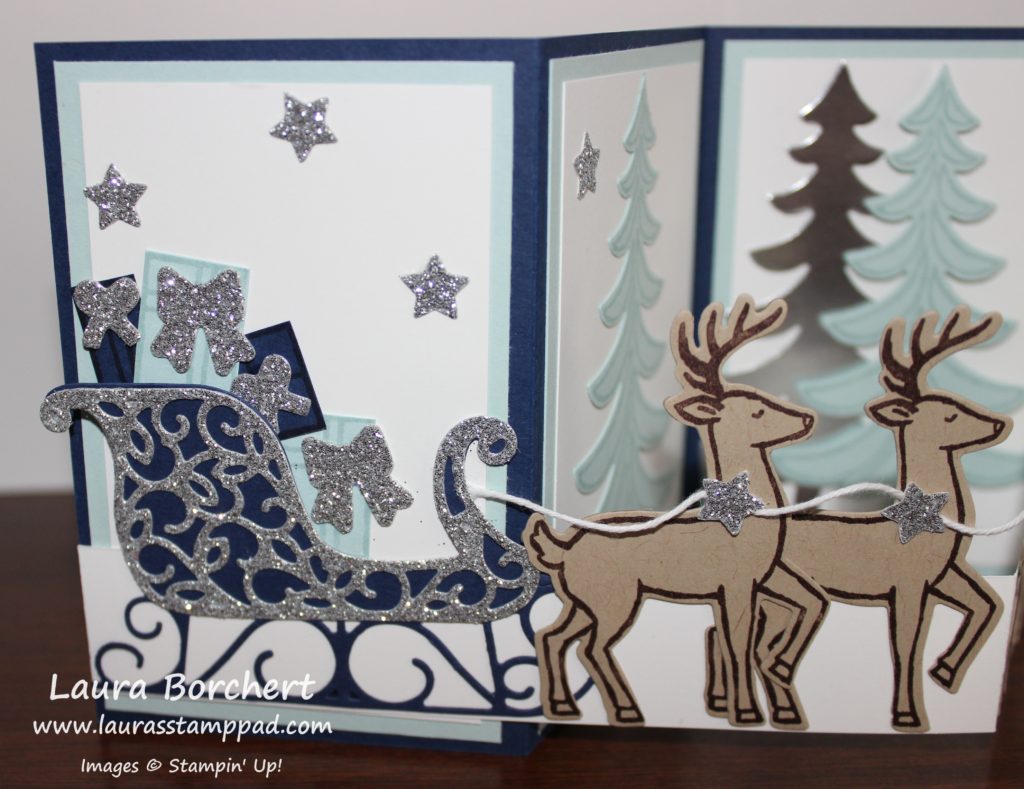
Now you can add the Whisper White strip to the bottom of the card. I lined it up with the bottom of the white on the panels. Be sure that you are only adding adhesive to the small flap and half of the long flap. I like to fold it all up and then add the adhesive to the spots showing (see video below). Place it on the card and then you can work on all of the decorations. I added the trees first. I stamped 2 blue trees using the Santa’s Sleigh Stamp Set and die cut them out with the Santa’s Sleigh Framelits (Bundle & Save 10%). I also cut out a tree in Silver Foil Paper! I added two trees to the large panel and one to the middle small panel. Next up are the reindeer. I stamped all of them in Chocolate Chip Ink onto Crumb Cake cardstock. You will need 6 reindeer. I die cut them out. I also die cut the sleigh in Night of Navy, the sleigh overlay in Silver Glimmer Paper, 12 stars in Silver Glimmer Paper (one for each reindeer and a few others to decorate, and a few bows for the presents in Silver Glimmer Paper!
Now to assemble the second Z with the Whisper White strip! All you need to do is take a strip of white scored cardstock and add it to your card opposite folds as the base. Fold it like a Z and the long panel will go across the front (sticking to the left side) and the short panel will adhere to the back right hand side. I used Fast Fuse Adhesive for a strong hold and placed it on the bottom lined up with the bottom of the white panel. I added 2 reindeer to each of the little panels of the white Z fold overlapping them just a little. Be sure that when you add adhesive to the reindeer that you are only adding it on the legs so that adhesive isn’t showing and then glues your card together.
Before placing the last reindeer on, I added the sleigh to the card. I placed the Silver Glimmer overlap onto the navy sleigh with Fine Tip Glue Pen and then added it to the far left of the card. I did trim off a little bit of the sleigh on the bottom rung. Once the sleigh is in place, you can add that final reindeer. Now is also when you will add all of your presents. I stamped the 3 different styles of presents from the Santa’s Sleigh Stamp Set onto Night of Navy and Soft Sky cardstock and cut them out. They are super easy to cut since they are rectangles! Place as many presents as you wish in the sleigh. Then I added the ribbons and all of the Silver Glimmer stars to the card with the Fine Tip Glue Pen. For the reins, I added some of the glue from the Fine Tip Glue Pen to the first reindeer, placed the Whisper White Baker’s Twine down and then added a star. Press and hold for a few seconds and then move to the next one. You could also use a Mini Glue Dot for this part if you wish. Be sure to leave some slack between each reindeer so it doesn’t pull tight when you open the card and so it swags just a bit. I glued the end of the reins under the front of the sleigh at the end. Now you are all set! The most amazing card ever! Yes it is a bit time consuming but it is just so stunning!!! I can’t wait to display mine…..I don’t think I can part with it and send it out.
If you would like to see that all in action, check out my Video Tutorial below or click here! Don’t forget to give it a thumbs up if you liked it and be sure to subscribe if you are new!!!
Happy Stampin’
~Laura
Don’t forget about the Online Extravaganza going on all week long!!! Great chance to get fabulous product on super sale!! Click here to check it out!


I just love this card!!! I always give me some inspiration to make a card even with my sore back! Thank you.
Glad you enjoyed it!! 🙂 Hope you back gets to feeling better soon! ~Laura
It does makes a very beautiful display! Thank you for taking the time to share it at The Crafty Corner link party. I hope to see you there again 🙂
Thank you!! Can’t wait till this week! ~Laura
I can not find this die do you have it
This just retired in May. I have sold my set already. You could always look on Ebay or on a Facebook Swap & Sell group perhaps. ~Laura
Pingback: My Amazing Card!!! - Laura's Stamp PadLaura's Stamp Pad