Happy Tuesday!!! You know what that means….I have a fabulous Technique to share with you today! Punch Art is so much fun, uses up your scraps and really makes punches super versatile!!! I love that!
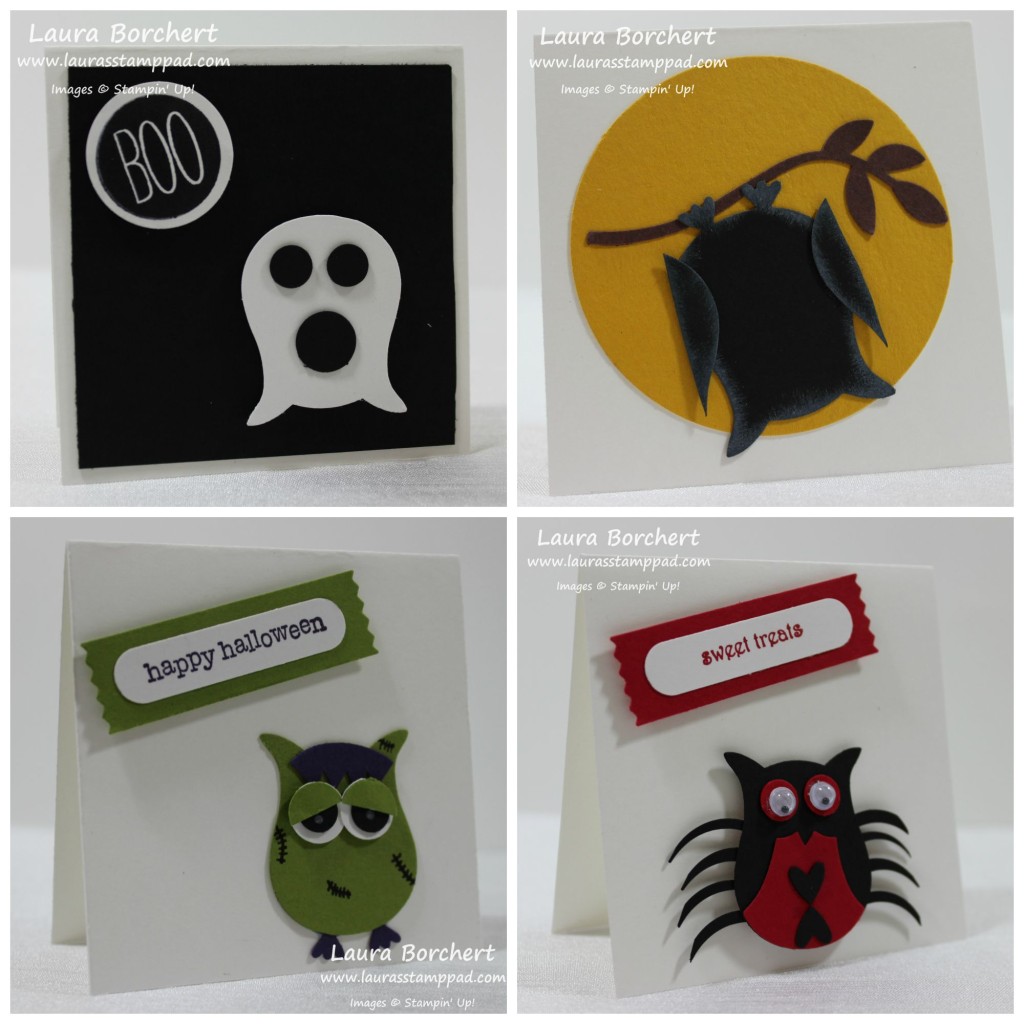
How cute are all of these?? Since I’m not a huge Halloween fan, I like to find Halloween options with some of the supplies I already have. I used the Owl Builder Punch for all of these!!! Love it!!!! These little 3″ x 3″ cards are perfect to attach to a gift or treat bag. Let’s get started with each one and don’t worry, I did do a Video Tutorial for each of these!!! 🙂
This card is a Whisper White card base measuring 6″ x 3″ and folded in half. I used a 2-1/2″ Circle Punch in Crushed Curry for the moon!!! The branch was punched in Chocolate Chip with the Bird Builder Punch! I punched a full Owl body from the Owl Punch and then two sides of the owl. I cut the sides straight to get those wings. Using a Sponge Dauber and Whisper White ink, I added a little color around the edges for some texture. I attached the wings with a Mini Glue Dot and added him to the card with Stampin’ Dimensionals! Here is the video tutorial!
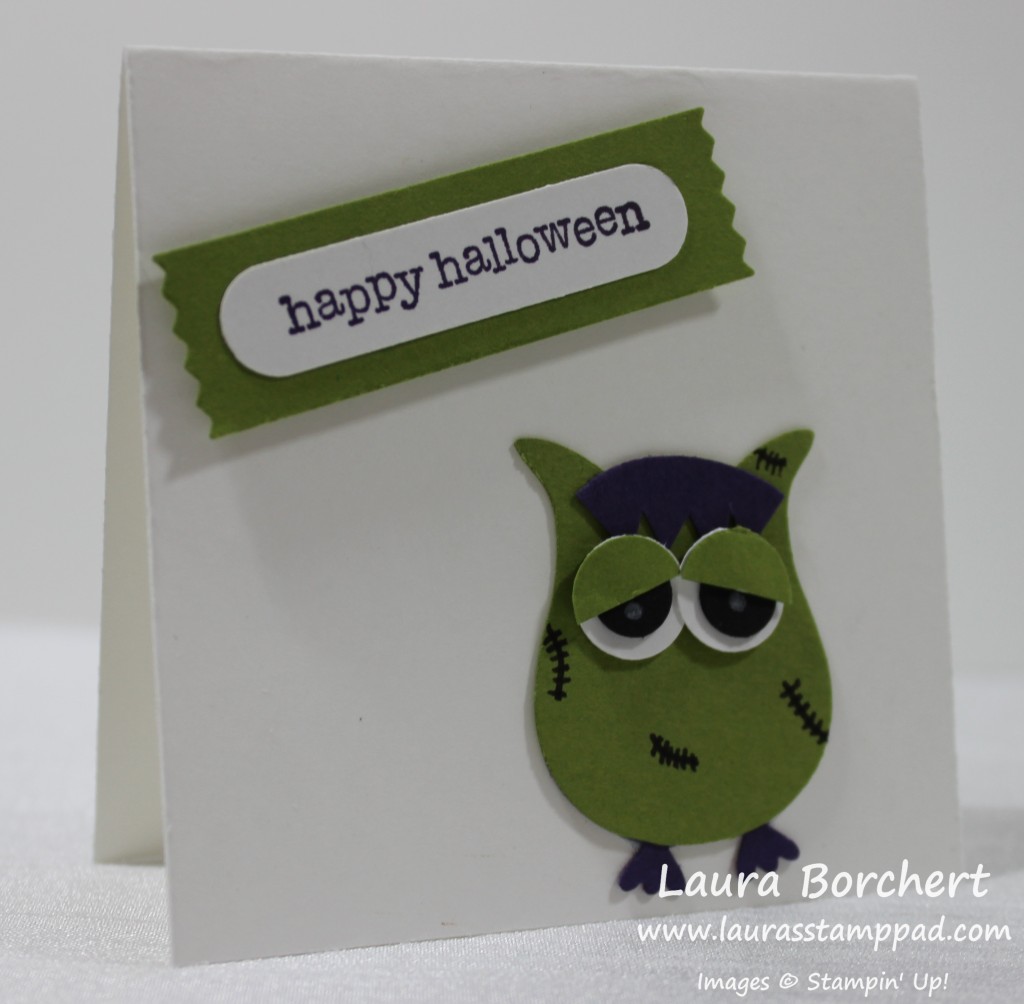
Little Frankie is my favorite!!!! I used the Owl Builder Punch for each of the pieces. I punched out a bottom half of the Owl body and the front body piece in Elegant Eggplant. I punched out a full Owl body and 1 large circle in Old Olive. I punched 2 large circles in Whisper White and 2 small circles in Basic Black. You will snip off the olive feet and place the eggplant feet to the back side of the owl. Then with your Paper Snips, you will cut the other eggplant piece into spikes for his hair and attach it to his forehead! For the eyes, you will assemble them with Mini Glue Dots – black circles onto the white ones and then cut the olive one in half and place those on top. I used a White Chalk Marker for the dots in the eyes and a Black Marker for the stitches all over!! For the greeting, I used the Happy Halloween from the Teeny Tiny Wishes Stamp Set. I stamped it in Elegant Eggplant and punched it out with the Word Window Punch. I layered this onto an Old Olive punched Washi Label Punch! Here is the Video Tutorial!
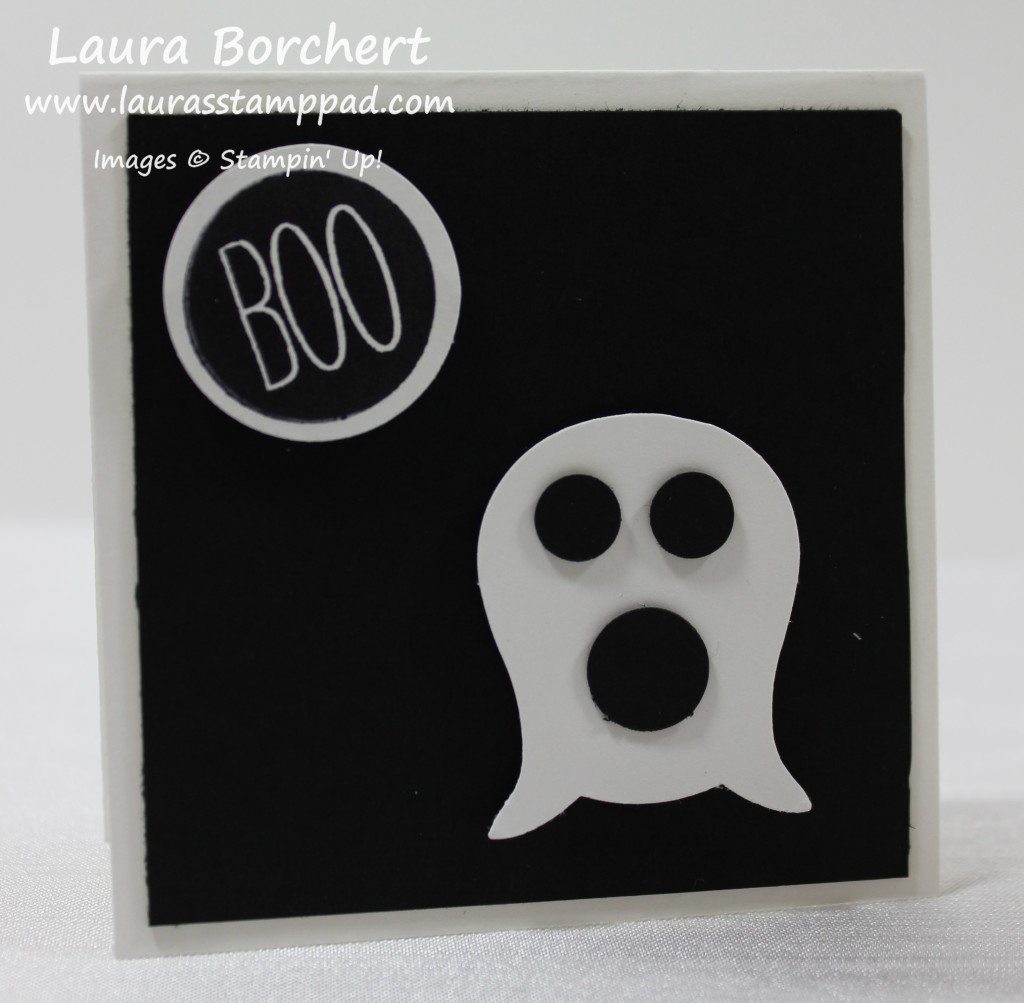
I used a Whisper White card base and then layered on a piece of Basic Black measuring 2-3/4″ x 2-3/4″. I punched out an owl in Whisper White and cut off the little feet and turned it over. There is your little ghost. Then I punched out 2 small circles and 1 big circle and adhered them on with Mini Glue Dots. The greeting is from the Cheer All Year Stamp Set and I punched it out with the 1″ Circle Punch! Here is the Video Tutorial!
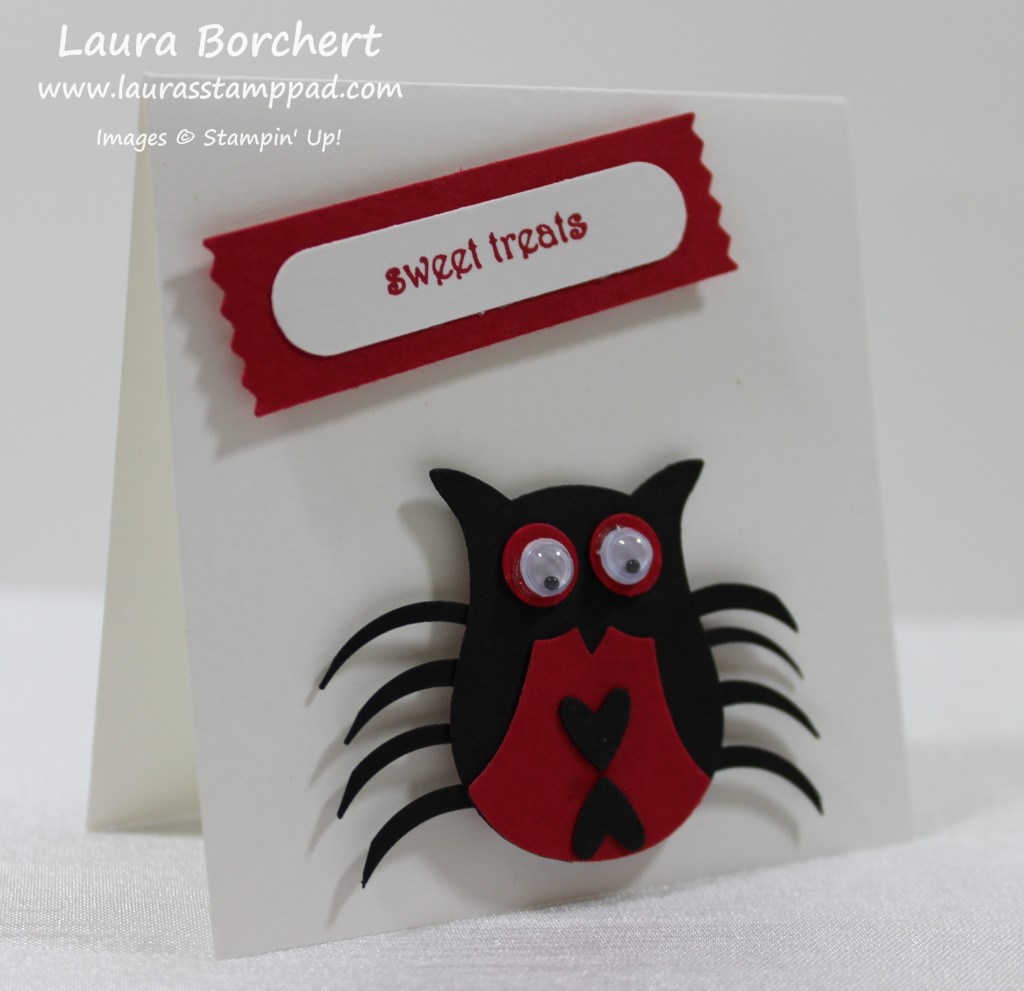
For the little spider, I punched out a Black Owl and snipped off his feet. Then I punched 8 slivers from the piece of paper that I punched his body out of and that is how I created the legs. Check out the Video Tutorial here (it is at the exact spot for you) to see how I did that. You will also need 2 black hearts, 2 small red circles and a red body front piece. What is that front piece called? Owl belly? It looks like a vest to me! 🙂 I glued the owl belly on at the bottom of the owl body and added the hearts with 2-Way Glue Pen but you could also use the NEW Fine Tip Glue Pen! For the legs, I put Snail Adhesive all over the back of the spider and then attached all of the legs. Once I was done I added another layer of cardstock over top to really hold them in place!! I added googly eyes to the red circles and added them to the body with Mini Glue Dots. The eyes really bring him to life! If you don’t have googly eyes, you could always do black centers and a white dot like Frankie up above!!! For the greeting, I used the Teeny Tiny Wishes Stamp Set and stamped Sweet Treats in Real Red. I punched it out with the Word Window Punch. I layered this onto a Real Red punched Washi Label Punch! Here is the Video Tutorial!
Aren’t they all adorable and the best part is you can use up your scraps!!!! Love it!!! Here is the complete Video Tutorial!! Be sure to give it a thumbs up if you liked it!!!
Let me know which one is your favorite in the comments below!
Happy Punchin’
~Laura


This is fantastic! I never know how to dress up my cards and I’m not great at looking for new uses of old punches. Thanks for inspiring me! – Jerusha, TheDisneyChef.com
I’m glad you enjoyed it!!! Stay tuned for more Owl Builder Punch ideas! 🙂 ~Laura
The bat is my very favorite.
The spider is my favorite but also probably the most difficult with all of those legs. 🙂 ~Laura
What a fun use for the “Boo” stamp from Cheer All Year! I have to say you’ve put the owl punch to really great use and I absolutely love “Little Frankie!” Great cards and thanks for joining us over at WWYS this week!
-Maria
I love Frankie too!!! The Boo was the perfect fit for the ghost card!!! Glad you enjoyed it! ~Laura
cute cards!!!
Thank you! ~Laura
Pingback: Technique Tuesday – Owl Builder Punch Art!!! | Laura's Stamp Pad
Pingback: Boo…..Ahhhhh!!!! | Laura's Stamp Pad
Pingback: Technique Tuesday – Owl Builder Punch Animals!!! | Laura's Stamp Pad