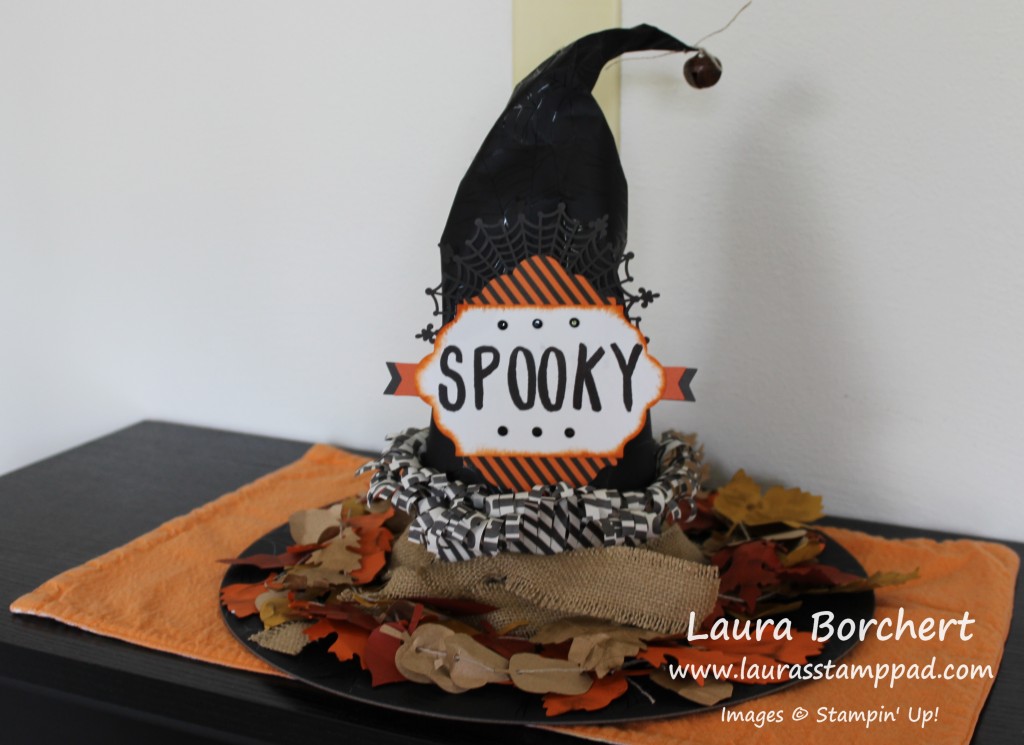
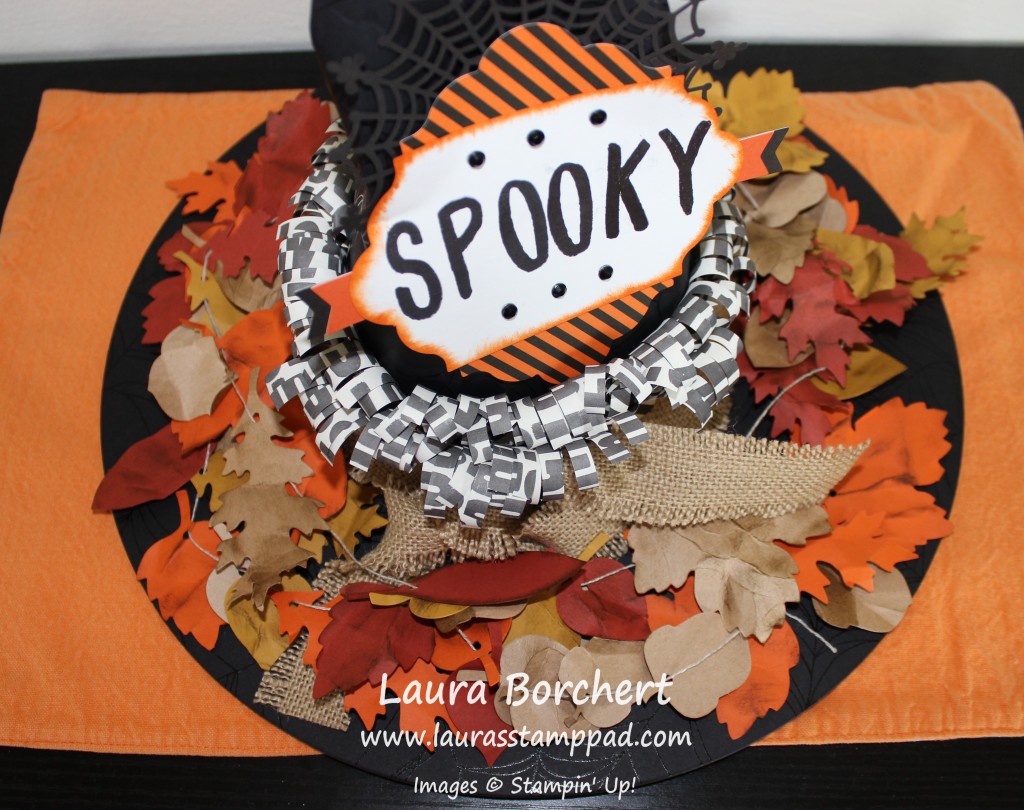
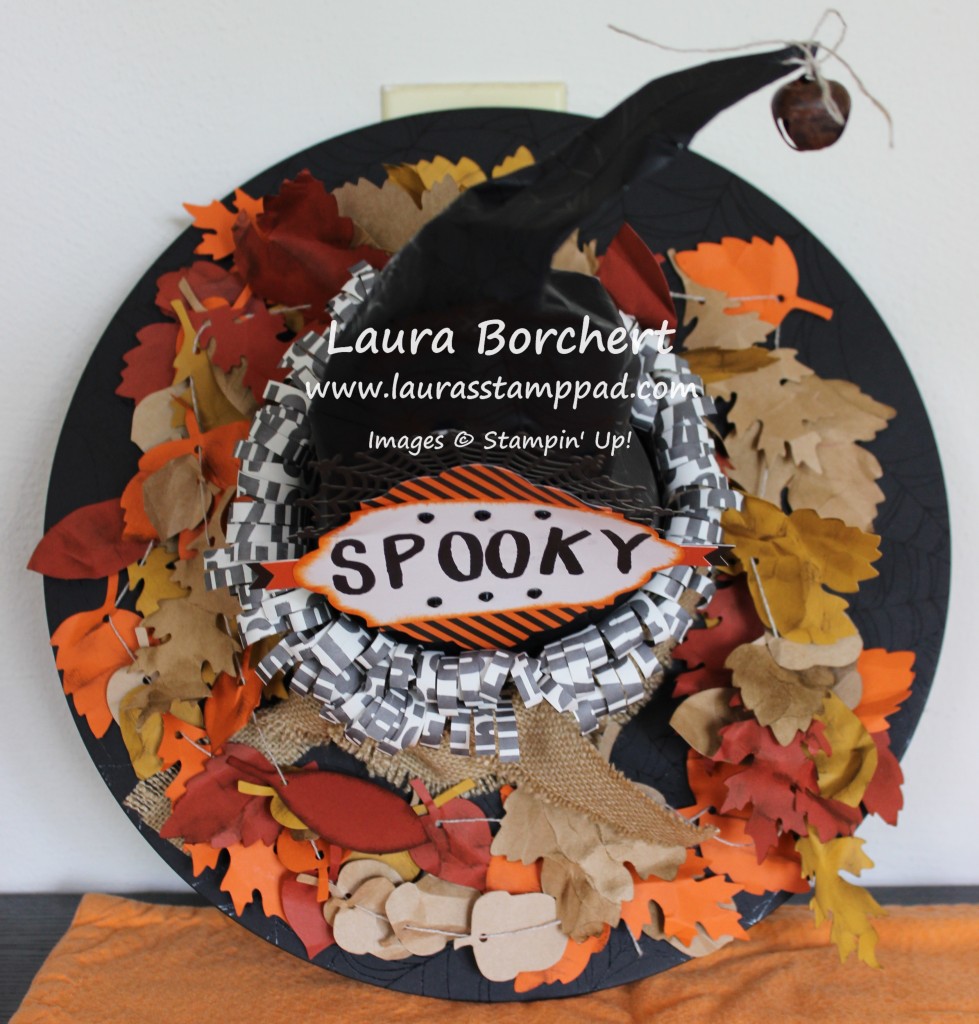
I really love how this Witching Decor Project Kit turned out!!! I’m not a huge Halloween fan but this will be fun to have out as a decoration!!! Love it!!! Don’t worry I took TONS of pictures/angles of this thing to show off all of the details!!!
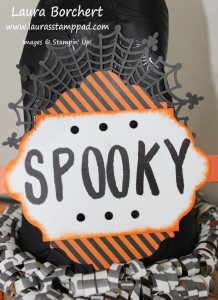
I started with the tag which this kit comes with tons of them so you can make mistakes (who does that?) or use them on other projects. Woot Woot! Again, since I’m not a huge Halloween fan, I decided not to get the coordinating stamp set – Witches Night! Instead I used the Layered Letters Alphabet Set and stamped SPOOKY in Basic Black and then brushed the edges with a Pumpkin Pie Sponge Dauber! I added the little black rhinestones from the kit to the top and bottom. The little banners on the sides were layered and then adhered on the ends of the tag. I adhered all of this to the orange and black striped label and added the Spider Doily to the back. I set this aside and started on the hat.
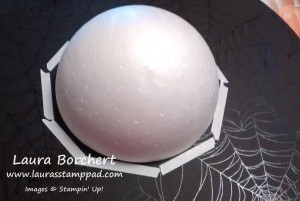
The bottom circle comes already black with a spider web clear embossed on it. Alone, it was really cool looking. The point of the hat is also the same pattern. I glued the foam dome to the hat with Multi-Purpose Glue and let it sit to dry. Before adding the top I placed stripes of Tear & Tape Adhesive around the bottom of the dome to adhere all of the tabs!!! Then I added the point of the hat. I had my husband help me because 2 hands just wasn’t enough to hold on to it, pull off the adhesive strip and keep it still!!! After you have the cone shape then you can peel off the Tear & Tape and adhere it down!!!
Now for the 2 things that took the longest….not the hardest but the longest – punching all the leaves out and fraying the burlap ribbon! Oh my I swear it took my a day and a half….okay really just like an hour. I squashed each of the leaves in my hands to get them some wrinkle and texture and then I used my Sponge Dauber and Soft Suede Ink to add some color.
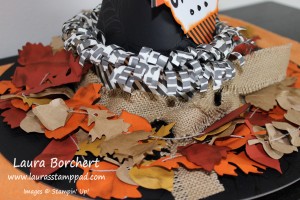
Now time to assemble. First I added the black and white fringe. I adhered the strips together with Fast Fuse and wrapped them around the cone of the hat (not on the bottom, up about 1/2″ to 1″) Then I wrapped the burlap around and tied it into a double knot. I did place a few Stampin’ Dimensionals in a few places to hold the ribbon either down farther or up higher so that it wasn’t just tight around the base. I wanted to to look loose but still hold in place! I adhered the greeting tag with Stampin’ Dimensionals as well but before attaching it, I scrunched and bent my hat so it wasn’t sticking straight up! I really liked the more ruffled up look of the scrunched hat rather than a straight pointy one.
For the leaves, I took a large needle and looped the twine through and then went through all of the leaves. It was much easier and quicker this way. I had them all threaded up in like a minute!!! I did tie the first and last leave to the twine so that they wouldn’t slide off. Then I added a few Stampin’ Dimensionals around the base of the hat and used those as staking points for my leaves. So like 5 of the leaves are stuck on there (first one, last, one and 3 towards the beginning of the loop) but the are just laying all over.
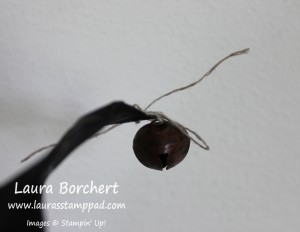 Now for the final touch – my favorite part!!! I used my Handheld 1/8″ Circle Punch to punch a little hole in the tip of the hat. Then I used the Twine and tied the little bell on!!! I think this is just precious. When I was carrying it downstairs to photo it, it jingled and I giggled! LOVE IT!!!
So I had bought this kit thinking it would be cute on the front door BUT I think I have decided that it is too cute to put out there and I don’t think it would work. 1. All…or most….of the leaves would need to be tacked down because otherwise they are going to bunch up or hang off. 2. On it’s side like this, it’s not as cute. 3. I think I like it as a centerpiece instead!!! 🙂
If you would like to see the Unboxing and Reveal of this Kit, check that out below or by clicking here!!! If you liked it, be sure to give it a thumbs up! Click here to order your Witching Home Decor Kit so you can get festive this Halloween!
Happy Hauntin’
~Laura
