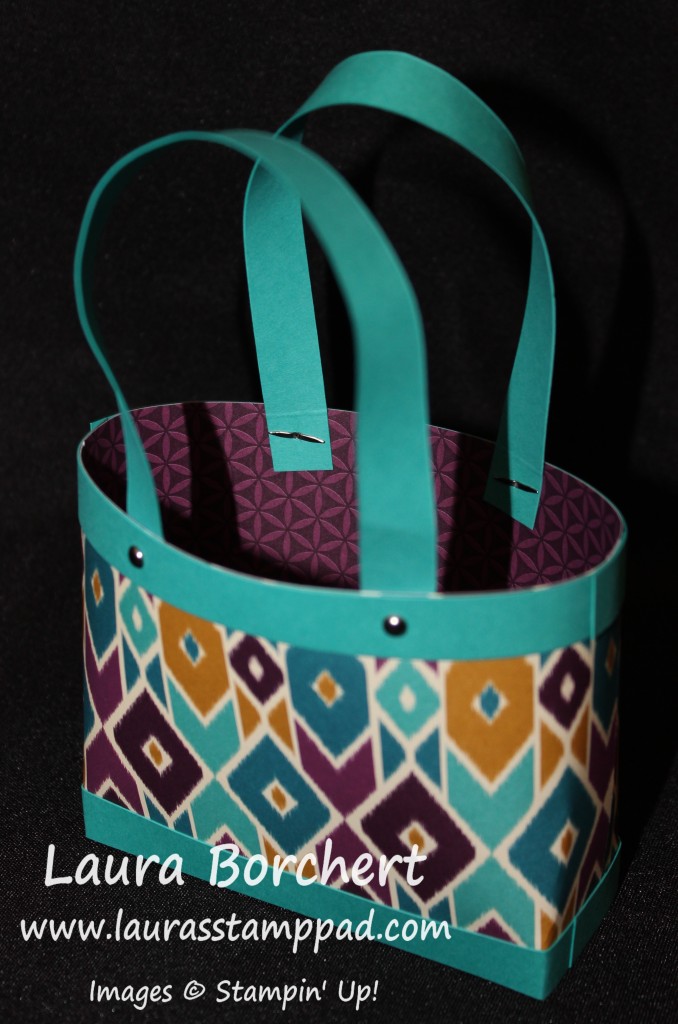
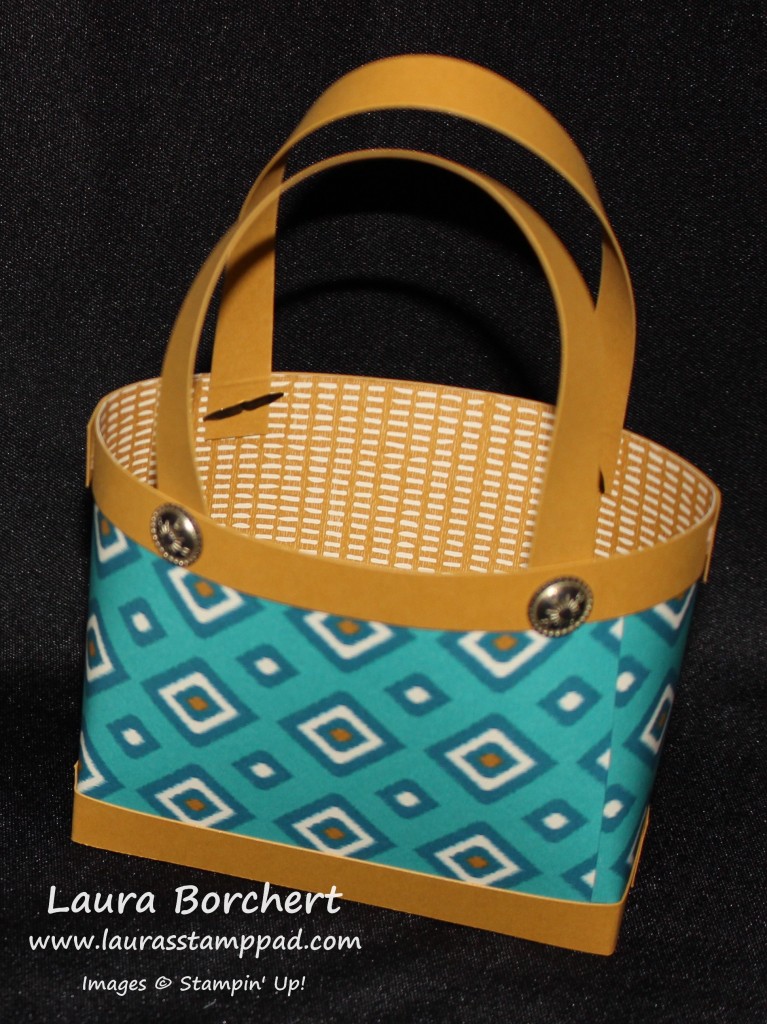
Happy Tuesday!!! You know what that means…..I have a fabulous technique to share with you today!!! These little purses are just so precious! They are little and perfect for adding some hand-stamped cards, candle, candy, lotion, nail polish, cookies, or just about any little gift item!!!
Isn’t it adorable??? I love this one the best with the Bermuda Bay accents!!! I created a few of these and have made a few of my own modifications. I got the idea from Dawn. You can check it out here as well as a video tutorial! Thank you Dawn for the inspiration!
SUPPLIES NEEDED: Cardstock, Designer Series Paper, Fast Fuse or Tear and Tape, Brads, and 1/16″ Handheld Punch
You will need the following pieces for your Purse:
For the Designer Series Paper, cut 2 pieces measuring 6 1/4″ x 3 1/2″
For the solid color accents, you will need the following:
~1 Piece measuring 2 1/2″ x 5 1/4″ (score at 1/2″ all (4) sides) for the bottom
~2 Pieces measuring 1/2″ x 8 1/2″ for the handles
~4 Pieces measuring 1/2″ x 6 1/4″ for the trim
I used the Bohemian Designer Series Paper for my purse! You can always modify to make a taller purse by changing the dimension of the Designer Series Paper (DSP) (adding inches to the 3-1/2″ number). You will start off by adhering your DSP together along the 3-1/2″ side to make. This will make a 3-1/2″ x ~12-1/4″ strip of paper. Then take the bottom piece of cardstock and cut one of the little corner pieces to create tabs so you can fold them in and make a little box bottom! Now you will take your DSP and wrap it around the little box bottom on the outside. The more I played with this, I prefer to start in the middle on the short side so that my seams are on the sides rather than in the middle/front. Now you can add Tear and Tape to all four of the 1/2″ x 6-1/4″ pieces and then use 2 for the bottom trim and 2 for the top trim!
The last two stripes (1/2″ x 8 1/2″) are the handles! Gently run them over your Bone Folder like you are curling ribbon to help with the curvature of the handles. Also, on each of the four ends of the strips, add a little score like 1/2″ up. This will help you determine how deep to place the handles in the purse and each one will be even because you will go down to that score line!!! You can jsut adhere the handles on and you are done or you can use your 1/16″ Handheld Punch to create little holes and add brads. I used the Antique Brads in the purse above and Silver Mini Brads for the purse up top!
You are all done now! You can always add some embellishments like a flower using the Spiral Flower Die like this or any other fun foo foo!!! I have so many fabulous little purses in mind to create for lots of occasions! With the Holidays around the corner, these would make adorable Halloween Treat Bags or Christmas gifts or neighbor treats! Oh the possibilities!!!
What colors or Designer Series Paper would you use for your Purse??? Leave me a comment down below!
Happy Stampin’
~Laura


